Bobblybook
Well-Known Member
- Joined
- Nov 14, 2014
- Messages
- 54
- Reaction score
- 0
Well this was my first solo woodworking project. Still in progress, here are some (somewhat crappy) photos. Wood used is 'Mountain Ash' I believe, down here in Aus. I used a scrap piece of timber so not 100% sure, but I'm quite confident. I was thinking about a darker, harder timber but I think this will be softer on the blade, and should be easier for me to work with, especially as a first saya.
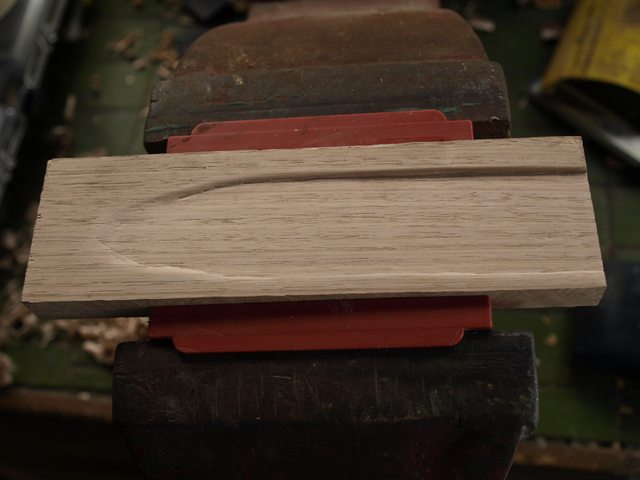
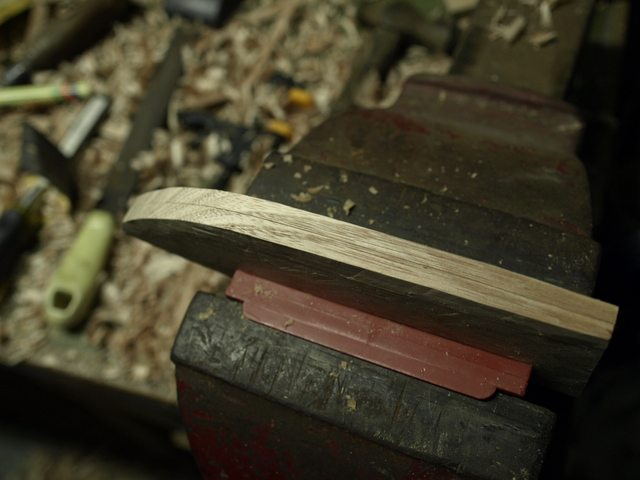
Initial cavity chiseled out and sanded. I actually scrapped this one and did another due to the glue not working out. Had to go and get some titebond III and that worked much better. Process was pretty much the same (though much cleaner and more accurate the second time around!), so I'll leave the photo in") I found it a lot more accurate and easier to control when using an 18mm chisel (3/4" I think), whereas the first time I was using the largest size in the set of 3 to do the majority of the flat area. I found it less controllable and it would stab in and really dig into the wood. 18mm is much more manageable and maneuverable, both in size and force needed to chisel by hand. For me anyway!
I found it a lot more accurate and easier to control when using an 18mm chisel (3/4" I think), whereas the first time I was using the largest size in the set of 3 to do the majority of the flat area. I found it less controllable and it would stab in and really dig into the wood. 18mm is much more manageable and maneuverable, both in size and force needed to chisel by hand. For me anyway!
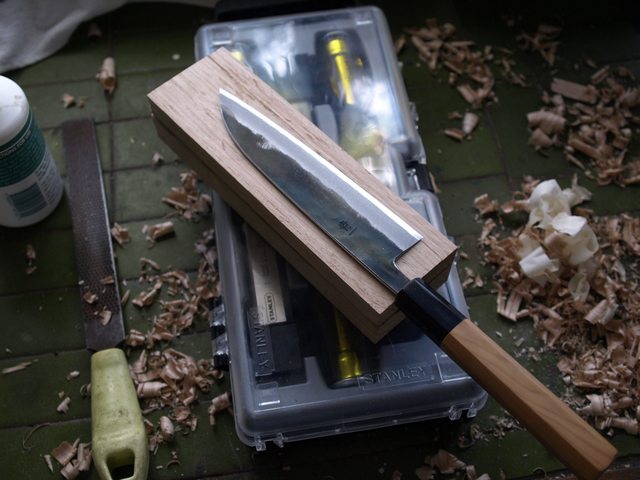
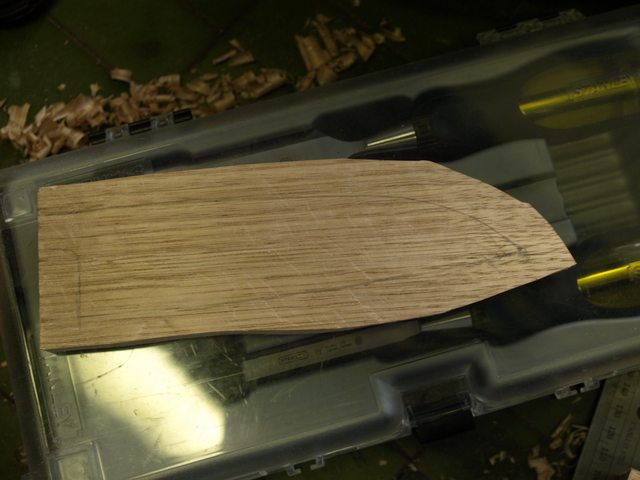
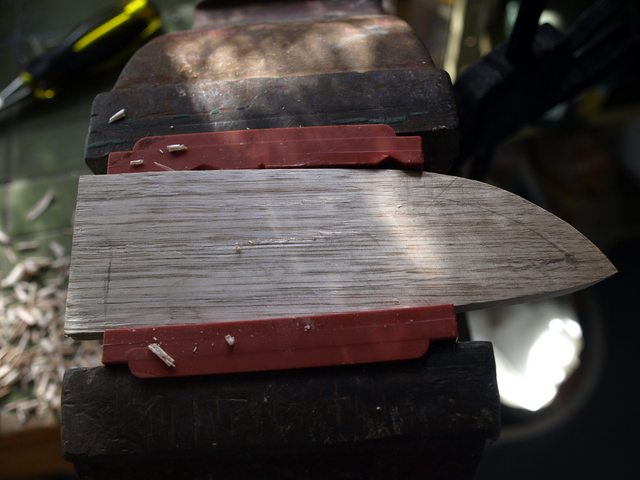
After significant thinning with chisels, and a rough jigsaw cut to shape. I couldn't get the curve perfect and I'd rather undercut than overcut, and I didn't want to split the wood if I accidentally cut too close to the cavity. I guess a bandsaw would be much easier for this part. Still quite a bit of work to do!
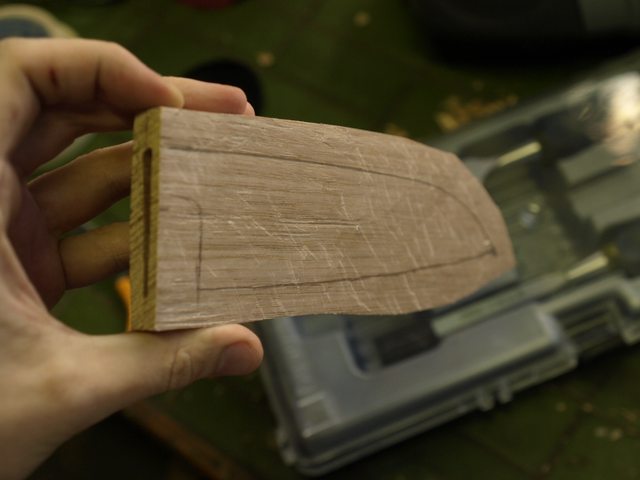
The pencil outline is somewhat hard to see, much easier if I tilt the piece.
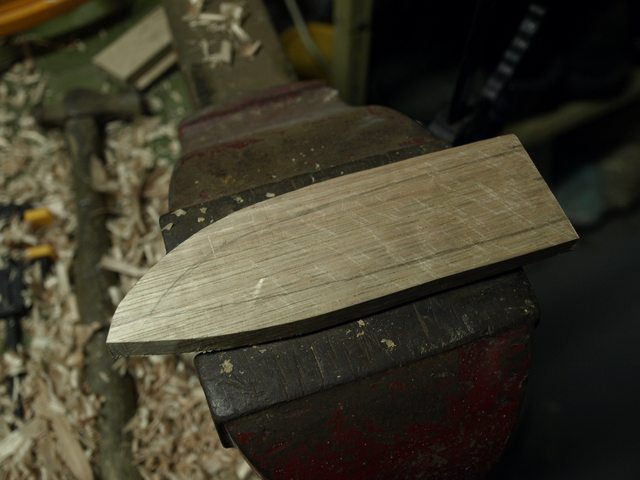
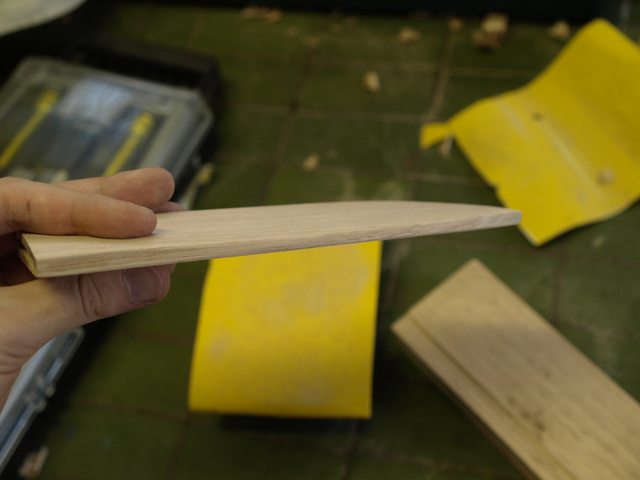
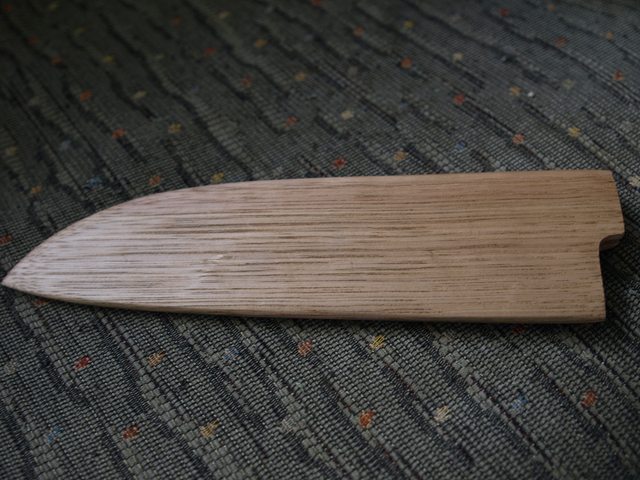
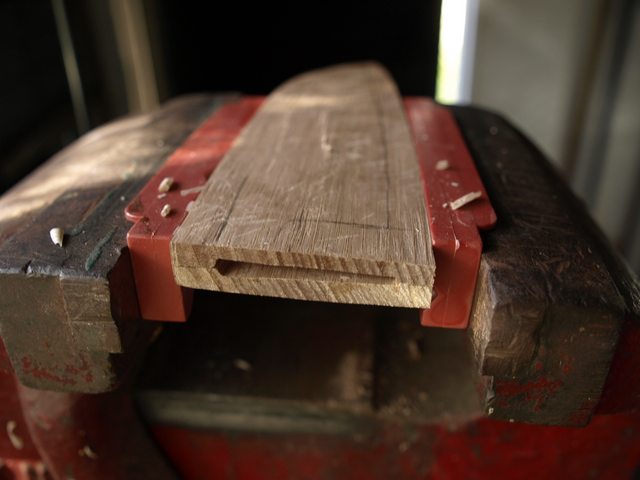
Both sides after a bit of shaping to get rid of the 'lumps & bumps'. Still need to get rid of that crooked nose and the bloated belly, but making progress!
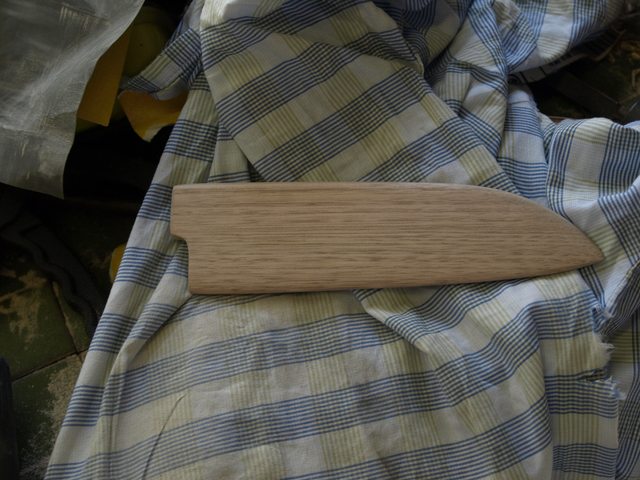
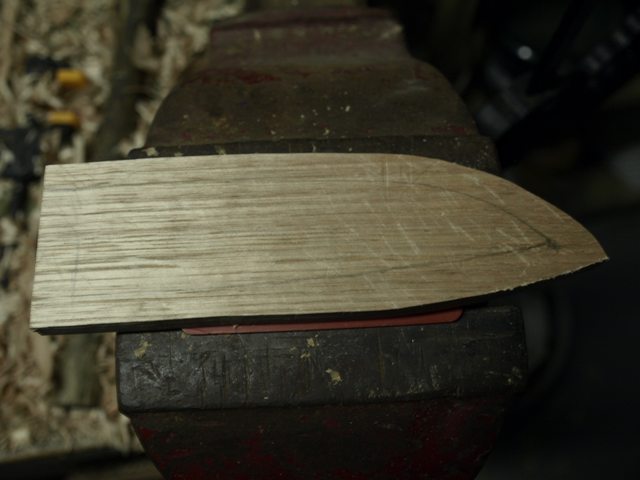
Shaping complete I think. I wanted to get this done before thinning the saya any further, as it was the perfect width for chiseling along the top and bottom. I'm quite happy with the profile here, so on to thinning again.
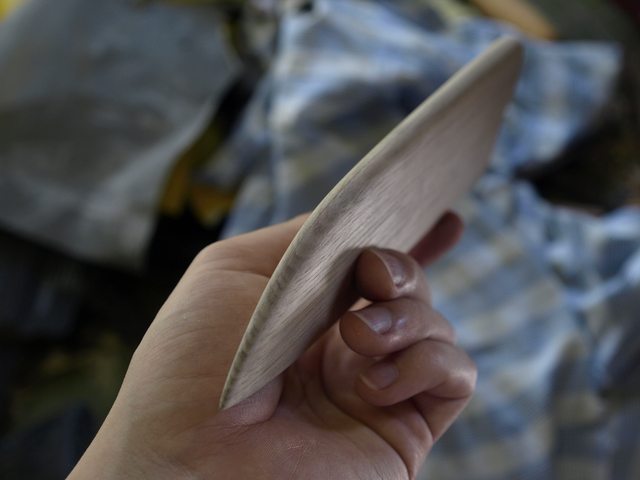
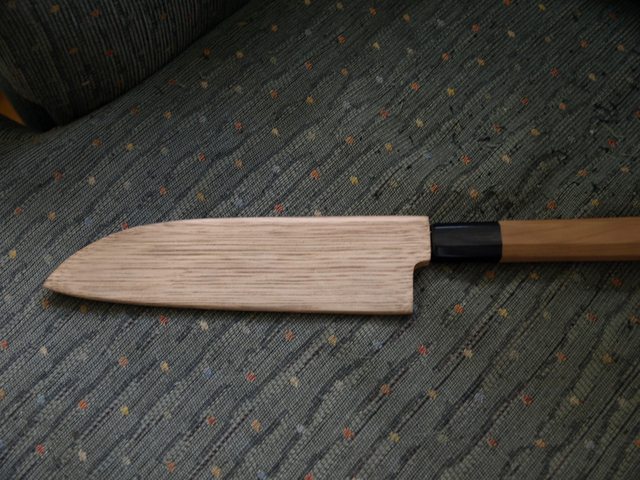
Almost there! The bottom half still needs to be a little thinner, I still need to taper down towards the edge, round all the edges, taper to tip, pin, cut out that area behind the choil, and sand the whole thing.
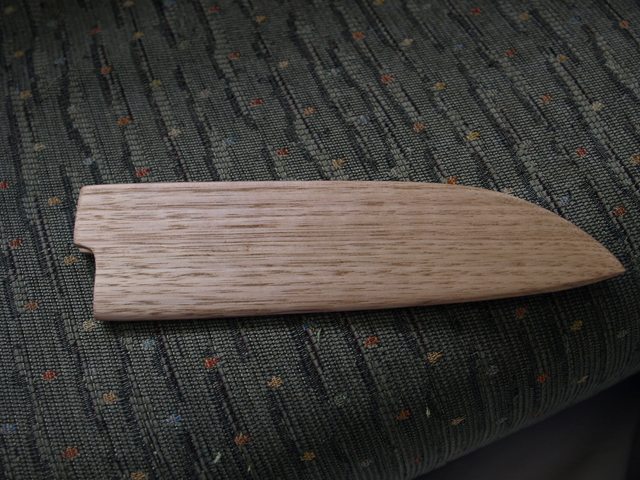
Not sure if I will thin this much more - once I even up the bottom half, is this the approximate thickness I should be aiming for? It feels similar to the Gesshin Ginga saya for the brief time I held it, although that's wrapped up now so I can't really check to compare.
Album so far, all photos in full resolution: http://imgur.com/a/N8XnB
Initial cavity chiseled out and sanded. I actually scrapped this one and did another due to the glue not working out. Had to go and get some titebond III and that worked much better. Process was pretty much the same (though much cleaner and more accurate the second time around!), so I'll leave the photo in
I found it a lot more accurate and easier to control when using an 18mm chisel (3/4" I think), whereas the first time I was using the largest size in the set of 3 to do the majority of the flat area. I found it less controllable and it would stab in and really dig into the wood. 18mm is much more manageable and maneuverable, both in size and force needed to chisel by hand. For me anyway!
After significant thinning with chisels, and a rough jigsaw cut to shape. I couldn't get the curve perfect and I'd rather undercut than overcut, and I didn't want to split the wood if I accidentally cut too close to the cavity. I guess a bandsaw would be much easier for this part. Still quite a bit of work to do!
The pencil outline is somewhat hard to see, much easier if I tilt the piece.
Both sides after a bit of shaping to get rid of the 'lumps & bumps'. Still need to get rid of that crooked nose and the bloated belly, but making progress!
Shaping complete I think. I wanted to get this done before thinning the saya any further, as it was the perfect width for chiseling along the top and bottom. I'm quite happy with the profile here, so on to thinning again.
Almost there! The bottom half still needs to be a little thinner, I still need to taper down towards the edge, round all the edges, taper to tip, pin, cut out that area behind the choil, and sand the whole thing.
Not sure if I will thin this much more - once I even up the bottom half, is this the approximate thickness I should be aiming for? It feels similar to the Gesshin Ginga saya for the brief time I held it, although that's wrapped up now so I can't really check to compare.
Album so far, all photos in full resolution: http://imgur.com/a/N8XnB