


jessf
Senior Member
- Joined
- Jan 10, 2016
- Messages
- 869
- Reaction score
- 6
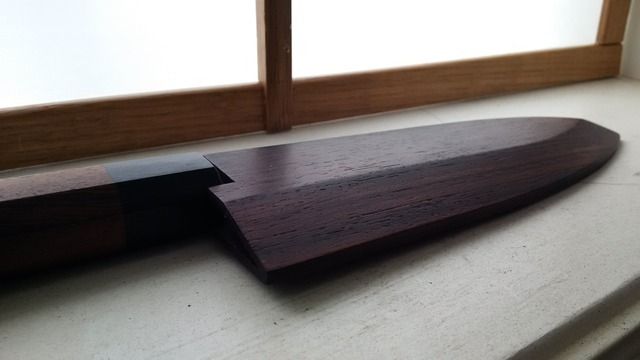
I've started my new Wa handle project for my 165mm deba. I've had the deba for only a month. I'm pleased with the white paper#1 blade but kind of "meh" on the handle. I've already made a saya out of Indonesian rosewood and I'd like a handle to match.
credit to mkriggen http://www.kitchenknifeforums.com/showthread.php/19259-WIP-How-I-Make-a-Wa-Handle
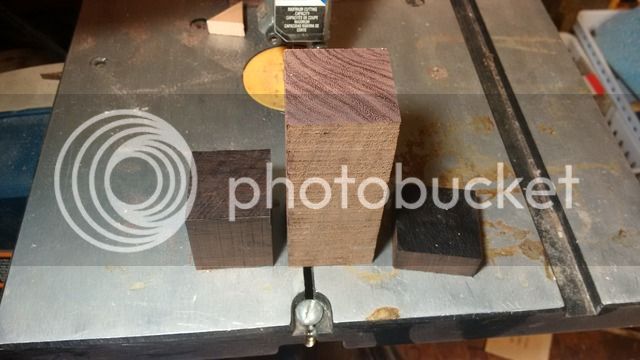
The woods I've selected are:
-African black
-Indonesian rosewood, to match the saya
-curly spruce veneer
-black pear veneer
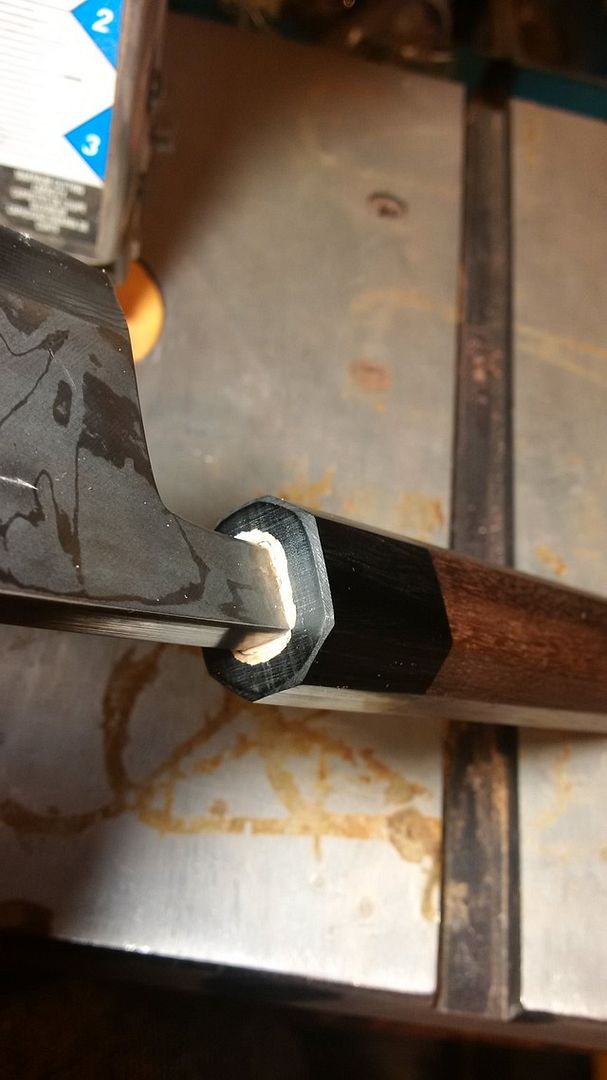
existing handle
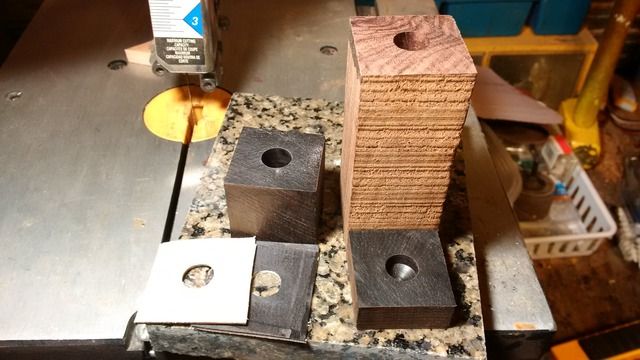
I cut to length and predrilled all my wood. The rosewood gets a through-hole and the blackwoods drilled only half way through. I have pre-fabricated the black and white spacers as I have more control when sandwiching and clamping this all together if I have fewer floating parts.
One of the things that bugs me about the stock handle is the obvious shrinkage between the two woods. You can't see it, but you can feel it. To prevent, or at least help prevent this from happening on the new handle, I need to stabilize the wood. To do this I grab a glass jar, place my blackwood and rosewood pieces inside and fill with wood stabilizer. Then place the whole jar in a vacuum pump pickling jar you can get from NoHomesense and suck out all the air. The pickling jar comes with its own hand pump. The black and white spacers do not need to be pickled.
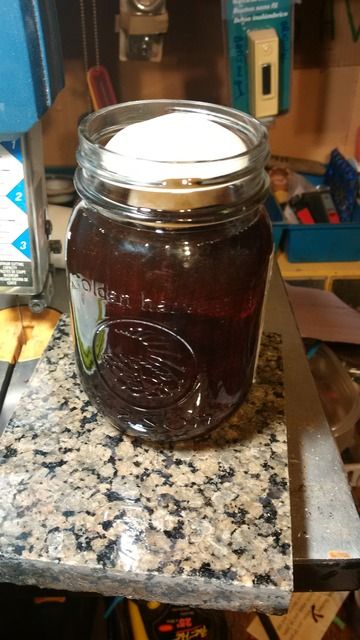

Out comes the air, in goes the marinade. The bubbles means it's cookin' real nice.
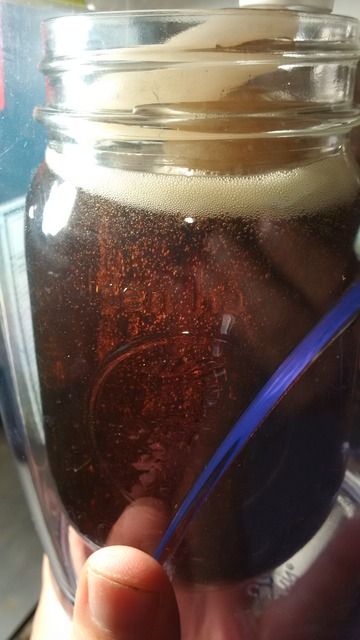
I don't need to leave it in the vacuum jar for long, just a few hours while the treatment penetrates. I will, however, leave the pieces submerged for at least 12 hours. Since I have to remove a lot of material to reveal this handle, I may need to re-pickle the whole bit. Having the holes drilled first should help a lot with solution penetration.
credit to mkriggen http://www.kitchenknifeforums.com/showthread.php/19259-WIP-How-I-Make-a-Wa-Handle
The woods I've selected are:
-African black
-Indonesian rosewood, to match the saya
-curly spruce veneer
-black pear veneer

existing handle


I cut to length and predrilled all my wood. The rosewood gets a through-hole and the blackwoods drilled only half way through. I have pre-fabricated the black and white spacers as I have more control when sandwiching and clamping this all together if I have fewer floating parts.

One of the things that bugs me about the stock handle is the obvious shrinkage between the two woods. You can't see it, but you can feel it. To prevent, or at least help prevent this from happening on the new handle, I need to stabilize the wood. To do this I grab a glass jar, place my blackwood and rosewood pieces inside and fill with wood stabilizer. Then place the whole jar in a vacuum pump pickling jar you can get from NoHomesense and suck out all the air. The pickling jar comes with its own hand pump. The black and white spacers do not need to be pickled.


Out comes the air, in goes the marinade. The bubbles means it's cookin' real nice.

I don't need to leave it in the vacuum jar for long, just a few hours while the treatment penetrates. I will, however, leave the pieces submerged for at least 12 hours. Since I have to remove a lot of material to reveal this handle, I may need to re-pickle the whole bit. Having the holes drilled first should help a lot with solution penetration.


