WIP - Nakiri, Gyuto then Birds Beak

Kitchen Knife Forums

Help Support Kitchen Knife Forums:

This site may earn a commission from merchant affiliate links, including eBay, Amazon, and others.

jessf

Senior Member
Joined
Jan 10, 2016
Messages
869
Reaction score
6
I picked up some 1084 steel, 5/32"x2"x24", and I'm hoping I can get three blades out of it. I'm going to start with the Nakiri, then move on to the Gyuto and if there's enough material left I'll do some variation on a bird's beak paring knife. I'd like to heat treat this on my own this time instead of sending out and I've read that 1084 is good to play around with. I'd also like to try some anvil work, but I'll need an anvil.

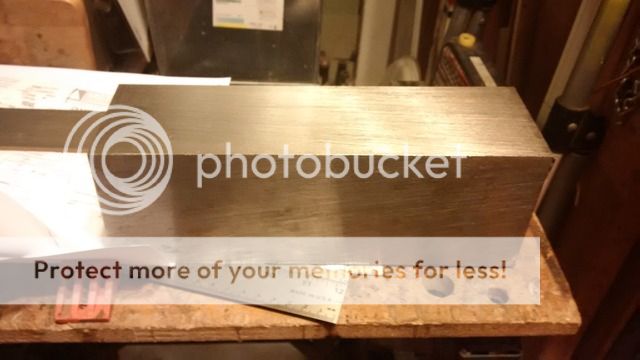
I picked up 35lbs of tool steel at the local Metal Supermarkets and I intend on turning this into a small knife smith anvil.


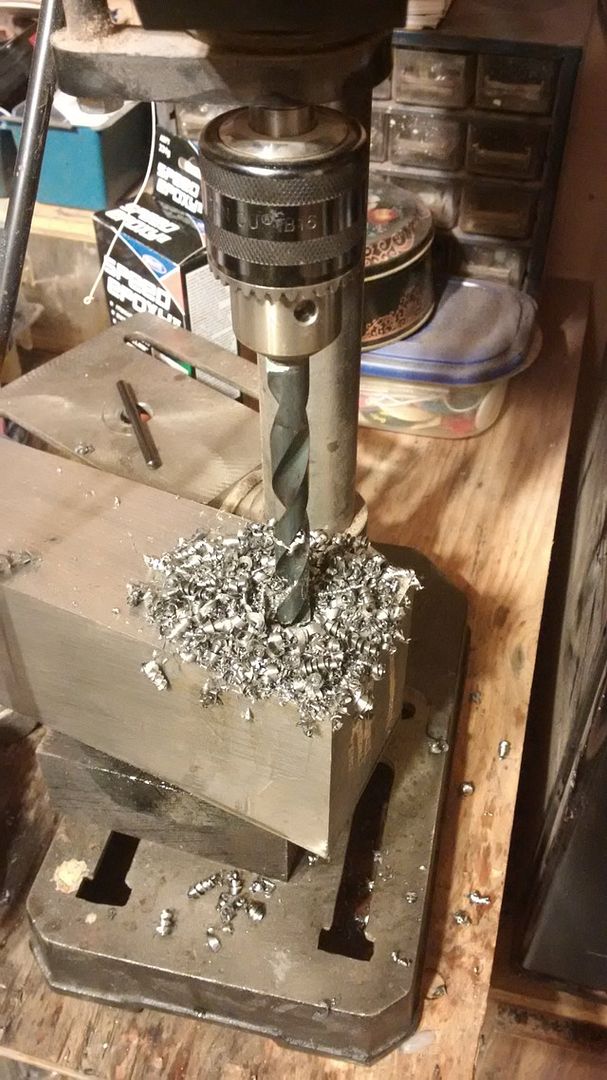
First thing to do is drill a hardy hole which will also serve as a pritchel hole should I ever need one. I drilled a 1/2" hole to a depth of 1.5" and will bore it out to 1". The hole will remain round and will accept any little tools or forms I need to make cut from 1" round stock. I don't really need either the pritchel or the hardy hole for this project, but I'm thinking down the road and I'd like to get as many items added before I heat treat it. I will also cross drill two holes at either end so I can secure the anvil to a large stump or block of wood.
 
I set the anvil aside for a night and worked on a few handle parts. I want to try some dear antler, I've had a piece for a very long time and it's about time I had a use for it. I drilled out the porous center and will do a passthrough dowel.


I'm using grey elm for this particular handle so I'll need a grey elm dowel. Since the grey elm dowel store was closed I figured I could make my own. I chucked up a piece of elm into my lathe/drill press and fashioned a dowel slightly larger than 9/16"


I then passed the rough dowel through a 9/16" die I made by drilling my 9/16" bit through a piece of scrap D2 steel left over from the honesuki. Two holes on either side of the 9/16" provide the cutting edge.


End result is a custom dowel with a nice snug fit. I'll stabilize the dowel as I have the handle blank.
 
Lookin' good! 1084 is a great steel to forge, and its ease of heat treat can't be beaten. I, too, use a chunk of steel as my anvil (although mine weighs about 450 lbs), and I went about making my own tooling to suit a drilled hole as well, it'll work just fine. Remember to break the edges all the way around on the face you use for forging. If you leave the sharp corners, you'll be pounding lines into your blades.
-Mark
 
I didn't consider the lines. Good idea. Is there value in leaving one edge while knocking off the rest? I may knock all the corners off slightly to prevent fingernail cracking during heat treating.
 
Shouldn't hurt....you'll just need to be mindful when you're forging. If you need a 90 degree sharp angle, though, you could always make one to put into your pritchel.
-Mark
 
Ahh. Good point. Best to ensure the success of the anvil first then make tools to fill the needs as they come.

QUOTE=PolishAvenger;411303]Shouldn't hurt....you'll just need to be mindful when you're forging. If you need a 90 degree sharp angle, though, you could always make one to put into your pritchel.
-Mark[/QUOTE]
 
did a bit more work. This time on the handles. All the wood has been treated and left to dry. I've focussed my efforts on the grey elm and dear antler tonight. I'm going for a variation on the d-style.


You can't see it as the harsh light washes it out, but the antler has a decent amount of grey in it. I'll be dying the elm a grey colour to compliment the grey in the antler. In the end I want this to look like a sun bleached piece of driftwood.
 
Tried adding graphite powdered to danish oil and got some darkening of the grain. I'll search the local art store for some powder dyes to help the finish along.
 
Wow! I like that a LOT!!! Some silver spacers or maybe an end cap might make it pop a bit more. I love the shape and the look.
 
This is really cool and very interesting to me as I plan to make the first WA handle soon. Just a quick question - did you cut a slot in the dowel prior to gluing the handle, or will you just drill it once the handle is finished?

EDIT: Just one more question - what glue do you use to glue the handle together?

thanks :)
 
I cut the slot in the dowel before assembly, yup. Since this particular handle has the dowel exposed at the choil area I cut the slot right to the end and stuck a wedge in there to keep it tight while the epoxy cured. I can drill out the wedge when it's time to fit the blade. I used 60min 2 part epoxy.

I fabrication tip: once the handle is clamped and the epoxy curing, turn the whole assembly upside down so the ferrule faces the ground. Any excess epoxy will flow to the end of the ferrule where it's easily cleaned out when you widen the tang slot. This will help to keep your hidden tang slot free of excess epoxy. Also, try not to use too much epoxy.
 
Needs more cowbell. And more heat. I wanted to see how much heat I could get with an open fire and a leaf blower. I got a lot of heat but could do much better with less open space. I think I'll need to make a smaller forge with side walls to concentrate the heat.

 
Do I understand it right that you first cut approximate size of the knife (a blank) from the steel and then forge it to shape? That is an interesting approach.
 
That is correct. The width of the stock material limited my blade height to 50mm and under and I want just slightly over 50mm when sharp. I also wanted to try shaping the rough profile before I take it to the belt sander. Also just wanted to see what would happen.

Do I understand it right that you first cut approximate size of the knife (a blank) from the steel and then forge it to shape? That is an interesting approach.
 
I have the same problem - few steel are avaiable wider than 50 mm (for us stock removal guys) - at least here in DE.
 
another night of progress. In spite of the rain I was able to get a decent amount of heat. I used a concrete block drilled with holes as the base and blew with a leaf blower into the cavity. It's the ****. Definitely needed more cow bell.


trim to shape


and a glimpse of what it will look like when handled. I can start grinding the bevels next week.
 
it's a fun process. More like a stumble-through.
Next four day schedule:
day 1 - grind bevels tonight, add makers mark
day 2 - weather permitting, heat treat tomorrow (sacrifice goat to heat treat gods),
day 3 - finish edge, ferric chloride bath and initial polish,
day 4 - finish polish and fit handle.
Thanks for doing this great walkthrough!
 
Initial grinding complete with touch mark. 1084 abrades much faster than D2.


I find this to be a much better version than my first touch mark on my honesuki. Better proportioned.
 
Shiza. Just realized I need to normalize this before applying the clay. Ok, almost got ahead of myself.
 
Cool :) The good thing is you realised that before you qunched the blade :)

May I ask what tool/technique you use to put your mark on the blade? Arguably, it is not my main issue in the knifemaking at the moment, but eventually I may want to put some sort of mark on the blade and so I am curios about how that can be done.


I made two chisels from D2 for my honesuki project.
 
Back
Top