Pizza dough - Thin and traditional

Kitchen Knife Forums

Help Support Kitchen Knife Forums:

This site may earn a commission from merchant affiliate links, including eBay, Amazon, and others.

PieMan

Well-Known Member
Joined
Jul 6, 2016
Messages
78
Reaction score
0
Hi all,

I'm quite competent at making thick, deep pan pizza bases, but my wife is starting to complain about her arse so i'm trying to slim things down with everything I make.

Anyway, is there a traditional recipe out there that works for you? One I can have some fun throwing the dough up in the air, and perhaps practising/failing miserably that too.

I'm assuming they're no good for a skillet, so i'll go grab a stone while i'm at it...
 
I have two I use.

http://www.taste.com.au/recipes/14433/pizza+dough


[video=youtube;1-SJGQ2HLp8]https://www.youtube.com/watch?v=1-SJGQ2HLp8[/video]

I have only just started to use the second one (trying to cut out the sugar cause I can)....

I cook with a pizza stone which does a reasonable job of getting the pizza nice and crispy (well as good as you will get without a proper wood pizza oven imo).

Just roll it out nice and thin (like approx 1-2mm).
 
Hey nice one, I grew up in Red Hill. Just off Manuka.
 
No worries.

Cool, I am a Brissie boy, but moved down here 5 and a half years ago now.
 
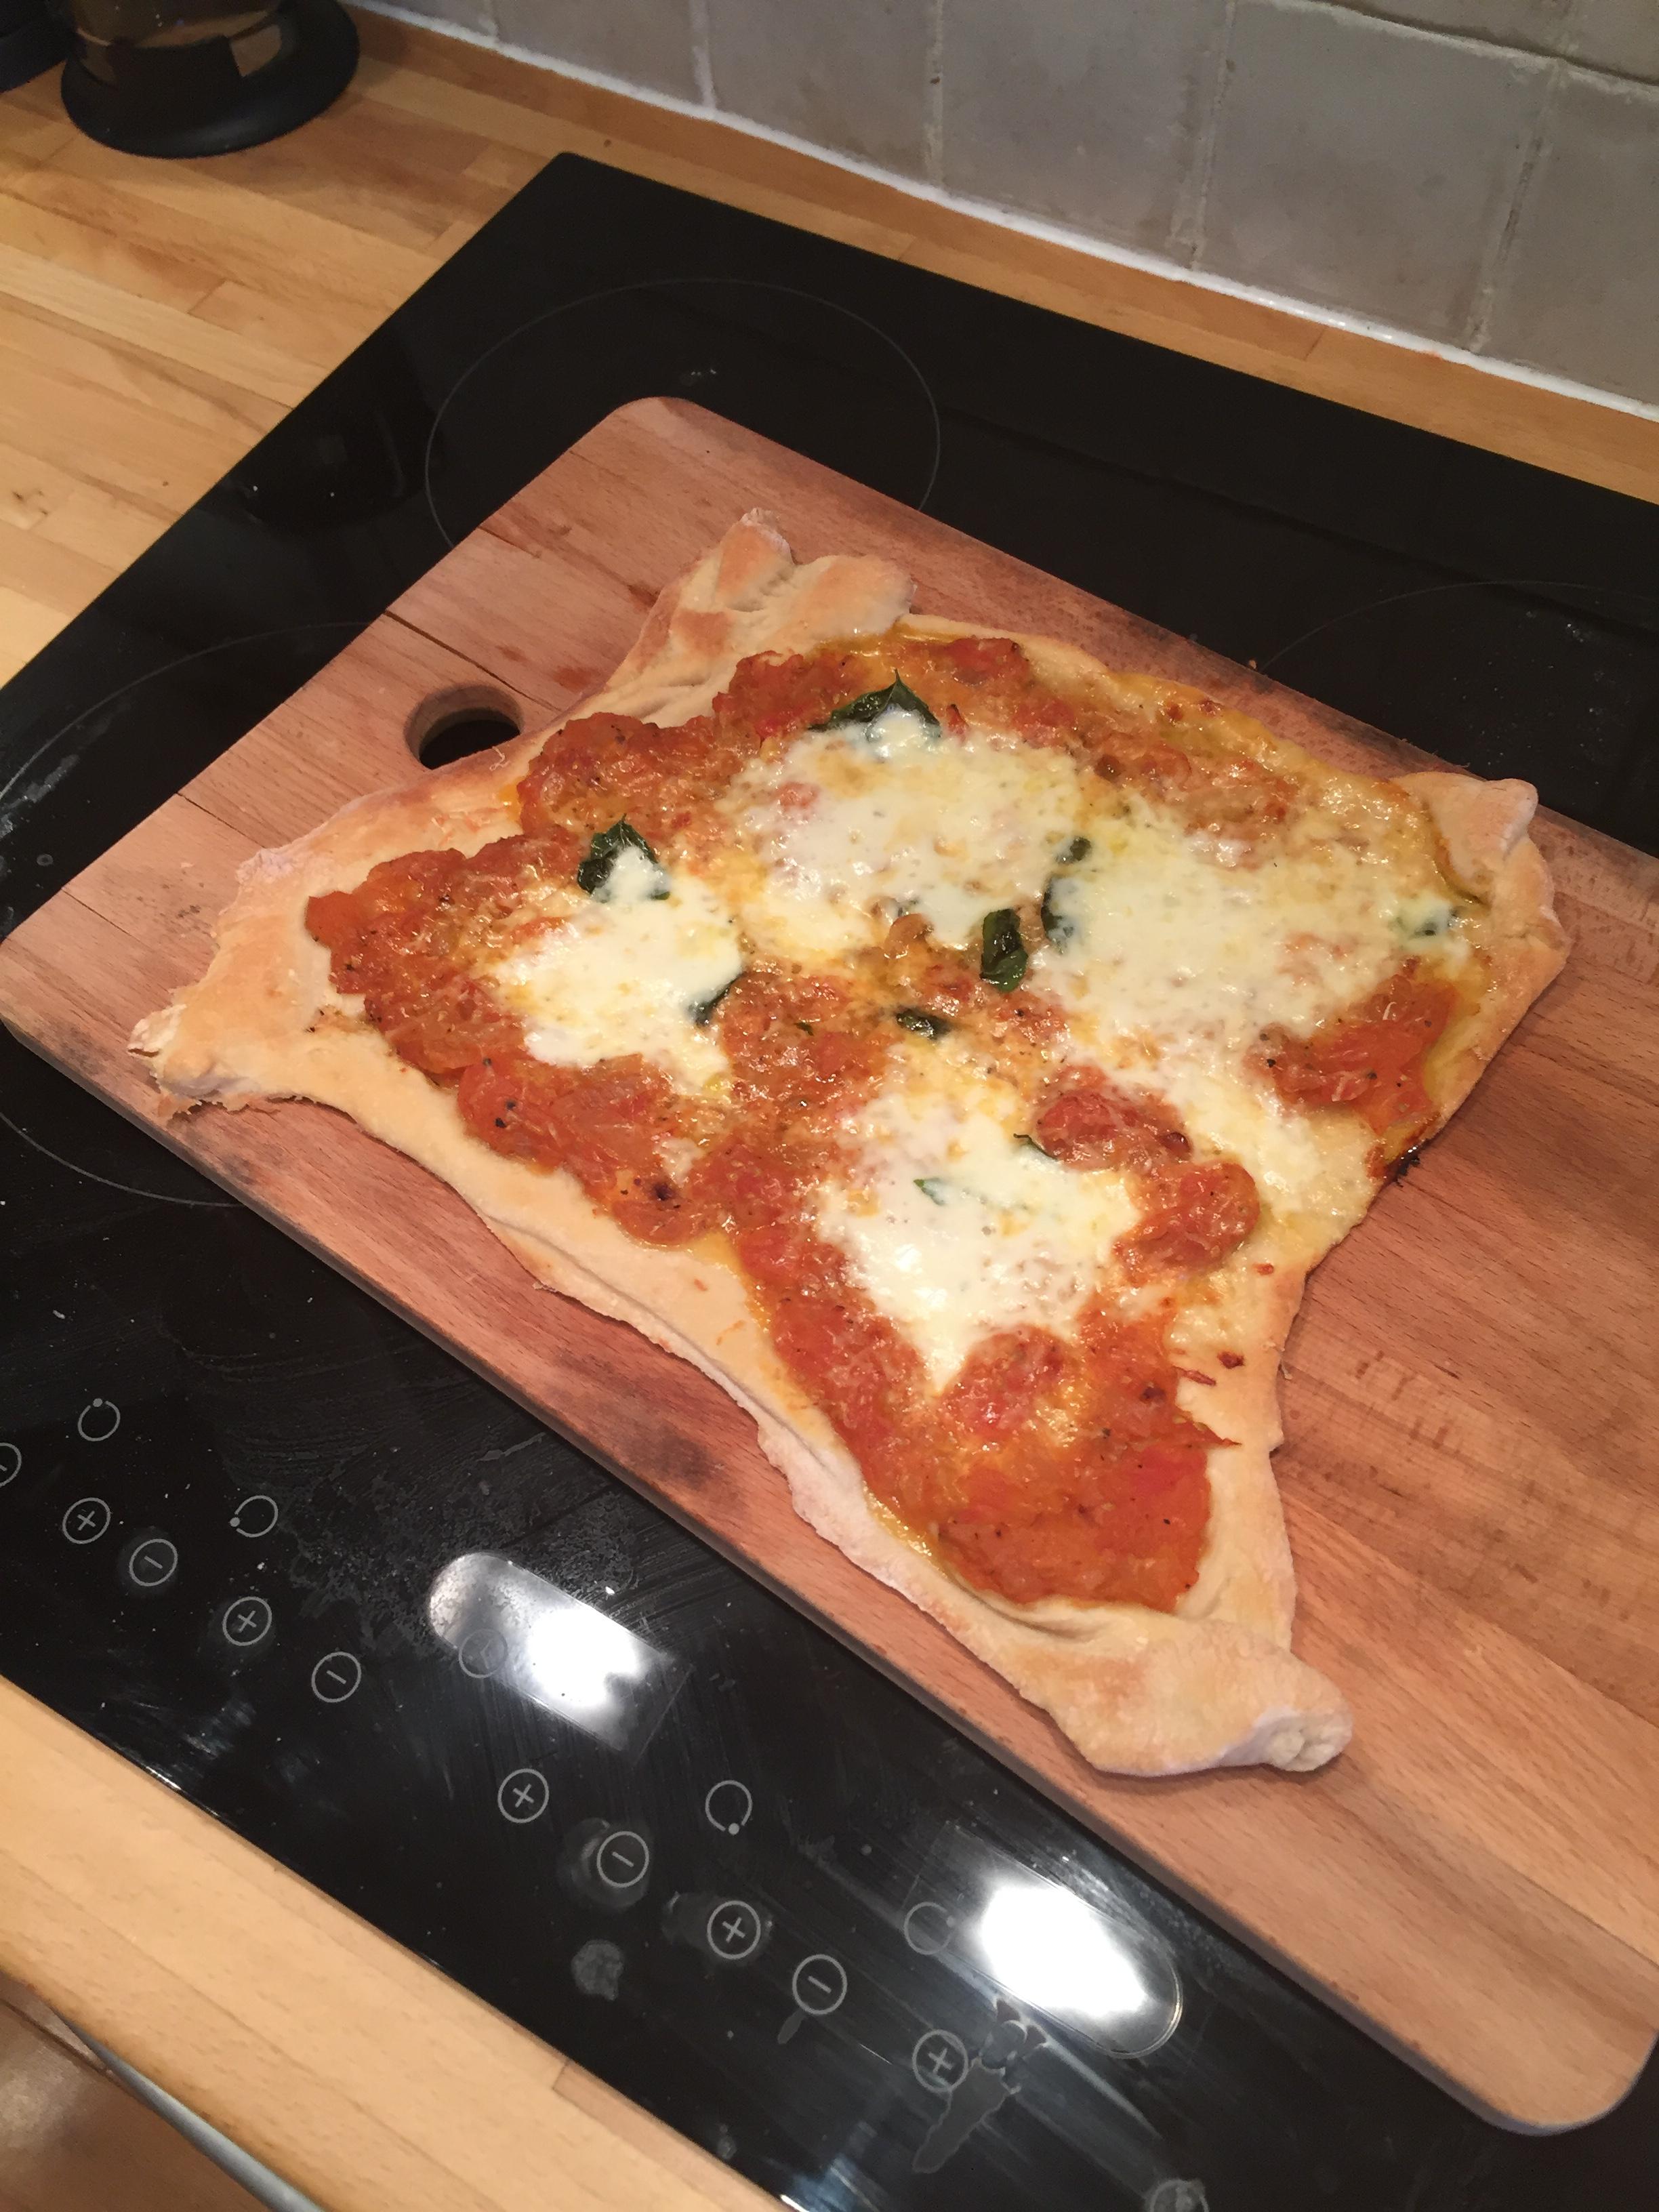
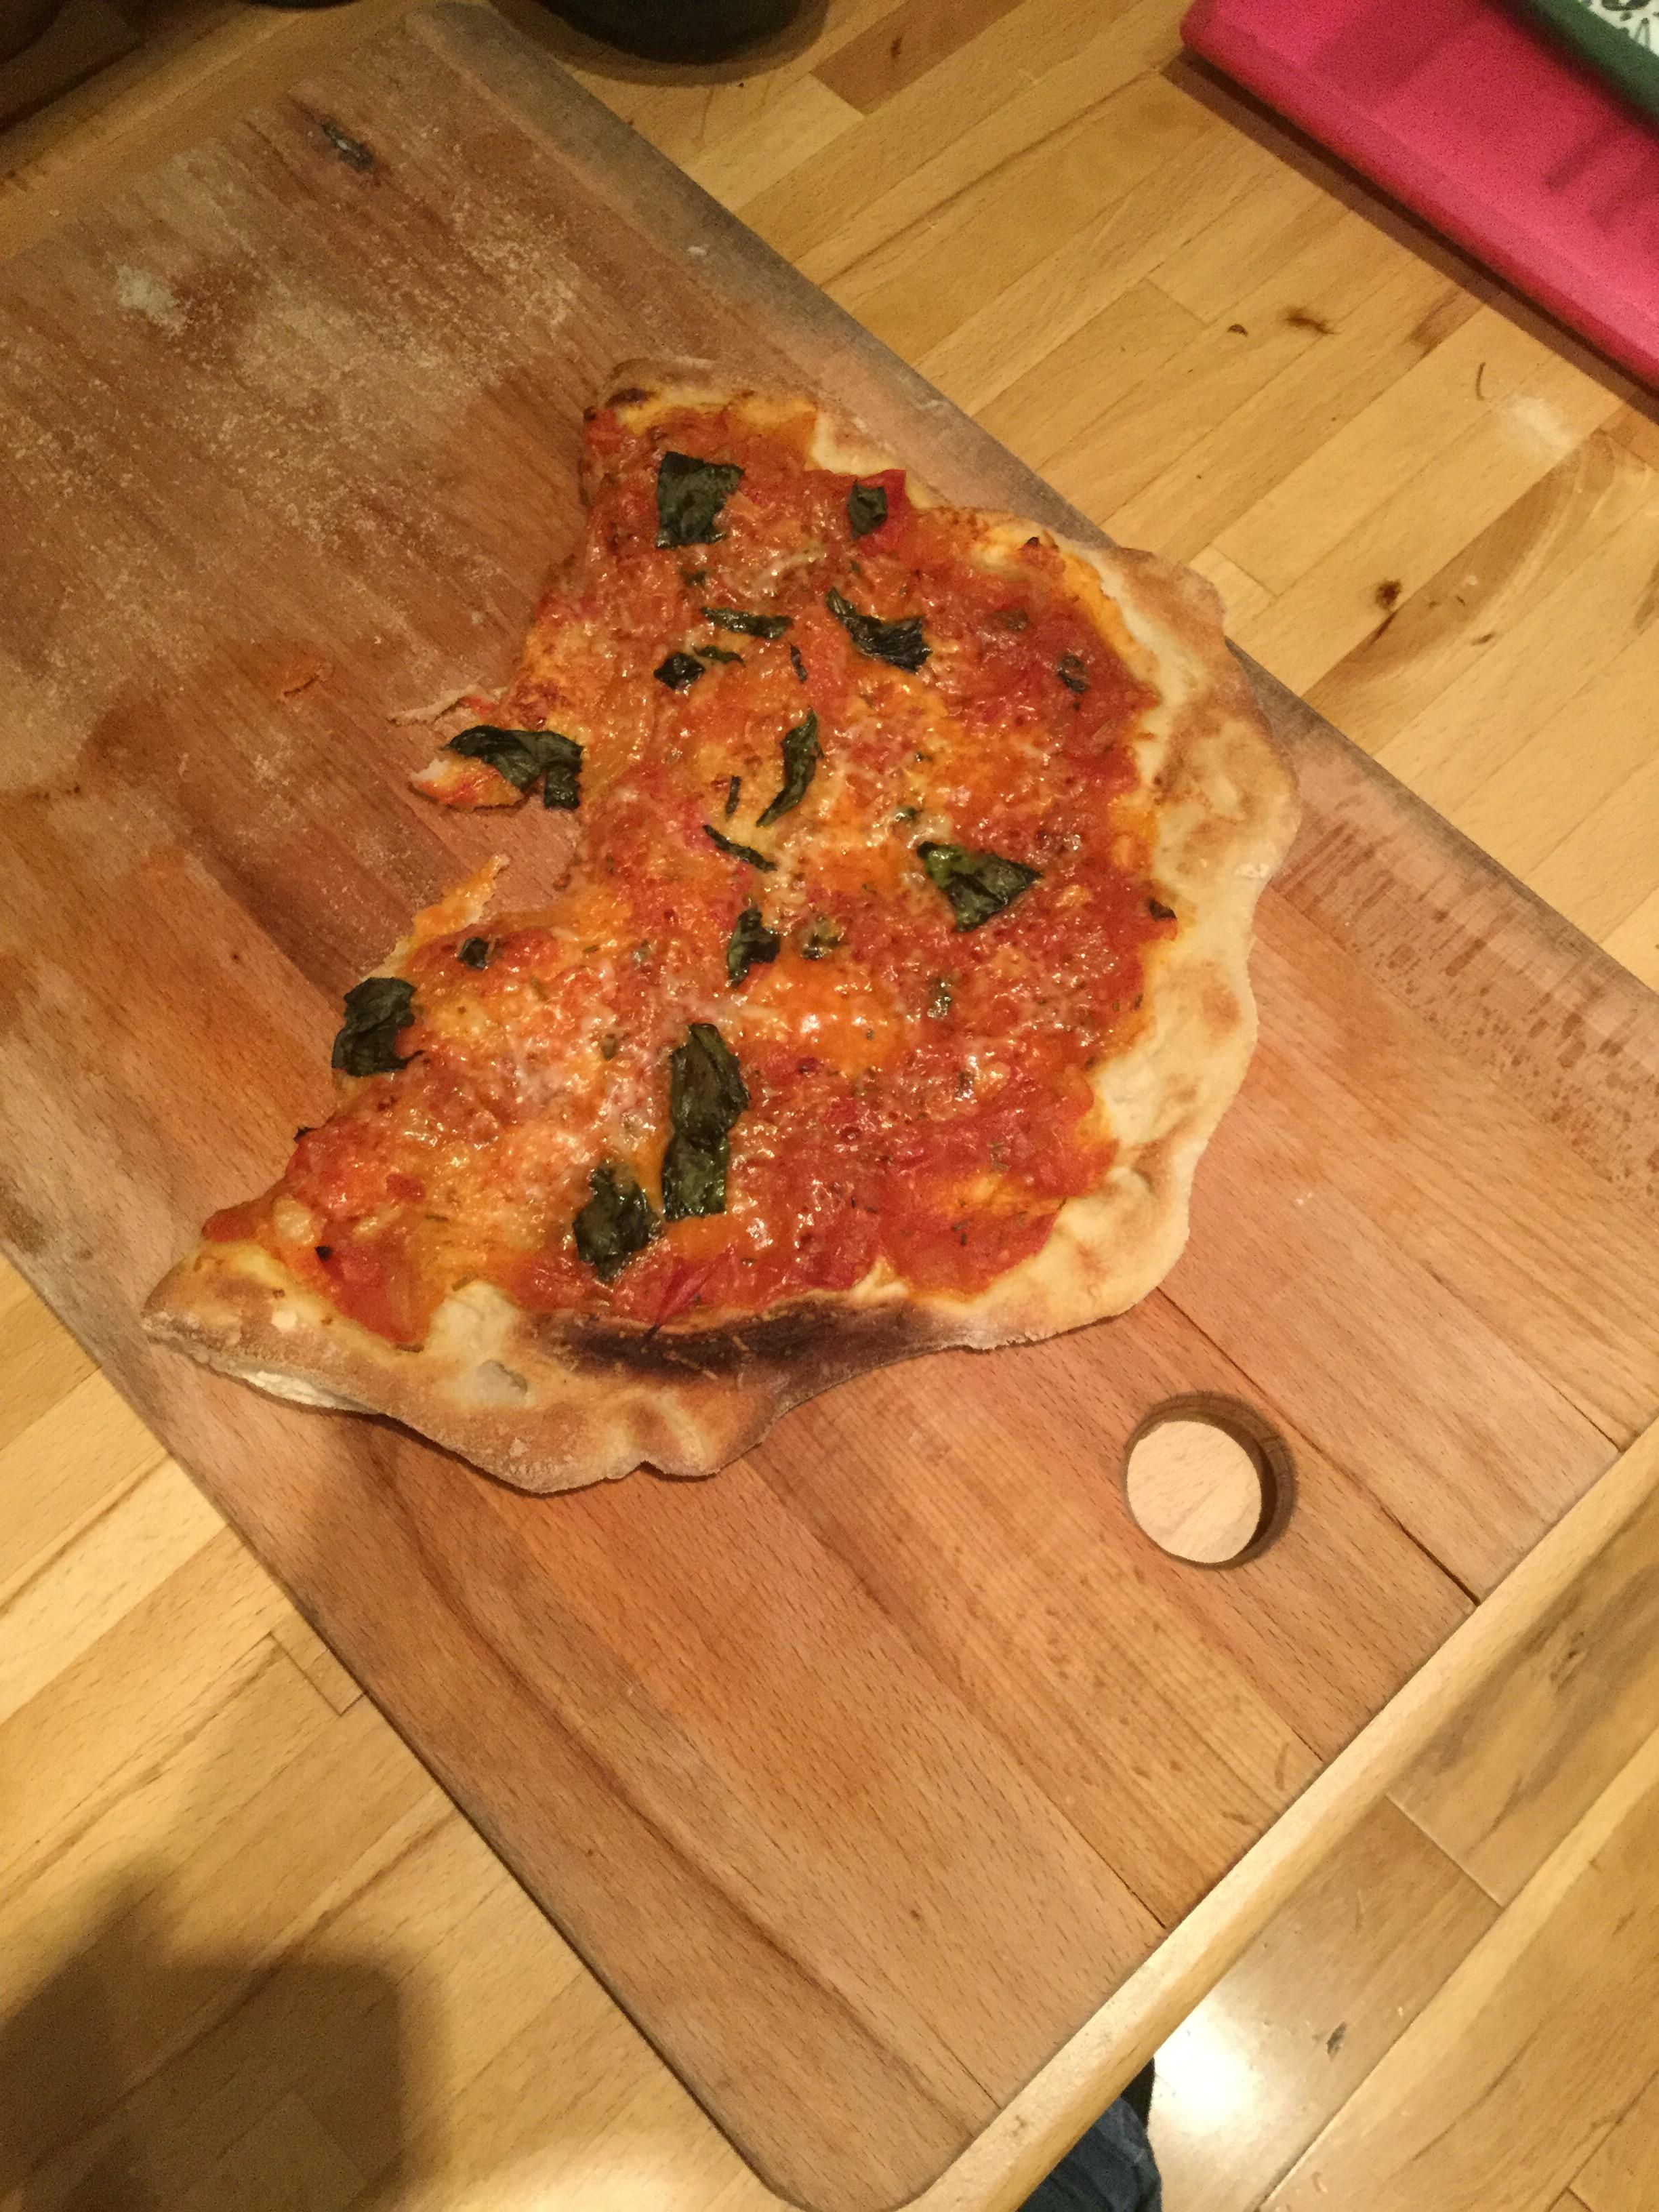
Attempt 1:

aNsU9n4.jpg


Didn't have a way or transferring the pizza from bench to stone, hence the circle went a bit, well....

Oh well. Tastes good. Base is a bit floury. Only the first once i've made so of course it won't be perfect.

This one is is tomato, basil, emmental and mozzarella.
 
[video=youtube;gijjMJiR_q0]https://www.youtube.com/watch?v=gijjMJiR_q0[/video]
[video=youtube;LcD999Ci78E]https://www.youtube.com/watch?v=LcD999Ci78E[/video]
[video=youtube;0v-AvmmyFFM]https://www.youtube.com/watch?v=0v-AvmmyFFM[/video]

Also getting a pizza peel will help a lot in transferring it; I also enjoy Roberta's dough recipe with the sourdough starter if you feel inclined to try it.
 
Interesting. I'll try toasting the flour up for tomorrows test for sure. Good to see the videos show how to handle the dough too, I mean dough is nothing new to me as i've always made my own pie dough, but handling without the aid of a dish or pan is what is killing me. Think i've rigged up a "ghetto peel" too.
 
A useful tip is to put maize flour on the stone to stop the dough sticking.

In Italy they often use a very fine semolina for this, but it's easier to find maize flour here in the UK
 
maizeflour.... cornflour? I live here but I still use Australian terminology.
 
I use semolina for that purpose and it works great. I tend to think it also aids crisping up the base
 
maizeflour.... cornflour? I live here but I still use Australian terminology.

Yes, maize = corn but I used 'maize' because it's not cornflour like the stuff you use to thicken sauces.

It's ground corn but not so fine. I use one that is for tortillas etc (Pan brand, semi cooked, from Colombia).

It is more fine than the stuff I can get for making polenta (which doesn't do such a great job).
 
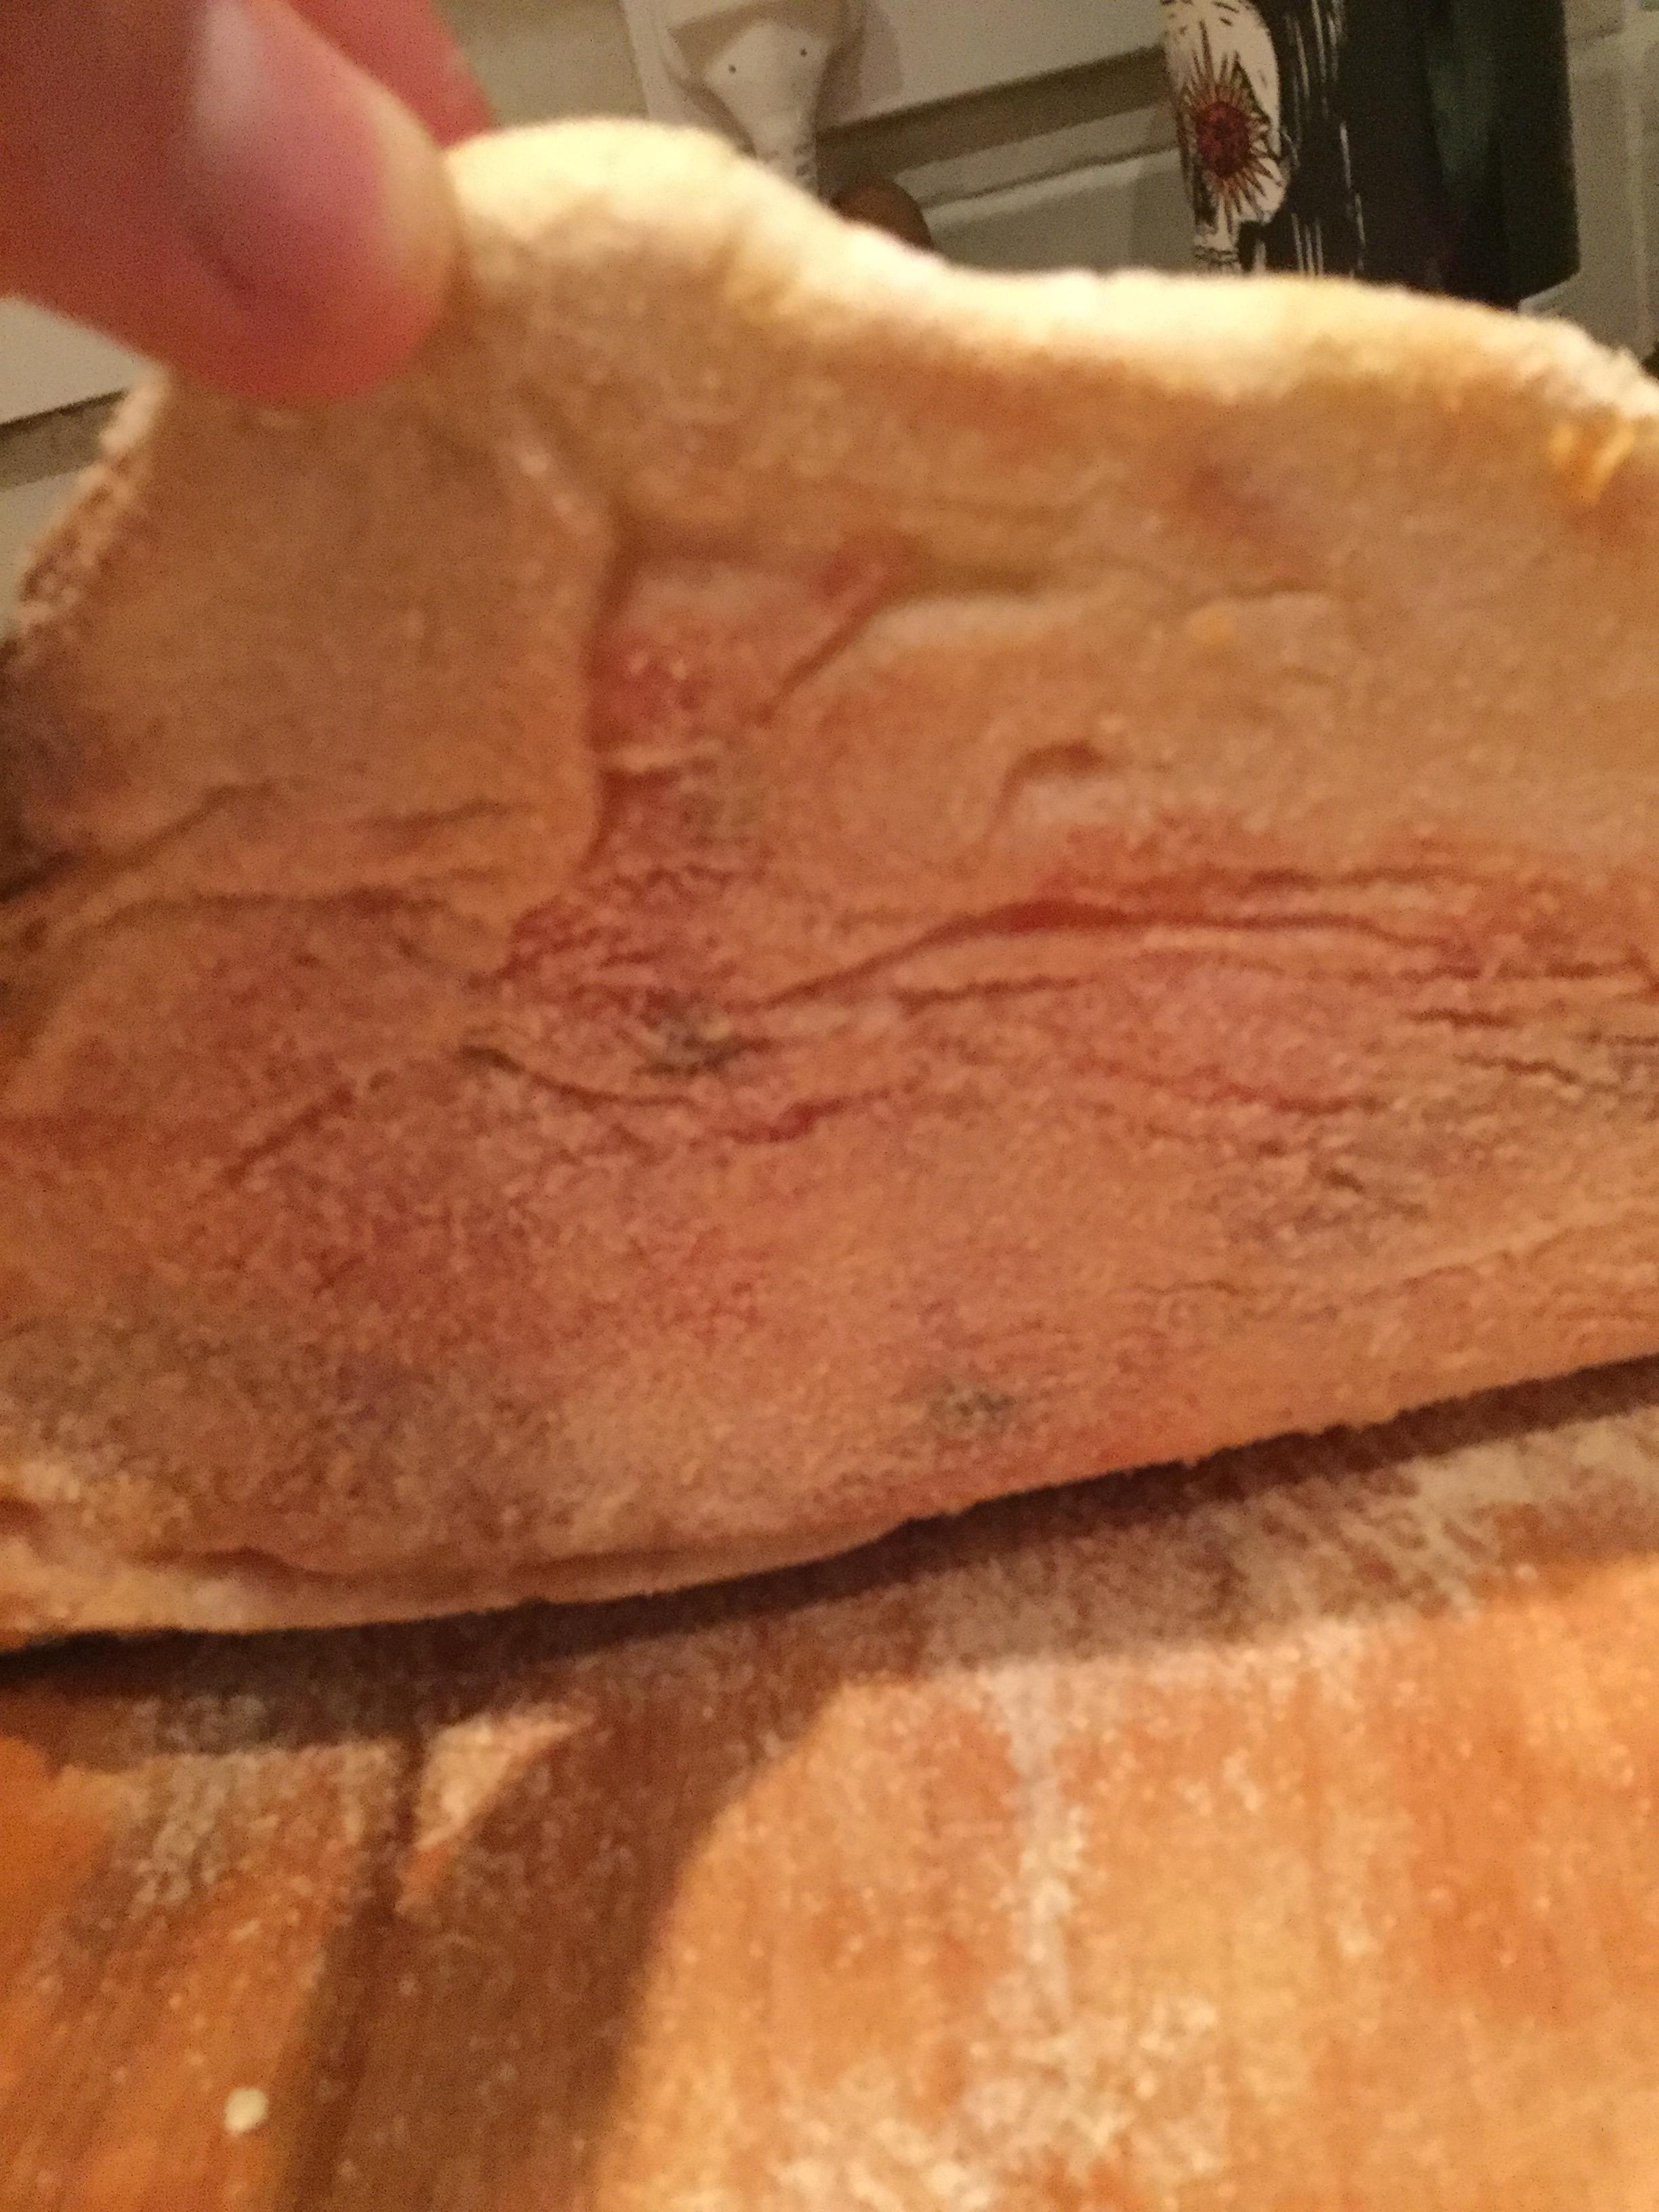
This is the same batch of dough as the original one.

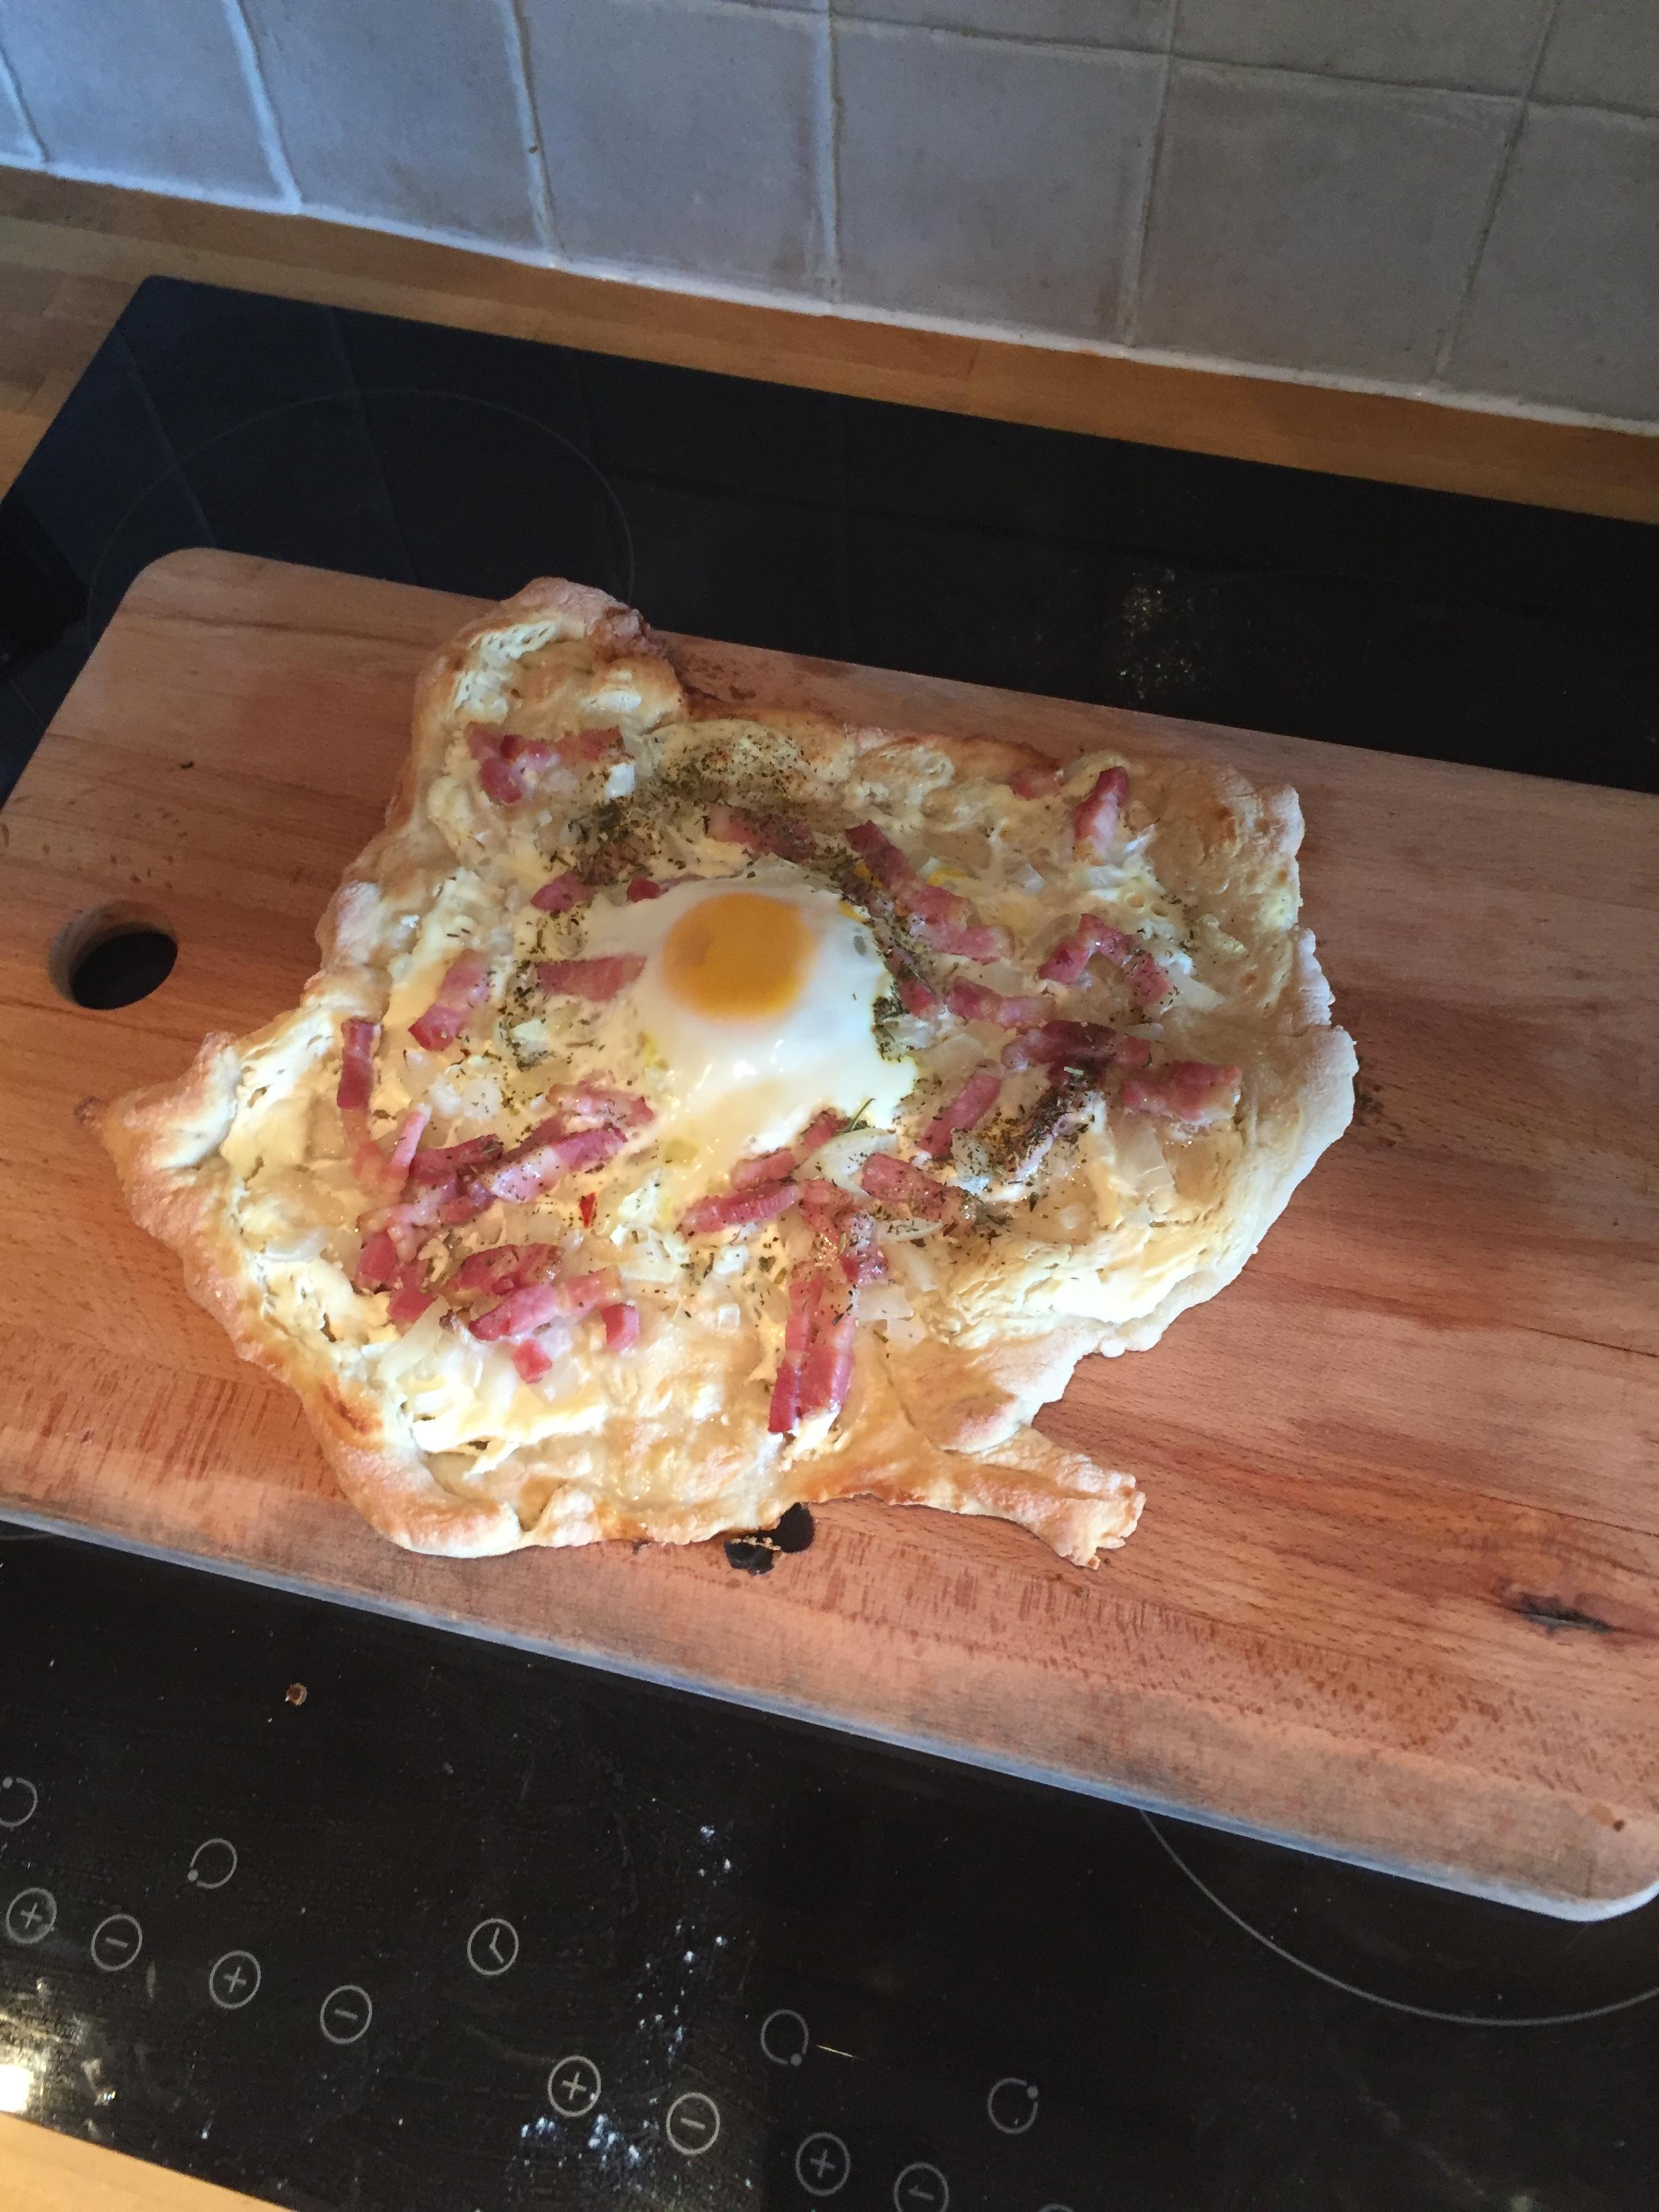
Complete failure.

1) Leaving the pastry in the fridge let it dry out way too much, as I forgot to use a damp towel or oil the dough to trap moisture, which made it painful to try and pull as it wasn't elastic enough, and made the resulting pizza crispy and dry.
2) I over roasted the flour and used too much, resulting it way too much flour (Will try semolina or maize flour once I buy some)

Td2T5AF.jpg


This ugly thing was Creme Fraiche, Bacon Lardon, Provincial Herbs and an egg for good measure.

Toppings were ace, dough was not. On to the next test!
 
Ageing the dough may also have exhausted the food supply for the yeasts.
 
Lately I have been using this one or a variation of such depending on how much hydration I want to run with. I use a stone at 550F warmed up for 1/2 an hour to an hour. I have definitely found that the dough develops its best flavor between 3-5 days in the fridge.
http://www.pizzamaking.com/forum/index.php/topic,2175.msg19124.html#msg19124

The recipe at this link draws from Jeff Varasano's recipe (the basis for crust at our house.) Varasano's instructions are here with pictures and a lot of interesting information.

+1 on leaving the dough in the fridge improving the flavor.

We've also found it works pretty well to make multiple batches at once and freeze the ones you aren't using right away (right after they've been kneaded.) Let thaw in the fridge and give it a few days to let the flavor develop and off you go.
 
When you put the dough in the fridge covering with plastic wrap will be enough to stop the dough drying out. You don't need to oil the top of use a damp towel.
 
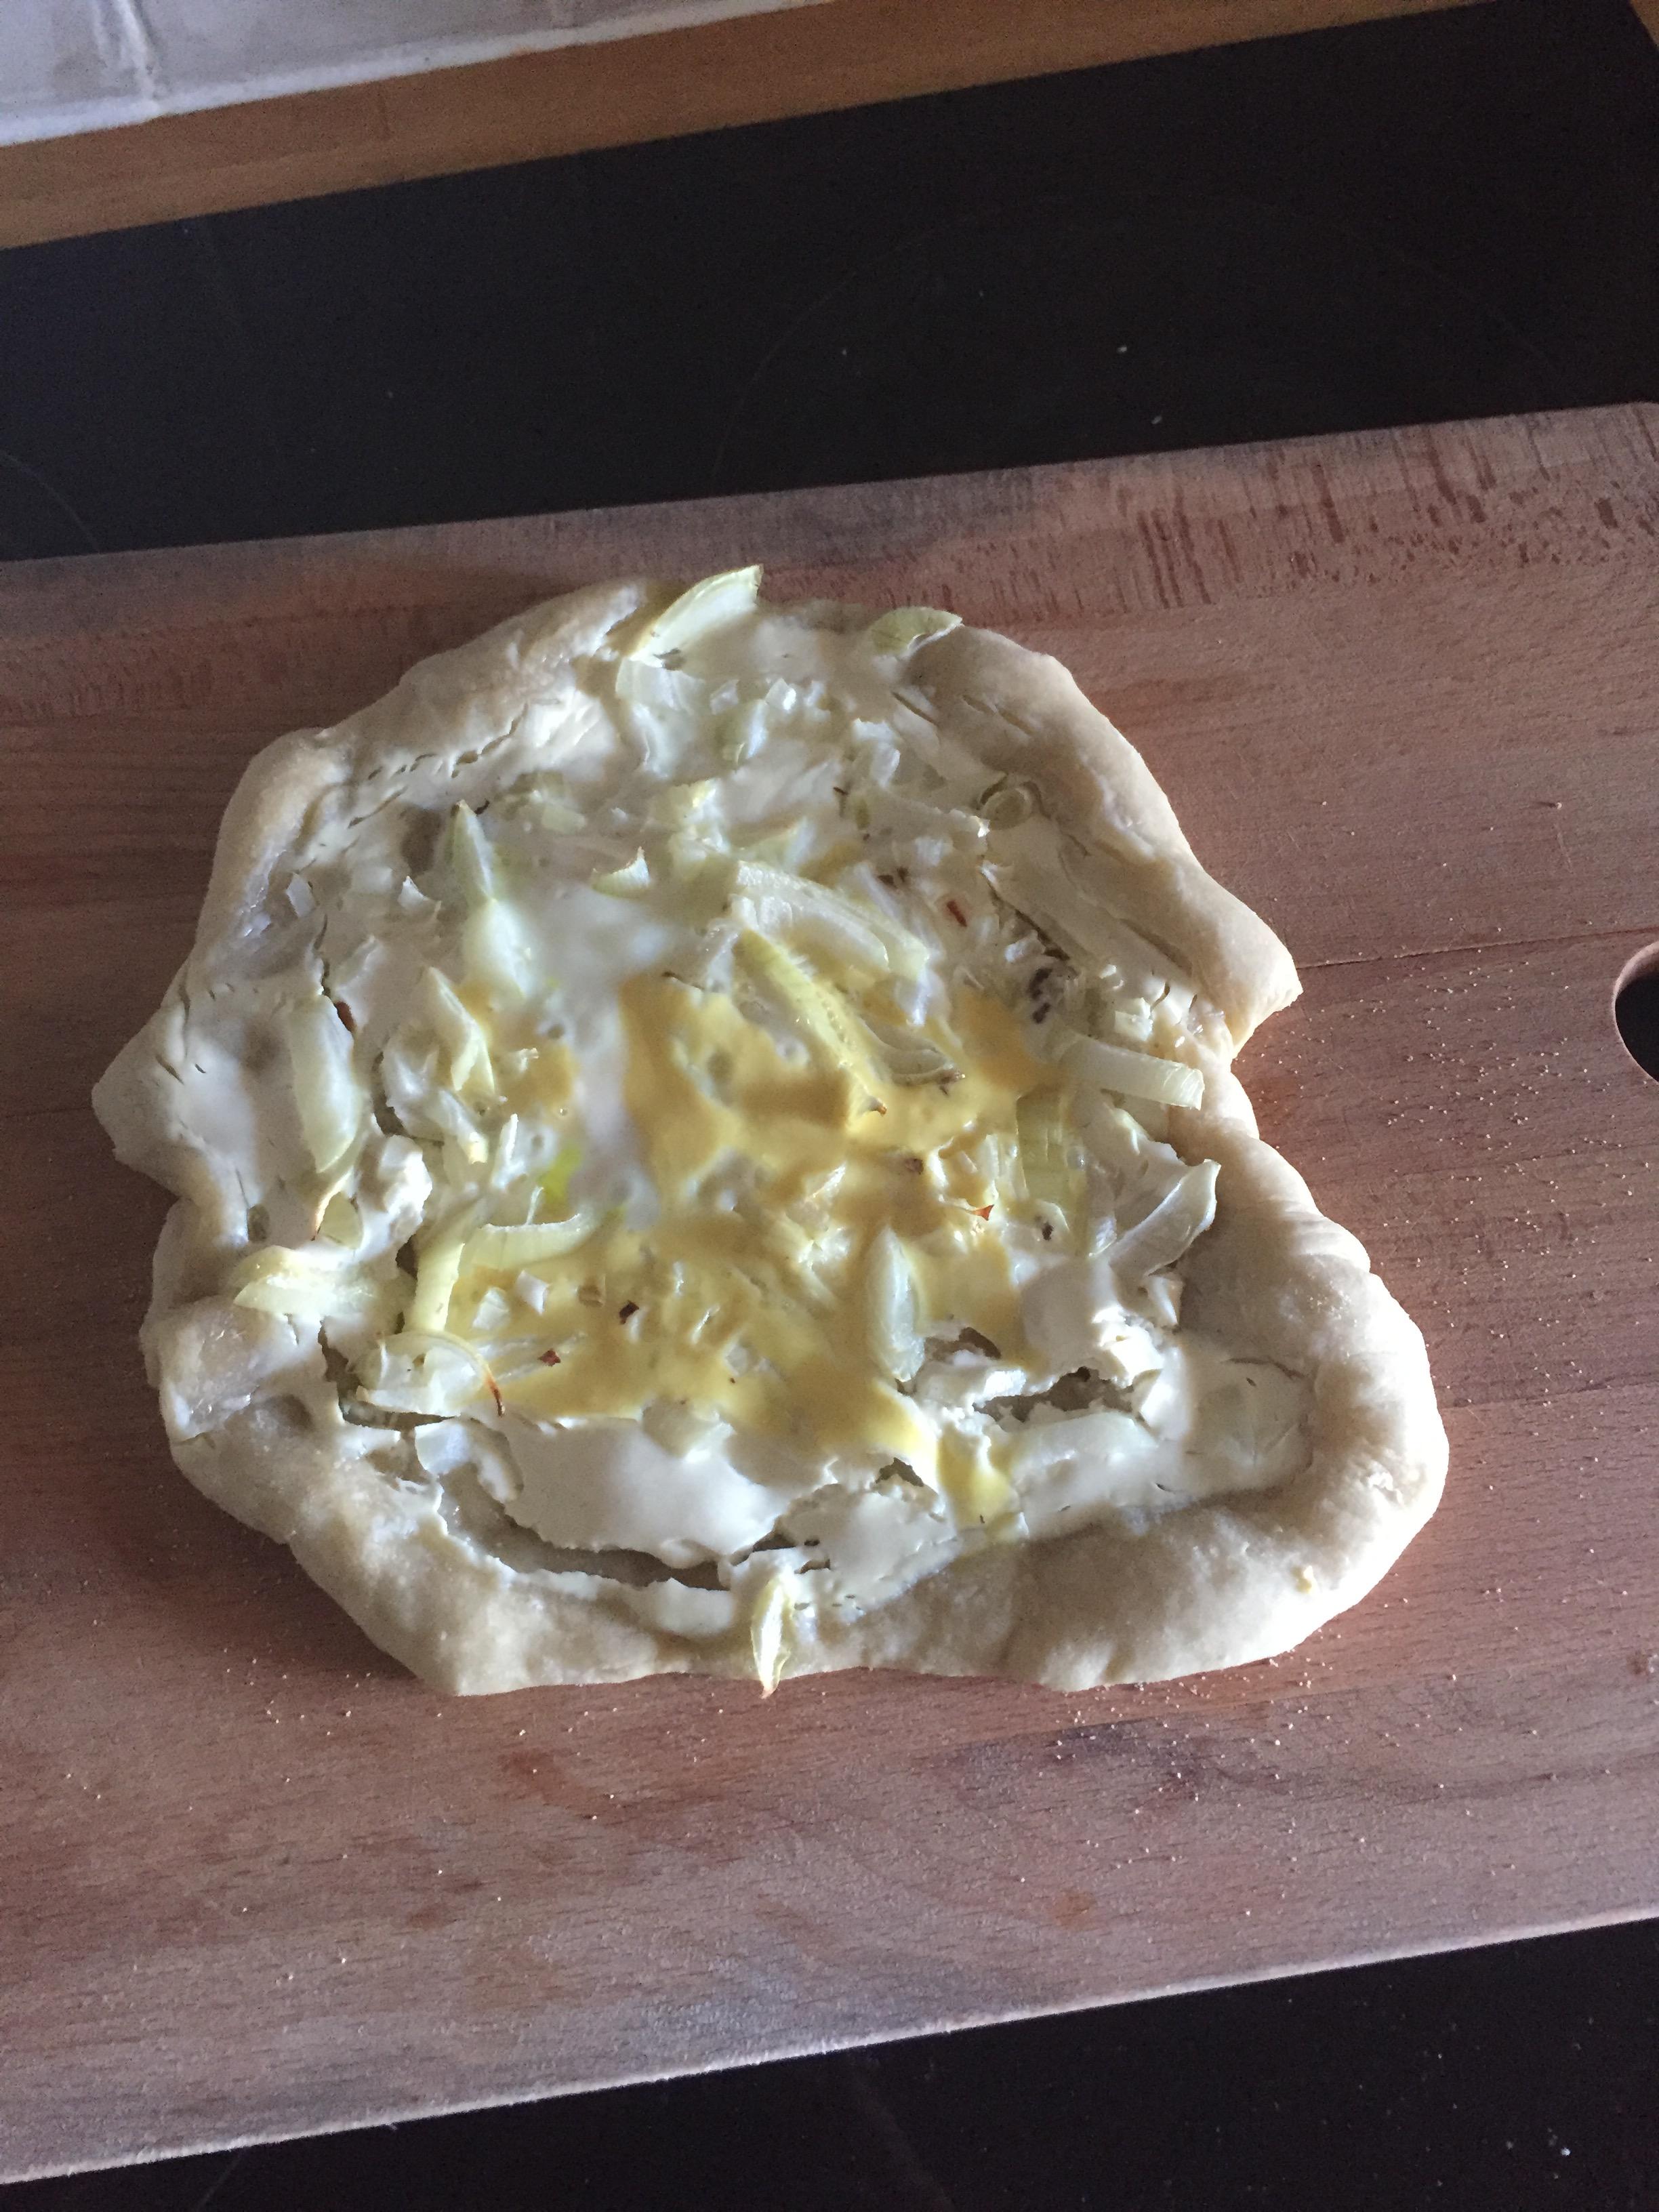
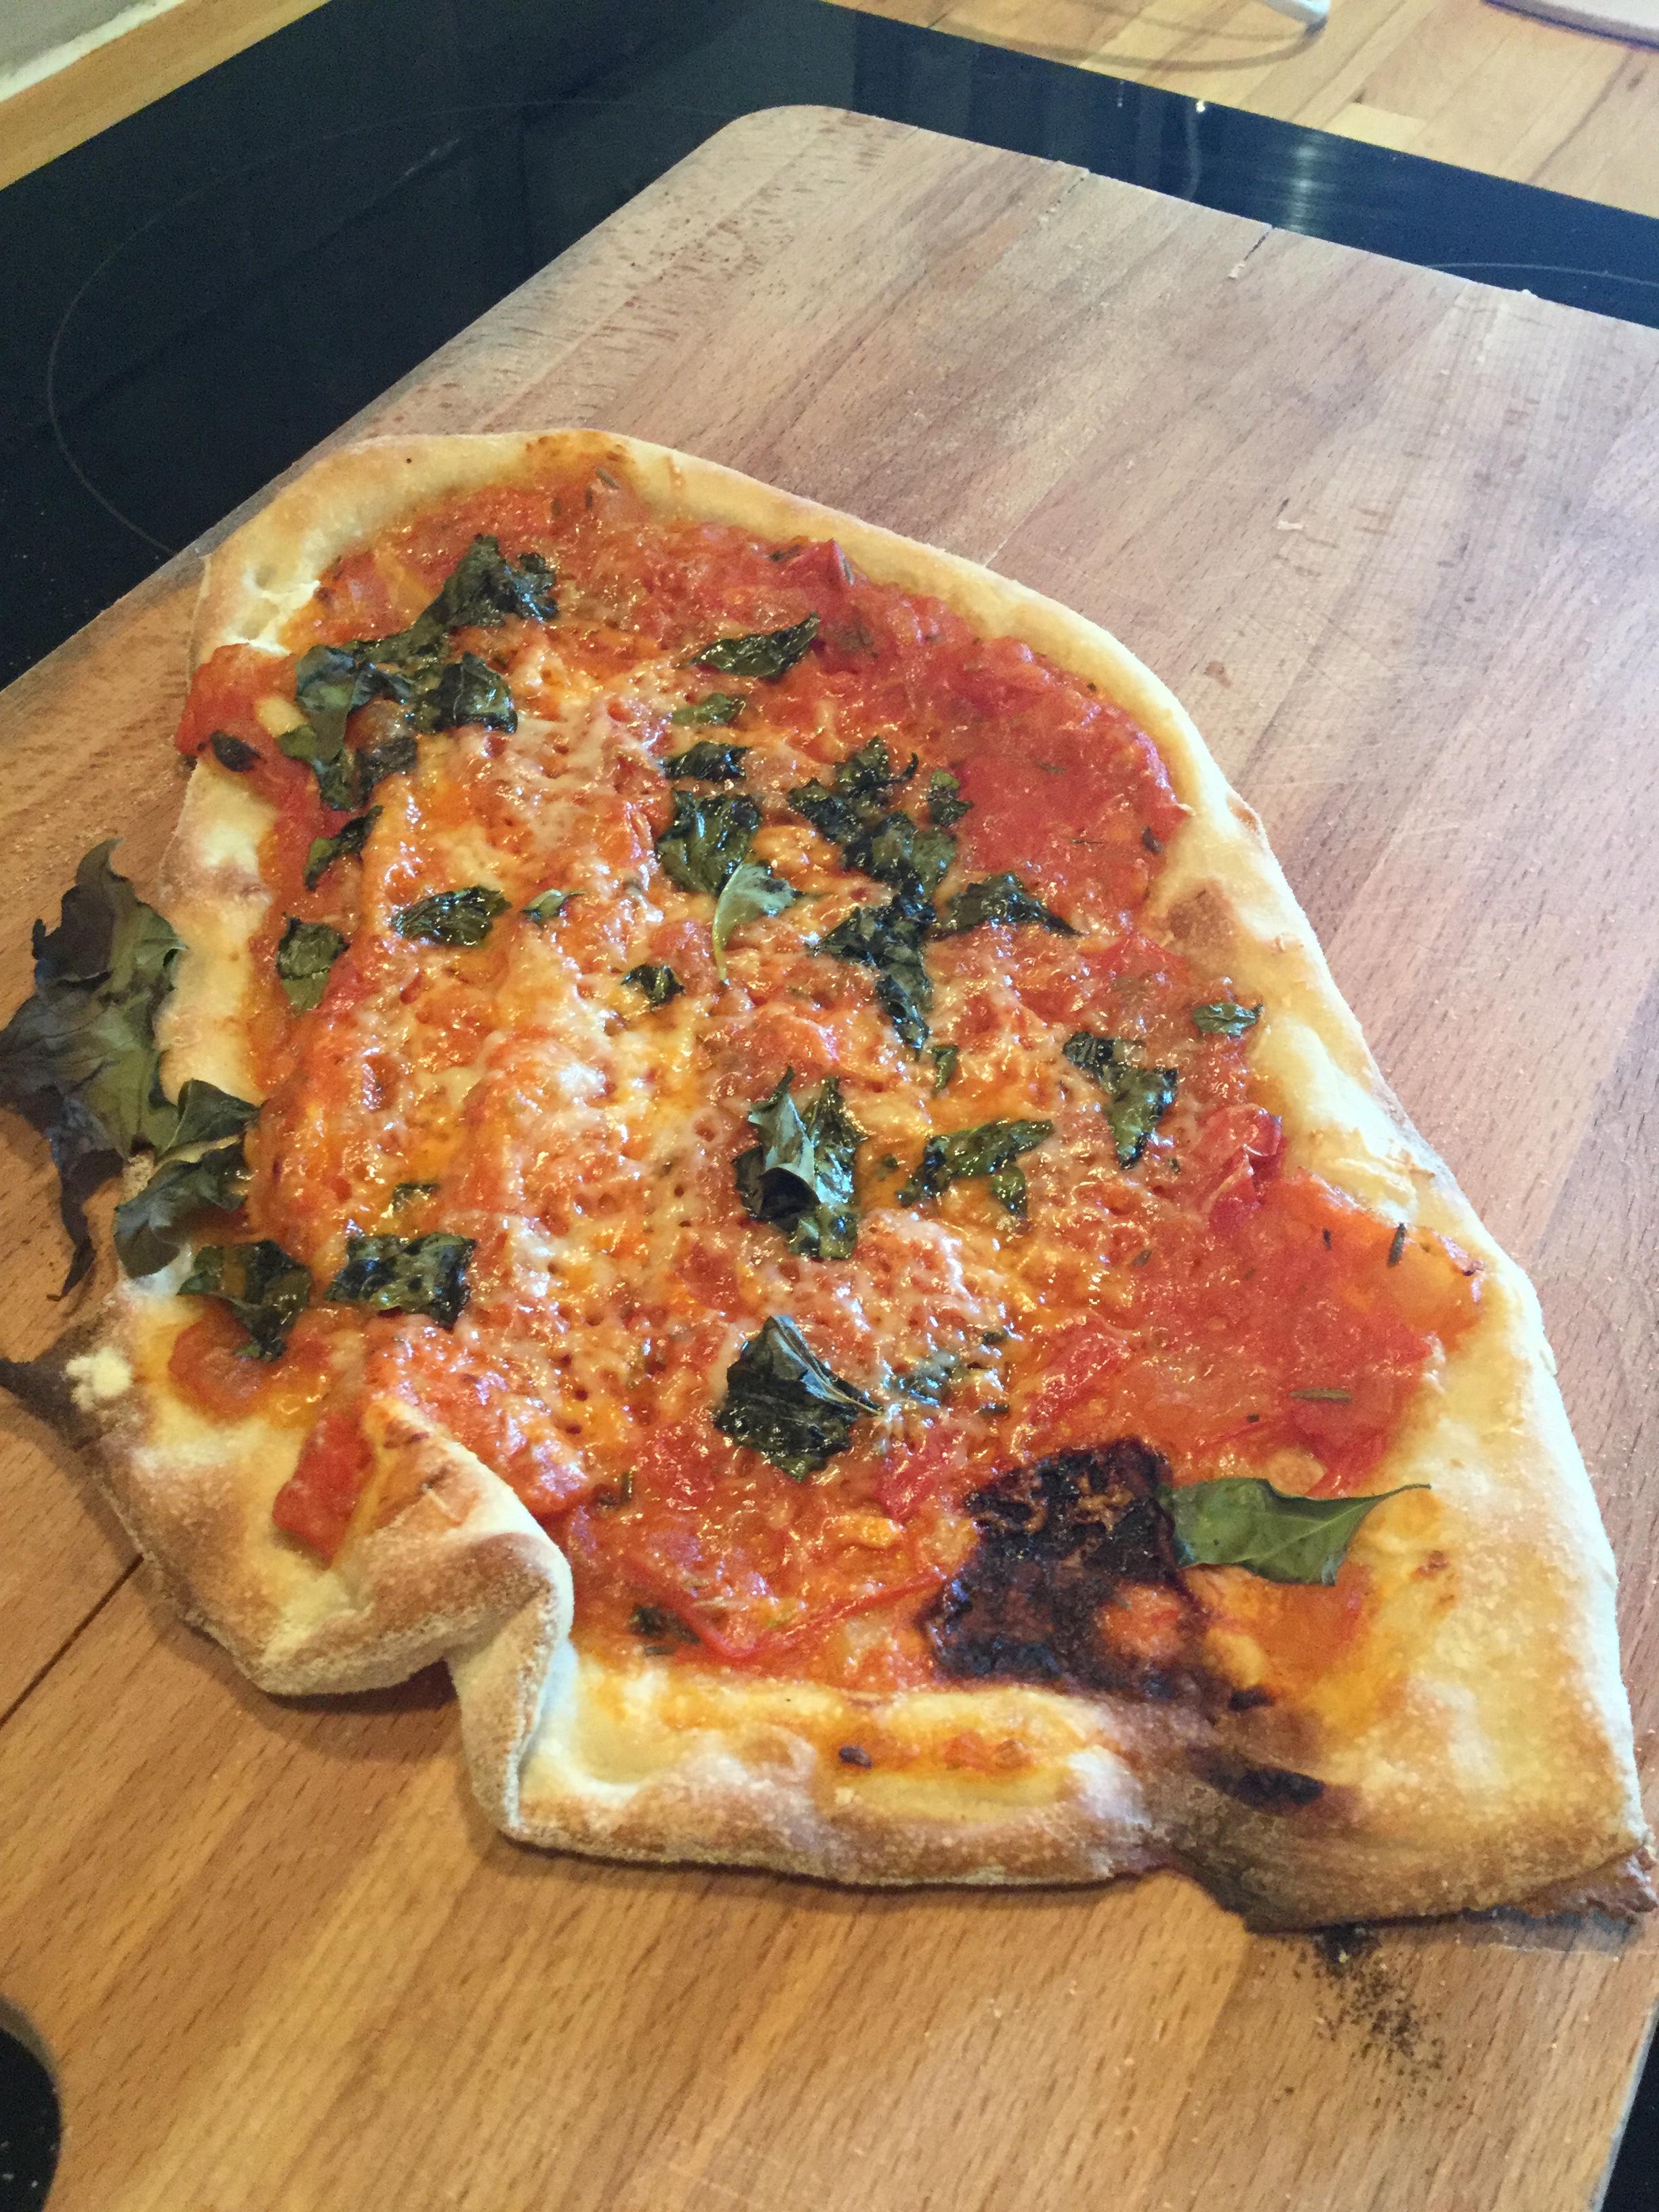
Take 3. I was happy with the dough, ruined trying to transfer it. Ended up baking on a tray on the stone rather than on the stone, and I turned the oven off once the pizza went in. Hmm. night turn the grill on next time...

Cree Frais/Onion/Egg. Ran out of Lardon!

wkJidIm.jpg
 
Check out the books by Ken Forkish on Bread and Pizza. I found his recipes to be very reliable. It takes a little while to get the timing right since you need to let the dough ferment. His ratios and explanations about hydration of the dough really teach the building blocks of making dough. I found myself making the dough a few times but noticing that I needed to change ratios because of my location, the temperature of my house, and flour I used. So it gives you the tools to really explore.

If you don't have a pizza stone, I found that it really makes it easier to slide the pizza in and out with a peel. If you are using a cast iron pan, I found that turning it upside down and cooking the pizza on the bottom of the pan was easier with thin crusted pies. Obviously clean the bottom if it's gross.

Lastly, you need to super heat the pan using the broiler. Keep the temperature as high as possible on the bake/convection and then broil for a few minutes before you put the pizza in.

Hopefully that helps!
 
Once your dough is ready, form your pizza and top it with whatever you want on a piece of parchment paper. Slice a peel or upside down cookie sheet under the parchment paper and that will allow you transfer your pizza to the stone with no more issues. This works every time, trust me.

Pav85w.jpg
 
You are a ******* genius.

Anyway, number 4.

Finally the semolina and my cutting board, I made a ghetto-peel.

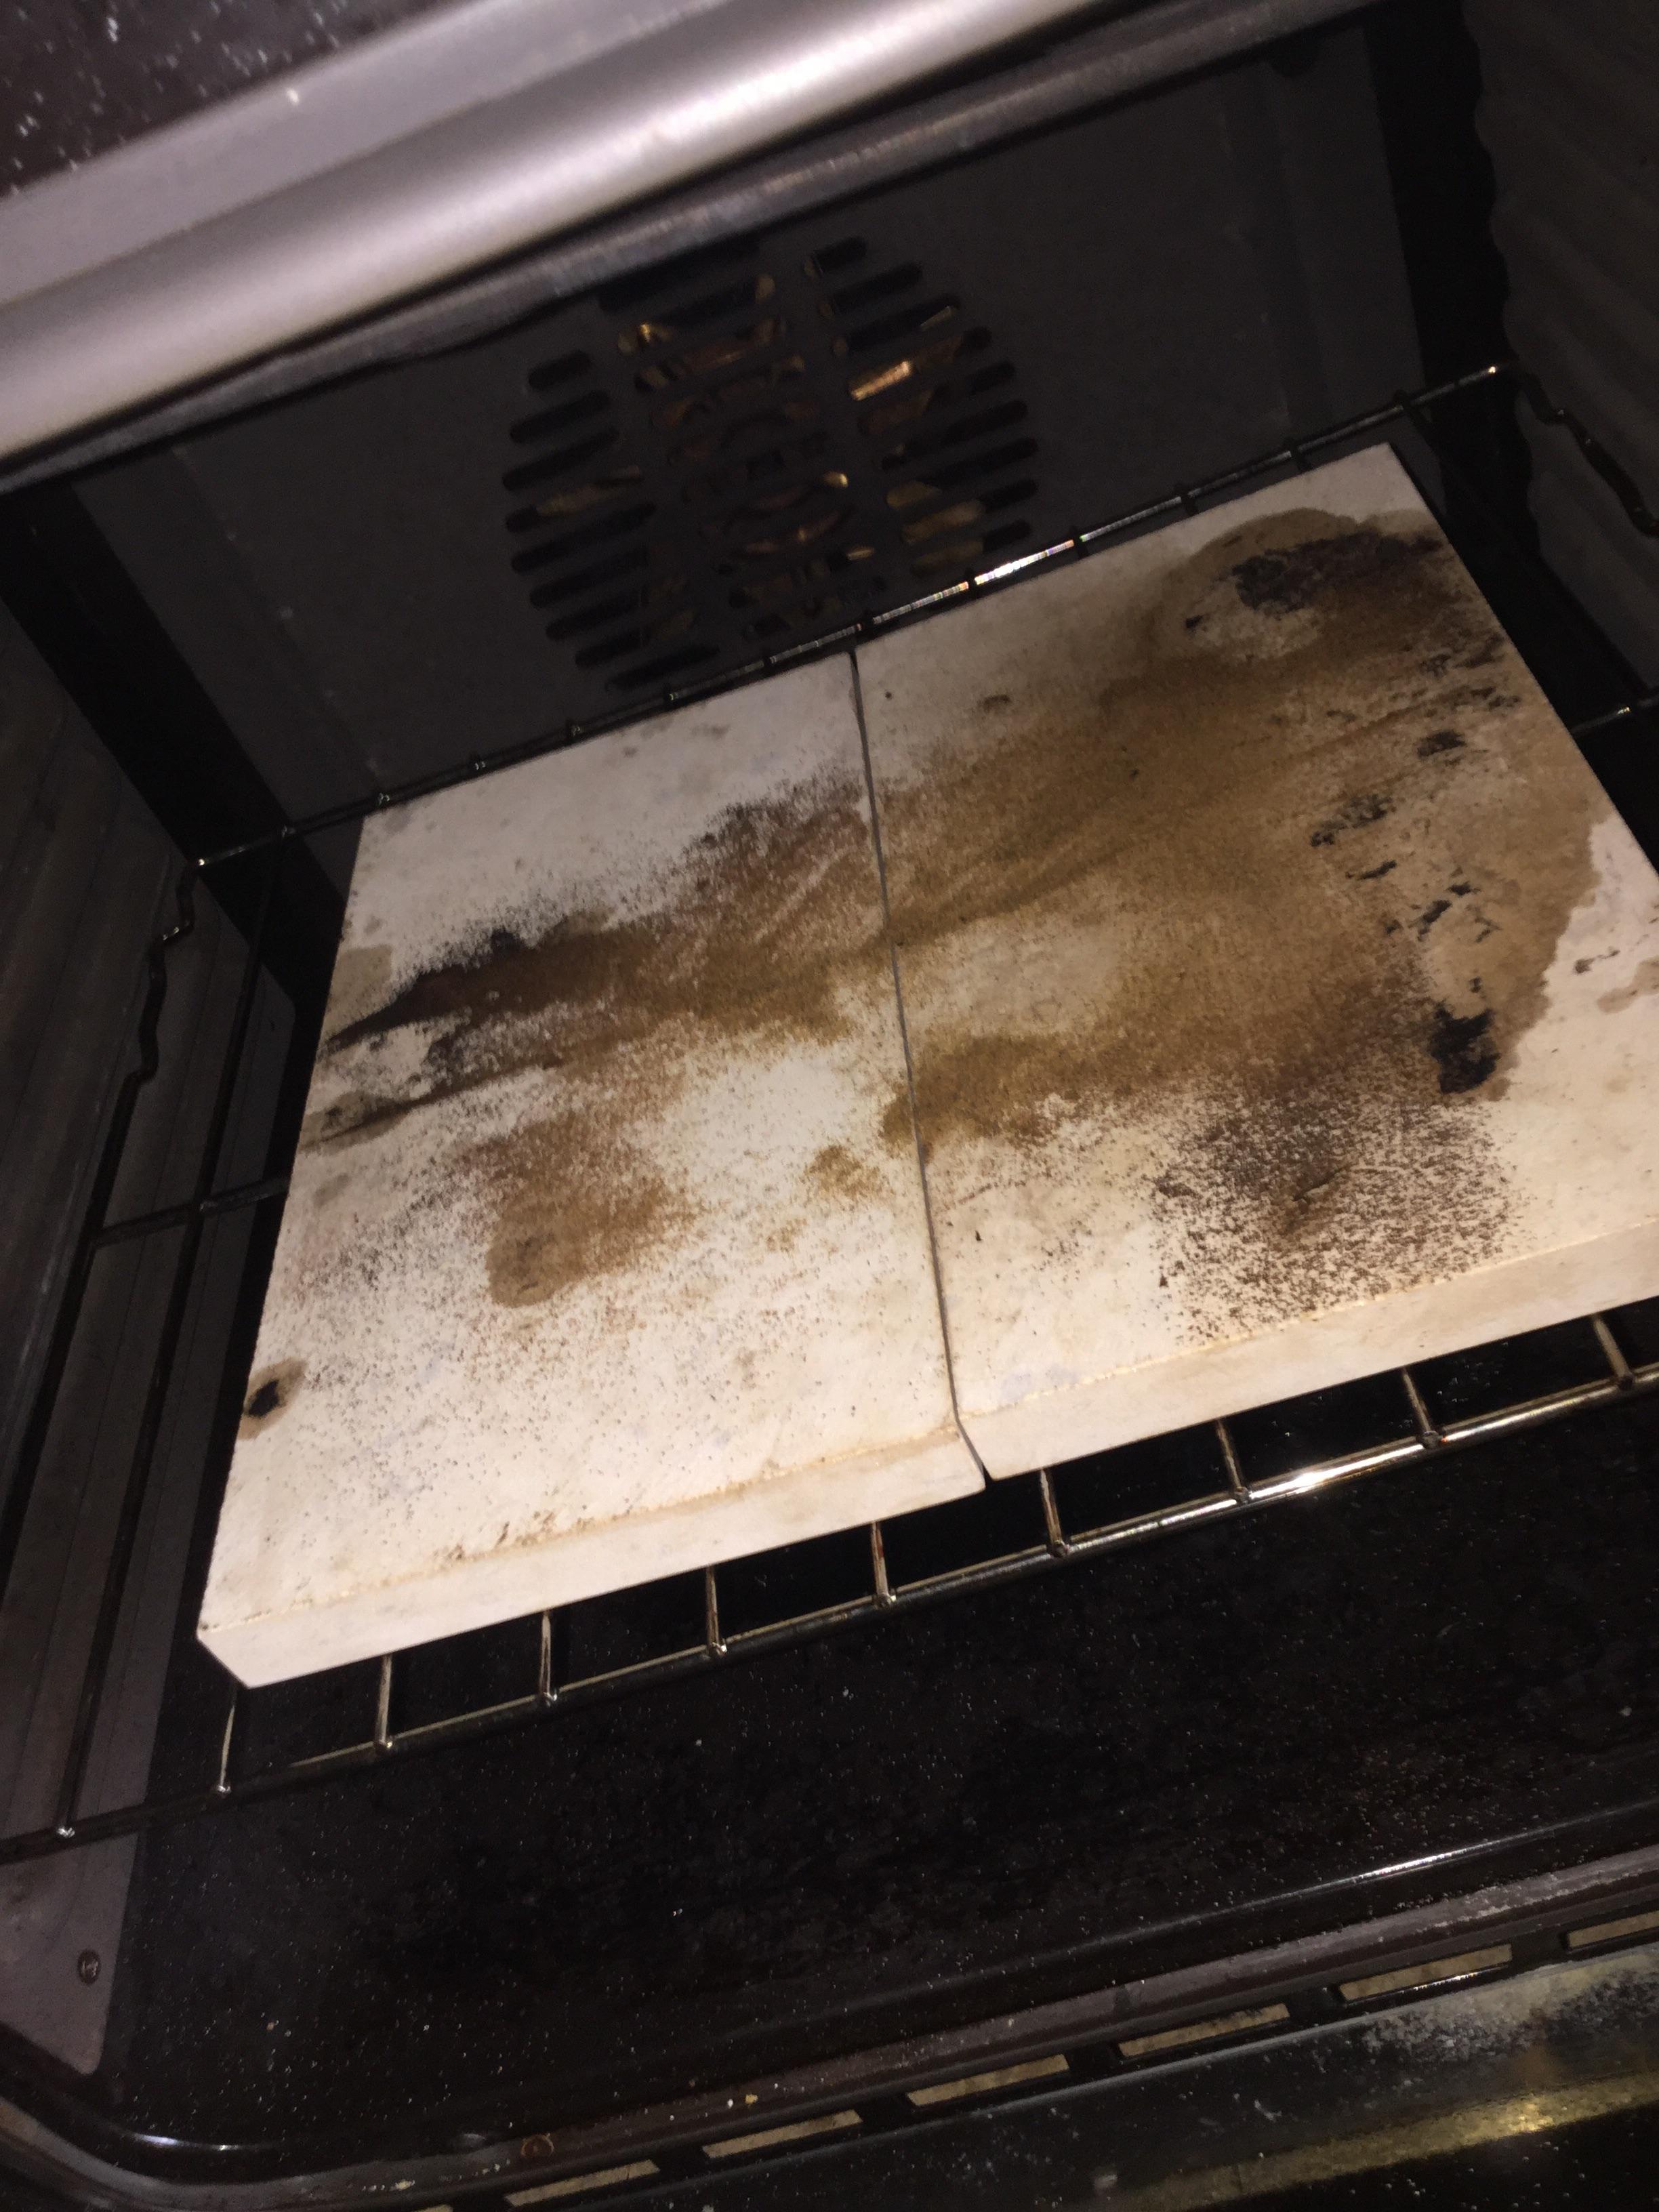
The missing side is still stuck, upside down to one of my pizza stones :rofl2:

At least it slid off this time.

gwpHLB4.jpg


American websites seem to put emphasis on the bottom side being all black? Dunno.

MkS8G8w.jpg


This one is my general goes-with-everything tomato sauce that I make, basil and emmental.
 
Errr, I mean that genius comment in the literal sense, i'm not being condescending, this whole transfer process has been really frustrating!
 
d0FdsoU.jpg


Number 5, same toppings as number 4. You can see how it landed not-flat on the stones. Problem was the smoke/steam hit me directly in the eyes as I was trying to jiggle the pizza off the rack and onto the stone.
 
thirty years ago I used to through pies for a living. I could hand make three a minute with toppings. One of the keys to getting your pizza off the board cleanly is having a dry board and dough. Also, once its on the board, move quick.

But if it looks like its going to catch on the edge, one thing you can do if lift up an edge and blow a little cloud of air underneath. Then carefully transport it to the stone and with a couple of quick wrist jerks, confidently slide that puppy into position.

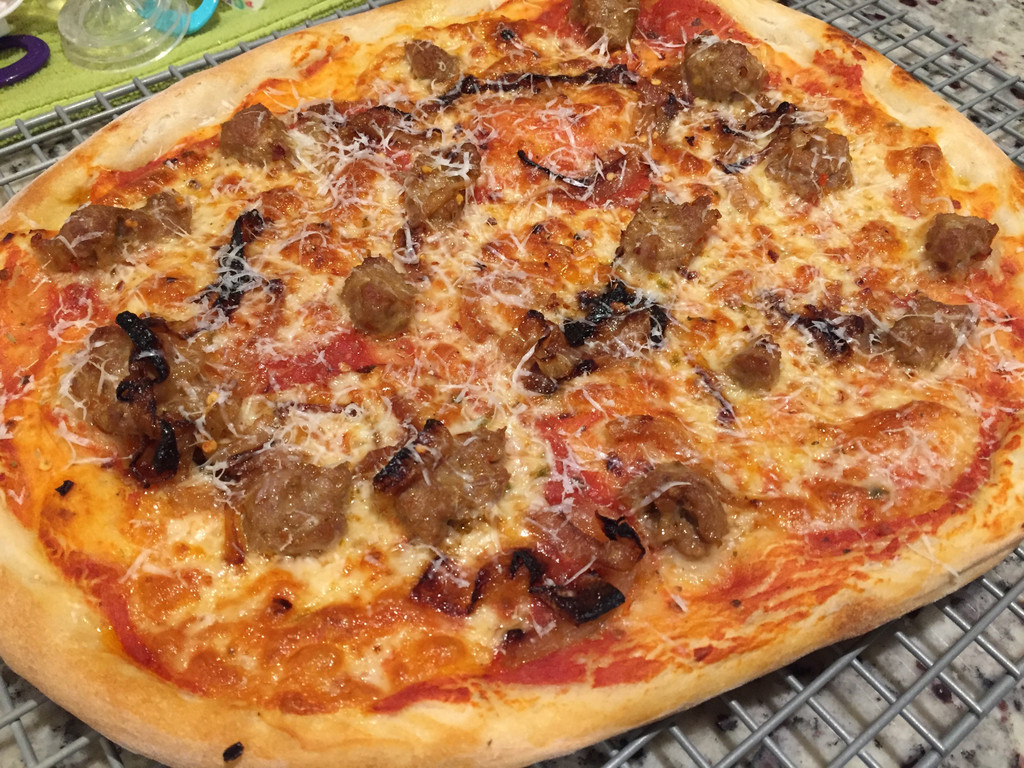
Some other thoughts given your photos, its a good idea to put the sauce in the center and work out but start spreading the cheese from the crust to the center to prevent it clumping up in the middle. Lastly, what temp are you running your oven at, honestly your pizza's look both over cooked and under cooked. Last tip, consider making your crust smaller (unless you like large crusts). A smaller crust will not raise as much when cooking, thus will not push everything to the center of the pizza. Even consider using a rolling pin, then just form a little crust with your fingers.

Please post more, their getting better each time.

photo1-4.jpg

0256F6D1-6C76-4E79-BAC0-CDDF58827B29.jpg
 
Interesting, I haven't been paying any regard as to how or when I start the placement of the tomato (or creme fraiche) or how the toppings go on. Interesting.

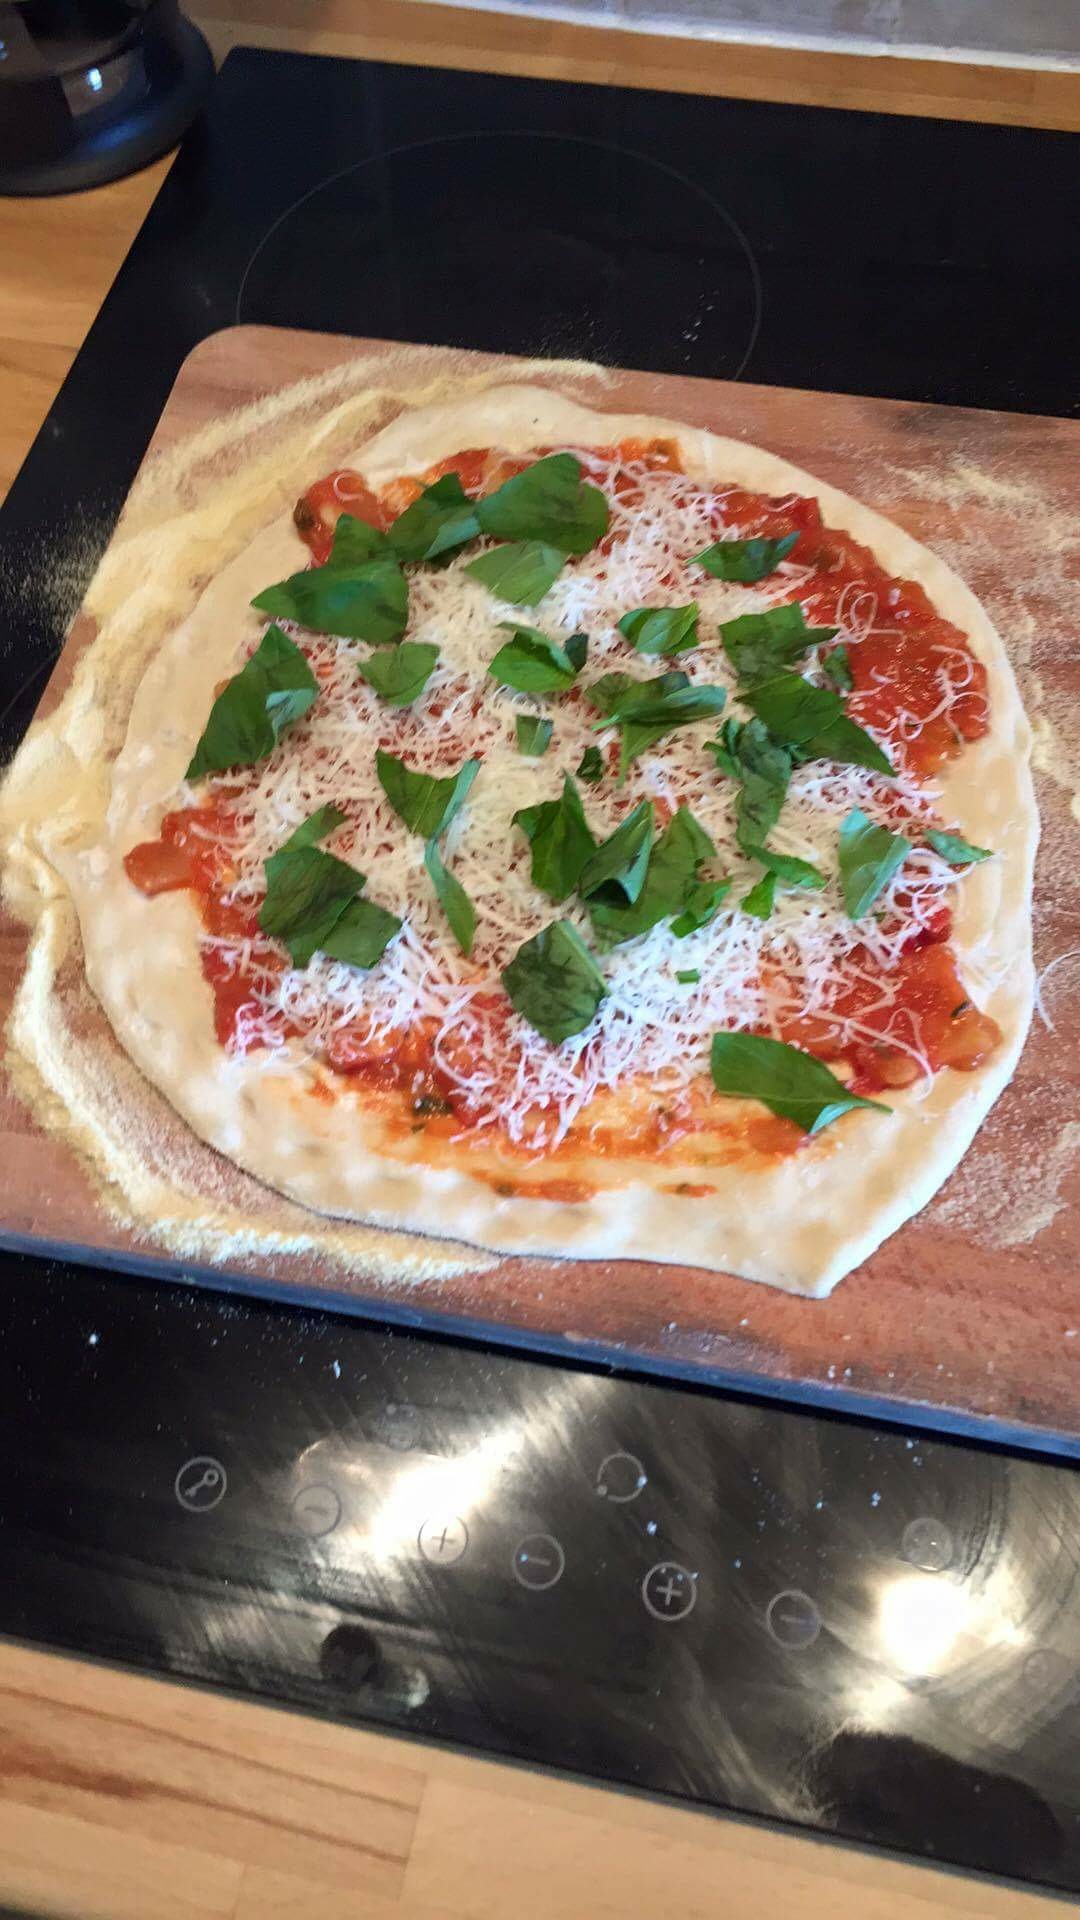
Half the problem is they get all bunched up before they hit the stone! Here is how that one looked prior to cooking:

JLAZVuM.jpg


I fire my oven to 250C, wait for half an hour and then throw the pizza on. The stones are Terrazzo from a local construction site.

9KPLXaF.jpg
 
You might not be giving the stones enough time to pre-heat given their thickness. Having thick stones like your are an advantage, if your pumping out multiple pies one after the other. Consider two hours at the highest setting you can. I preheat my oven to 550 degrees on convection, but turn off convection when cooking. Have you verified that your oven is actually getting that hot?

I would still say that your crust is too fat, wide and dry. Its going to cook faster and puff up, pushing the filling to the center. Also, consider using a dryer tomato sauce with less chunks. When making it, add some tomato paste to thicken it. Also, I add specs of basil and dried Italian paper flake after I cook it. If you want your pizza with lots of basil flavor, infuse it in an oil and drizzle it on the pizza after its cooked. Could also pesto the basil and drizzle that on after its cooked too.

Have fun.
 
Interesting, awesome. All part of the experimentation! Cheers. Unfortunately i'm catering this weekend so won't have a chance to get number 6 underway until next week, then i'm off to mainland Europe for a fortnight :(
 
I would also say you don't need that much flour on the board to transfer. We've always used corn meal on the peel and just like a dusting of flour as we pat out the dough. They are looking better, keep at it.
 
Back
Top