Thinning and refinishing Gesshin Hide 225 mm guto

Kitchen Knife Forums

Help Support Kitchen Knife Forums:

This site may earn a commission from merchant affiliate links, including eBay, Amazon, and others.

Matus

Staff member
Global Moderators
KKF Supporting Craftsman
KKF Supporting Member
Joined
Feb 18, 2013
Messages
10,614
Reaction score
3,973
Location
Germany
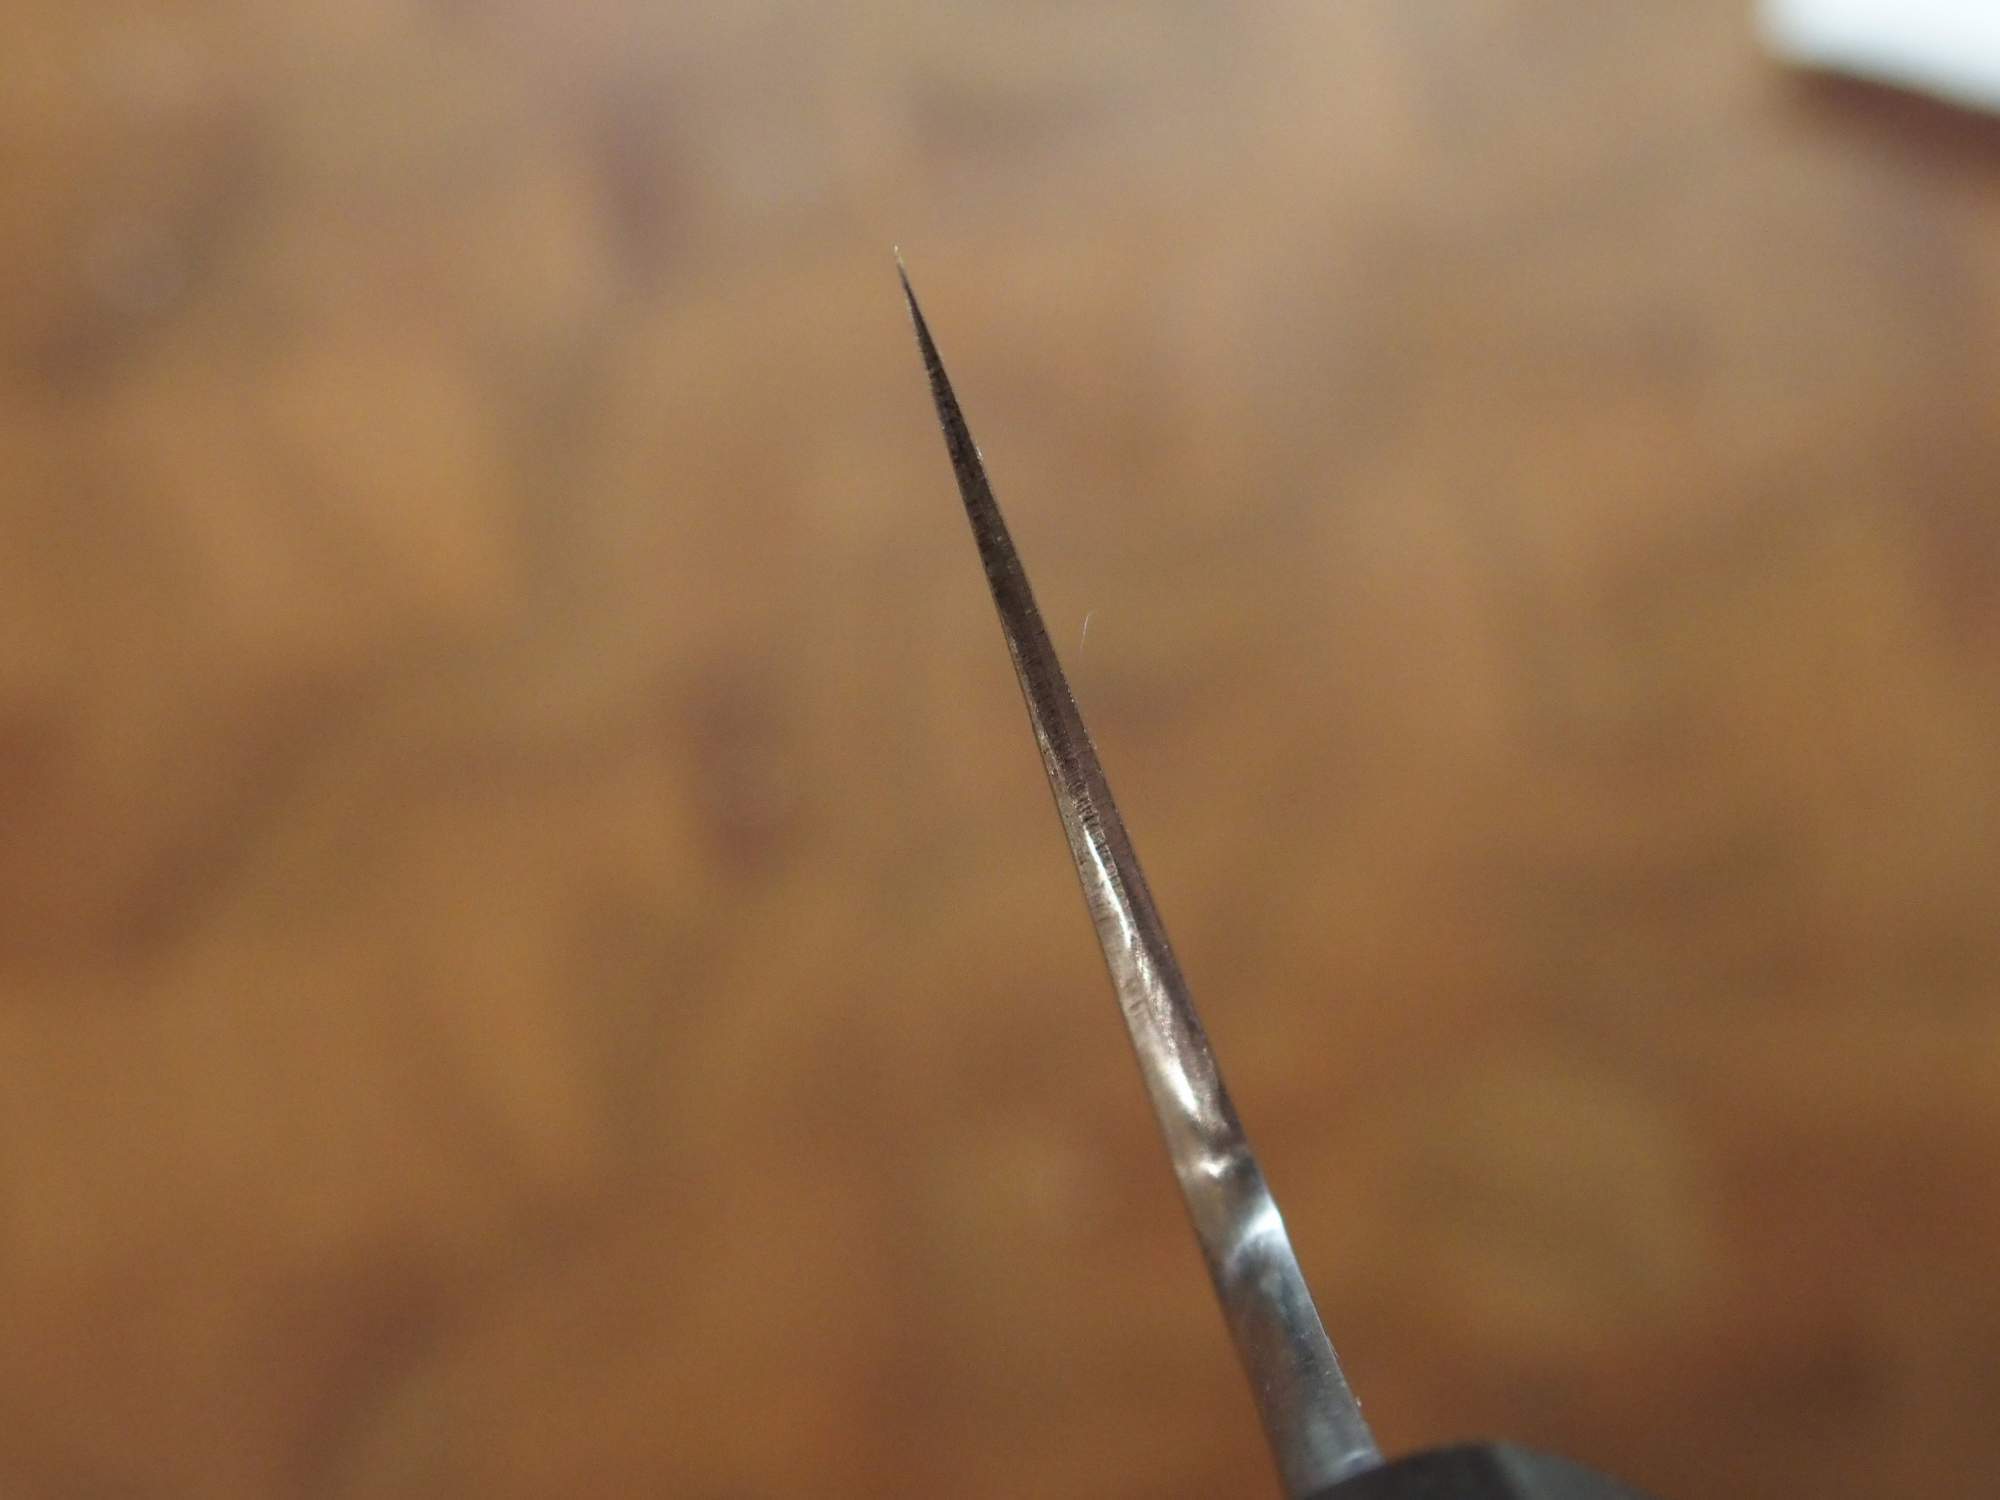
Idea for this project was born when a friend of mine bought a 2nd hand, 'well used' special Gesshin Hide 225 blue #2 gyuto which quickly proved to be in a dire need for a complete overhaul. The knife was neglected, thick behind the edge and (as some communication with Jon revealed) was on the of first of its kind and had a very thick tip.

After some some discussions with my friend we agreed that I would try to thin and re-finish the knife. I have only thinned a monosteel O1 petty before and expected that this would be a simples job because of the soft cladding. Well, that was not the case. Not only it turned out to be a lot of work, the blade also had a strongly asymmetrical grind with left side have a concave 'groove' higher up the blade for about 70% of the length of the blade. This meant I had to concentrate mostly on the right side if I wanted to preserve the geometry.

I have wrote an article on the whole process on my blog, here just a few photos.

I am only a little mad at myself as I was under time pressure and did not manage to make the photos I would have liked. It took me about 10 hours to thin and refinish the blade with quite a few lessons learned.

Before I started:


Early stage of thinning with Atoma 140


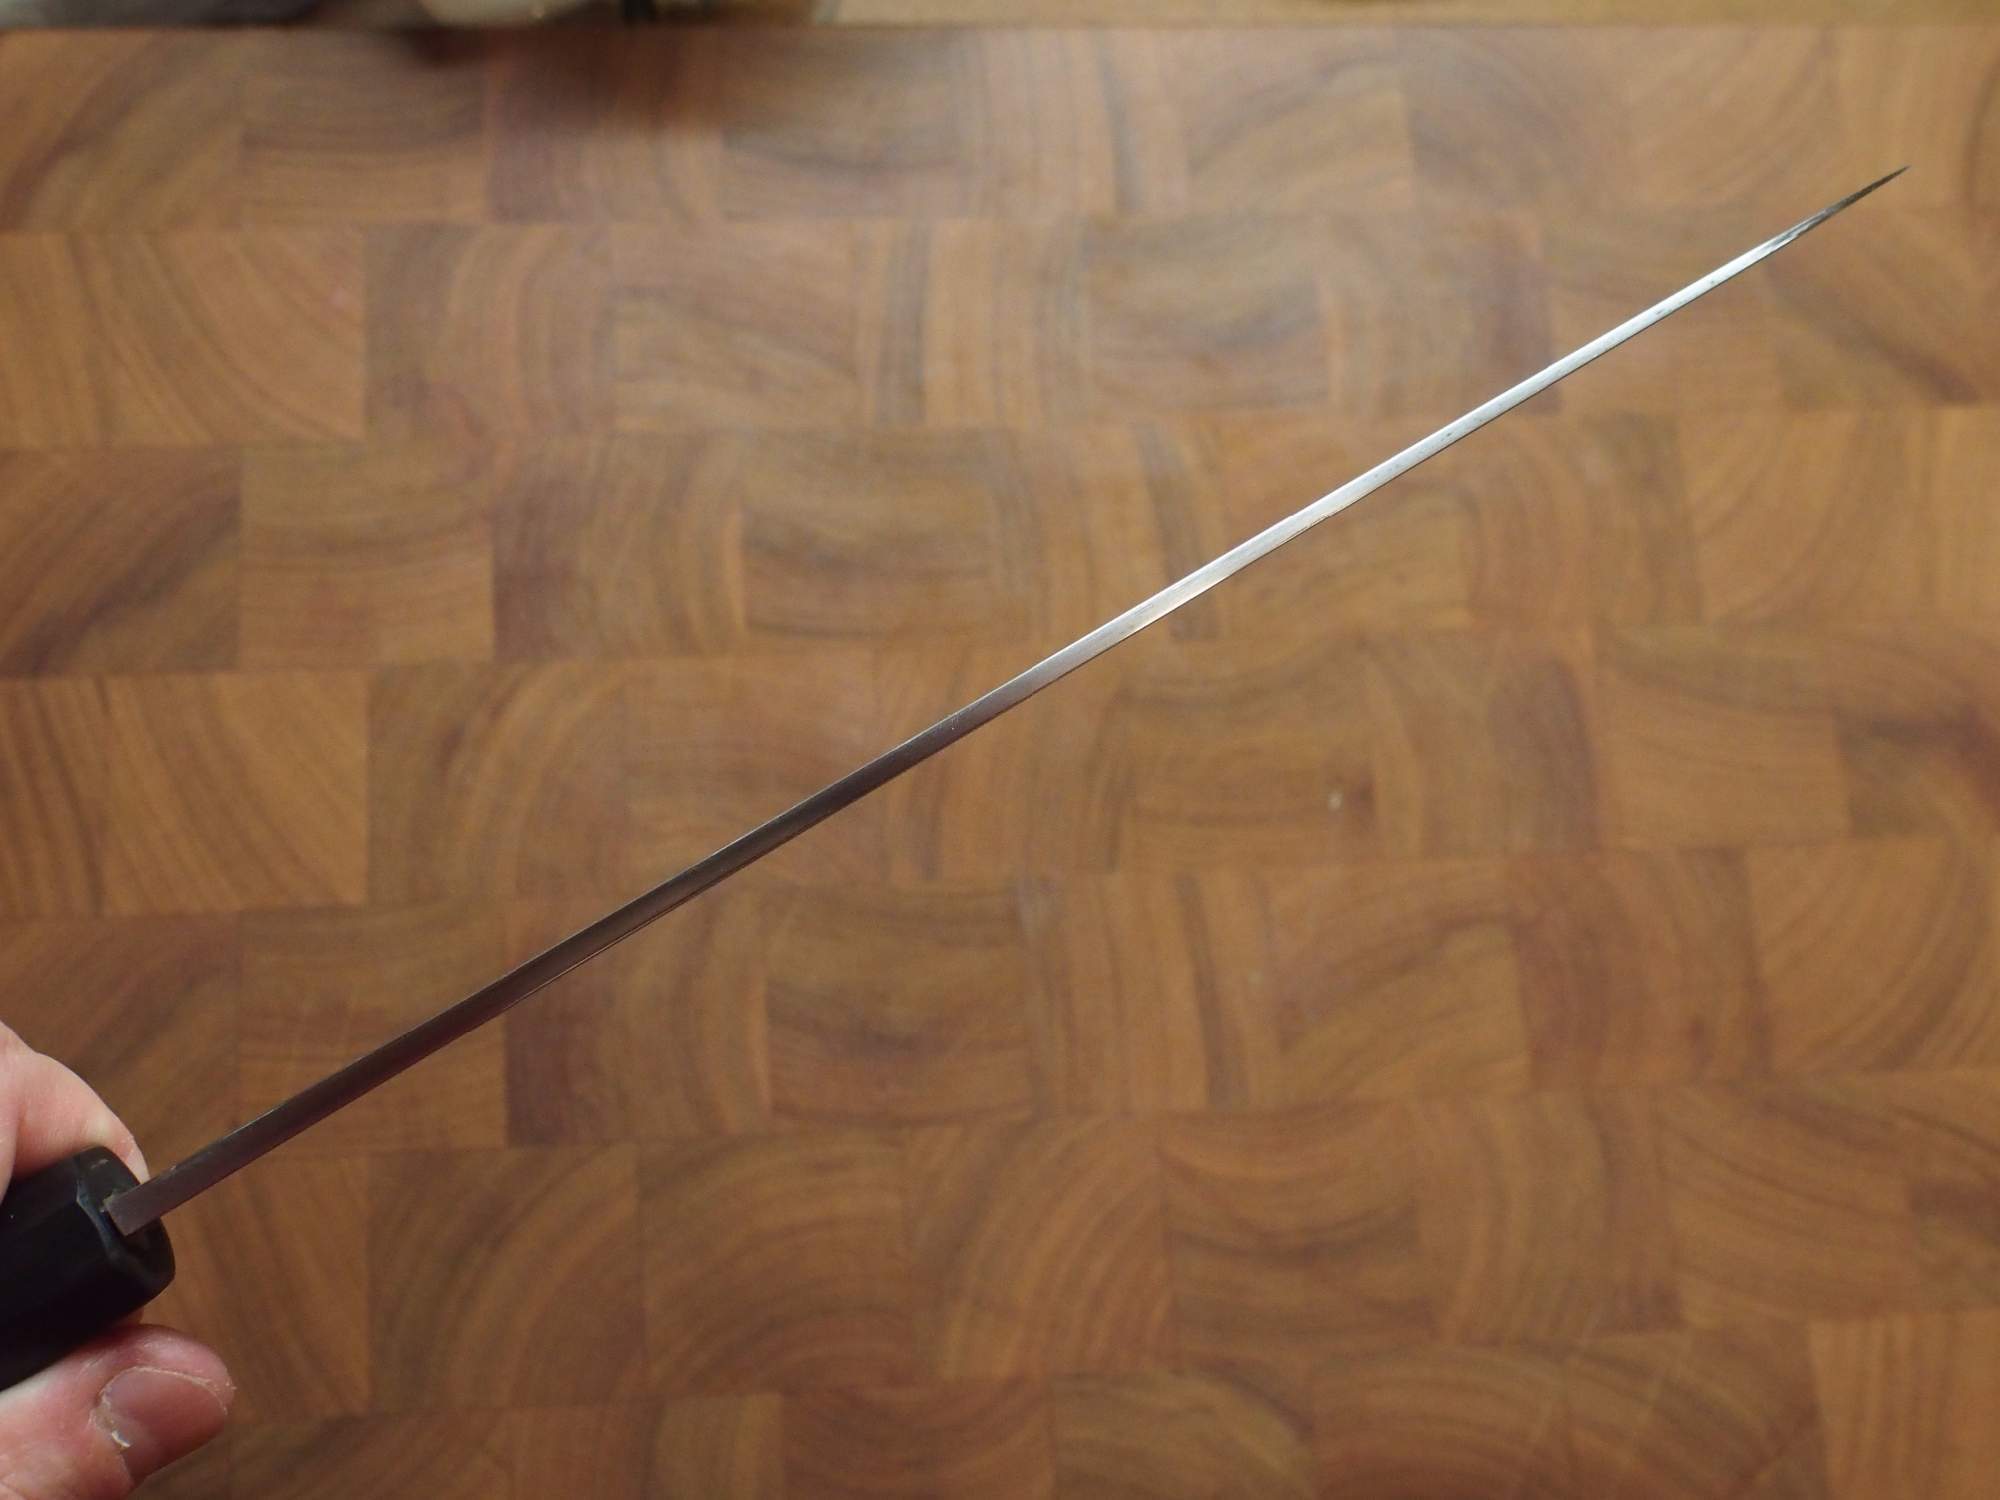
Knife thinned with Atoma 140 and with distal taper ground-in


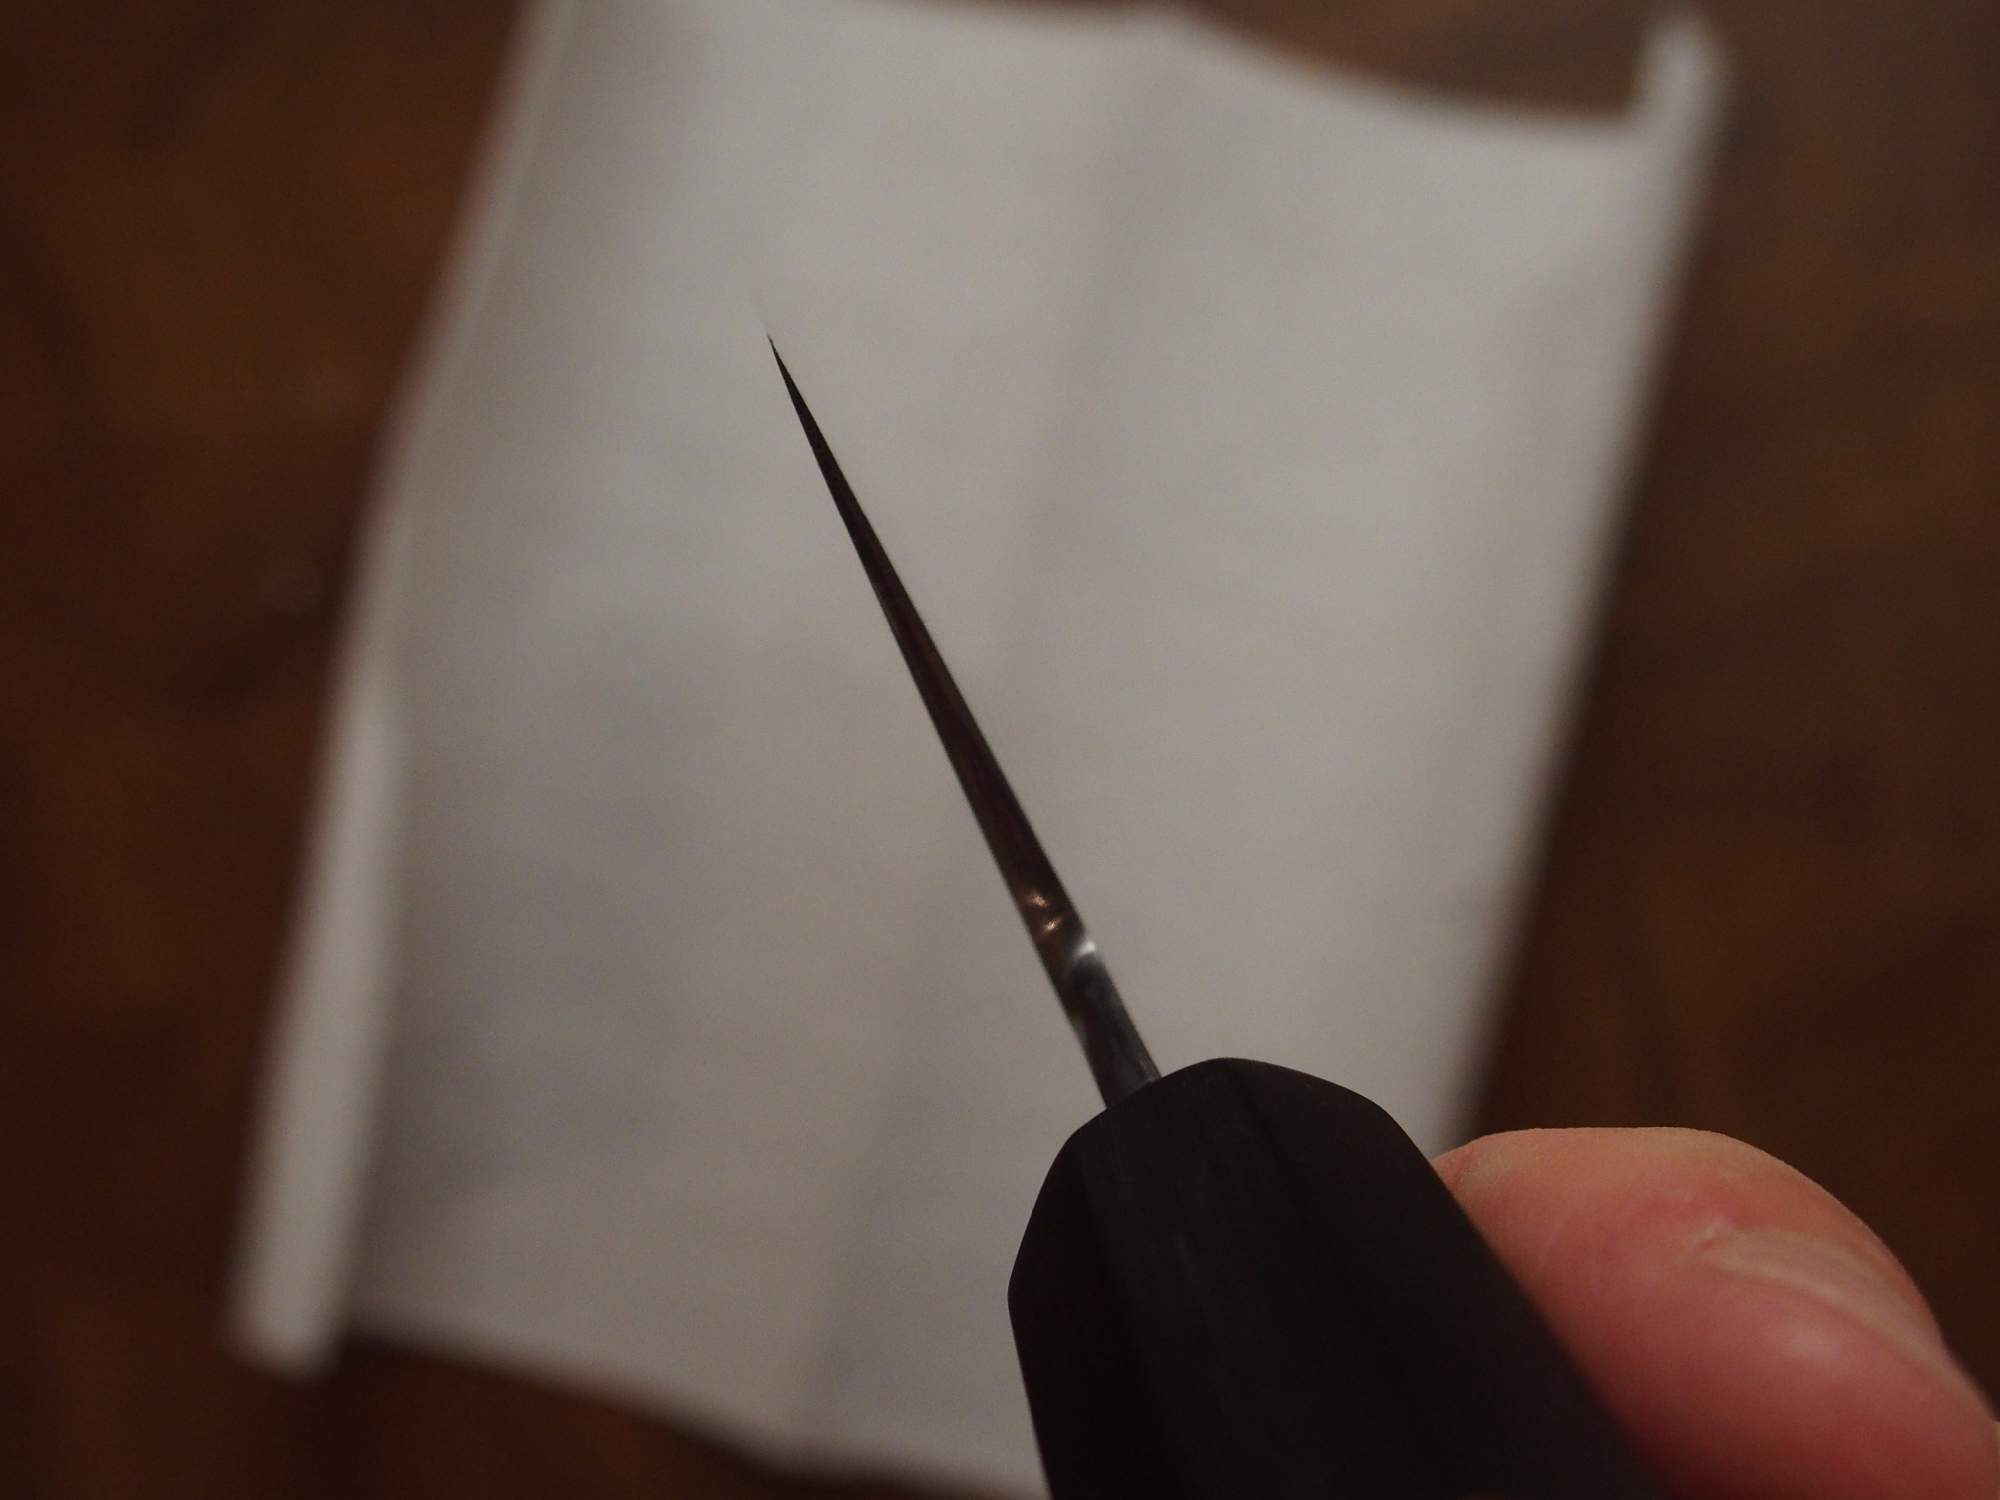
Blade finished to #2500 grit with wet sandpaper (far from perfect)


After some work with fingerstones

 
Looks amazing Matus!!![emoji106]🏻[emoji106]🏻
 
Wow! That finish with the finger stones looks really nice.
Just a question about the actual thinning, did you just lay the blade flat against the atoma and then push against the bottom third of the blade face while checking with the calipers every once in a while?

Checked out your blog and really liked how you took photos step by step of the thinning process, I've been looking for something in depth like that for a while.
 
I love the term "0 scratch policy" in your blog concerning when to move to the next higher grit. Problem is, I'm not patient enough to really apply that in my own work. Well done!
 
That's a MASSIVE amount of work. Looks great.

Thank you Dave. Yes, it was. I knew it will be quite some work, but did not expect it to be this much. The knife actually feels ligher in hand now (still has a beasty feel though) My respect for guys like you who can do this for living grew immensly :)

Where's the after tip :(

Oh, I really need to take one together with a choil shot. I need to ask my friend to take a few more photos :)

I love the term "0 scratch policy" in your blog concerning when to move to the next higher grit. Problem is, I'm not patient enough to really apply that in my own work. Well done!
r
Well, yes, for perfection we crave. But the truth is to get there one needs (1) patience and (2) skill. Both need to be learned to get there. I find that in particular with coarser grits (under #240 sand paper) the scratches can still 'hide'. In particular if you have 'swirls' from the back and forth movements. I think this is a place when ability to use belt grinder properly can really speed you up. I did not dare to take this knife to belt grinder because of my poor skills with it - with sanding paper it is much more work to screw things up and you usually notice soon enough that you are doing something wrong. With a belt grinder it can happen in seconds.

Just a question about the actual thinning, did you just lay the blade flat against the atoma and then push against the bottom third of the blade face while checking with the calipers every once in a while?

What raelly matters is - before you start - to measure (other otherwise decide) where you want to remove material from the blade. I find that digital calliper is indispensable for me. Experienced guys probably just run, their fingers across the blade. When working on Atoma (or hard sharpening stone) the rule that material is removed there where you apply the pressure really works. So if I wanted to remove material somewhere between 10 and 20 mm behind the edge I would put 2 of my fingers on that place (one spot) - grind for a while (100 strokes is a good measure), then move my fingers 1 or 2 cm along the blade and repeat. I would go this way from the heel to the tip, then measure the blade and repeat. If there is a high (thick) spot I would do more strokes there. Toward the tip I would ofen do less as usually you need to remove less material there.

With this knife I have fdirst worked on the 10 - 25 mm area bedind the blade and once it was nearly there where I wanted it, I worked on the tip - paying attention so I do not remove material just close to the spine, but blend the taper with the bevel.

It may sound a bit frightening, but even with Atoma 140 you remove material with relative low speed, so if you check regullarly you re going to be fine. Just remember that before you get from Atoma to about 180 - 240 sand paper, you will remove some more material so stop on the Atoma before you get the desired thickness. It appears that about 0.1 - 0.2 mm of thickness will be removed before you get the major scratches out. It would be less if you were flattening on a coarse stone (like Bester 220). Also - different cladding reacts differently to Atoma and not every cladding will tend to get 'torn' by the Atoma.The deep scratches that diamond plates (and some stones) leave are price we pay for their speed and convenience.
 
That was a huge job you did Matus. And so well documented in your blog. I really liked the Lessons learned part as it is giving the last bit of info that you need before you tackle the job your self.

I have a few additional questions for you:
* how come that you did not use the belt grinder for the thinning itself, instead of Atoma?
* How much time you spent on Atoma doing the bulk of thinning, and how much time later on JNS 300? I was doing thinning of my Miyabi some time ago and used Naniwas super stone 250 (not the best stone for thinning. It took me ages to thin it down and I did it in steps over a period of one month.
* What did you use to hold the knife when sanding it? My new method is that I use 30 cm magnetic knife holder that I lay flat on my kitchen counter. I use Tesa orange tape to glue it on the counter (yes kitchen is my workshop ;)). Magnetic holder than hold the knife very nicely and it is not moving.
 
Thanks cor the compliments, now for the questions :) (I will update my blog later)

- I did not dare to use a blet grinder as I was worried I would damage the knife. It took me somewhere between 2 and 3 hours on Atoma what was considerably less than the 6 hours I needed with a much smaller
- I did not spend too much time on JNS300 what was a mistake as it would have been easier when moving up to sanding paper. I needed around 6 hours in total to get the blade sanded up to #2500, though most of the work was to get up to #400

Side note - if you need something really coarse and do not want to go to Atoma, then get the Bester 220 (pink brick). It does a great job and is faster than JNS300. JNS300 is a great stone for normal sharpening of a dull blade, but for larger scale thinning it is not fast enough. There are some soft diamond pads from 3M that Jon mentioned to me, but I did not try them as these are not available in EU in the full size and are only sold in 3-pack so the price is $200+

- I did not have any 'proper' holder. After previous experience with my first kitchen knife (where I managed to scratch one side while sanding the other) I only hold the knife by hand on the Suehiro deluxe stone holder which I placed belly-up and wiped it regularly. It was NOT comfortable and if I were to do a similar refinish again, I would think of a better solution. I did not remove the handle what did not make the job of holding the knife onto some surface any easier, but it was nicely sealed and I was not sure what material was used to do that, so I was worried that I would damage the handle (and these are nerly impossible to get today - there seems to be shortage of ichii wood in Japan)

I also did this job in our kitchen :) I am very surprised that I managed to cut myself only once :)

The idea with the magnetic holder is a good one. The orange Tesa can be used to tape the side of the knife you are not working on at the moment as it can be removed without leaving any residue.
 
I would just like to mention that the knife was not neglected by the guy who sold it to me (its a longtime, respected member here), I got it from him in a pretty good condition and very thin behind the edge, but then I lent it to a friend of mine who a pro chef and who is used to use his knives hard and thus sharpens them in a bit different way (to get a more stable edge) than for instance I as a hobby cook, so consequently the knife was then indeed relatively thick behind the edge...

And Matus indeed did a great work (I can remember his first estimates that the whole process might take about two hours:-D), the knife looks now really great, feels much more nimble in hand due to the thinner tip and cuts extremely well (anyway, I will most likely sell it as I don't like the profile much), its really a very nice piece of cutlery, especially with that beautiful ichii handle!

And I will post some photos of the actual condition of the tip soon, as requested by spoiledbroth, tomorrow I will get a new camera:)!
 
For those, who could eventually be interested, here is the link to the gallery of the Hide I finally made; it includes photos of the original condition of the knife after I bought it as well as those after the thinning and refinishing by Matus (most interesting is the comparison of the spine and choil shots before and after); to some of them there are comments explaining what is what...Only photos of the choil shot before the knife went to Matus and was quite thick behind the edge (see my comment above) are missing...And unfortunately the current choil shot photos are somwehat smaller and with a worse resolution than the "before thinning one" as the macro on my new camera is worse as well...

Here is the link: http://rhamphorhynchus.rajce.idnes.cz/Gesshin_Hide_240_mm_Blue_2_gyuto_witch_ichii_handle_and_saya/
 
Here is a choil shot BEFORE thinning (after photos from Jan below):


Krakorak, let me just link a few choil shots (AFTER thinning) here from your album (sorry, no smaller size available with this service):


PB050499.jpg


PB050506.jpg
 
Really great job. i just bought an Atoma 140 for getting down to the final edge on my hobby knives. Is an atoma 140 the fastest available to remove lots of metal by hand? I have seen 80 grit stones and I was wondering if they are better. thanks
 
I am not sure whether you guys should compliment me for doing an acceptable job (because, let's be honest, there is room for improvement - in particular when it comes to finish), or compliment Krakorak who had the courage to let me work on such an expensive and unique knife as this was my first attempt of this kind :)

cadbery - Yes, short of powered tools the Atoma 140 is your best bet. Just be prepared to deal with some deep scratches afterwards - I would not go higher than some fast 400 stone (Bester 220 was not a bad choice) form it (unless you have some coarse diamond stone from Jon). Just make sure to use it wet and without too much pressure, as that just shortens its usable lifetime.

I have discussed this with Jon - there is one more option - the soft 3M diamond pads in even coarser grit (Jon recommended 74 if I am not mistaken). But since these are sold only as 3-pack and not available in Europe, I went with the Atoma. But one way or another you are looking at quite some work and you will spend more time restoring the finish with stones and with sanding paper, than with Atome doing the actual thinning.
 
At least equally as interesting as the direct comparison of the choil shots would be in my opinion the direct comparison of the spine shots!

Yes we can! :wink:

About 1/4 - 1/3 of the length of the blade before thinning. The blade had the thickest tip I have ever seen.


After thinning - the tip was not made super thin (that would not fit the whole phillosophy and geometry of the blade), but thin enough to glide through onions :)

PA290318.jpg
 
That's a lot of work. Nice finish. I've done a couple large knives starting with a 220. My latest was using a belt sander and now I have very slight (haven't measured) dips in the side - just enough that I have a few scratchers that I"m having trouble getting out with flat 400 stone, let alone get down to a mirror polish.

[addendum: With my skill level and tools] I would never take a power sander to a Gesshin or any other decent knife either. Terrified of getting anywhere near the edges. You did a wonderful job.
 
Last edited:
I have over time considered to use belt sander - today I have a 2x72” with a VFD and ability to put platen nearly completely horizontal. Once I add water cooling and inversion of the belt direction, then I will will be able to make coarse thinning work much more easily. If one should be doing this more often, a separate setup wiukd make a lot of sense.
 
Back
Top