Hi everyone,
if you are polishing a knife, in the most traditional or a more personnal way, please post your pictures!
if you are polishing a knife, in the most traditional or a more personnal way, please post your pictures!


")
Can I send you some of my knives??
 Bilder hochladen
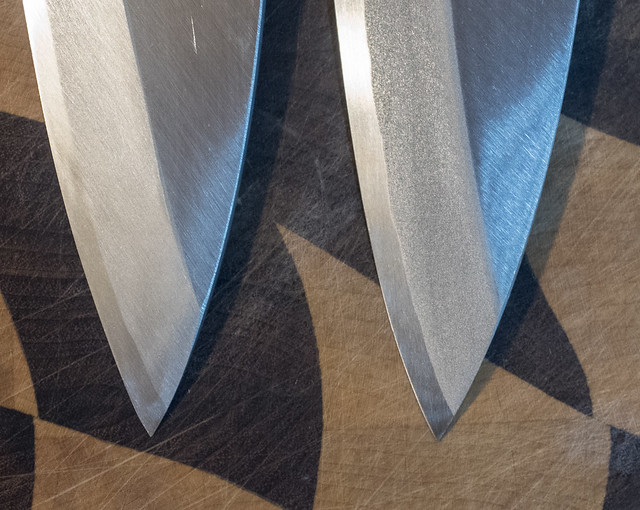

Not sure. It was around the time I got my white suita from Shinichi, so that may have been my last stone, but it might have been hakka juice on a burnished binsui base.XooMG - fantastic work on that Carter. What stones did you use?
Bilder hochladen


Nutmeg, that looks awesome - in particular the Sabaki and Yanagiba. I have a long way to go to make that kind of finish. But now I have no excuse more with the new stones from Shinichi


 )
)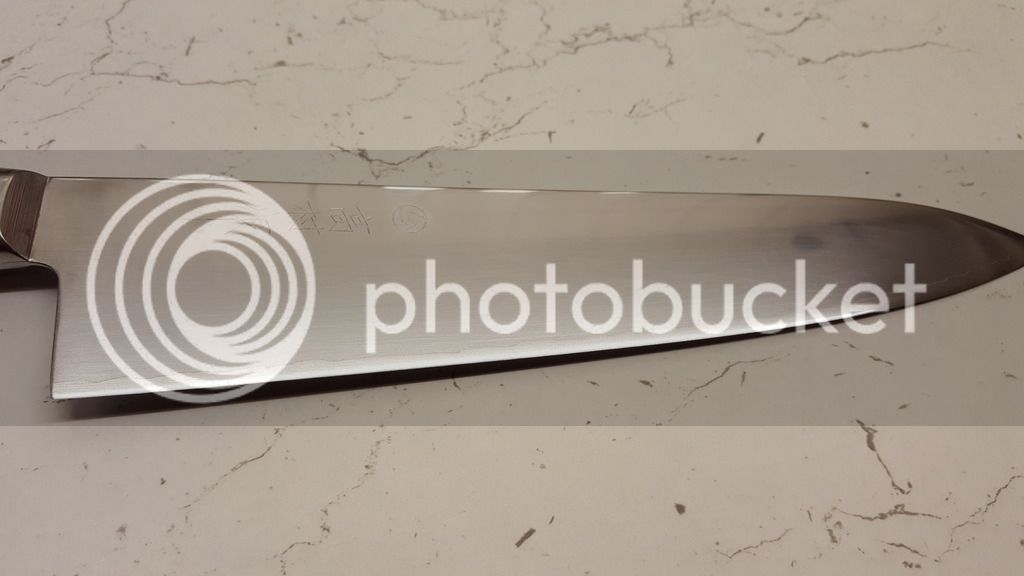
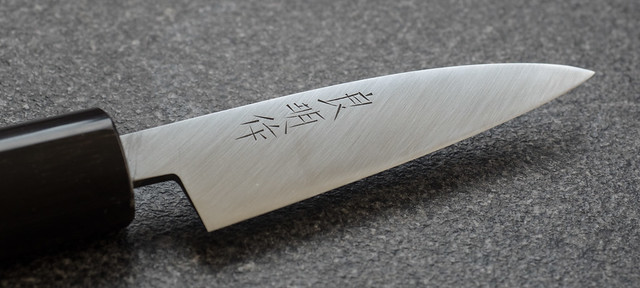
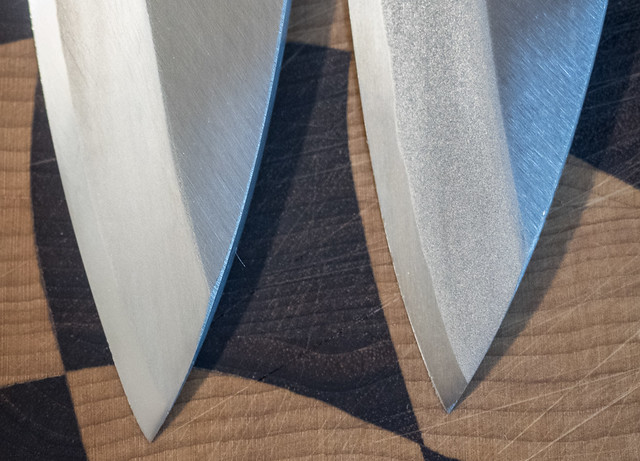
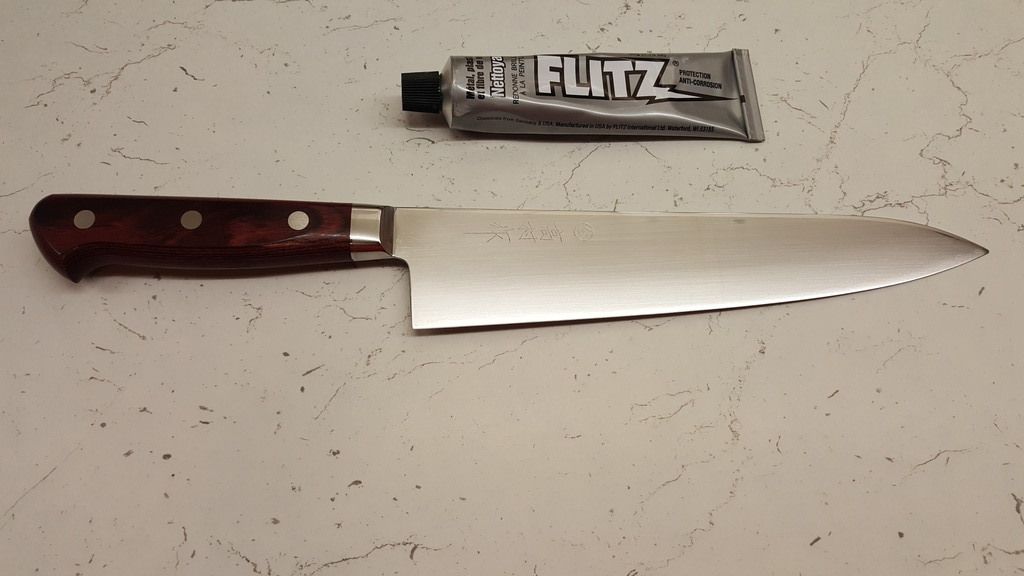
You did very nice job there, krx927. The fingerstones did not have too much effect - I guess it is because the cladding is stainless.
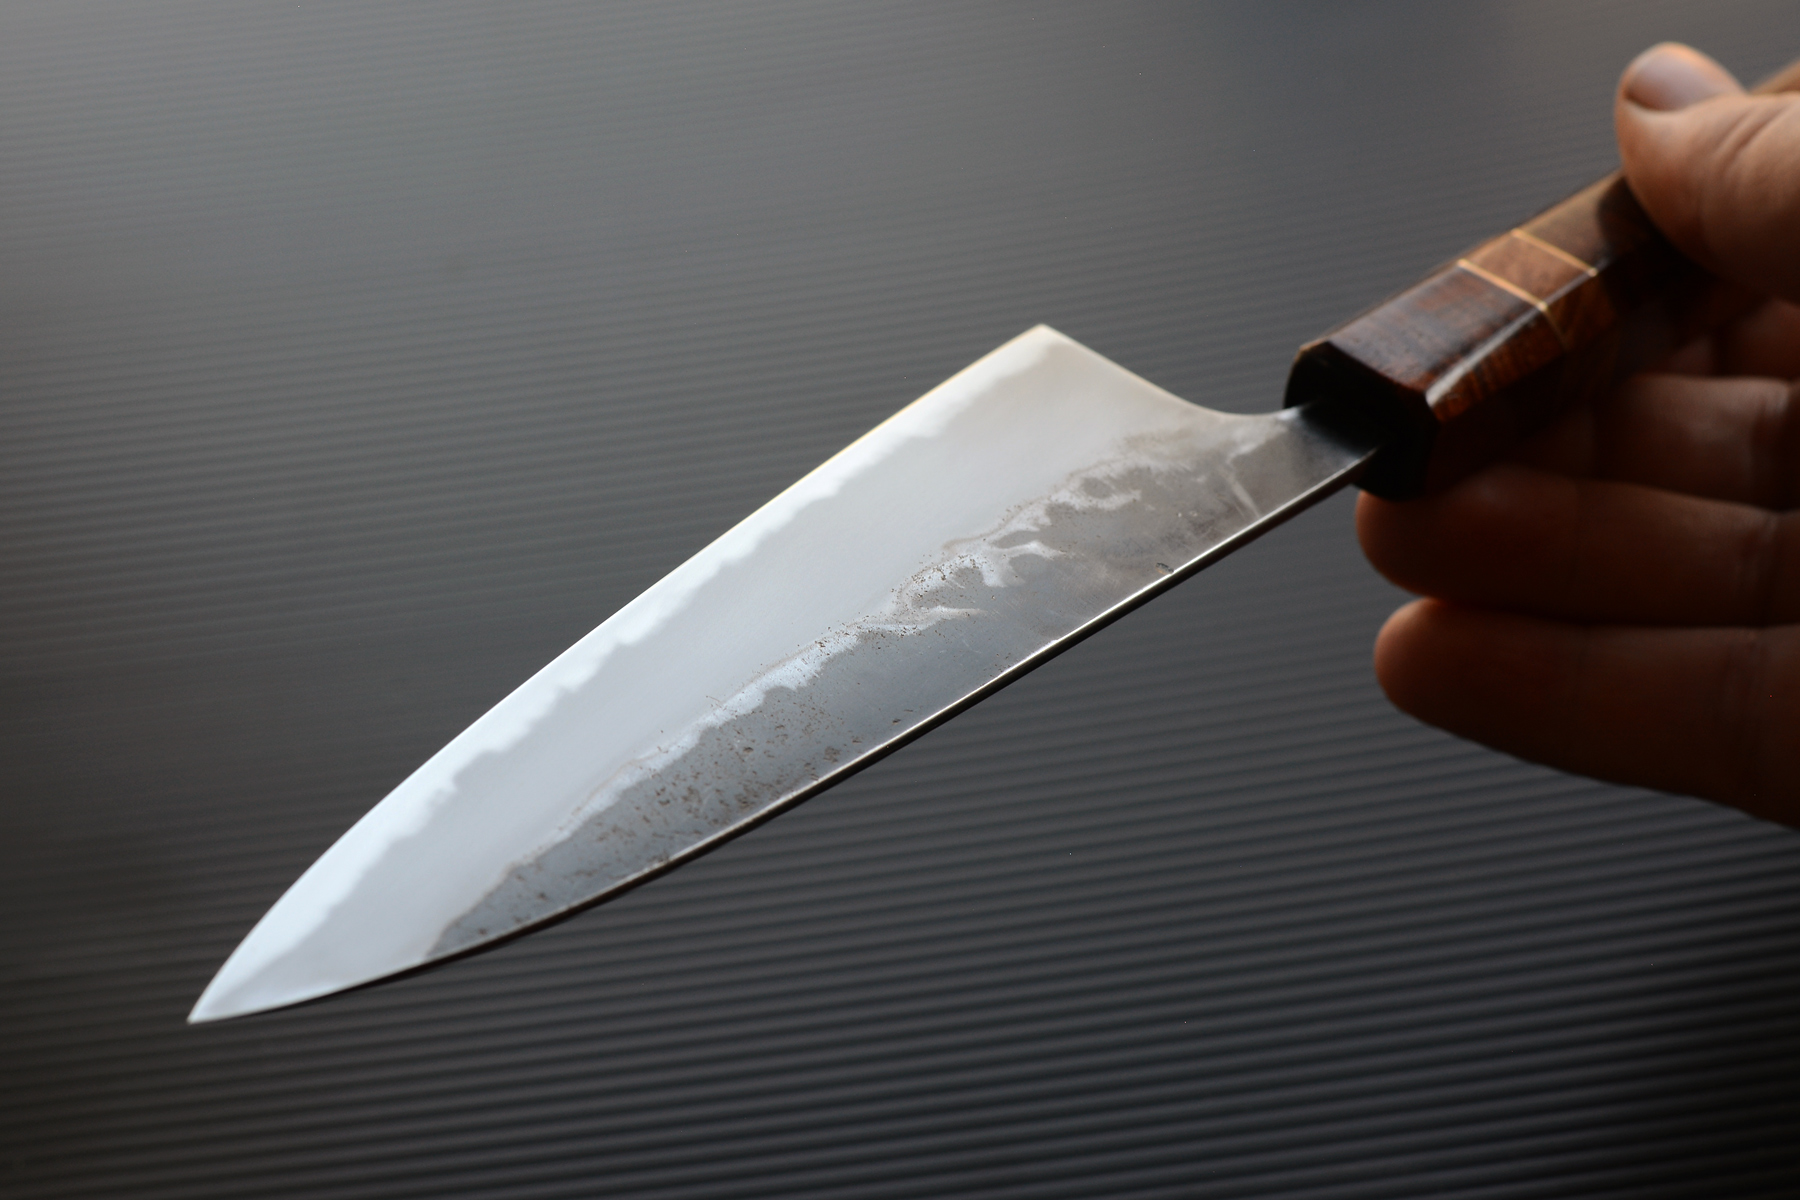
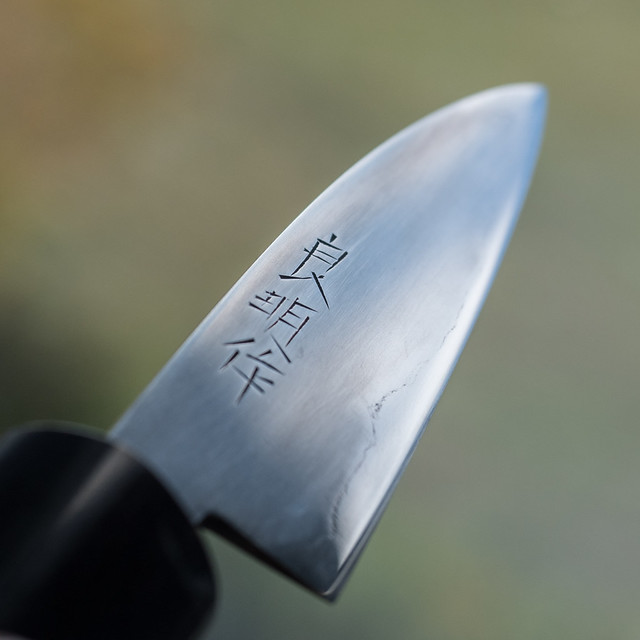
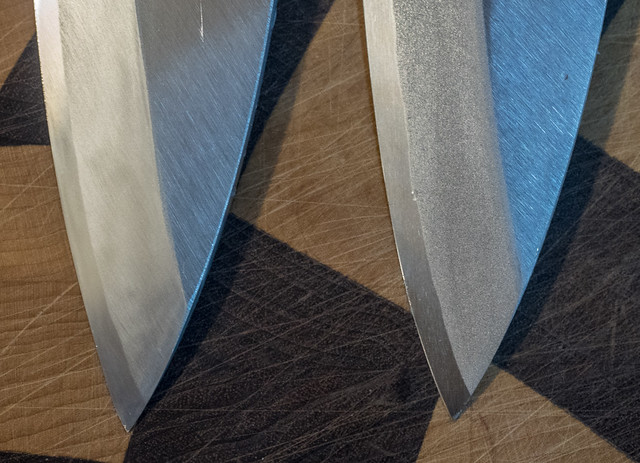
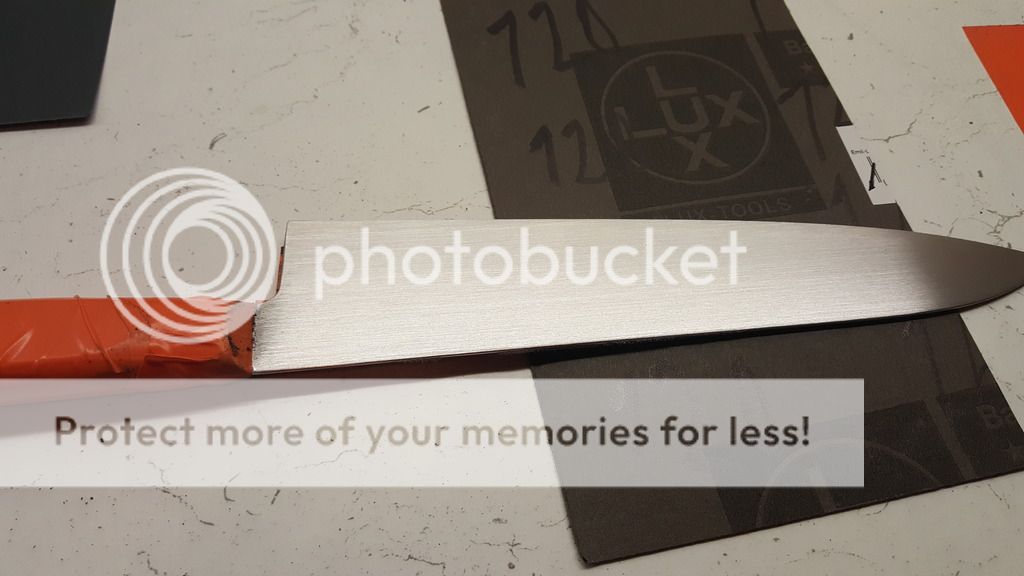
I would only not that it is very easy to 'loose' the tip when refinishing the blade - in particular if one starts on coarser grit. One possibility to mitigate that is to have some sort of mechanical stop few mm in front of the tip so that the sanding pad can not slip over the tip as at that point the whole force is concentrated over very small area and over time the tip gets simply ground away. I used such a stop when I was draw-filing a blade (prior to HT, of course), because slipping off with a file had quite a drastic effect on the not yet hardened tip.
Man that makes me miss my Takamura.
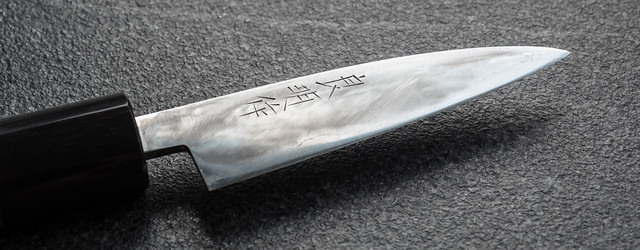
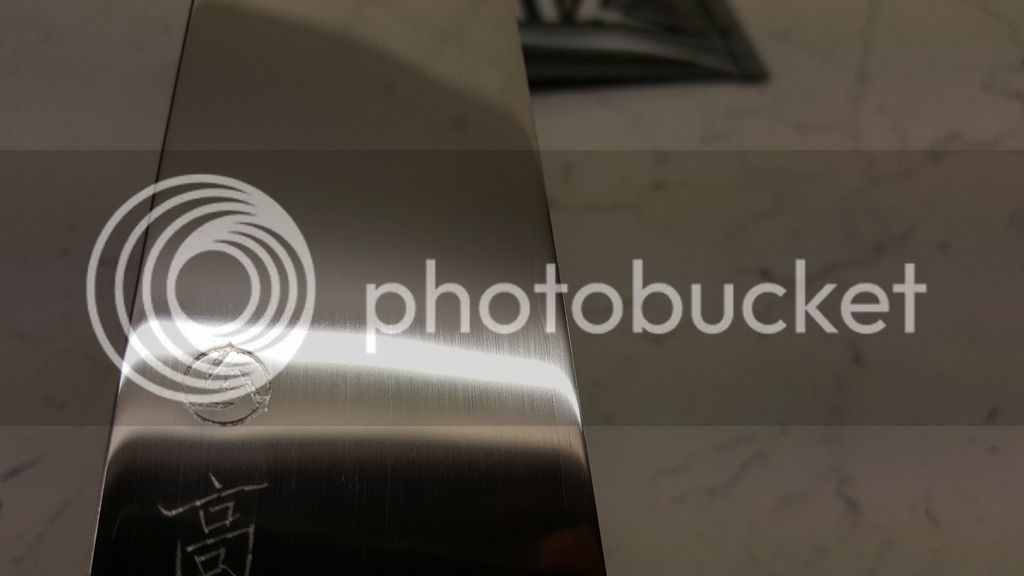
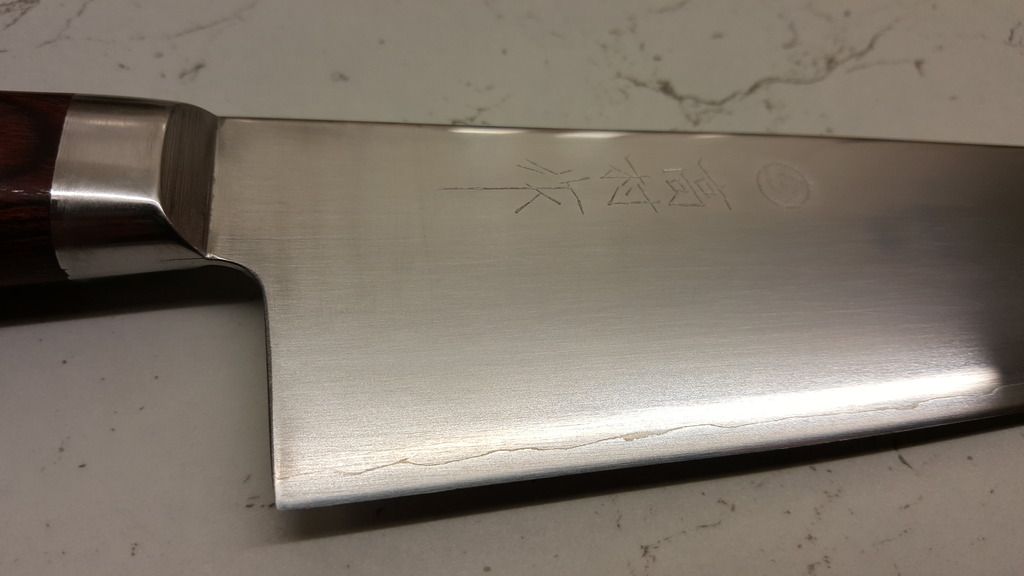
It was my first time using finger stones and honestly I was a bit disappointed by the result.


Stainless is a point but I think the blade was a bit scratchy for fingerstones.
Some could say fingerstones show the caracter of the blade. It looks more metallic and shows the scratches too as versus to mirror polish.
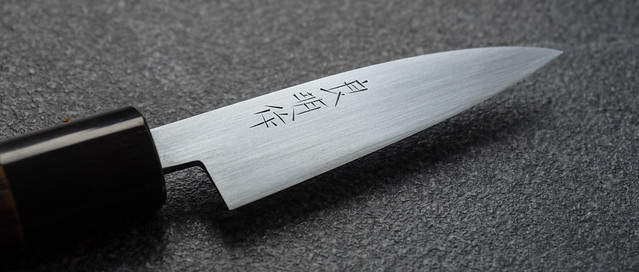
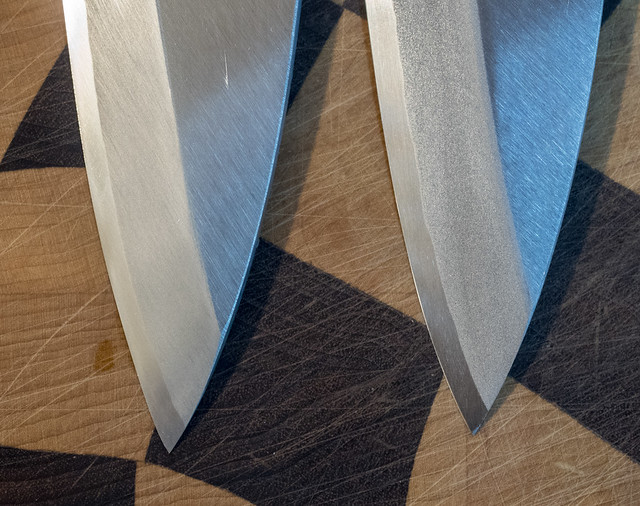
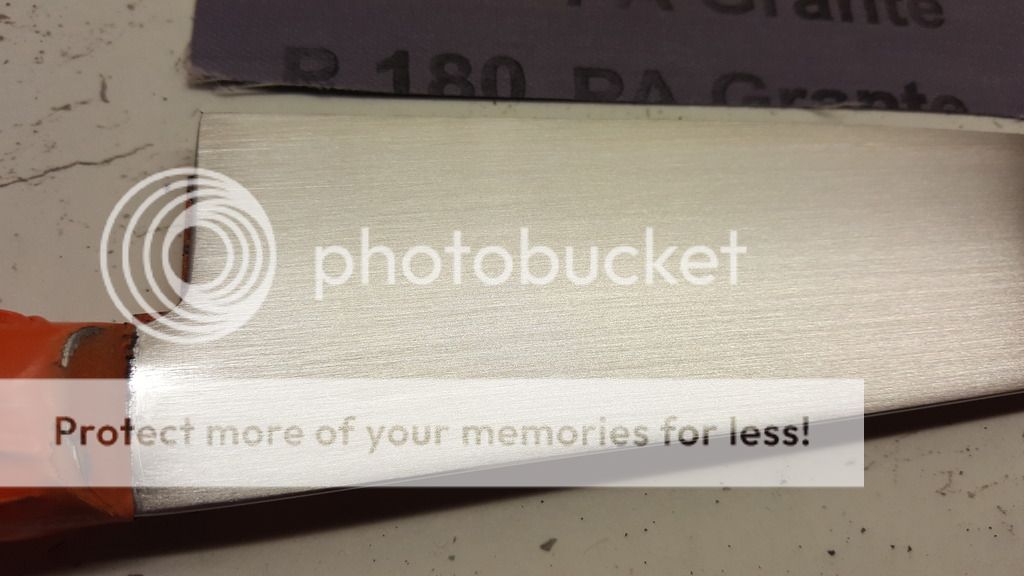
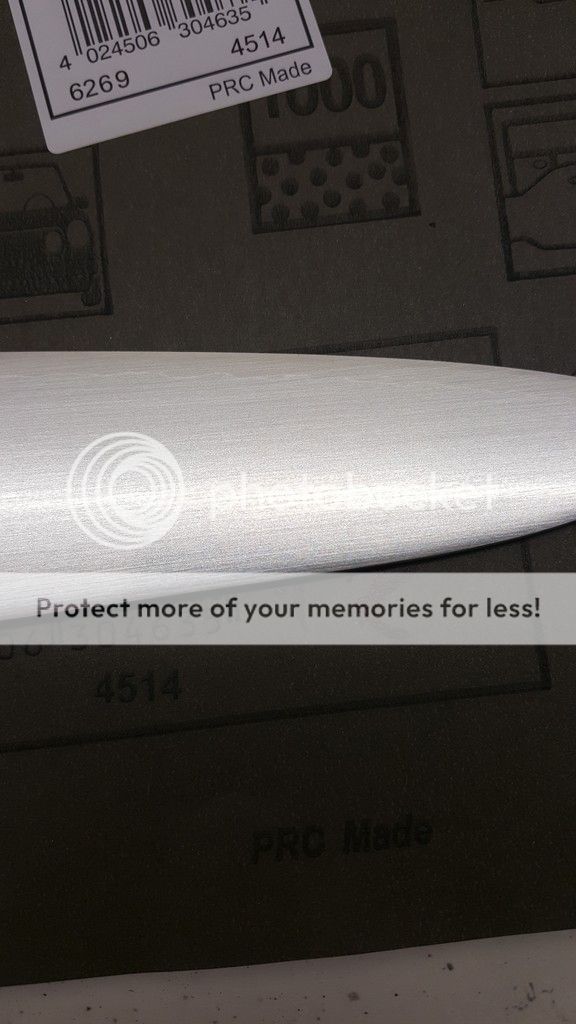
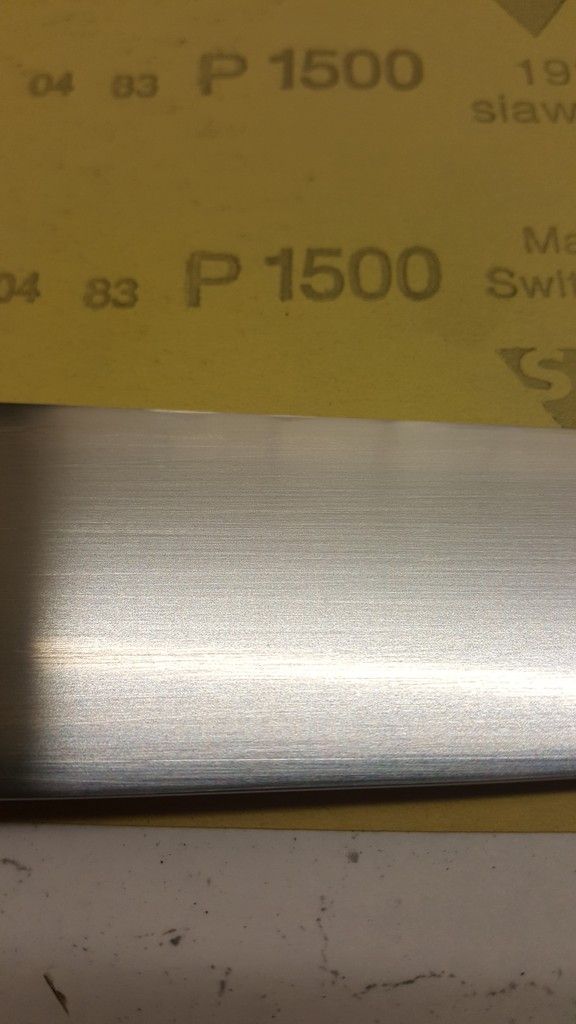
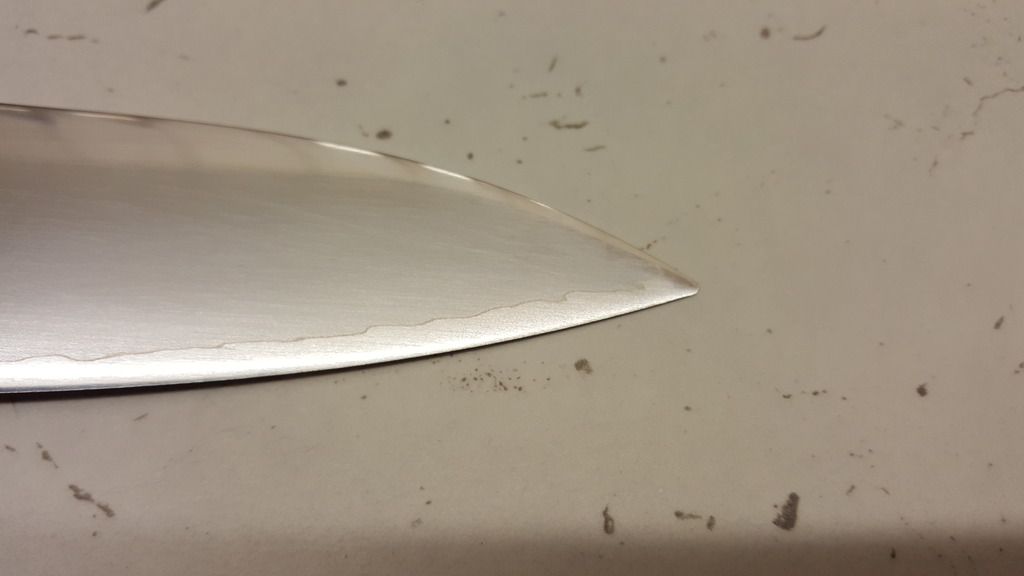
180 is very rough and removes a lot of steel. You should try starting at higher grain.
Also you were polishing all way parallel to the lengthwise axis of the edge.
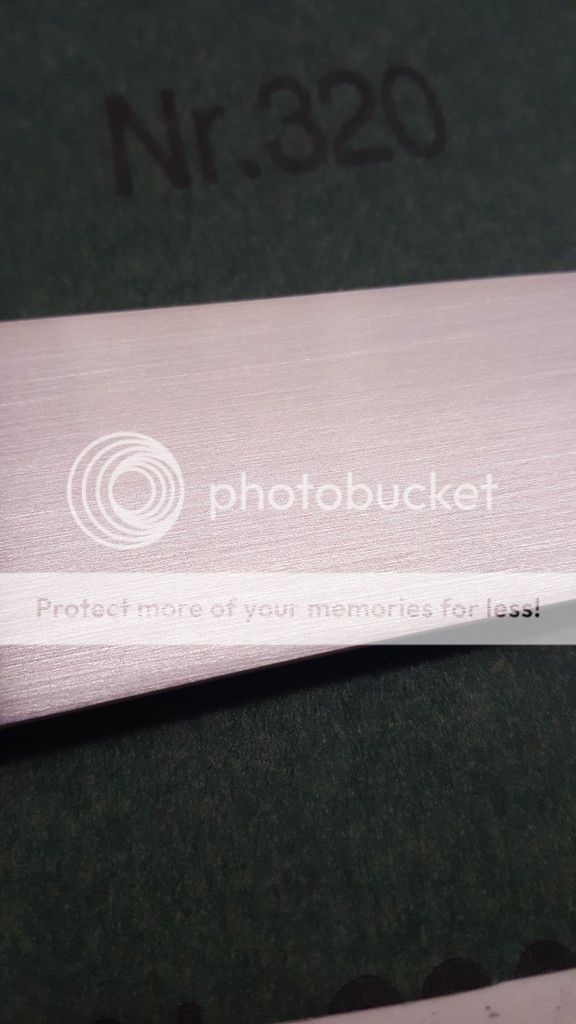
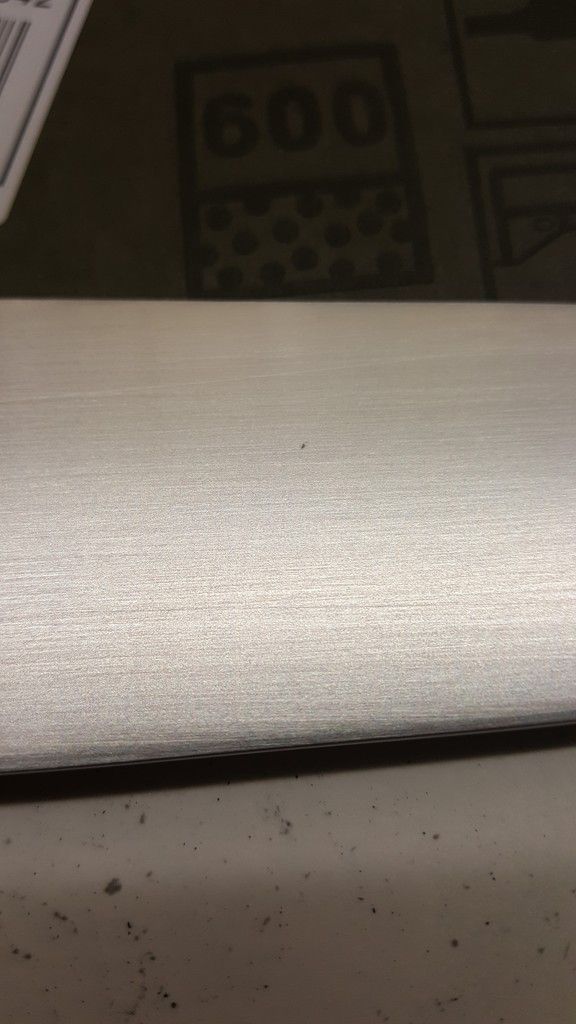
Try to start at 45°, then 30°, 15° and after 1000 parallel to he lengthwise axis of the edge. That way you can better control the scratches.
Enter your email address to join: