Advice sought - handle making.

Kitchen Knife Forums

Help Support Kitchen Knife Forums:

This site may earn a commission from merchant affiliate links, including eBay, Amazon, and others.
Joined
Oct 5, 2016
Messages
1,493
Reaction score
11
Ok, I tried to post this under hobbyists/craftsmen but wasn't able to start a new thread there?

Anyway - thinking about teaching myself how to make custom handles. Matus and others have been an absolute inspiration and I really enjoy the hands on of sharpening my blades, so why not start making handles for them?

I have a dremmel ... and that's about it. Most of the tools are DH's, he's kinda possessive of them, but Hey? If my hobby gets more power tools in the house he's got my back 100% :doublethumbsup:

So what will I need? Sandpaper in different grits - easy. Belt sander/disk sander combo? Thinking something like this but the reviews are kinda meh...

https://www.woodcraft.com/products/...=PLA&utm_term=861010&utm_content=All Products

Some type of clamp system? And epoxy. Oh yea, raw materials. Already found a dizzying amount of websites with an amazing array of materials.

Oh, and yea - watch lots and lots of youtube videos and go back and memorize Matus' blog!

Cause you know...I'm not spending enough on knives and stones.
 
I use a combo 1x30 belt with disc sander for my knifemaking, and the disc is useable to square up a handle, but if you really, really want squared and flat, then you can't beat sandpaper on a flat reference like dead flat granite or glass. A vise is useful if you're drilling the tang hole by hand, a drill press will make it even easier, also depends on whether you're doing dowel construction or not.
 
A drill press will make your life much easier. I have one of these.

This Starrett chart on lettered and numbered drill bits was a revelation. I never knew there were drill bits besides 1/8, 1/4 inch etc. If you are fitting a nominally 1/4" pin or corby bolt for your handle and you use a letter F drill bit, it will fit properly without having to file the hole or try to shave a fraction off by twisting the drill bit.

A couple of different files and rasps will likely be helpful as well.

Nick Wheeler has some very comprehensive knife handle videos on You Tube.

Texas Knifemaker's Supply, Jantz, USA knifemaker and others all have a variety of handle making doodads that may be hard to find otherwise.

Best of luck! Get started making a handle; you will learn the most by just going for it. Know that your first handle may have a few imperfections, but as you make more you will get better.
 
I like the 1" belt/ combo, but I would strongly suggest stepping up to the 1x42. Much
better machine, and a much more usable disc size.
 
Ahoy TheCaptain,

I just finished my second handle I have made (the first got a gently fissure).
Gears I had was sandpapers from P100 to P1000, the Ikea hand drill, small saw and a puukko knife.
The wood I used was from old chopping block and I ad a slice of black leather between it.
I waxed with it mixture of mineral oil (1 amount) and beez wax (1½ amount).
It took me about six to seven hours and my hand hurts, but it was totally worth it. I learned a lot (hopefully).

33049481136_20fcf64953_o.jpg


32964339001_19daefbe81_o.jpg
 
Forget that woodcraft belt grinder.
Buy a 2x42" belt grinder for about a $150, take all the safety covers off, cut the aluminum housing and extend the tensioner/alignment pulley with a steel angle and fasteners. You will have a 2x72 belt grinder for about $160. It's not great but it's much better than a 1x30. You'll also have a wide selection of 2x72 belts to choose from. I used that setup until I was ready to spend about $2k on a good machine.
 
What type of handles? Wa or western?

Look on your local Craigslist tools section, you often find great tools at low prices, especially when folks are retiring or downsizing due to not using some of these larger tools. A drill press is handy, mine has a pen vise and a movable XY type mill table though it's not nearly as accurate as a mill. A large disc sander (12") is what I use more often than not for wa handles but I don't have a 2x72, only a really fast 6x48 so I can't comment too much on that. A bench vise has been invaluable for me, as has a caliper, an accurate square, some granite or glass and some wet sand paper and spray adhesive, some needle rasps (I also tacked some sabre saw blades together and put a handle on them to widen slots.) most importantly, get a respirator and some safety glasses, not just a dust mask. I'd get a full face integrated mask if I didn't already have a few respirators. A shop vac and dust deputy will do for collecting unless you want to invest in a full system. It's really quite fun. This is one I did for a friend recently.

IMG_3216_zpszdwwxbvg.jpg
 
+1 for safety glasses/face mask and respirator. Sawdust and dust from any metal or manmade materials you grind can give you lung cancer.
 
A drill press will make your life much easier. I have one of these.

This Starrett chart on lettered and numbered drill bits was a revelation. I never knew there were drill bits besides 1/8, 1/4 inch etc. If you are fitting a nominally 1/4" pin or corby bolt for your handle and you use a letter F drill bit, it will fit properly without having to file the hole or try to shave a fraction off by twisting the drill bit.

A couple of different files and rasps will likely be helpful as well.

Nick Wheeler has some very comprehensive knife handle videos on You Tube.

Texas Knifemaker's Supply, Jantz, USA knifemaker and others all have a variety of handle making doodads that may be hard to find otherwise.

Best of luck! Get started making a handle; you will learn the most by just going for it. Know that your first handle may have a few imperfections, but as you make more you will get better.

Very helpful, thanks! DH couldn't say yes to a drill press fast enough. I' starting to research those as well. I'm thinking this one?

https://www.amazon.com/dp/B005UKGLAS/?tag=skimlinks_replacement-20

Seemed to give me a lot more flexibility and options than the 8 inch one. I'm open to suggestions.
 
Last edited by a moderator:
I like the 1" belt/ combo, but I would strongly suggest stepping up to the 1x42. Much
better machine, and a much more usable disc size.

Do you have a model you'd recommend?

I'm never going to make a living doing this, but do want to buy decent quality because I'm at a point in my life where I can. So solid, well made tools for my hobby, but probably not professional grade.
 
Ahoy TheCaptain,

I just finished my second handle I have made (the first got a gently fissure).
Gears I had was sandpapers from P100 to P1000, the Ikea hand drill, small saw and a puukko knife.
The wood I used was from old chopping block and I ad a slice of black leather between it.
I waxed with it mixture of mineral oil (1 amount) and beez wax (1½ amount).
It took me about six to seven hours and my hand hurts, but it was totally worth it. I learned a lot (hopefully).

32964339001_19daefbe81_o.jpg

If my first attempt turns out half as well I will be thrilled. Nice job!!! One quick question - is leather stable enough to hold up to repeatedly getting wet without shrinking/rotting? Did you do something special to treat/stabilize it?
 
Forget that woodcraft belt grinder.
Buy a 2x42" belt grinder for about a $150, take all the safety covers off, cut the aluminum housing and extend the tensioner/alignment pulley with a steel angle and fasteners. You will have a 2x72 belt grinder for about $160. It's not great but it's much better than a 1x30. You'll also have a wide selection of 2x72 belts to choose from. I used that setup until I was ready to spend about $2k on a good machine.

I'm flattered that you chimed in, but I believe you've seriously overestimated my level of handiness sir. Tha
 
Forget that woodcraft belt grinder.
Buy a 2x42" belt grinder for about a $150, take all the safety covers off, cut the aluminum housing and extend the tensioner/alignment pulley with a steel angle and fasteners. You will have a 2x72 belt grinder for about $160. It's not great but it's much better than a 1x30. You'll also have a wide selection of 2x72 belts to choose from. I used that setup until I was ready to spend about $2k on a good machine.

I'm flattered that you even chimed in but I think you've seriously underestimated my level of handiness sir. That, and my lack of grace means there's no way I'm taking safety covers off.

I'll never do this as more than a hobby. I'll probably be willing to go at high as $300 per machine but unless it's a screaming deal I don't see myself going higher than that amount. Your thoughts are always appreciated!
 
What type of handles? Wa or western?

Look on your local Craigslist tools section, you often find great tools at low prices, especially when folks are retiring or downsizing due to not using some of these larger tools. A drill press is handy, mine has a pen vise and a movable XY type mill table though it's not nearly as accurate as a mill. A large disc sander (12") is what I use more often than not for wa handles but I don't have a 2x72, only a really fast 6x48 so I can't comment too much on that. A bench vise has been invaluable for me, as has a caliper, an accurate square, some granite or glass and some wet sand paper and spray adhesive, some needle rasps (I also tacked some sabre saw blades together and put a handle on them to widen slots.) most importantly, get a respirator and some safety glasses, not just a dust mask. I'd get a full face integrated mask if I didn't already have a few respirators. A shop vac and dust deputy will do for collecting unless you want to invest in a full system. It's really quite fun. This is one I did for a friend recently.

IMG_3216_zpszdwwxbvg.jpg

Safety advice is appreciated and taken very seriously. I have asthma so I was already planning on getting a full face mask. I'm looking at grinders that we can attach our shop vac to. Nice job on the handle by the way!
 
I'm watching craigslist to get a feel for what comes available. Like most of my undertaking, I'll probably research for several weeks before pulling the trigger on something. Thoughts and feedback is appreciated.

Going to start with wa handles, then move on to western if I seem to do ok.
 
Honestly, if you want to stay budget, I've done a lot of handles using some rasps and files, half-round and flat, etc. A nice table, vise, and a sturdy way to fix the handle is pretty much necessary, but sharp hand tools can remove material pretty quickly. Then of course, sandpaper with sanding sticks and stuff.
 
If my first attempt turns out half as well I will be thrilled. Nice job!!! One quick question - is leather stable enough to hold up to repeatedly getting wet without shrinking/rotting? Did you do something special to treat/stabilize it?

Time will tell what is going to happen to leather. I hope that the wax-oil will protect it enough.
 
You already got quite some advice, so here is how I make WA handles now (without metal bolsters). I have a 1x30" belt grinder with 5" disc grinder on the side.

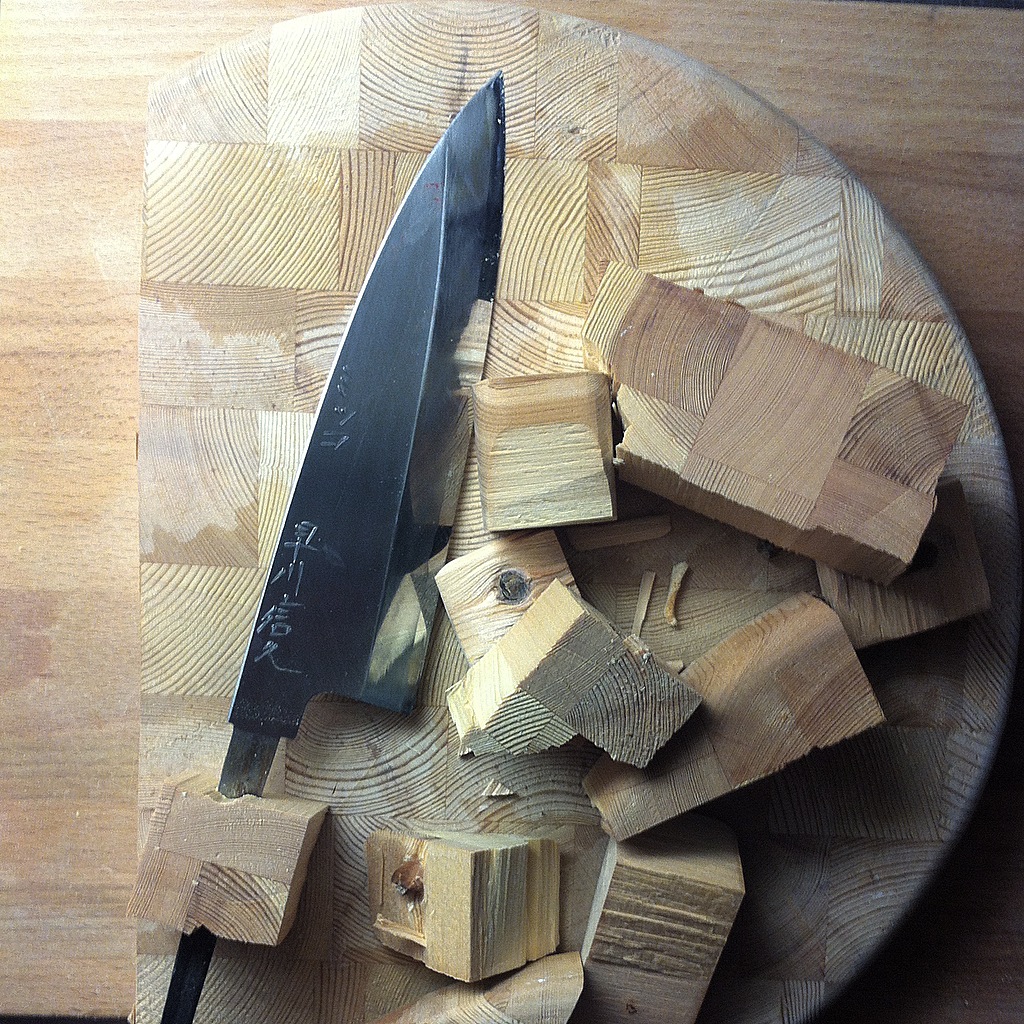
1) Pick the material for the handle and the ferrule
2) If the handle blok is too large (they usually are for WA handles) - use the belt grinder with a coarse (say #40) belt to remove material from one or two sides. I usually get the block down to about 25 x 30 or a little bigger. Get the grind as flat as possible with the belt grinder.
3) use coarse (#80) sandpaper taped to dead flat hard surface (I have a piece of stone that was a small table-top) and flatten AND square-up the block - in particular the ends, then move to finer paper (say #180).
4) Do the same with the ferrule
5) If you plan to use a spacer (finer or thin wood) prepare it in about the same cross section as the handle block
6) Make sure all contact sides are dead flat.
7) If any of the wood materials are oili, rub the side where you plan to glue with ethanol and leave to dry for a while
8)I use G/flex epoxy (the less viscous one) as it has 45 minutes pot time, and glue the handle together and put in a long clamp (of some sorts)
9) Next day I take the glued block to a belt sander and clean it up - if necessary do some coarse stock removal (if the block was too large, etc.
10) Clean by hand on coarse and then finer sandpaper (I go up to about #240), square up the to of the ferrule.
11) Mark centrelines on all sides of the block with a pencil as well as on the top of the ferrule and on the other side of the handle.
12) I carefully 'tap' the butt of the handle where the center is, so that I have it as a reference point once I start to grind the handle closer to shape
13) I drill a hole to the block for a dowel - I use dowels with diameter of either 10 or 12 mm depending on the size of the handle. Here the drill press is indispensable - make sure you have the alignment right before you start to drill. Do not hurry during drilling.
14) I cut the pice of beech round stock - about 5mm longer than the depth of the drilled hole.
15) I cut the slot (as precisely as possible) with a hack saw, than use medium grit belt (usually #120) on the belt sander to adjust the width of the slot - keep checking it out against the tang of the blade for which the handle is intended. Make the slot some 5 mm longer than the tang.
16) Once the tang fits well I slightly sand the dowel from outside, so I am able to fit it inside the handle with the tang inserted - a dry fit, so to say. It should fit easily without needing much force - the fit will get tighter once you will start to glue it all together.
17) Apply small amount of epoxy (less is more here) on the outer sides of the dowel and put it inside the handle. I shortly insert the blade to make sure I get the right position (rotation) of the dowel.
18) I take the blade out, and us some narrow wedge (off-cut piece of steel that slowly gets wider along its length is perfect) and insert it inside the dowel - this way I can make sure that there will be no gaps between the dowel and the ferrule.
19) Allow the wood to cure until the next day.
20) Check the fit again - with good probability some glue leaked in the dowel and you may not be able to fit in the blade. I use needle flat rasps on which I ground one flat side flat, so they are thinner and I have more control where I remove material.
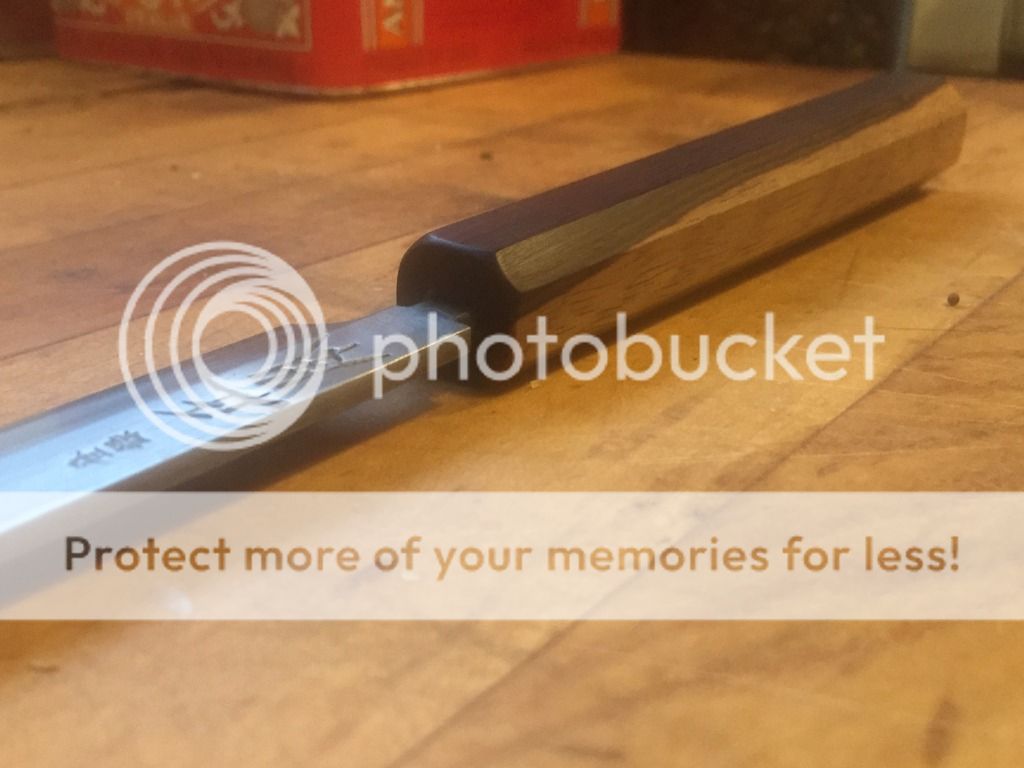
21) Once the tang fits again nicely grind the front side of the ferrule and clean it up.
22) Since the handle is at this stage all squared up I can move to the pre-shaping of the handle
23) I draw the lines on the upper and lower side of the handle (tapering towards the ferrule) that already represent close-to-final width of the handle
24) I grind the sides of the handle with a belt grinder and clean and flatten them up by hand on the sanding stone with #120 sandpaper
25) Now I repeat the process - draw the lines on freshly refinished left and right side of the handle and grind and then flatten the top and bottom of the handle - inclusive a taper.
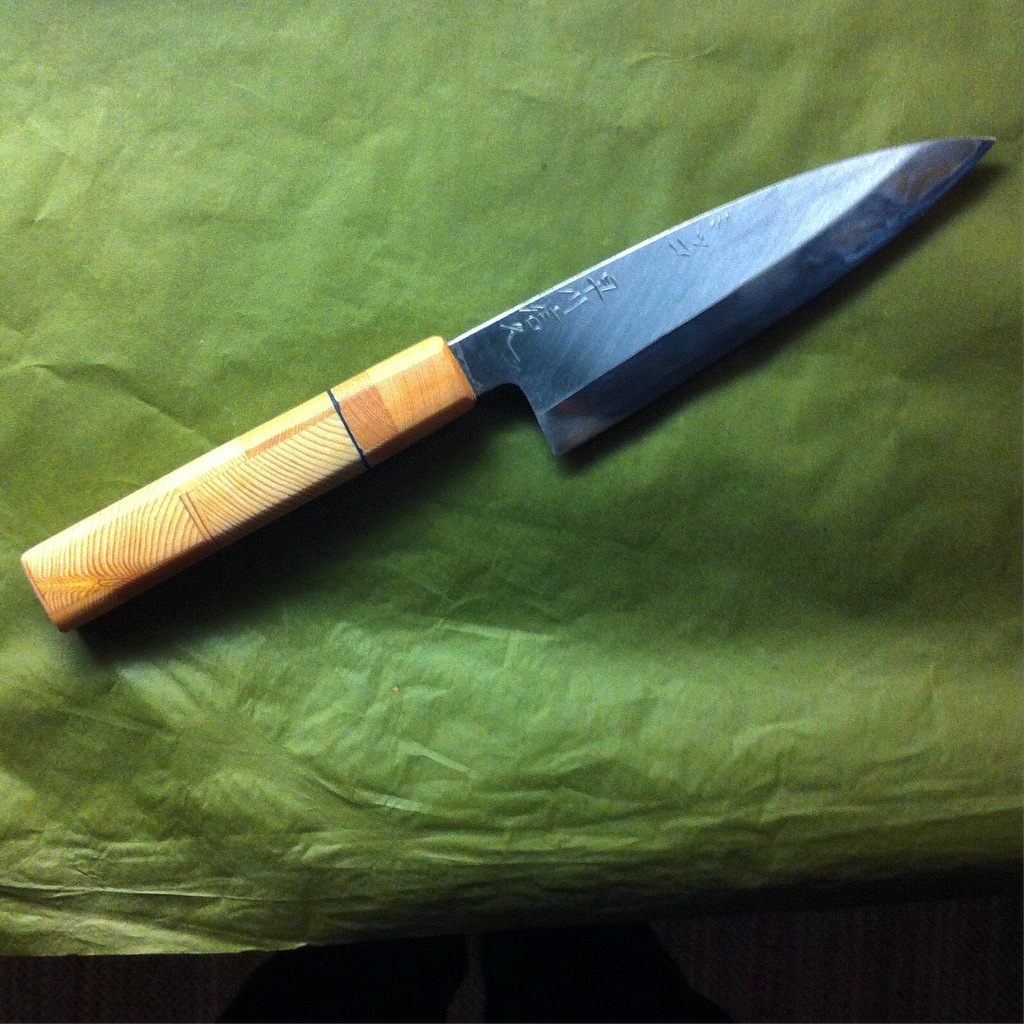
26) At this stage I have a pre-shaped handle that should have close to the final width and height. I still use the centrelines on the ferrule and bottom of the handle to keep things centred.
27) Now comes the tricky part. I use the disc sander with a fresh #150 disc and start to grind the octagonal shape. I check regularly and do this in iterative manner. Remember - once you grind too much, there is no way back. I check regularly in my hand and with the blade inserted as the impression on what feels right depends strongly on the weight of the knife.
27-B) If I want to do some additional tapering on the ferule I do it now.
28) Once I am happy with the shape I clean up all 8 facets on the sanding stone and with #240 paper (if I used #150 disc). One should be careful here and check that the pressure is being applied evenly over the facet being sanded, as one could easily over-sand on one side (or on one edge). I usually turn the handle front-to-back after a few strokes. The main point here is to remove all the scratches from the disc sander, but not more.
29) I continue sanding the handle by hand - I use a small block of wood of about 20 x 50 x 100 mm, put a strip of strong double-sided Tesa tape on each of the long narrow sides, and attach a strip of sanding paper. I go through grits 400, 600, and 1000 - depending on the wood I may stop at 6000, or go up to 2000. If the wood is some softer wood, I do wet sanding steps in between (240 wet, 240 dry, 400 wet, 400, dry, then only dry), so I do not get too much expansion once the handle will be oiled for the first time. I also sand (round) front edges on the ferrule with every grit. I only sand the butt of the handle under one constant angle, but that is just a matter of taste.
30) If the handle is to be treated with some hardening oil (Tru-Oil or Tung Oil) I do that now. I only sand the handle with 0000 steel wool and only as little as needed as it tends to round the edges on the WA handle fast. I repeat this step 2-3 times.
31) If I do not want to apply Hardening oil (e.g. with ironwood), I apply a few coats of board butter and sand with steel wool.
32) The handle is now ready to be mounted (glued). I use G/Flex epoxy for that as it flows relatively easily (OK, it needs some help) inside the narrow tang opening.

Yes - that is probably unnecessarily too complicated, but at least you know why does it take me so long to finish a project :)

I plan several more steps in the middle if the handle should have metal spacer, but I have not tried that yet, so it would be too early to share it as an advice.
 
That was an easy sell. Is there much difference in options for belts with a 36 inch vs a 72 inch belt?

36 inch seem to be more commonly available (personal observation only), but I can't say whether there's more variety, or not. Probably just more people making them.
 
You already got quite some advice, so here is how I make WA handles now (without metal bolsters). I have a 1x30" belt grinder with 5" disc grinder on the side.
...

I plan several more steps in the middle if the handle should have metal spacer, but I have not tried that yet, so it would be too early to share it as an advice.

+++1!!! Thank you so much for taking the time to type this out! You are truly inspiring!
 

Latest posts

Back
Top