Noah
Well-Known Member
- Joined
- Dec 14, 2016
- Messages
- 205
- Reaction score
- 0
I've been working on learning blacksmithing and studying up on metallurgy for the past 3 months. Not long at all, but it's given me time to gain some basic skills and begin building my tools.
I held off on bladesmithing because I was in no rush and wanted to get the lay of the land a bit before attempting something this involved.
I know some would advise diving right in, and I'm sure that's fine too. Often I dive right in and hope I can swim. With this though, I just chose to take it slow and try to build some good habits.
The learning process has been great fun so far. Certainly no end of that in sight!
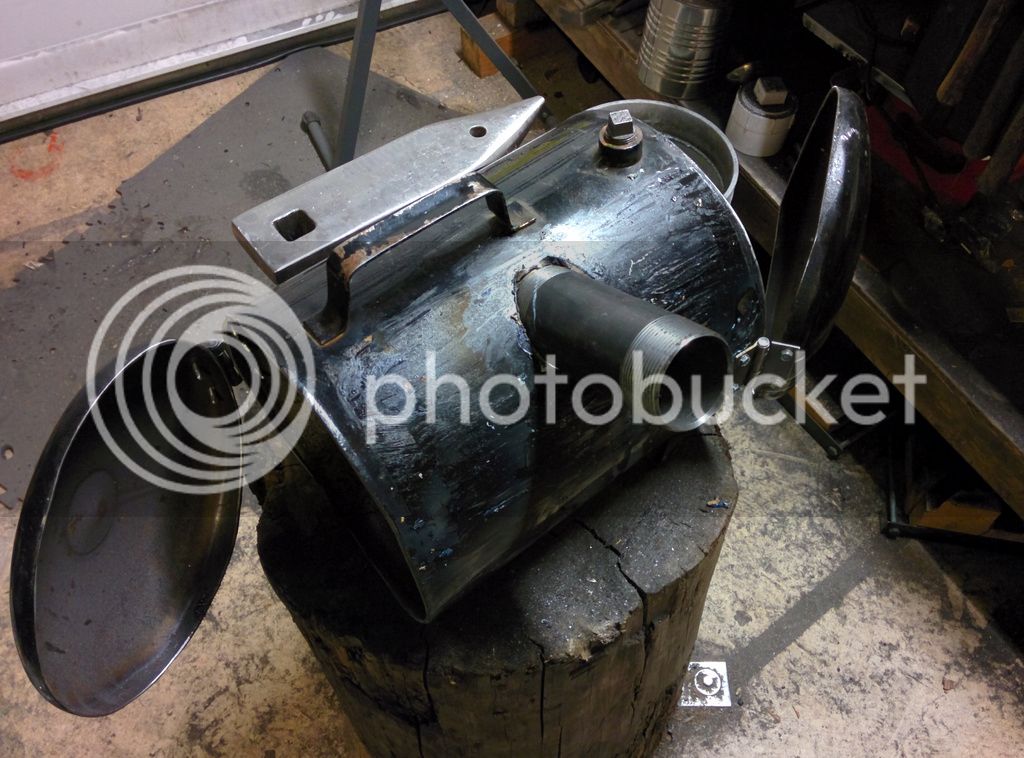
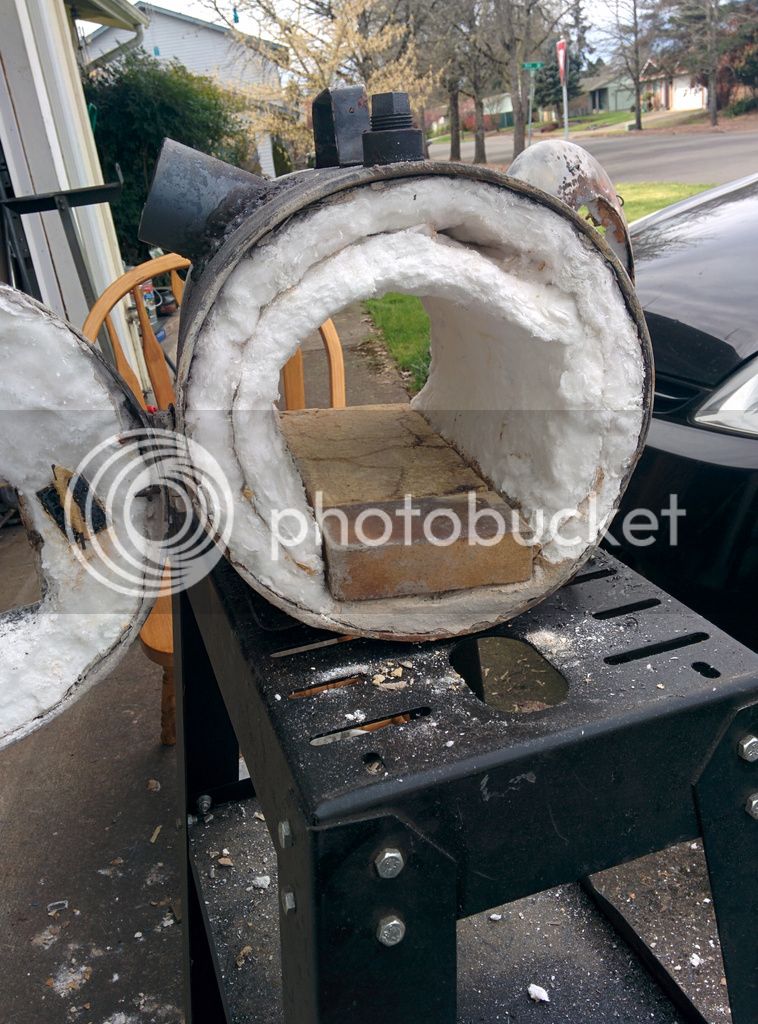
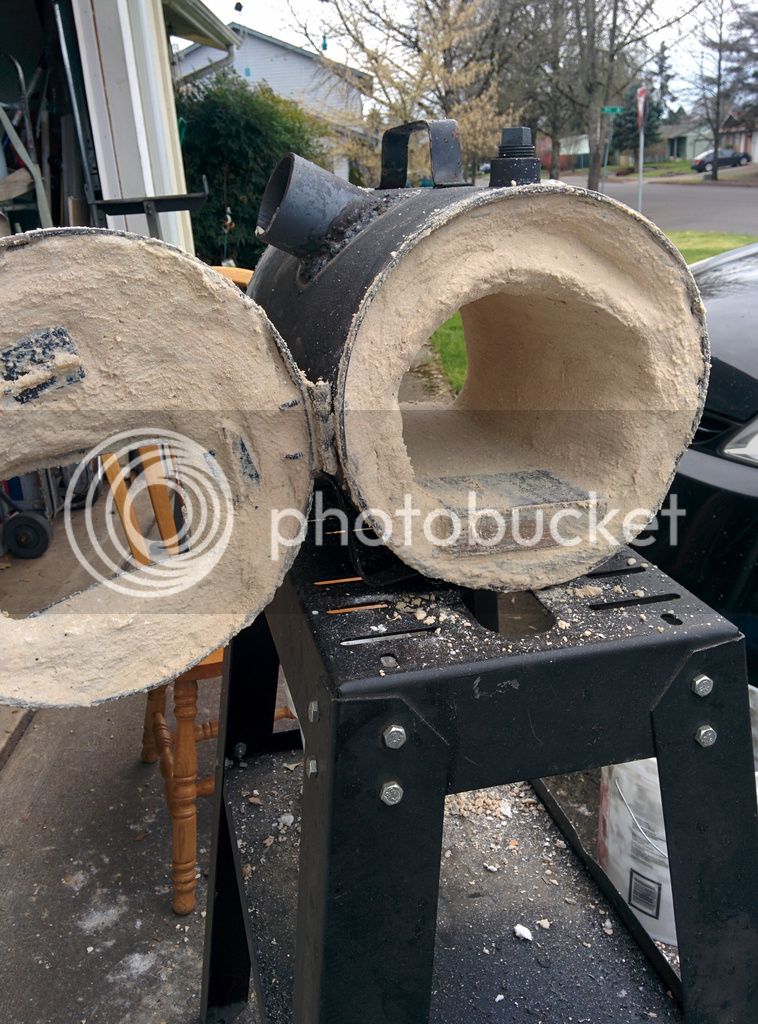
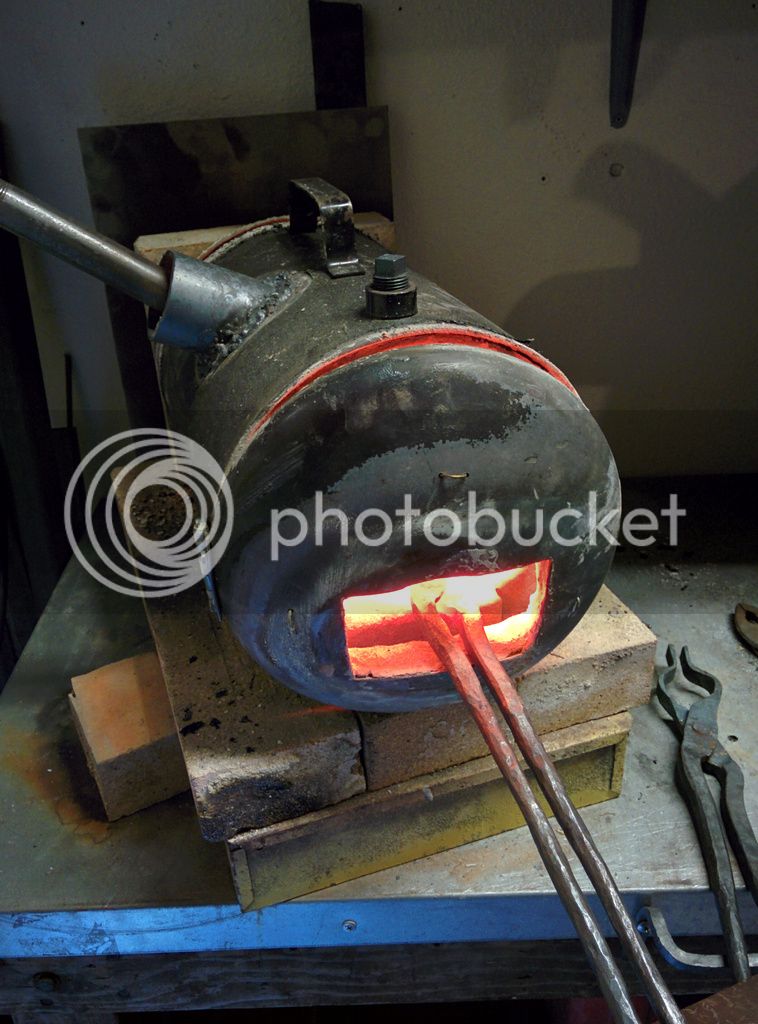
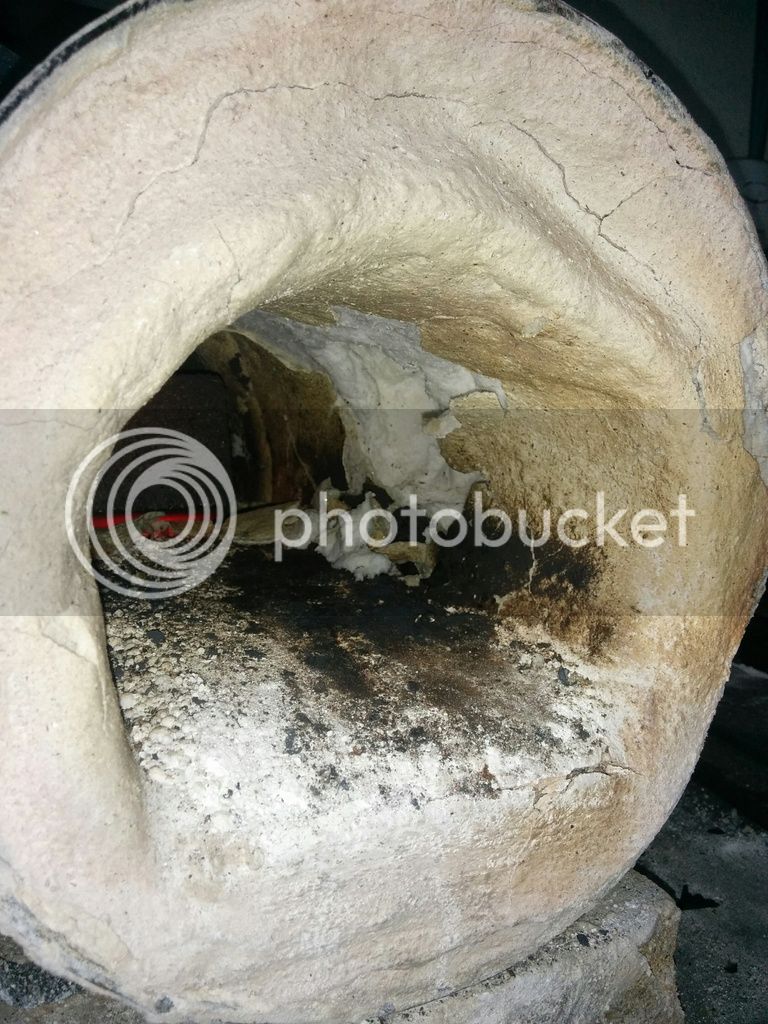
Here's a pic of my new forge after curing the ITC-100 and bubble alumina. I'll follow up with some pictures of the first knife as it comes along.
Comments, questions, and/or advice are always welcome!

I held off on bladesmithing because I was in no rush and wanted to get the lay of the land a bit before attempting something this involved.
I know some would advise diving right in, and I'm sure that's fine too. Often I dive right in and hope I can swim. With this though, I just chose to take it slow and try to build some good habits.
The learning process has been great fun so far. Certainly no end of that in sight!
Here's a pic of my new forge after curing the ITC-100 and bubble alumina. I'll follow up with some pictures of the first knife as it comes along.
Comments, questions, and/or advice are always welcome!

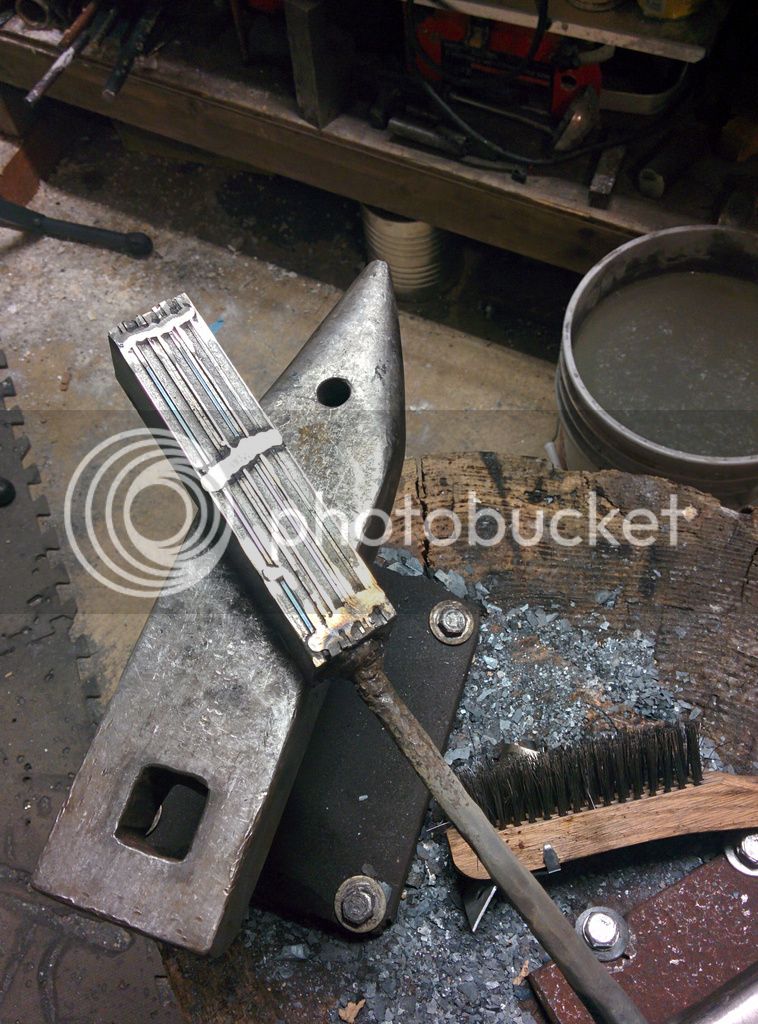
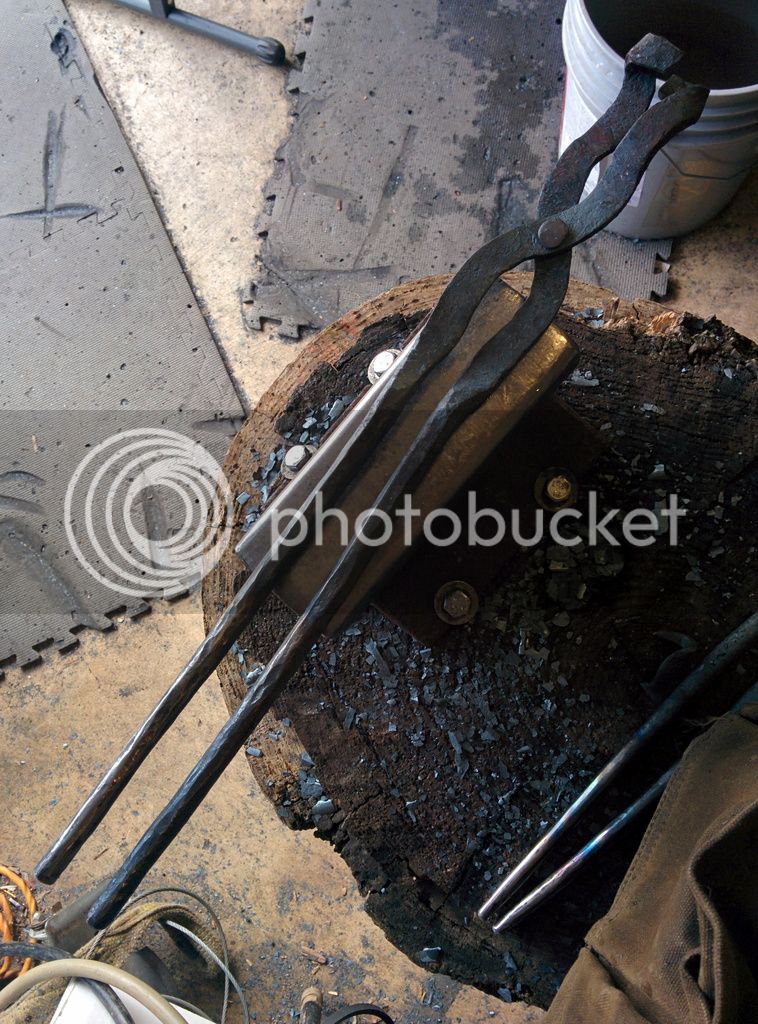
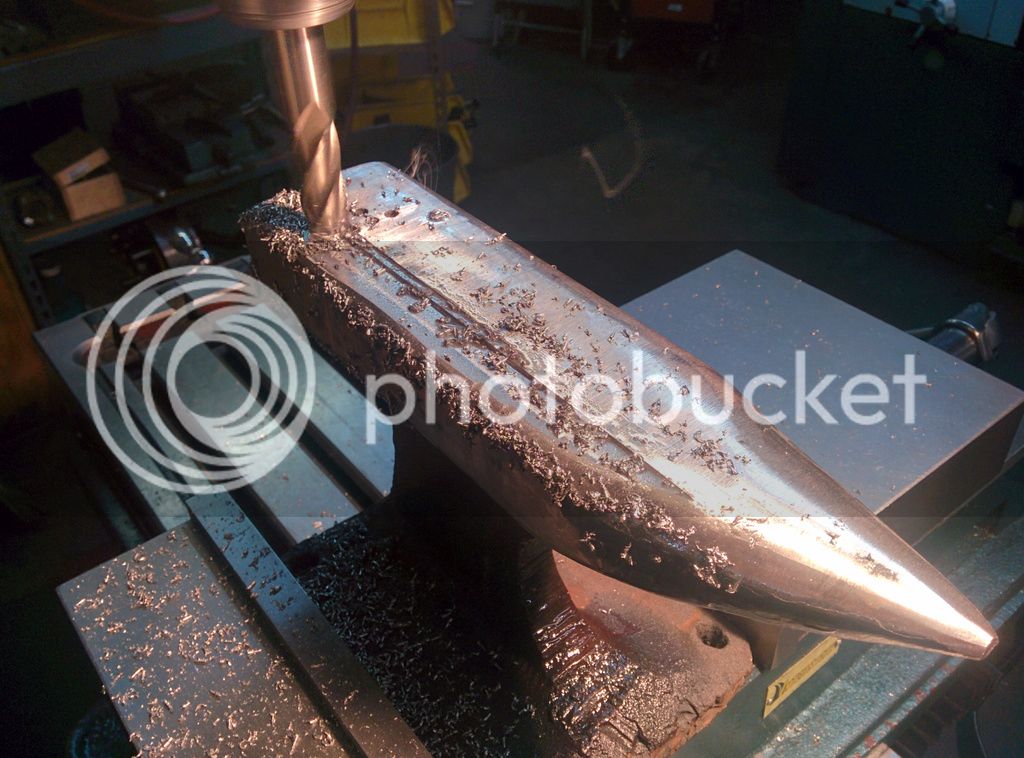
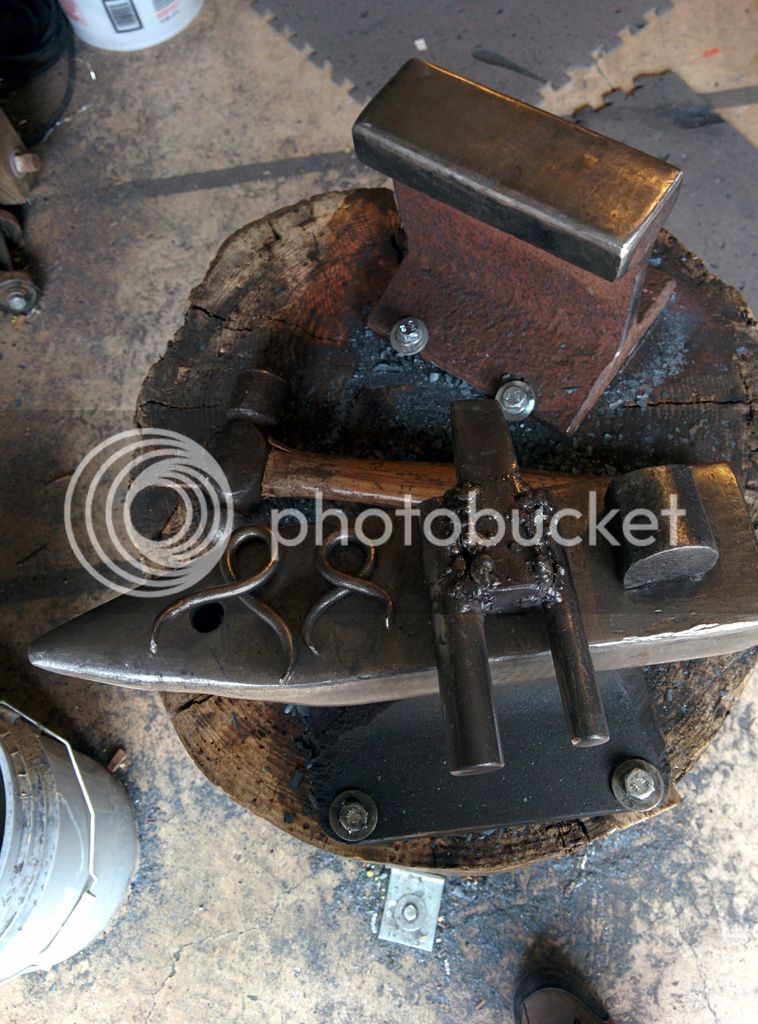
 But at least it still gives me a striking anvil with some useful tool holes. I use the shorter track of my original anvil for most things, since that at least hardened and stays smooth.