


zetieum
Senior Member
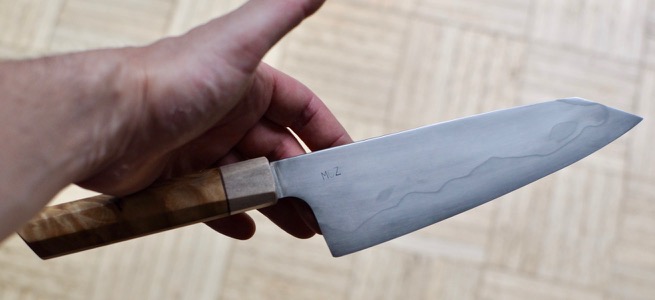
I have been spending some time in during the last weeks to improve the knife that I made during the Grind-in week-end by Robin @Dalman (see http://www.kitchenknifeforums.com/s...t-grind-in-quot-make-your-own-knife-13-14-may). The knife I was lucky to make was a K-tip guyto, Mizu-honyaki (i.e. water quench with differential hardening). The geometry is a kind of S grind on the left-side and convex right side.
I was (and still am) very pleased and lucky to have manage to do that in one week-end under the direction of Robin as the first knife I ever made. But the knife was faaaaar from perfect:
- I was too thick behind and above the edge, especially in the middle of the blade
- The finish was not perfect: some low grit marks, the Hamon was visible but not very pronounced
- it was heavily bent, so much that it was almost not possible to sharpen it on flat stones.
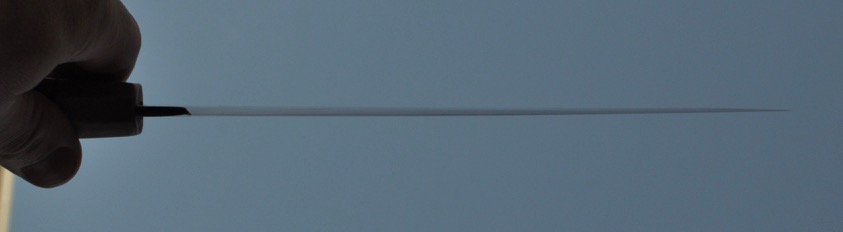
I have decided to work on these issues. I though of thinning it and progressively straighten it after thinning steps. My idea was that by removing some steel on the lower part of the blade, that is the hardest, I could maybe release some of the tension that made the blade bent and ease the straightening by having less hard steel handle. So I went through thinning/straghtening cycles.
- To straighten, I just bent the blade in the other direction until a point I felt it was going to break. I worked pretty well.
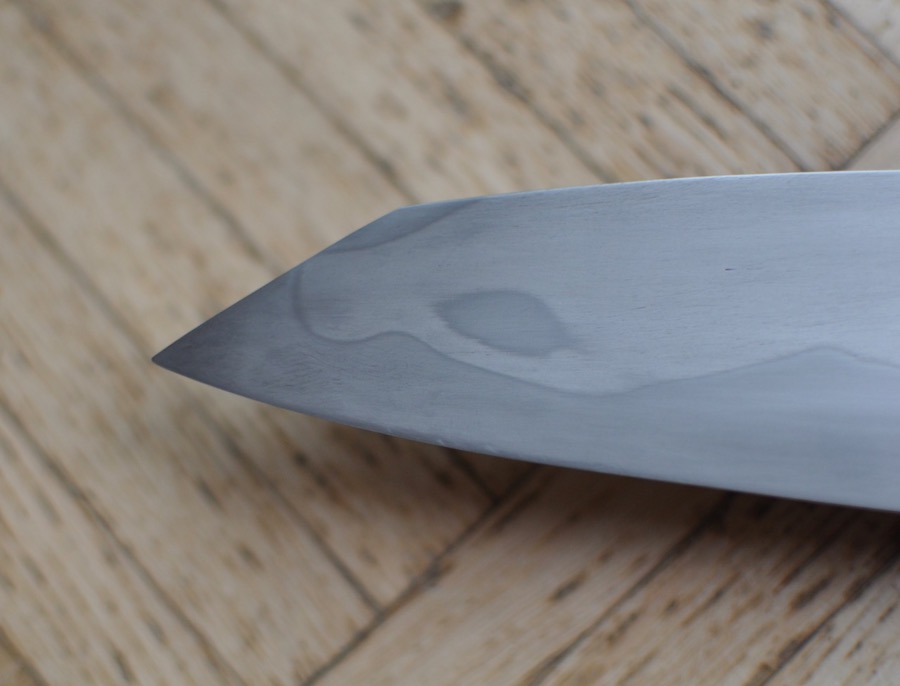
- Thinning was done using atoma 400. Never a fun job. I stoped at ~0.15-0.2mm being the edge, 0.6-0.8 at 0.5cm and 1.2-1.3mm at 1cm. At the end I put some convexity to improve food-release.
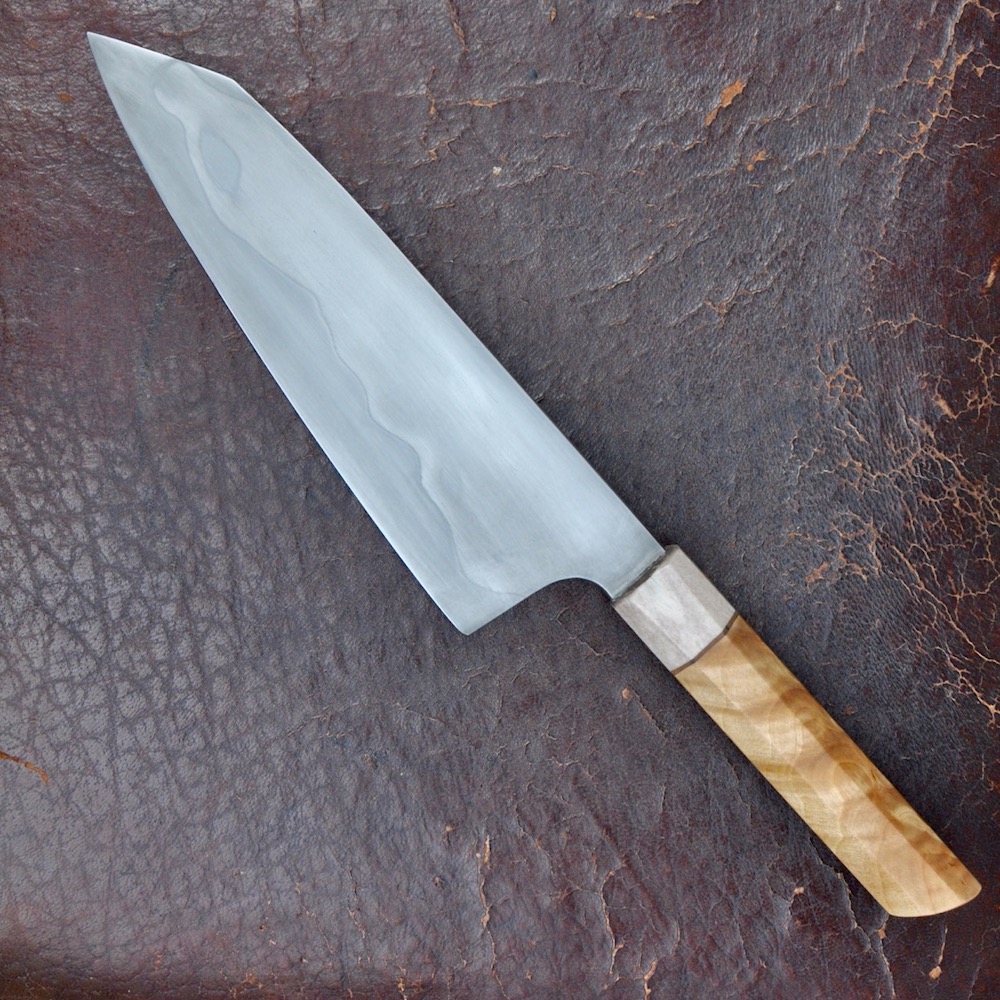
- Then I refinished the blade using EDM orange stones and sand paper. I then etched the blade in ferric chloride, and sand it. This was done several time to enhance the Hamon. The on the final etch, I finished the bade using a mix of 1000 grit powder mix with some suita powder.
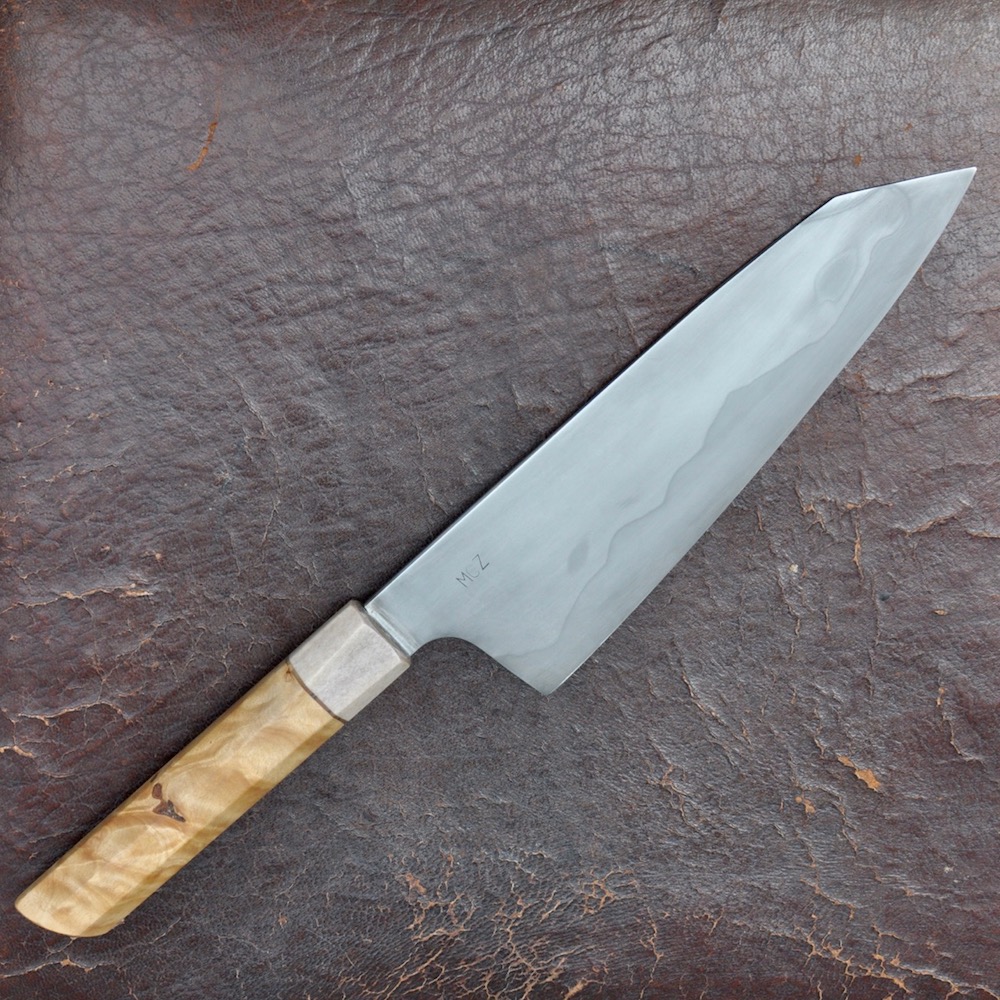
And here is the result") . Much better that what I though I could achieved in all aspects: beauty, cutting performance, and FR. None of this would have been possible without Robin.
. Much better that what I though I could achieved in all aspects: beauty, cutting performance, and FR. None of this would have been possible without Robin.
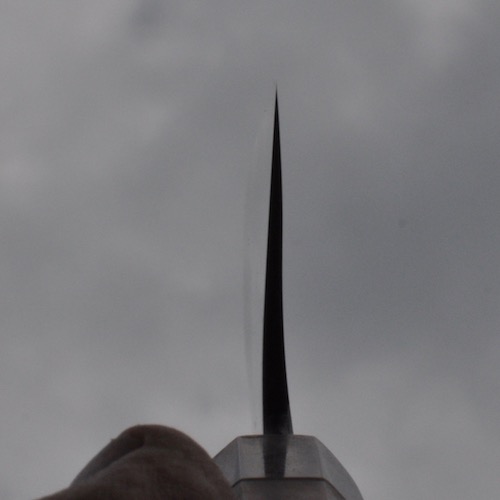
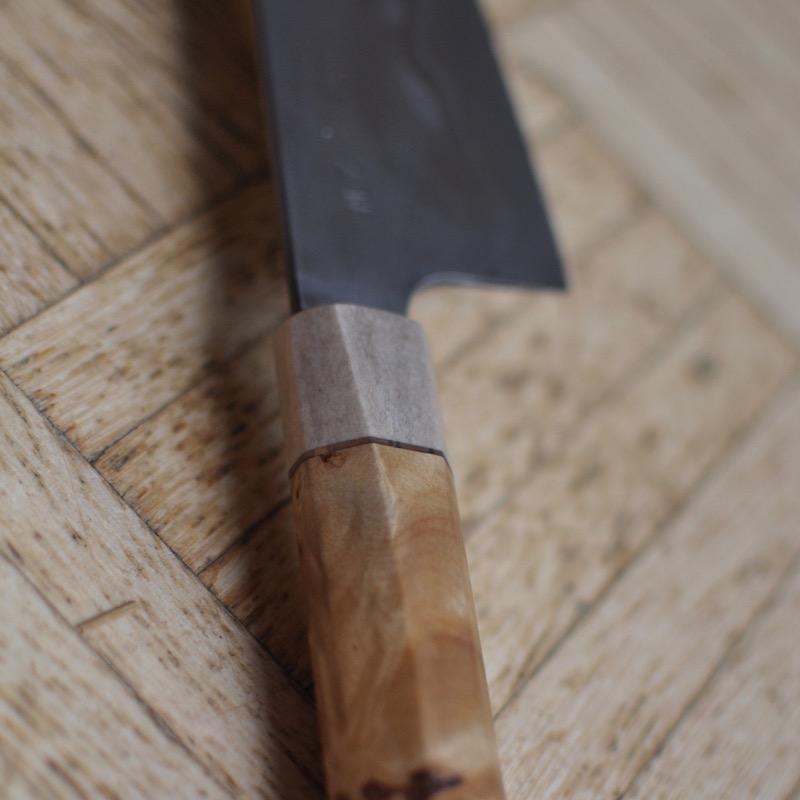
it is almost straight: but at this point, it is not a problem anymore.
[video=youtube;0IzM3ZzTvyc]https://www.youtube.com/watch?v=0IzM3ZzTvyc[/video]

I was (and still am) very pleased and lucky to have manage to do that in one week-end under the direction of Robin as the first knife I ever made. But the knife was faaaaar from perfect:
- I was too thick behind and above the edge, especially in the middle of the blade
- The finish was not perfect: some low grit marks, the Hamon was visible but not very pronounced
- it was heavily bent, so much that it was almost not possible to sharpen it on flat stones.
I have decided to work on these issues. I though of thinning it and progressively straighten it after thinning steps. My idea was that by removing some steel on the lower part of the blade, that is the hardest, I could maybe release some of the tension that made the blade bent and ease the straightening by having less hard steel handle. So I went through thinning/straghtening cycles.
- To straighten, I just bent the blade in the other direction until a point I felt it was going to break. I worked pretty well.
- Thinning was done using atoma 400. Never a fun job. I stoped at ~0.15-0.2mm being the edge, 0.6-0.8 at 0.5cm and 1.2-1.3mm at 1cm. At the end I put some convexity to improve food-release.
- Then I refinished the blade using EDM orange stones and sand paper. I then etched the blade in ferric chloride, and sand it. This was done several time to enhance the Hamon. The on the final etch, I finished the bade using a mix of 1000 grit powder mix with some suita powder.
And here is the result
. Much better that what I though I could achieved in all aspects: beauty, cutting performance, and FR. None of this would have been possible without Robin.it is almost straight: but at this point, it is not a problem anymore.
[video=youtube;0IzM3ZzTvyc]https://www.youtube.com/watch?v=0IzM3ZzTvyc[/video]