Burl Source
Weird Wood Pusher
- Joined
- Jun 13, 2011
- Messages
- 4,340
- Reaction score
- 7
I messed up on the other thread and the photos did not show up. Hopefully I will get it right this time.
Yanagi-ba - WIP - A kitchen knife being made for me by Stacy Apelt
Stacy Apelt is a Bladesmith I have known for several years on one of the other knife forums.
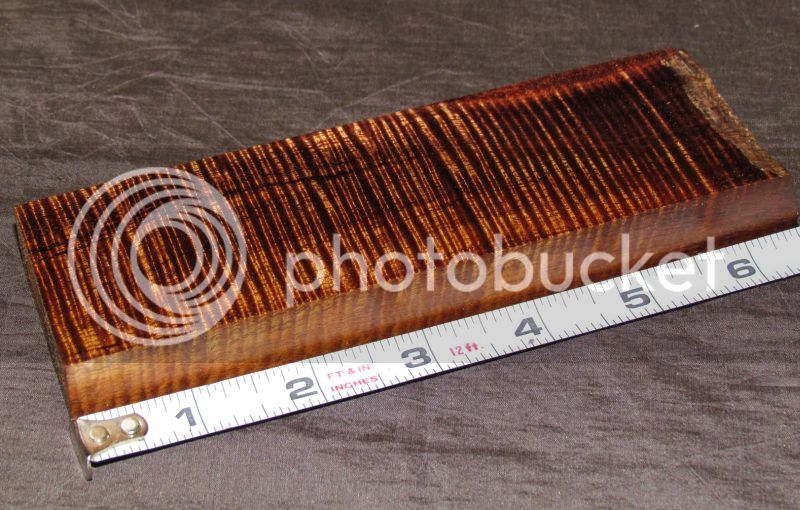
A while back I had posted a photo of a piece of fiddleback koa I thought was too pretty to use.
He suggested using it as handle material on a Yanagi-ba.
This is the knife as it is being made with comments and photos by Stacy.
Bear in mind that a lot of his comments are aimed at other knife makers with limited knowledge of Japanese knives.
================================================== ====
Stacy Apelt - WIP - Yanagi-ba
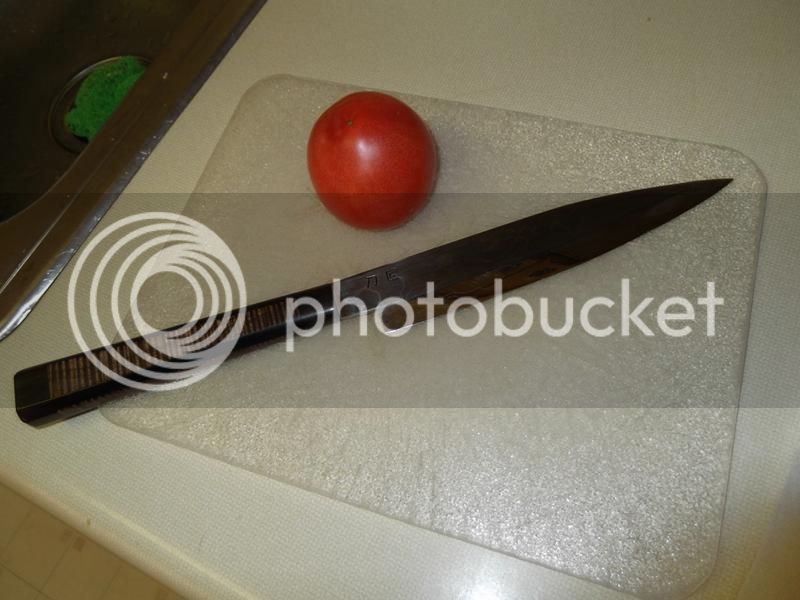
This project is a smaller Yanagi style blade for general kitchen slicing chores.
Yanagi means willow in Japanese, so a yanagi-ba is a willow blade knife. This describes its long, slender shape with a pointed tip.
The project will entail making the blade form a san-mai billet with a center core of 52100, and outer segments of 1095 and pure nickel damascus.
The blade will end up about 1.25 wide and have an edge length of 7. The handle will be 5 long.
The blade will be single bevel Chisel Grind, or Kata-kiri-ha .
The back will be ground in a shallow hollow grind, and the front a single bevel rising half way up the side. I will do almost all the shaping by stock reduction.
The handle will be an assembled two-tone octagon shape. More on that later.
Lets get started:
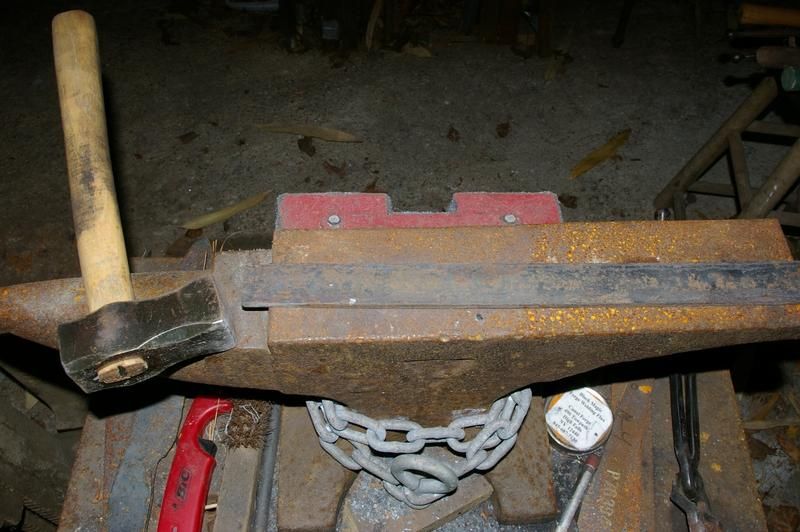
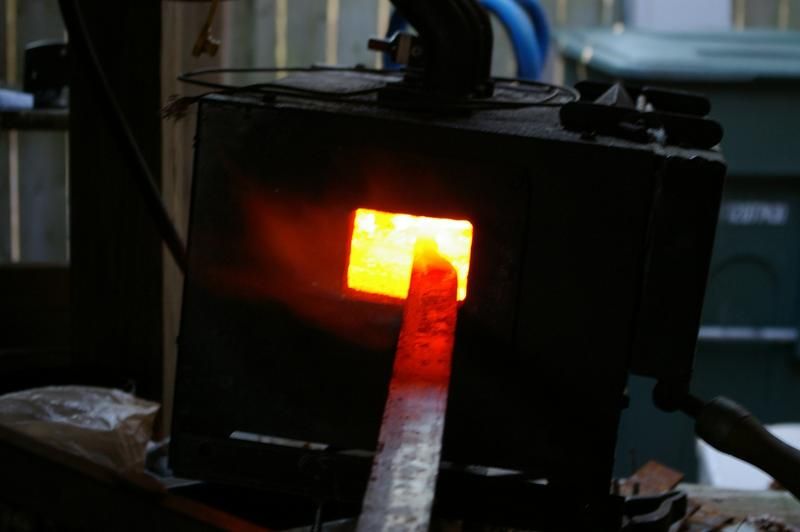
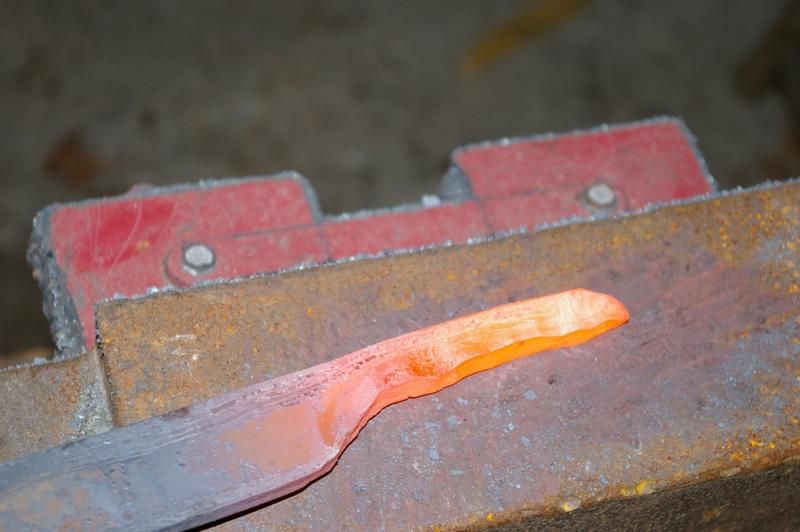
The billet was a bit too narrow for this project, so I pulled down the edge a bit to widen it. While the forge was on, I drew out the tang and roughed in the bevels and distal taper. This could have been cut from a wider billet without forging.
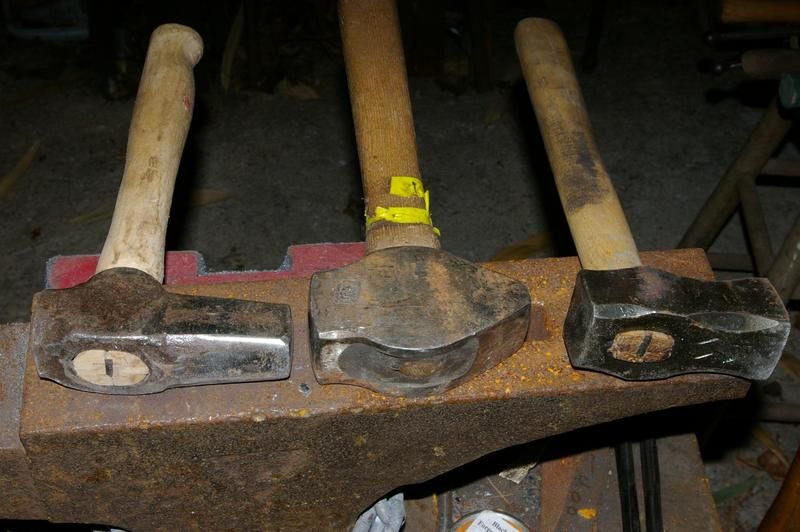
Photos of the forging
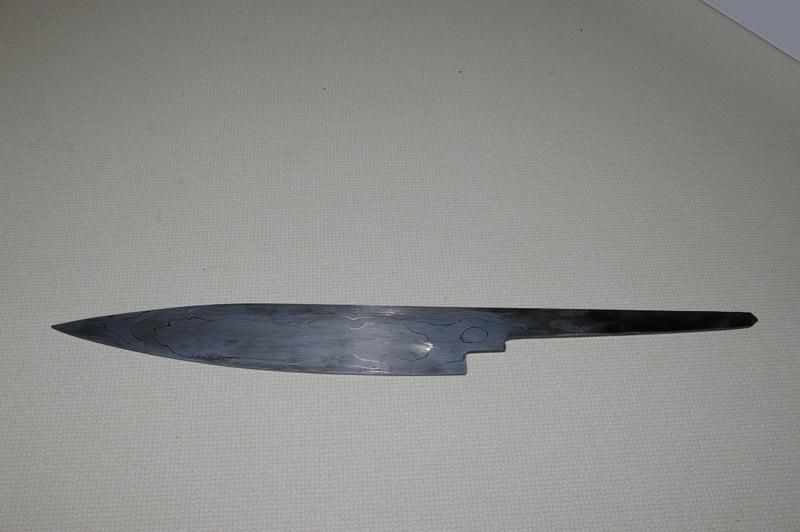
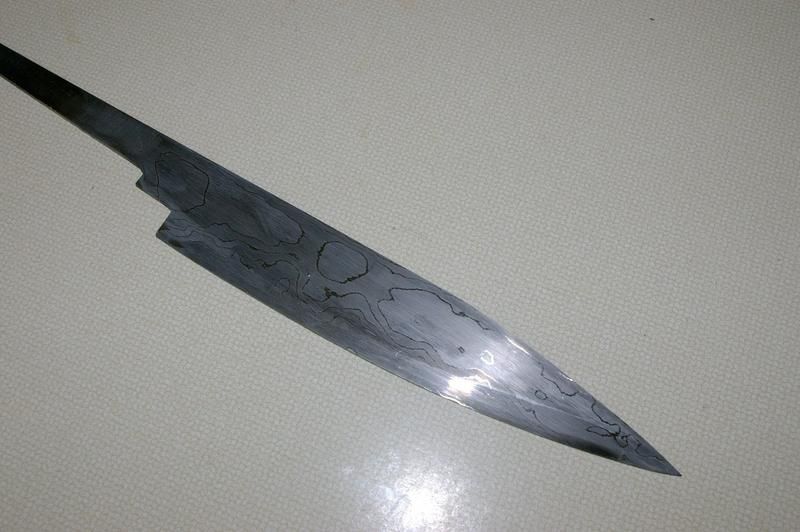
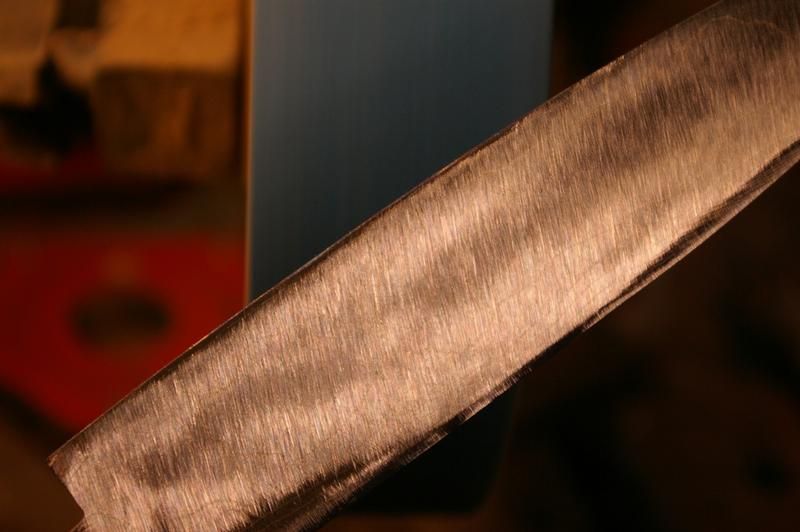
The basic profile was roughed in on the grinder, using a 60 grit Blue Zirconia belt. These belts will really hog steel, but also leave a surprisingly smooth surface.
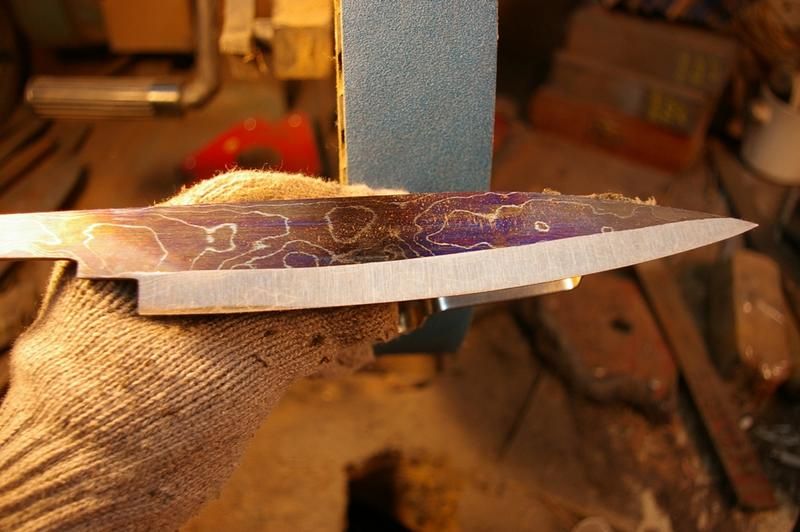
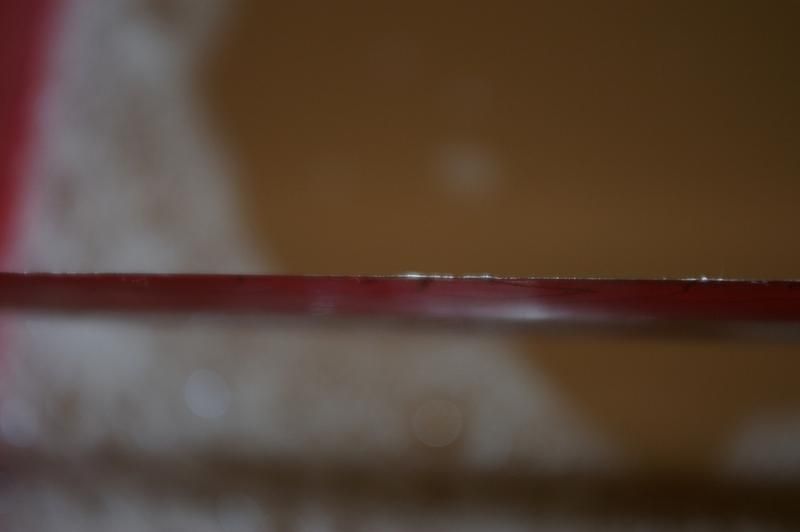
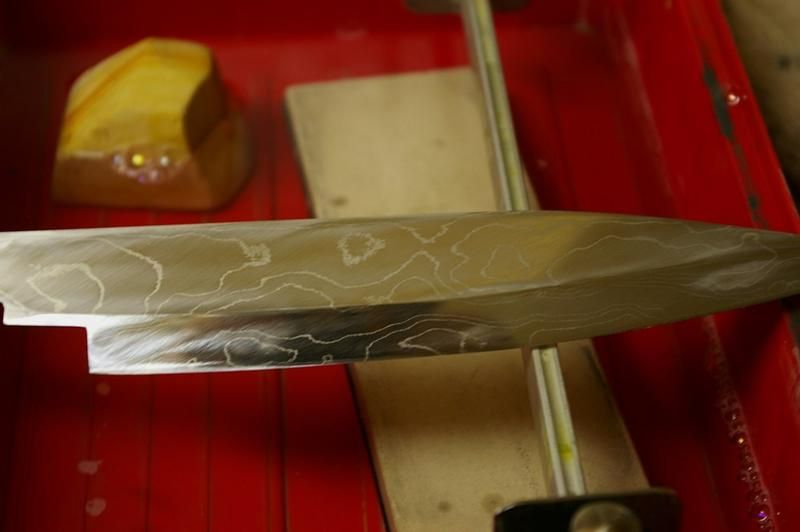
The tip is placed about the center line. The bevel is only roughly ground to set the angles.
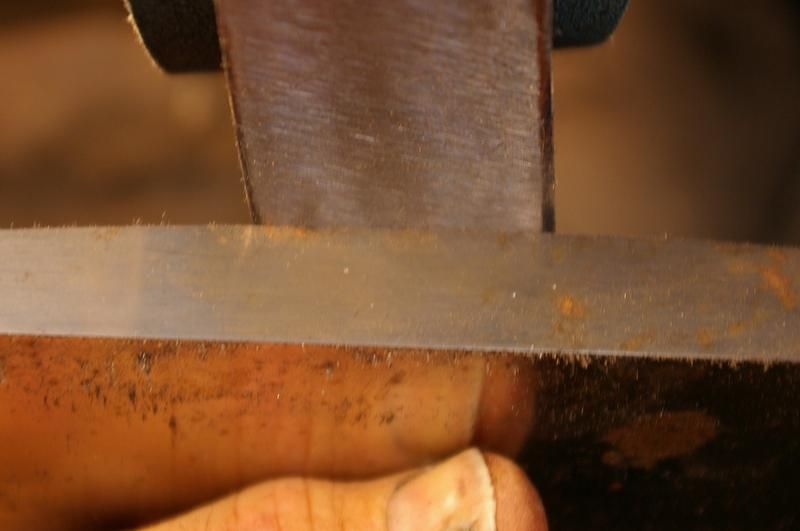
The back will need to be hollow ground. I would normally do this on a 48 radius platen, but later on I will show a trick on making a larger radius with a smaller wheel.
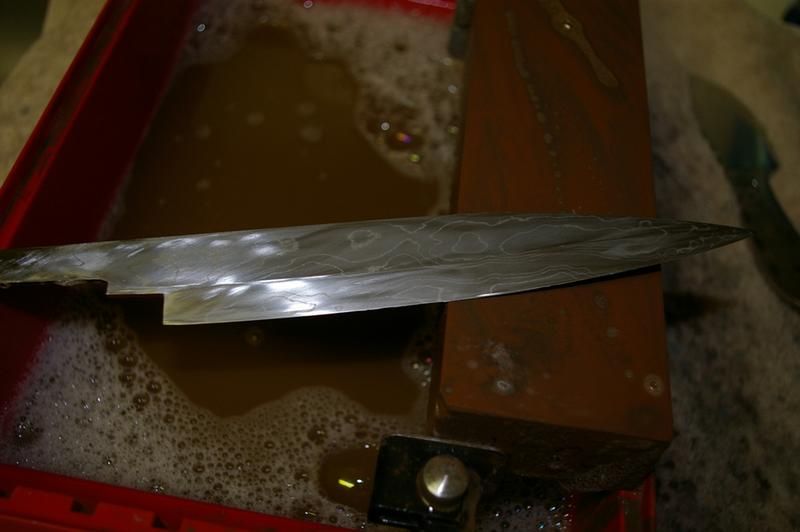
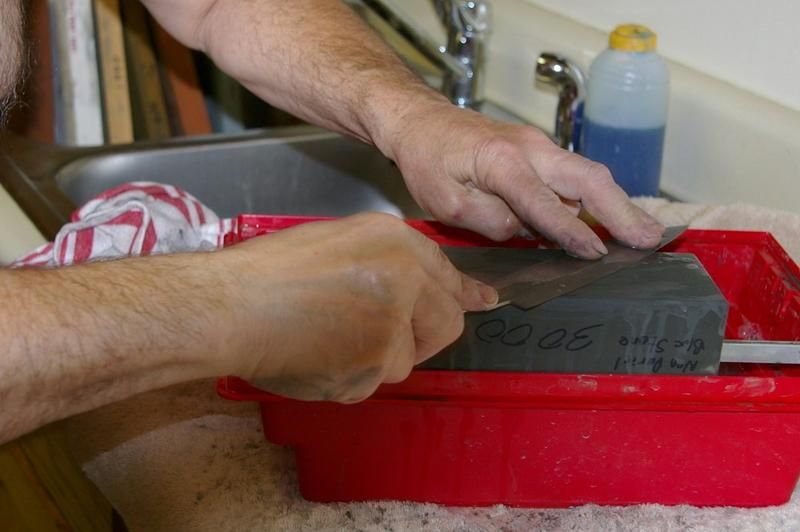
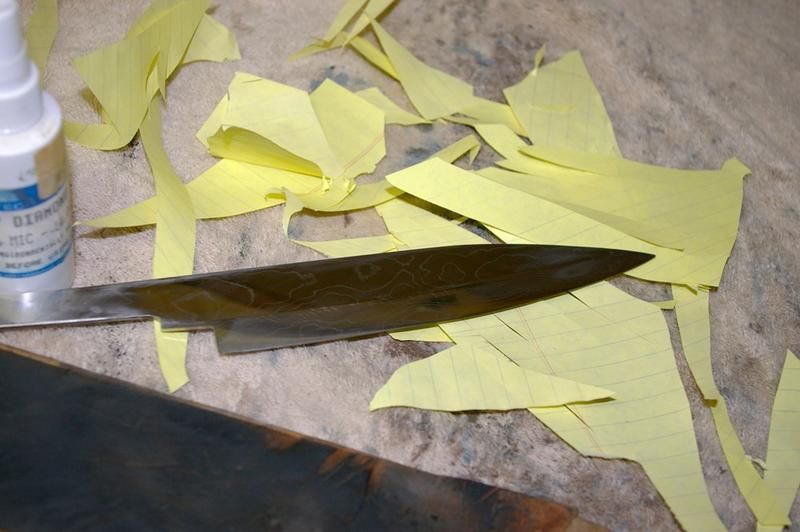
I shaped the tang to a taper, then refined all grinds with the same 60 grit belt. This is where we will stop grinding. The rest will be by hand.
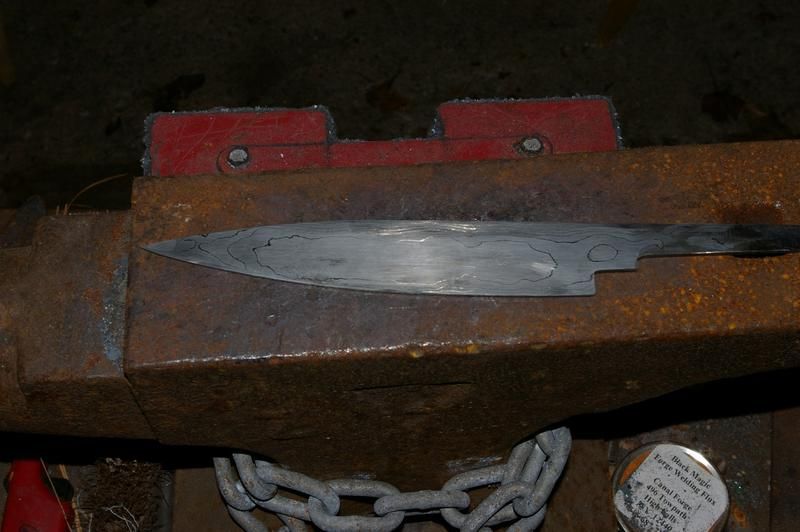
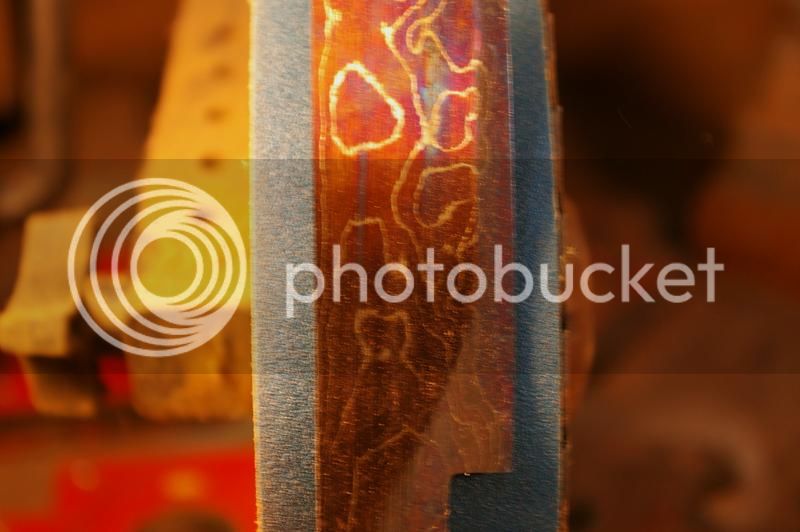
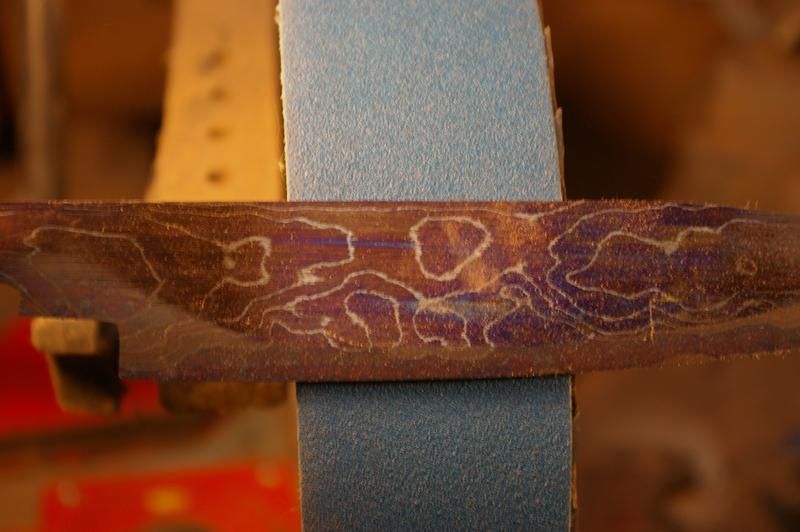
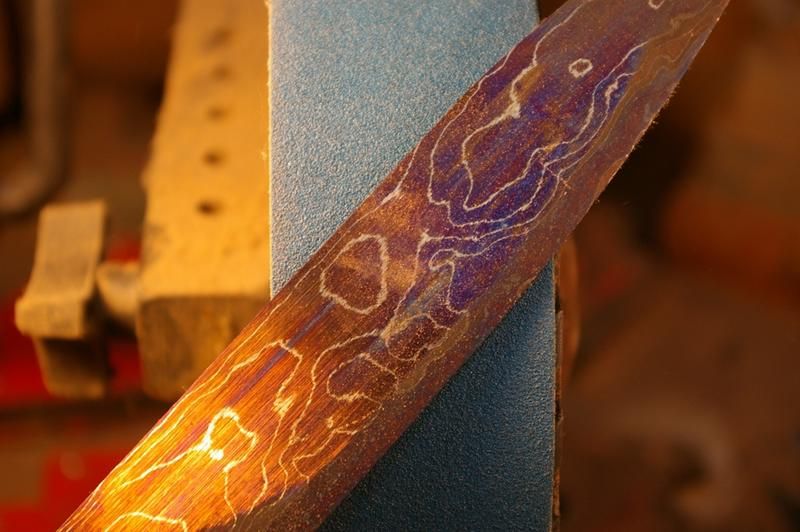
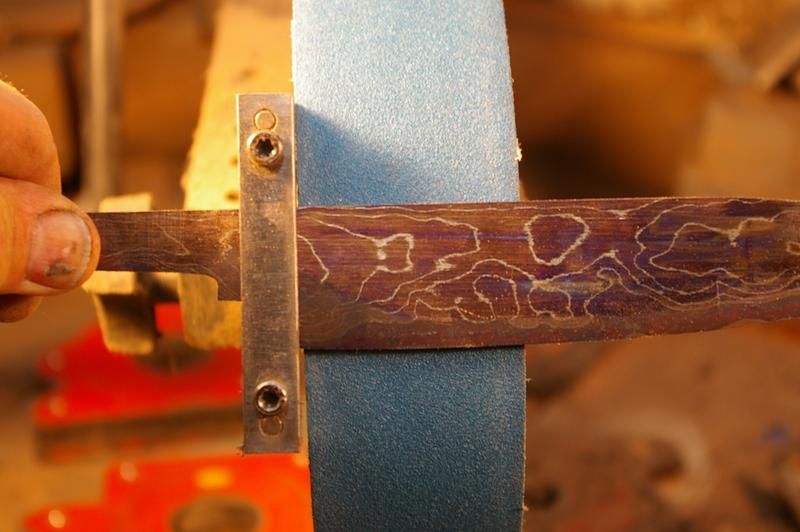
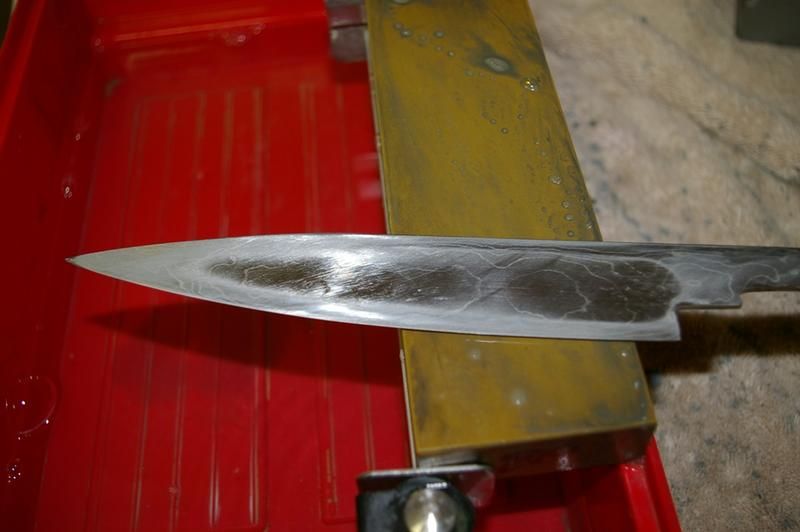
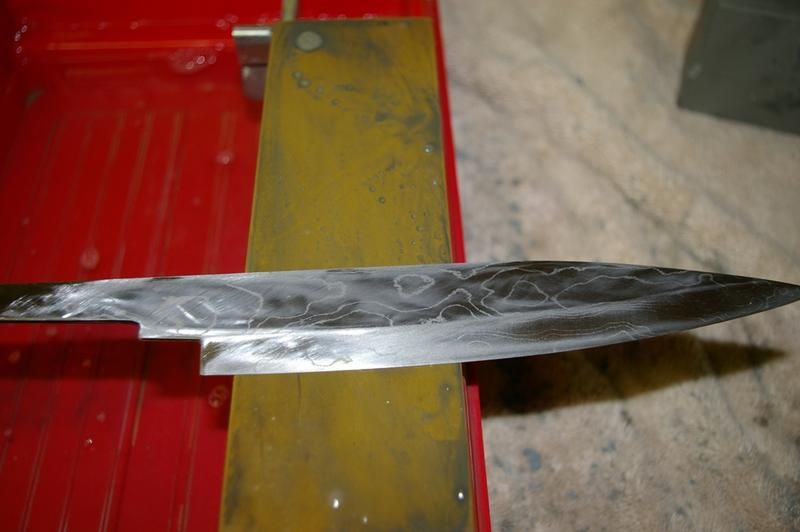
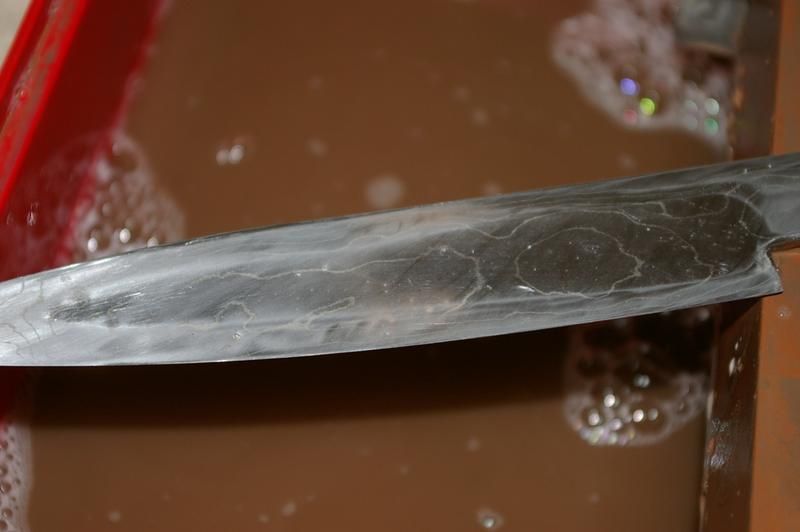
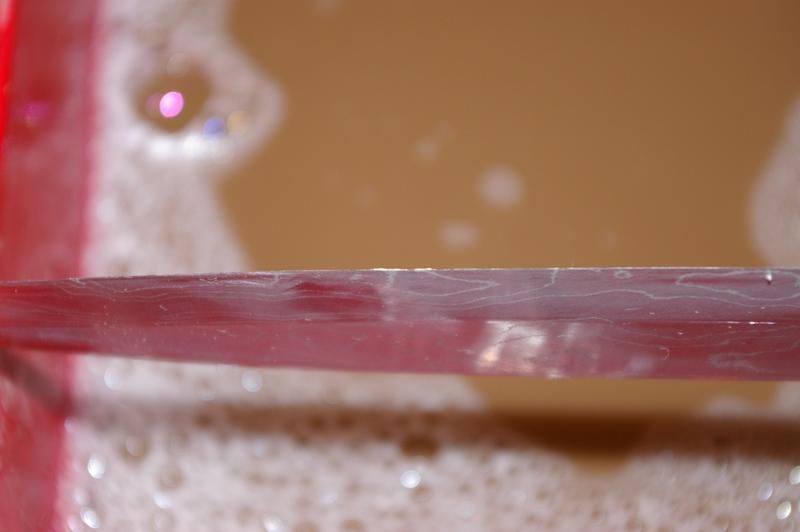
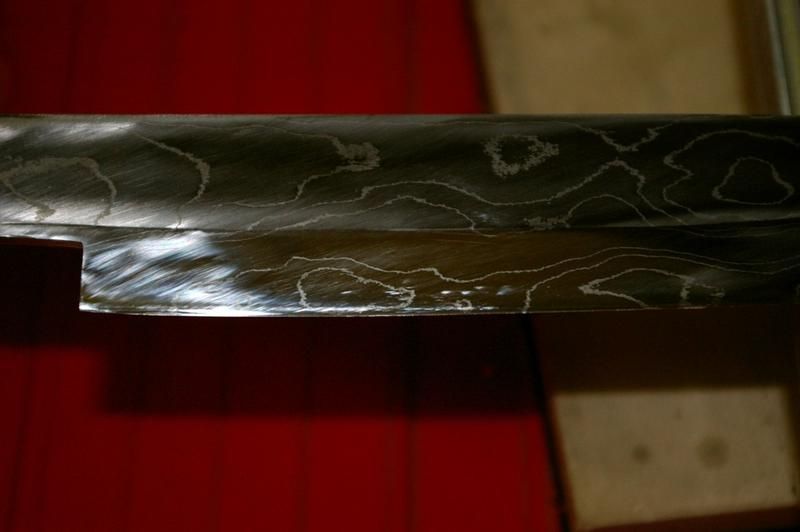
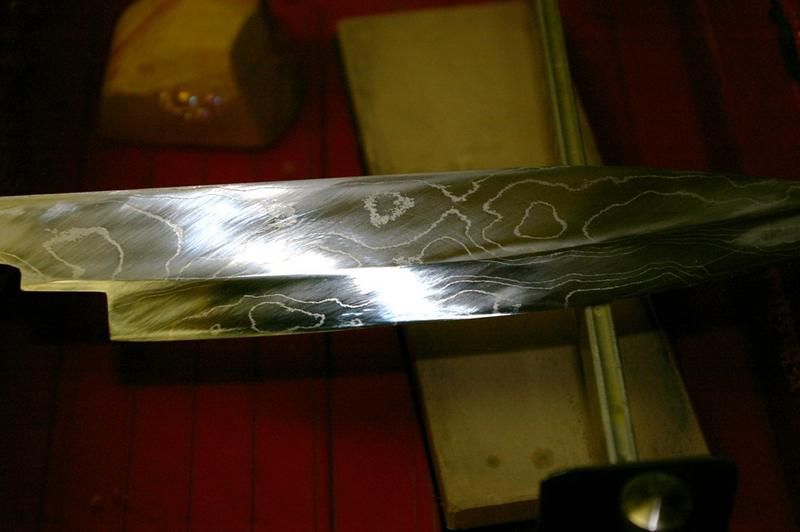
I etched the blade to show the pattern. The surface is 60 grit right now.
Yanagi-ba - WIP - A kitchen knife being made for me by Stacy Apelt
Stacy Apelt is a Bladesmith I have known for several years on one of the other knife forums.
A while back I had posted a photo of a piece of fiddleback koa I thought was too pretty to use.
He suggested using it as handle material on a Yanagi-ba.
This is the knife as it is being made with comments and photos by Stacy.
Bear in mind that a lot of his comments are aimed at other knife makers with limited knowledge of Japanese knives.
================================================== ====
Stacy Apelt - WIP - Yanagi-ba
This project is a smaller Yanagi style blade for general kitchen slicing chores.
Yanagi means willow in Japanese, so a yanagi-ba is a willow blade knife. This describes its long, slender shape with a pointed tip.
The project will entail making the blade form a san-mai billet with a center core of 52100, and outer segments of 1095 and pure nickel damascus.
The blade will end up about 1.25 wide and have an edge length of 7. The handle will be 5 long.
The blade will be single bevel Chisel Grind, or Kata-kiri-ha .
The back will be ground in a shallow hollow grind, and the front a single bevel rising half way up the side. I will do almost all the shaping by stock reduction.
The handle will be an assembled two-tone octagon shape. More on that later.
Lets get started:
The billet was a bit too narrow for this project, so I pulled down the edge a bit to widen it. While the forge was on, I drew out the tang and roughed in the bevels and distal taper. This could have been cut from a wider billet without forging.
Photos of the forging
The basic profile was roughed in on the grinder, using a 60 grit Blue Zirconia belt. These belts will really hog steel, but also leave a surprisingly smooth surface.
The tip is placed about the center line. The bevel is only roughly ground to set the angles.
The back will need to be hollow ground. I would normally do this on a 48 radius platen, but later on I will show a trick on making a larger radius with a smaller wheel.
I shaped the tang to a taper, then refined all grinds with the same 60 grit belt. This is where we will stop grinding. The rest will be by hand.
I etched the blade to show the pattern. The surface is 60 grit right now.


")