


Burl Source
Weird Wood Pusher
- Joined
- Jun 13, 2011
- Messages
- 4,340
- Reaction score
- 7
This was a scary one for me.
A little while back I was able to purchase a whole Amboyna burl.
The guy I got it from gave me a really good price but it is still the most expensive piece of wood that I have ever purchased.
So.....I wanted to make sure I didn't mess things up.
The shape of the burl started out like 1/2 of a giant pumpkin.
It was heavy enough that it took two of us to move it around and that was a struggle.
First thing I did was cut it in half like a quartered orange.
This gave me a piece I could start cutting up on one of our large bandsaws.
I wanted to use the bandsaw to cut it up because the blade eats less wood than the chainsaw.
Things worked out fine but it was still a struggle. Hard on me and hard on the bandsaw.
For those of you who are not familiar with Amboyna, it is a very dense, heavy, hard wood.
You need sharp blades, a saw with plenty of horsepower as well as a strong back and arms.
I did ok with the 1st two, needed help with the last two.
I didn't take photos when I cut the first portion of the burl, but here are photos of how we cut the remaining largest portions today. The guy in the photos is Lin, he is stronger than I am.
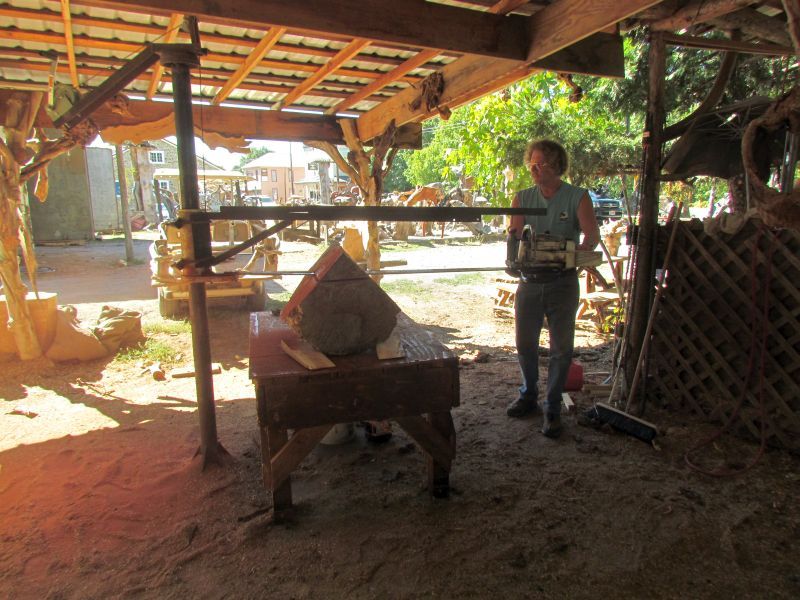
For this piece of the burl I decided to cut it on our chainsaw Pole Mill.
I am sacrificing more material with each cut, but I end up with manageable size pieces when I go to cut blocks using a bandsaw later.
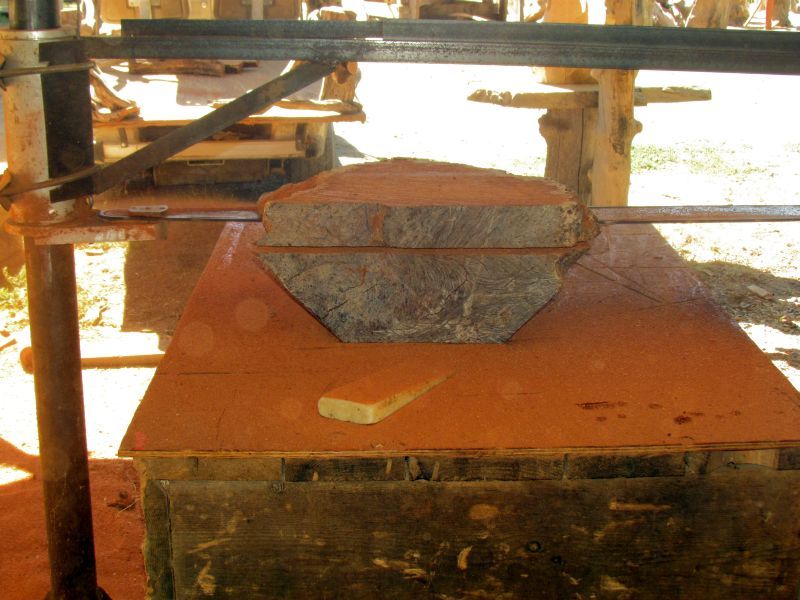
In this photo we took the wedge shaped burl chunk and set it up on the cutting table.
We used wedges so the portion of the burl with the best figure would be flat and parallel to the table.
I also made sure I could orient the grain so it would run parallel to the cuts being made by the saw.
With a burl like this the grain goes all over the place so you have to pay close attention to how it is positioned.
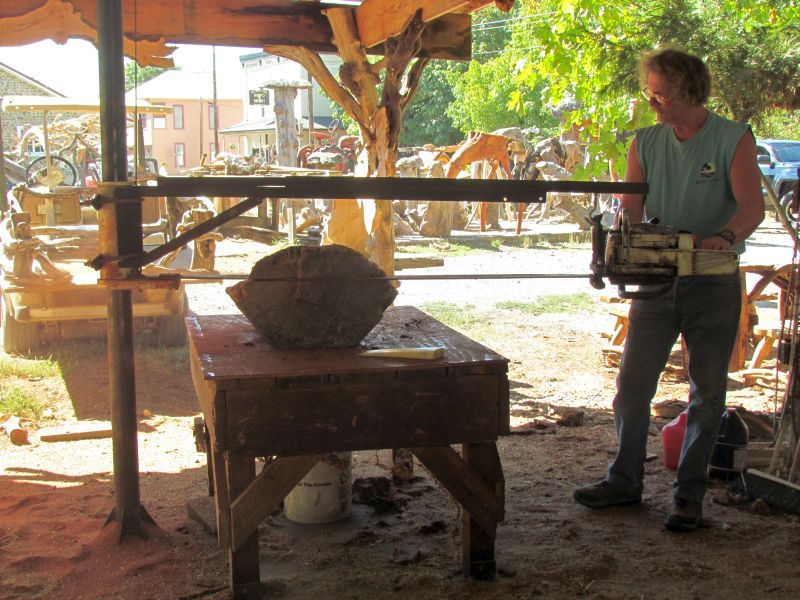
After the triangle shaped wedge was cut from the center of the burl, that surface became the "flat" that would go against the table while we cut the rest of the burl into slabs.
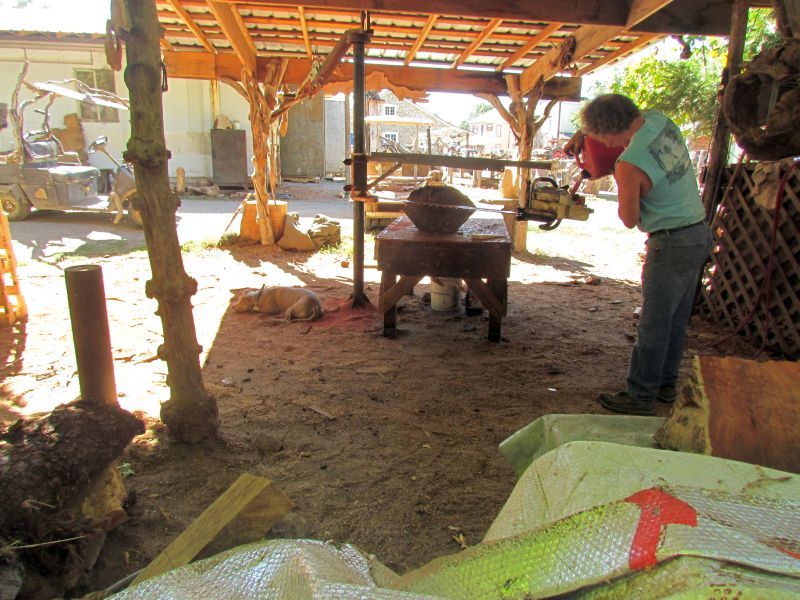
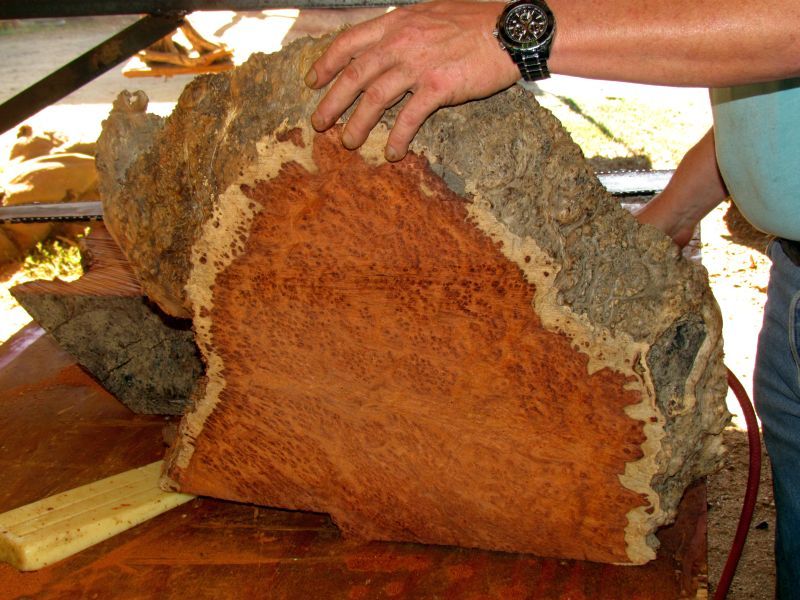
Now this cut will take off the cap or natural top surface of the burl.
This is what came off of the top.
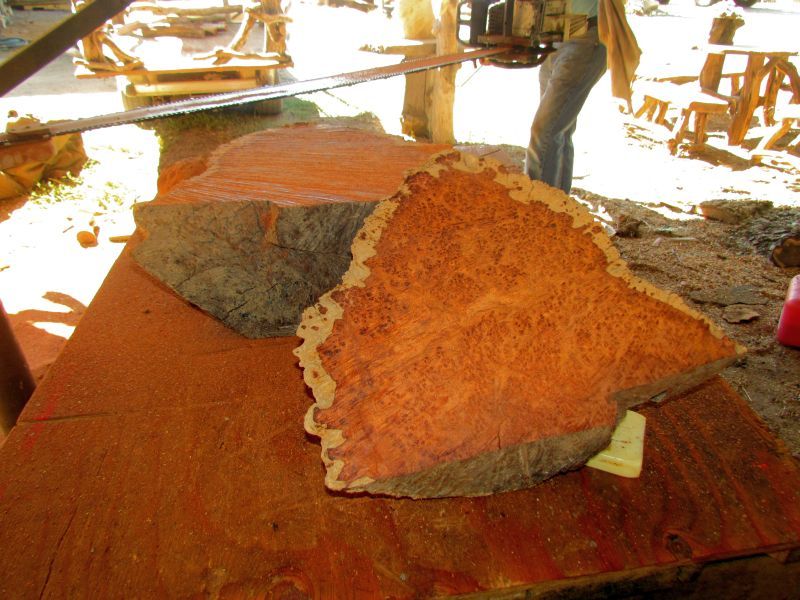
The figure in a burl is usually the best closest to the outer surface, fading as it goes farther in toward the center of the burl.
This burl is really good because it has about a foot of depth with lots of eyes before it begins fading to straight grain.
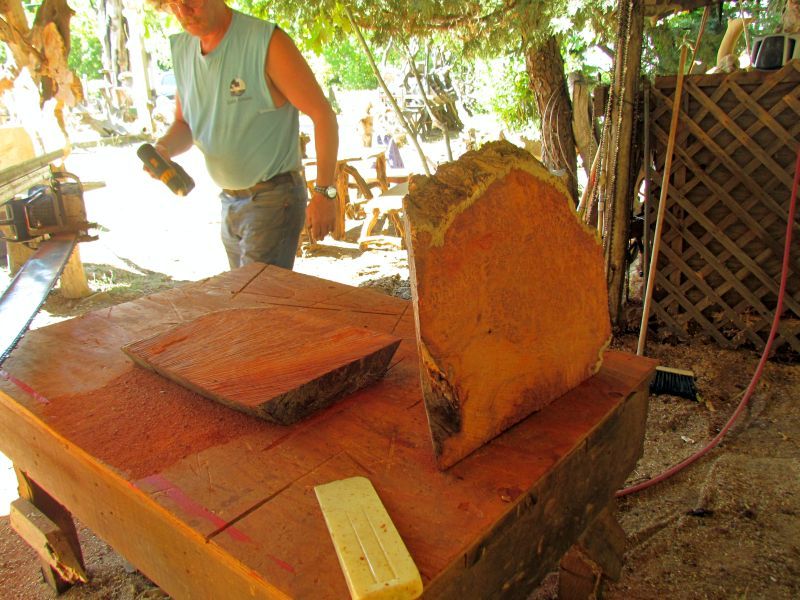
The rest is cut into thick slabs. By keeping them thick I have a lot more freedom how I can cut the blocks later on the bandsaw.
The slabs are looking good.
Tomorrow I will start cutting these pieces into blocks.
Now I have manageable sized pieces that I can carry around by myself.
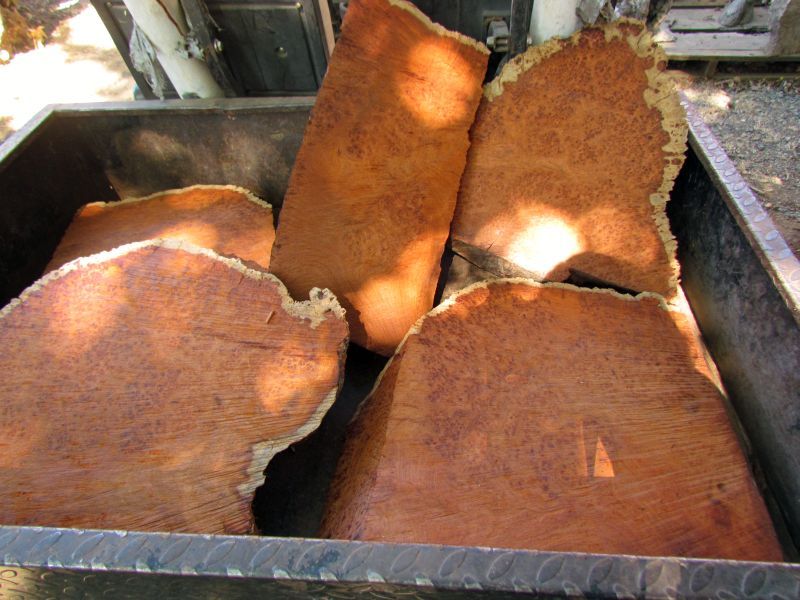
It might not look like a lot right now, but this will turn into quite a few blocks when I am all done.
Then off to K&G for stabilizing.
A little while back I was able to purchase a whole Amboyna burl.
The guy I got it from gave me a really good price but it is still the most expensive piece of wood that I have ever purchased.
So.....I wanted to make sure I didn't mess things up.
The shape of the burl started out like 1/2 of a giant pumpkin.
It was heavy enough that it took two of us to move it around and that was a struggle.
First thing I did was cut it in half like a quartered orange.
This gave me a piece I could start cutting up on one of our large bandsaws.
I wanted to use the bandsaw to cut it up because the blade eats less wood than the chainsaw.
Things worked out fine but it was still a struggle. Hard on me and hard on the bandsaw.
For those of you who are not familiar with Amboyna, it is a very dense, heavy, hard wood.
You need sharp blades, a saw with plenty of horsepower as well as a strong back and arms.
I did ok with the 1st two, needed help with the last two.
I didn't take photos when I cut the first portion of the burl, but here are photos of how we cut the remaining largest portions today. The guy in the photos is Lin, he is stronger than I am.
For this piece of the burl I decided to cut it on our chainsaw Pole Mill.
I am sacrificing more material with each cut, but I end up with manageable size pieces when I go to cut blocks using a bandsaw later.
In this photo we took the wedge shaped burl chunk and set it up on the cutting table.
We used wedges so the portion of the burl with the best figure would be flat and parallel to the table.
I also made sure I could orient the grain so it would run parallel to the cuts being made by the saw.
With a burl like this the grain goes all over the place so you have to pay close attention to how it is positioned.
After the triangle shaped wedge was cut from the center of the burl, that surface became the "flat" that would go against the table while we cut the rest of the burl into slabs.
Now this cut will take off the cap or natural top surface of the burl.
This is what came off of the top.
The figure in a burl is usually the best closest to the outer surface, fading as it goes farther in toward the center of the burl.
This burl is really good because it has about a foot of depth with lots of eyes before it begins fading to straight grain.
The rest is cut into thick slabs. By keeping them thick I have a lot more freedom how I can cut the blocks later on the bandsaw.
The slabs are looking good.
Tomorrow I will start cutting these pieces into blocks.
Now I have manageable sized pieces that I can carry around by myself.
It might not look like a lot right now, but this will turn into quite a few blocks when I am all done.
Then off to K&G for stabilizing.