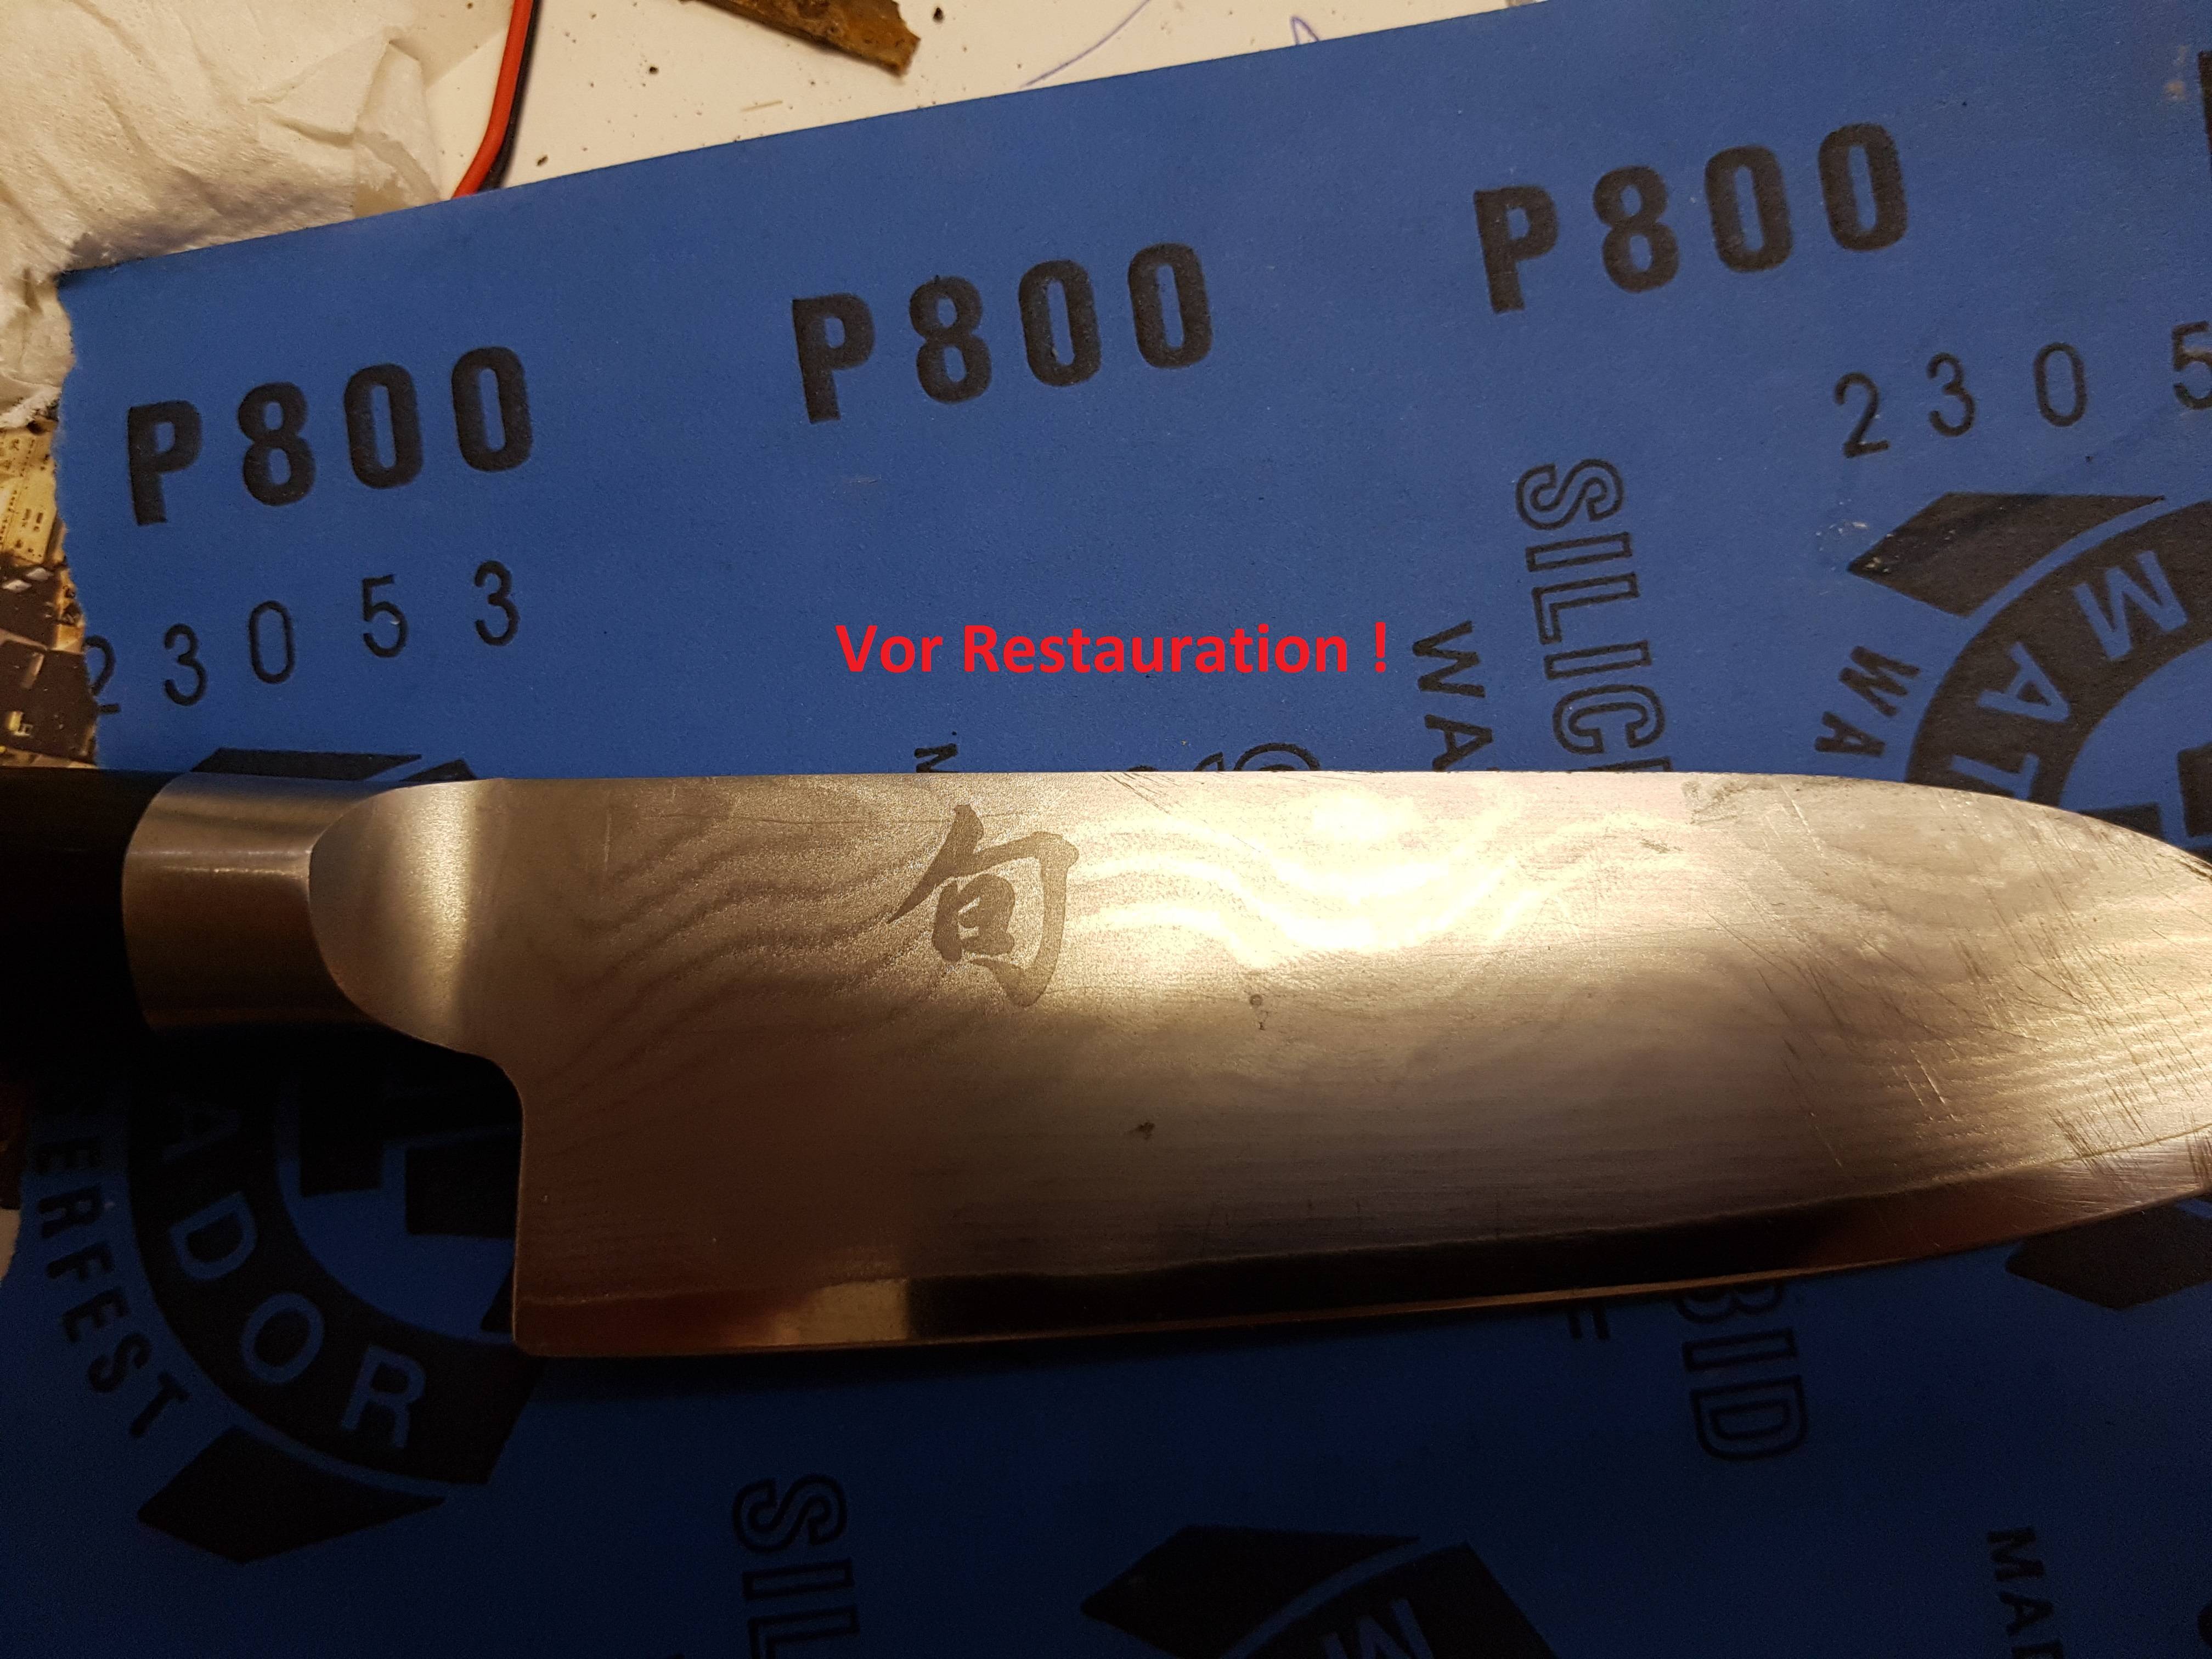
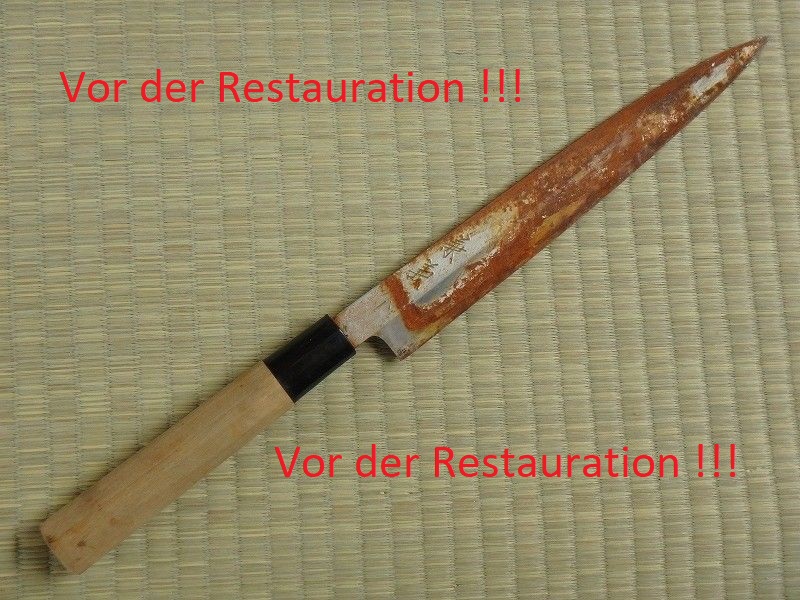
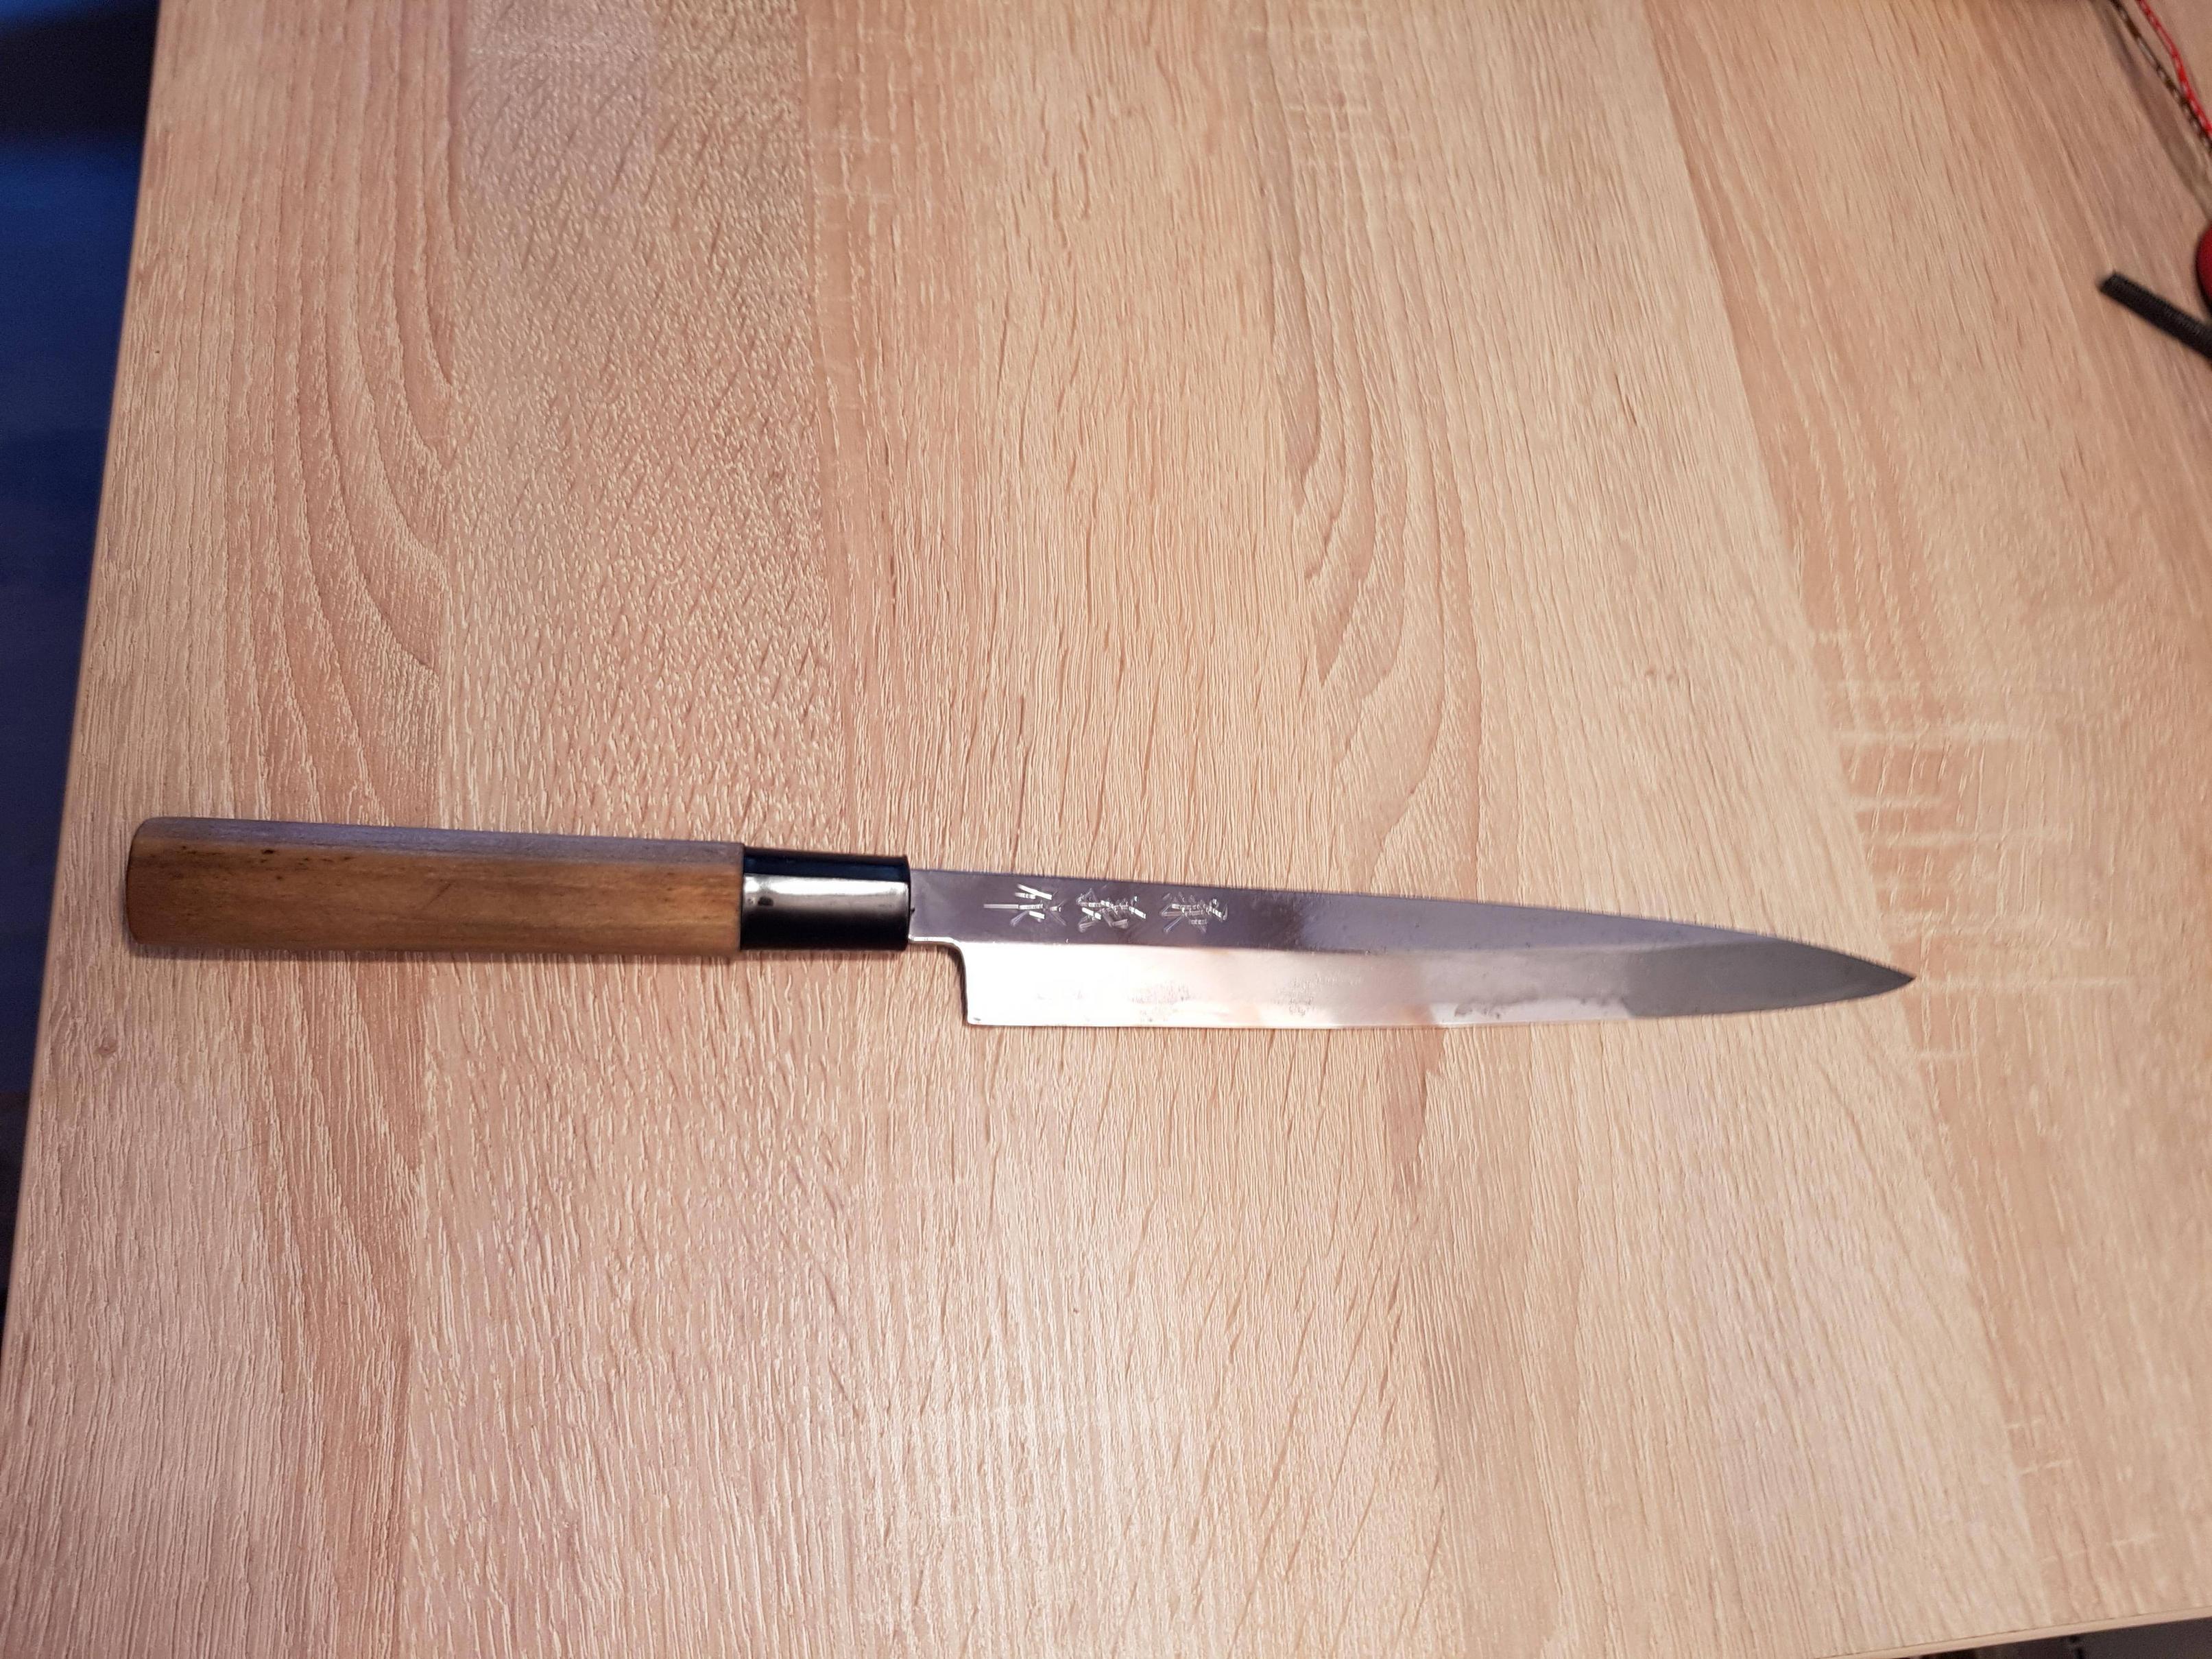
Step1:
Remove dirt and rust with a rust eraser
Notification:
If rust is under the handle, remove it!
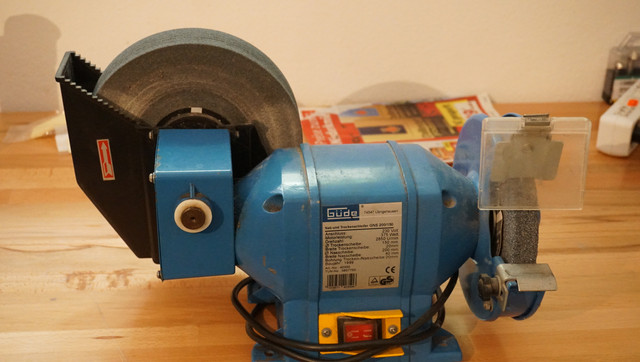
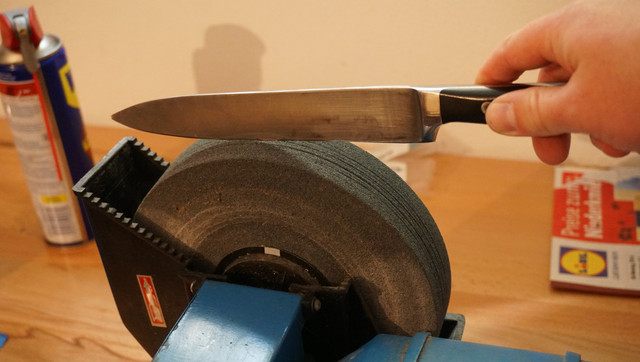
Step2:
Remove Chips with a water cooled grinding wheel (90° angle).
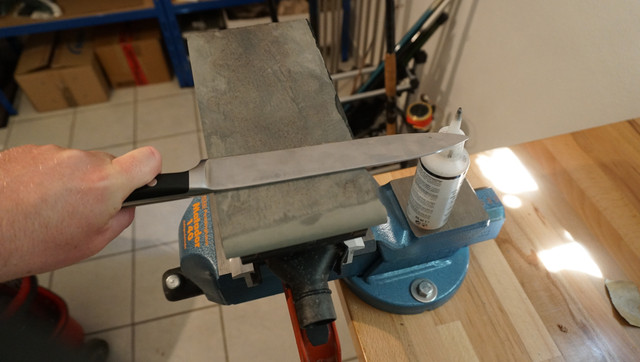
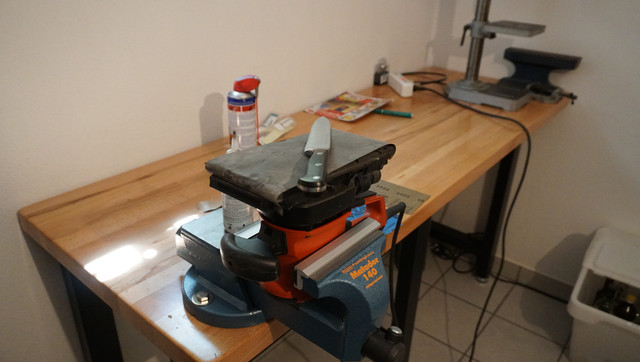
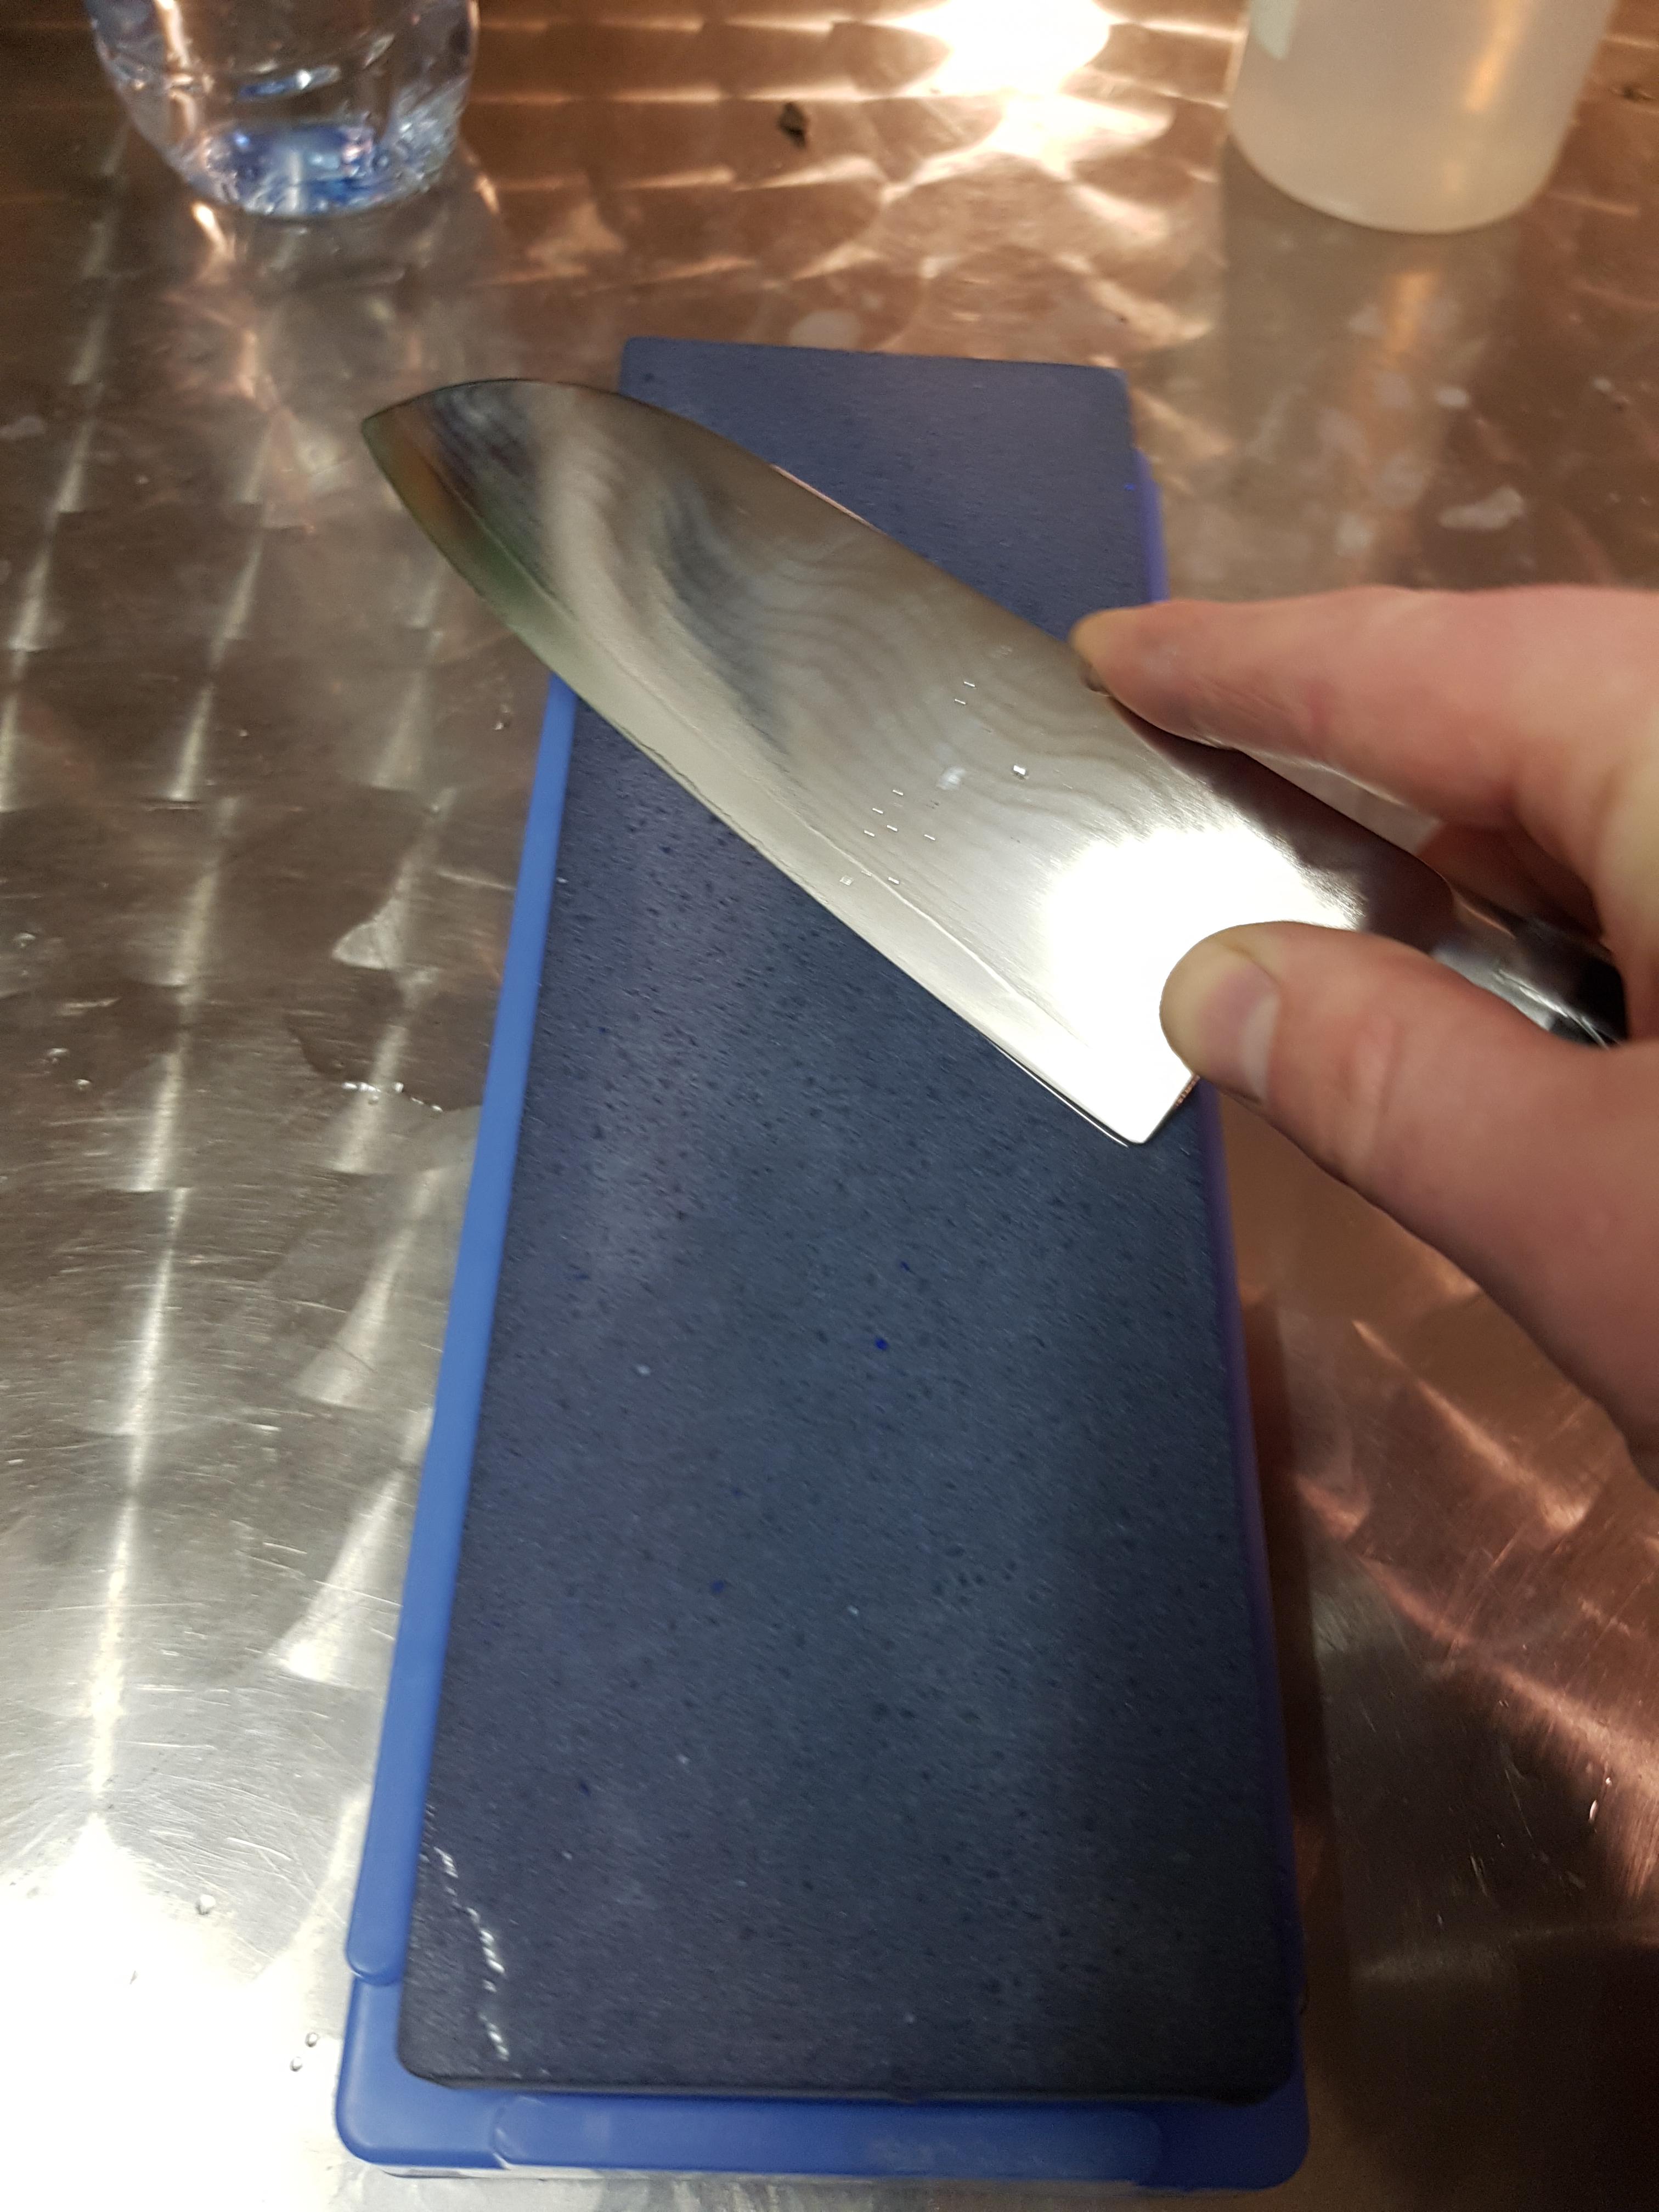
Step3:
3.1 Remove scratches with a sander. I tighten a sander up side down in a vise.
3.1 Beginning sanding with ~P240 water resistant sand paper and a few drops of water! Never use to much water! Take care there is no water inside elektrical parts!
3.2 If there is a similar scratch patern change paper do next grid! I go 240->400->600->800->1500->2000->3000->5000
Notification: P2000 = ~8000 japanese stone
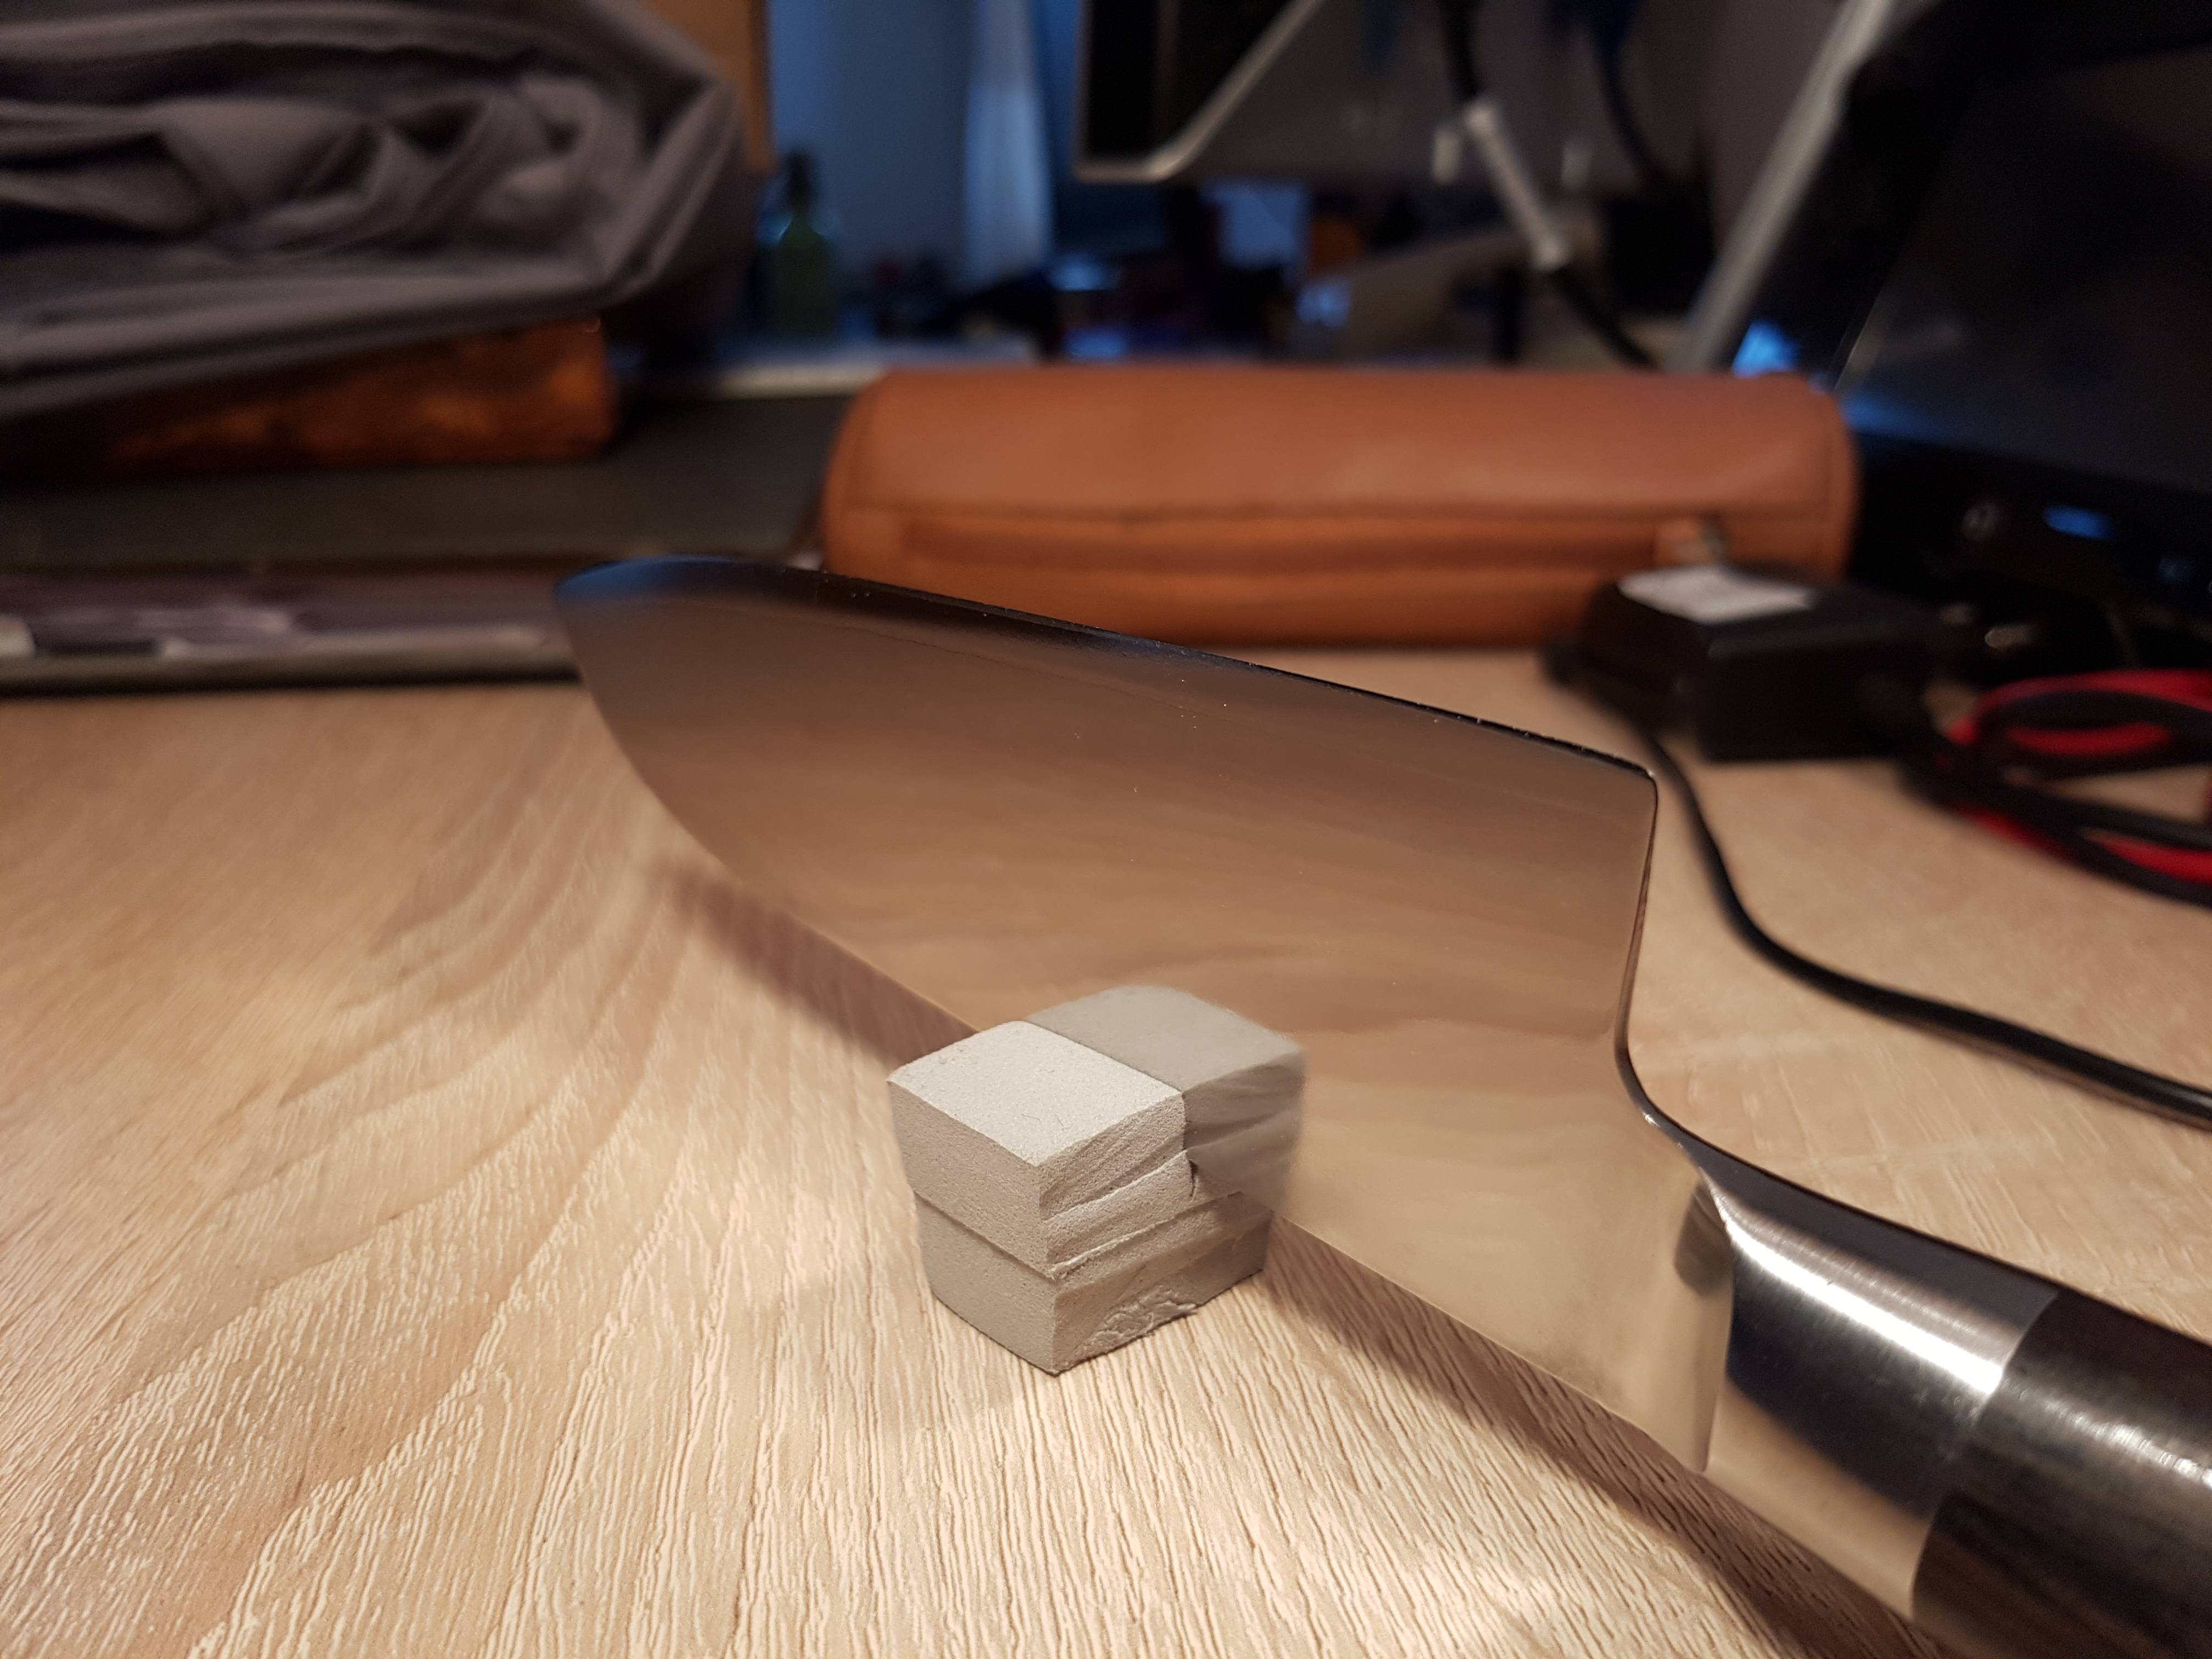
3.3 polish with chrom metall polish
Step4:
sharpening -> finish
Notification:
If you have a damascus knife you must etch it after sanding and before the polish paste. Maybe i make a video next time.


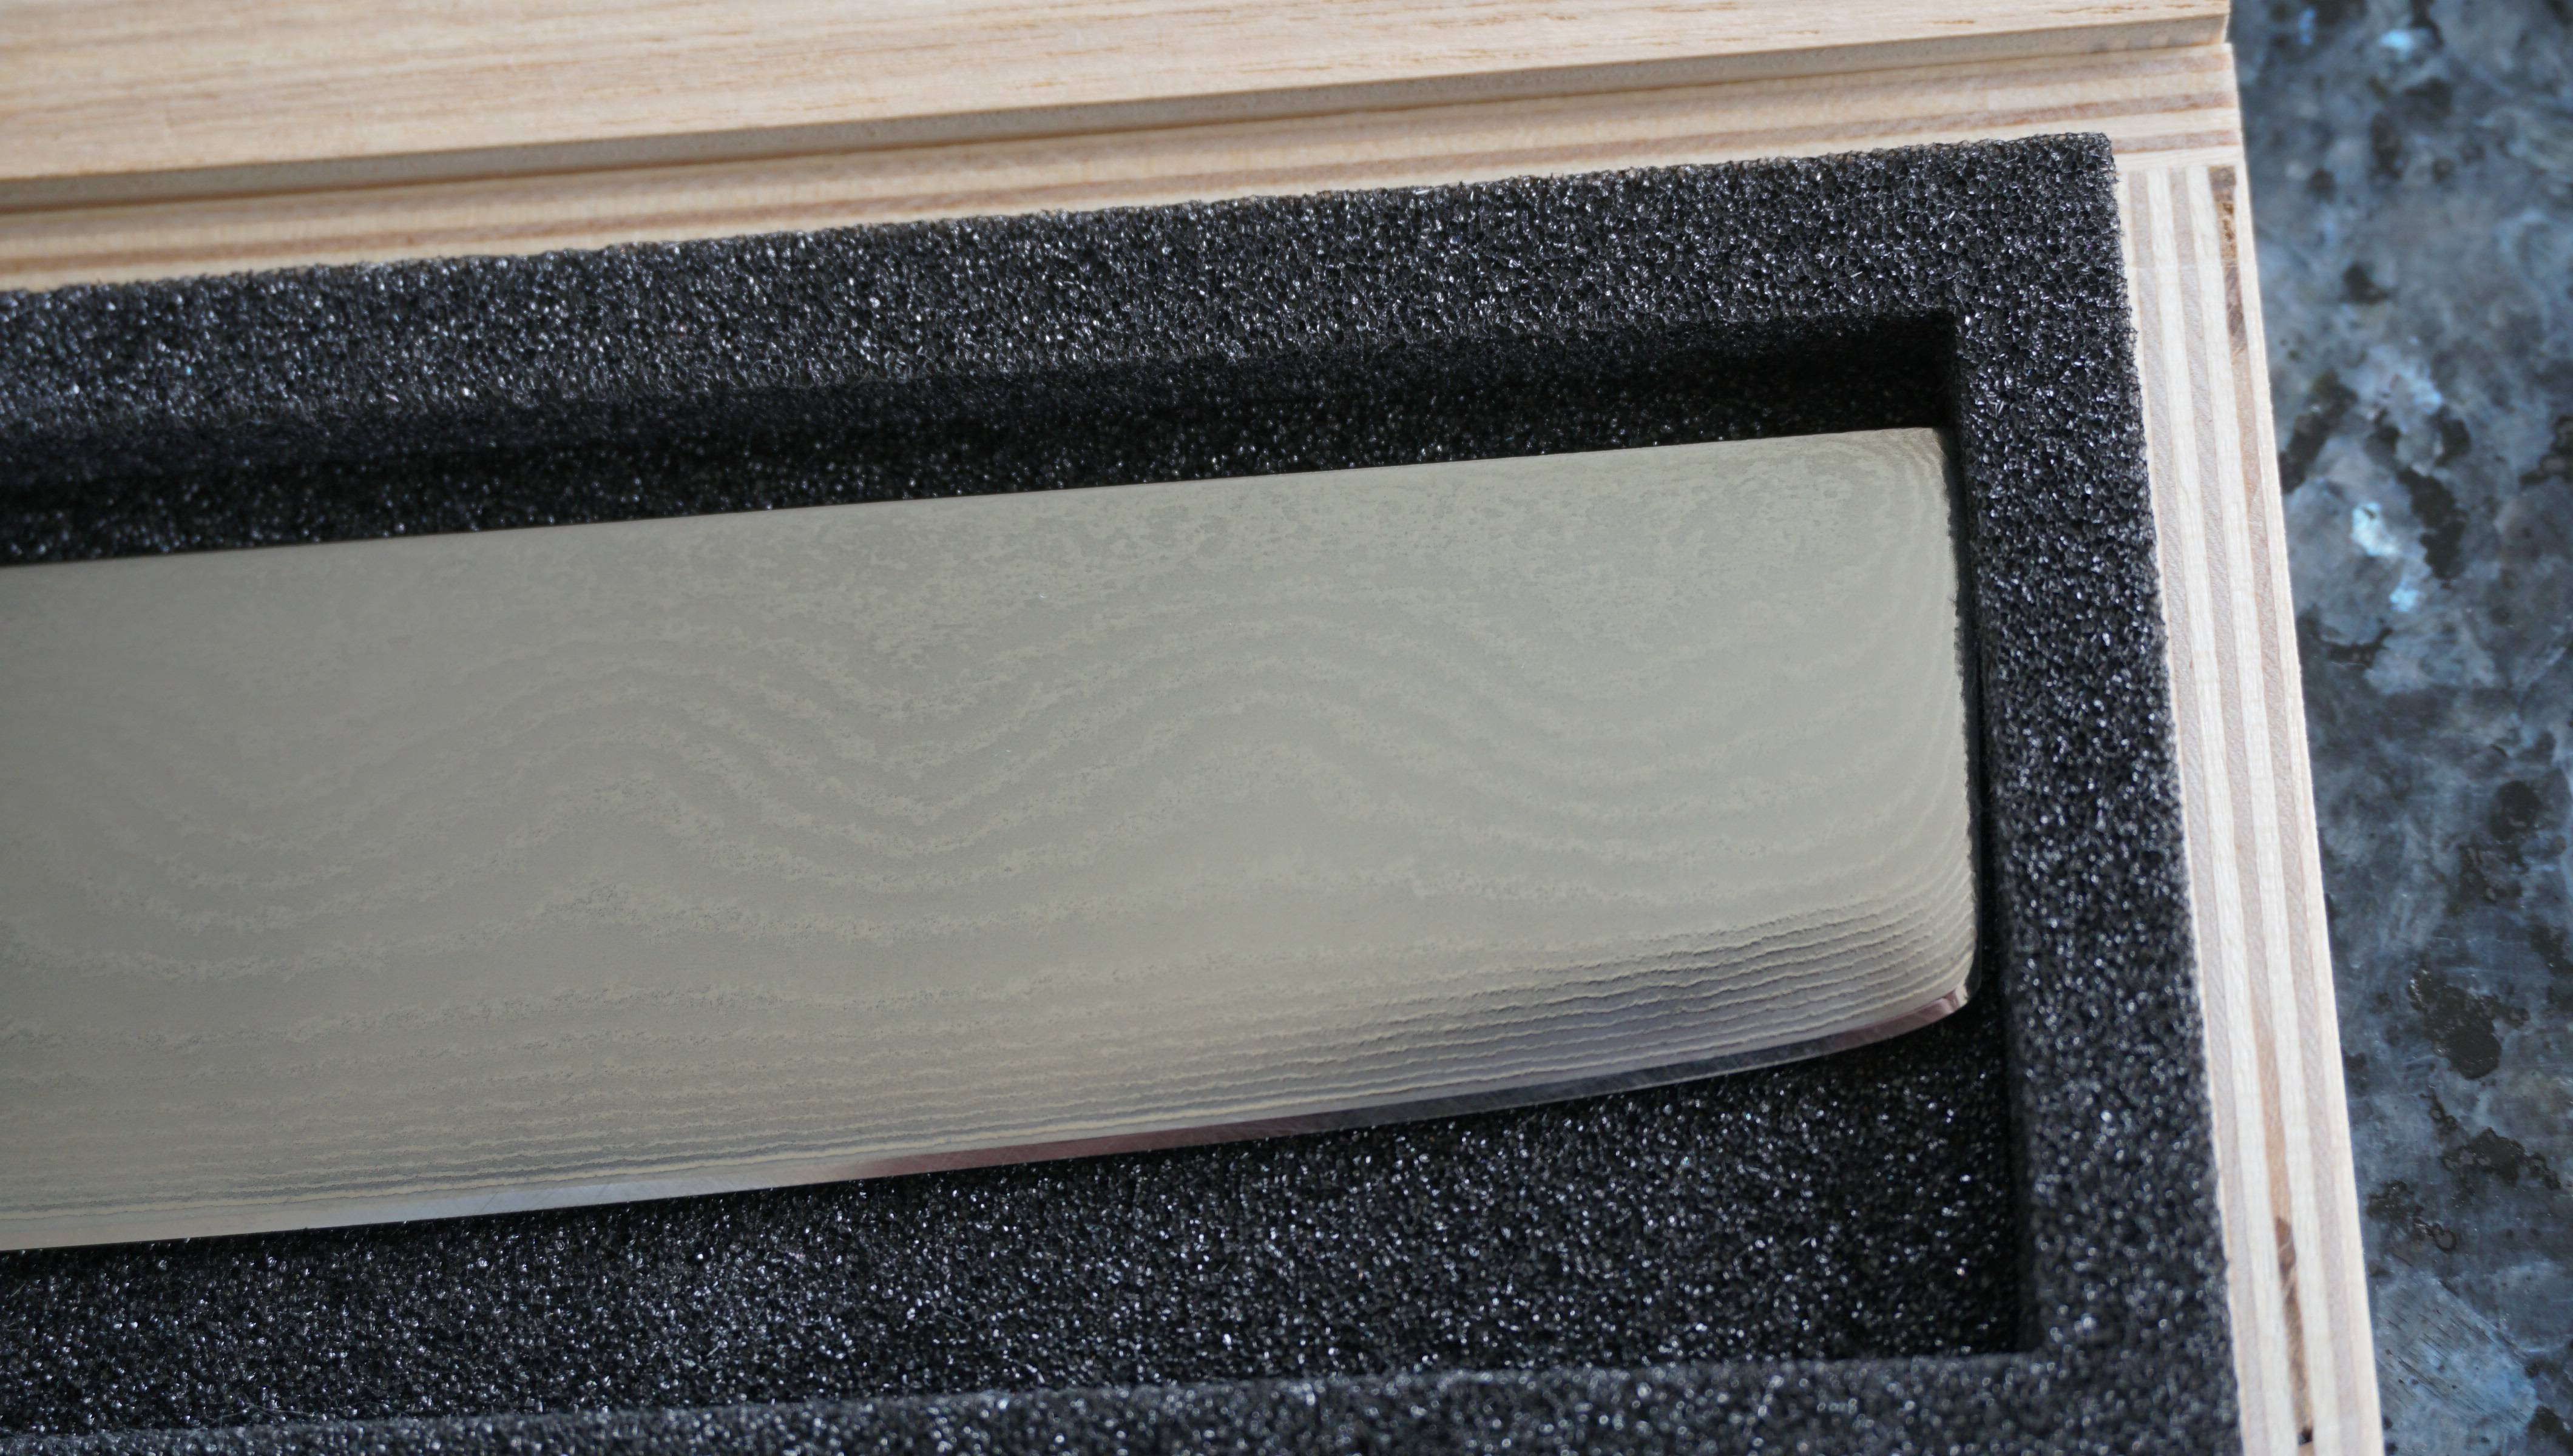
 but I will write a new post how easy it is.
 :ab:")