broken natural stone

Kitchen Knife Forums

Help Support Kitchen Knife Forums:

This site may earn a commission from merchant affiliate links, including eBay, Amazon, and others.

zetieum

Senior Member
Joined
Jun 16, 2016
Messages
609
Reaction score
60
Location
Lille, France
I received a stone that got broken during the shipment from Japan to Germany. Certainly at the customs. I am quite pissed off. Anyway, I want to still use this stone that costed me substantial money.

My obvious option is to attach both pieces to a wooden base (using epoxy). I can follow the nice tutorials of Matus or Dave.

I was additionally considering adding some sugru at the junction. What do you think ? Do you have any other useful tips that I could use?

IMG_4360.jpg


IMG_4359.jpg


IMG_4358.jpg
 
I feel for you. What are the dimensions?

I'm sure those with much more knowledge than me will chime in, but I wouldn't recommend any type of epoxy. I can assure you that any type of chemical repair will wear at a different rate than the stone, and then you risk damaging your knives.

The stone looks long enough to be squared off and still very usable. Plus you get a nice big bonus koppa!

(I've had two stones get broken in shipment so far. Just part of the hobby...)


Stone is 193 x 68 x 24 mm. I do not want to glue with epoxy the two part of the stone between them. I want to glue each part of the stone on a wood base. I was considering adding in between the two part for sugru which is quite soft. But I am not sure it is a good idea.
 
No, putting anything between the two parts of the stone is a bad idea.

Glue or epoxy the two parts to a wood, tile, or other stable base, while using a large rubber band to hold the stone together so the gap at the break is minimized. From your pictures it appears that there is a large chip at the break as well, so you will need to lap the stone sufficiently to remove the chip after you've attached it to a base.
 
Dang that sucks! Was it insured? At the very worst case you will have a smaller stone in length plus some finger stones from the smaller broken end. I feel for you! Pensacola Tiger's suggestion makes sense, let us know how it works out, you won't be the last person on here to open a shipping box to find a broken stone so it may very well help someone down the line.
 
That sucks!

I would go the way Matus did it. I did the same with 2 small Aotos. I did not use wooden base. I epoxied them on PVC plate (you can get it from amazon, PM me for the link if you need). Wood can shrink or expand and it will give you issues.

For sure do not use anything between the stones, no need what so ever. I glued them just at the base and the result is exactly the same as for Matus who put epoxy also between the stones (I handled also his stone). They are fixed firmly, just like they would be glued together. To hold them together just use some wood clamp or similar, I would count that elastic would not press them hard enough together. Perhaps you can put some binding agent also on the sides after you glue them and this will be for sure OK.
 
i probably shouldnt be replying as i know next to nothing about stones, but i would think any crack, even with an almost perfect connection, would lead to issues down the line with passing the knife over the crack. certainly water and mud and swarf will get in there and do something negative, right?
 
i probably shouldnt be replying as i know next to nothing about stones, but i would think any crack, even with an almost perfect connection, would lead to issues down the line with passing the knife over the crack. certainly water and mud and swarf will get in there and do something negative, right?

You would think so, but actually no. I have a stone that was broken in half in a similar manner as the one under discussion, and I epoxied it to a piece of ceramic tile cut to the size of the stone. It has worked for me for several years without issue.
 
Can the side we see, with the chip, be the side glued down? The other side might not have the missing chip, or a smaller one. Though of course it might need to be prepped.
 
Wow. Thanks guys for all your replies already! A lot of good ideas there in not even a day. Once more, it is an impressive community!
- So clearly, I will glue each one onto a stable base either wood, PVC, ceramic, or any other solid base.
- Will use epoxy for glueing
- I will not use anything in-between both pieces,
- I will use a clamp to hold them tight (or equivalent)
- And I will keep you updated on the evolution of this DYI project, with pictures and comments and hopefully a successful knife polish :)

Thanks a lot for the advices and do not hesitate to add others suggestions!
 
Since this does not look like a 'clean' breaking (i.e. some stone material seems to be missing), I would probably grind both pieces (I would follow the geometry and then glue them to a base, so the result would look more like a hairline crack. Otherwise the list of actions you want to take sound reasonable to me.
 
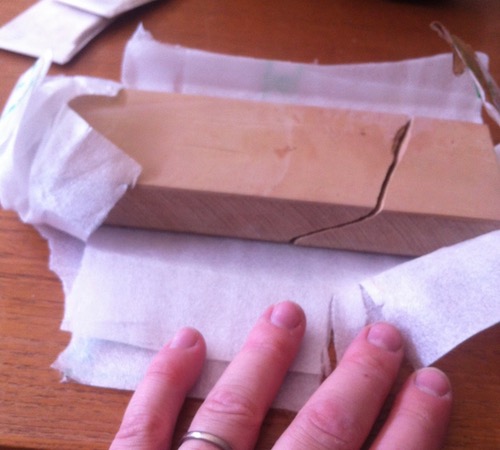
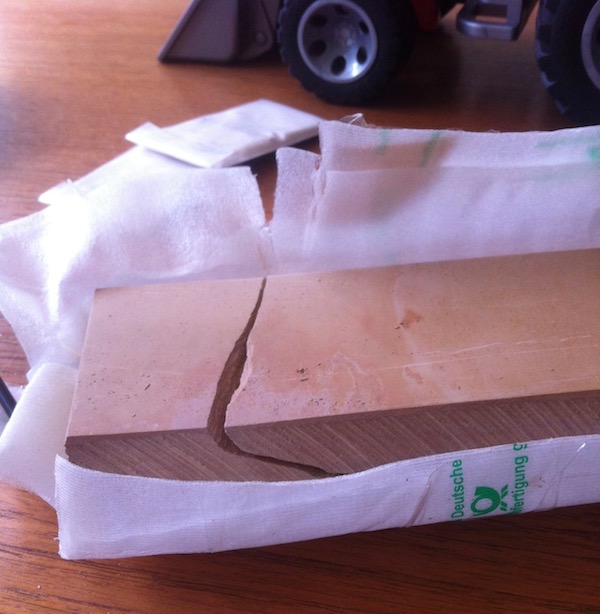
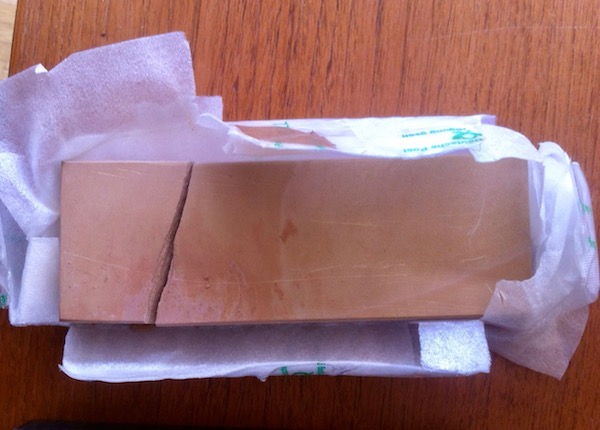
As promised, I follow up on this broken stone, hoping that i may be helpful to others.

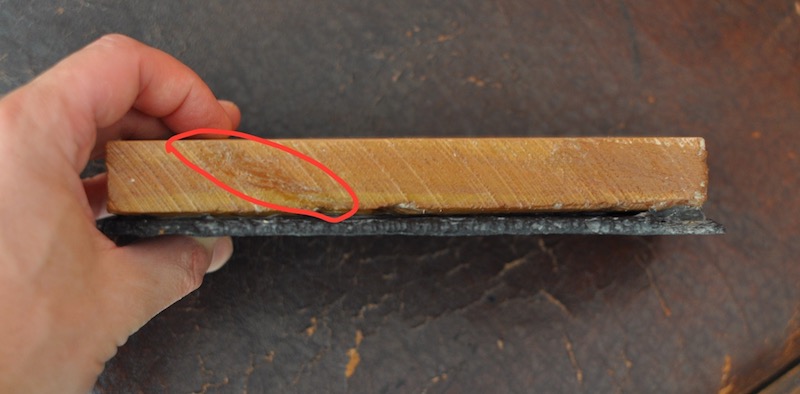
First, after looking more carefully at the stone I noticed that there was another point where the stone was starting to break appart… Anyway, I tried to do my best to fix all that.

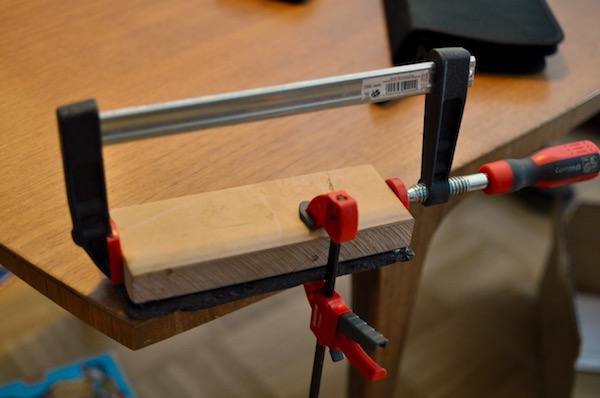
Step 1: sealing the bottom
I sealed the bottom parts of the stones with shellac. (5 layers). Very simple: use latex gloves and and respect the drying time between layers.

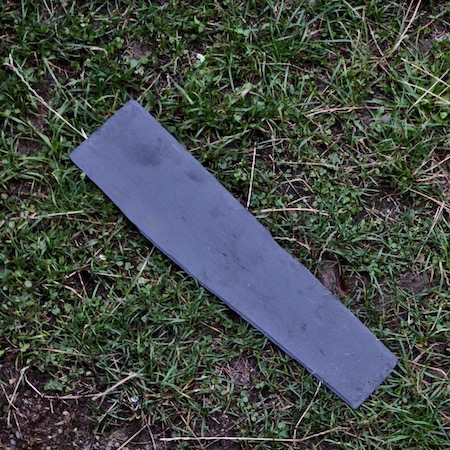
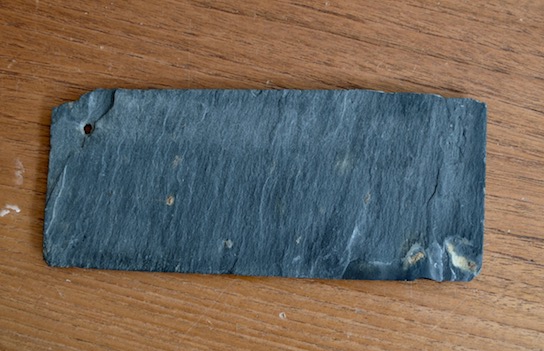
Step 2: find a good base
In my pile of useless crap that I keep, I noticed that I had a piece of slate coming from a roof. I thought it could be a perfect base for the stone. I cut it to shape using a trowel (see below this great youtube video to know everything about cutting slate without dedicated tools tools
[video=youtube;hjFyiq0Eiwo]https://www.youtube.com/watch?v=hjFyiq0Eiwo&t=21s[/video]

DSC_2843.jpg


DSC_2844.jpg


DSC_2845.jpg


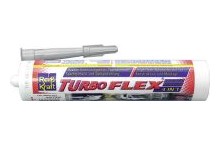
Step 3: attach the stone pieces to the base
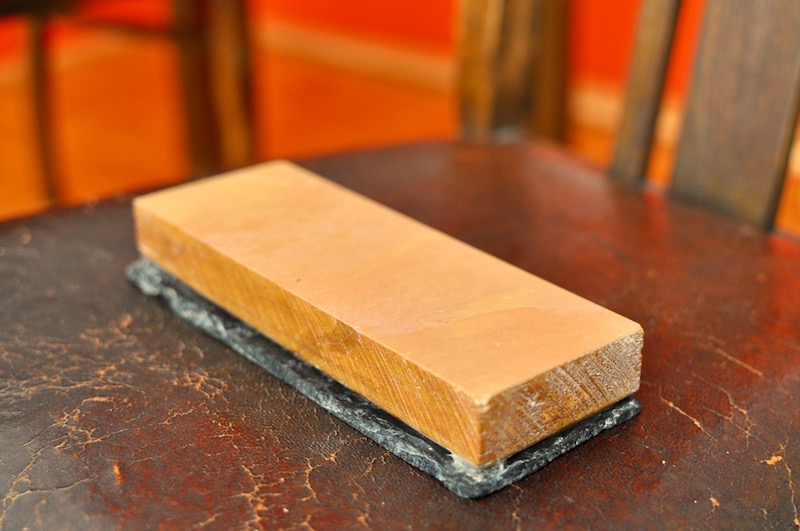
I glued the stone slate. I did not used epoxy because I wanted to avoid bisphenol-A (contained in epoxy). I used a all around glue (TurboFlex 4 in 1). Working fast I glued the stone to the slate, put wises and waited.
98464.jpg


DSC_2847.jpg


Step 4: reinforce the cracks
Then I apply a not too thick layer of the glue on the sides where the cracks were. The idea was to make a layer outside of the stone that hold together the broken part without being problematic when sharpening or polishing. Anyway, when using the stone ones usually «removes» the corners, so I knew that the hardened glue will never be in contact with the blades.

DSC_3704.jpg


Step 5: sealing (shellac, 5 layers)

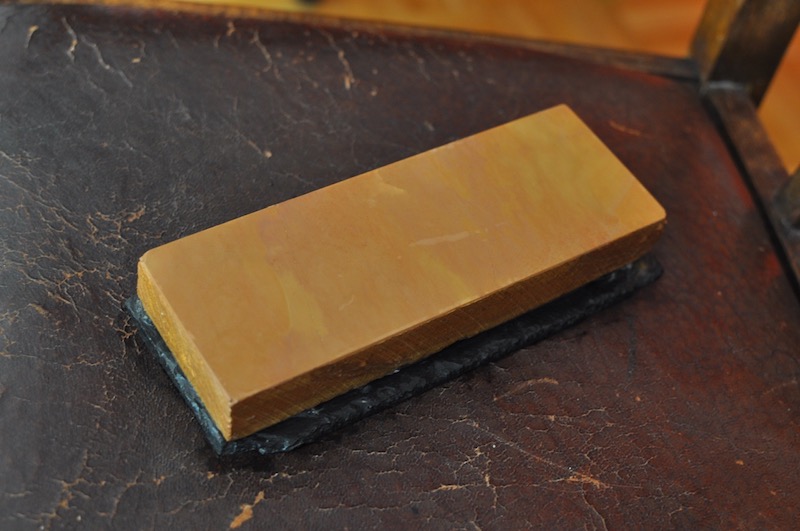
Step 6: lap the stone
Finally I laped the stone to remove the big chips. That was maybe the most demanding part. Seeing that I was getting nowhere with my Atoma, I used the pavement in front of my flat on a rainy day. Neighbour’s must have bought I was crazy—Maybe they were right. It worked like a charm. Finally, I smoothed the stone with an Atoma 400 then Atoma 1200.

- Et Voilà.

DSC_3700.jpg


DSC_3705.jpg


Step 7: try and enjoy
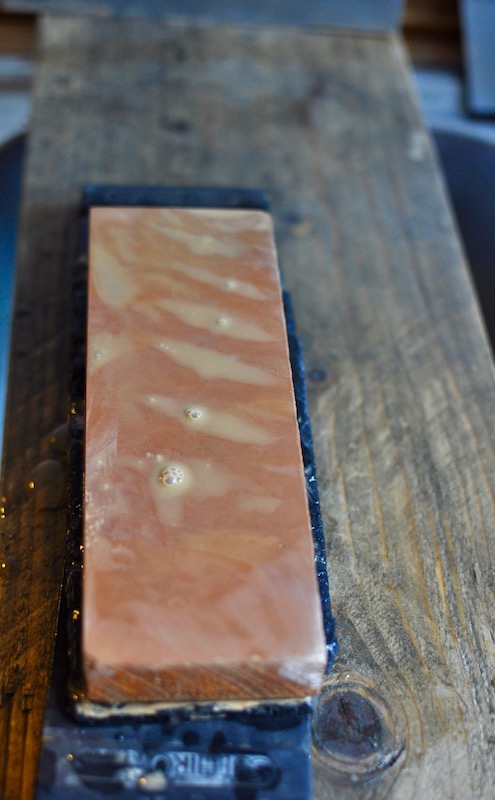
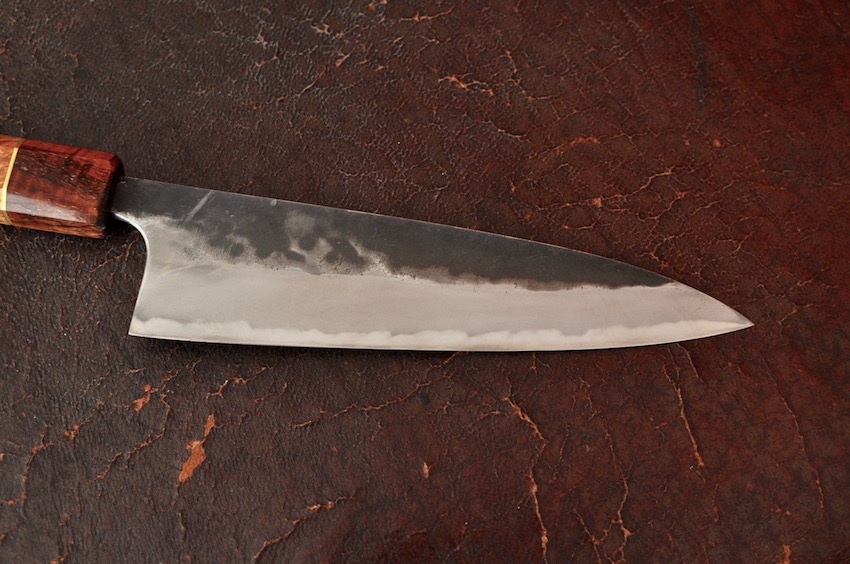
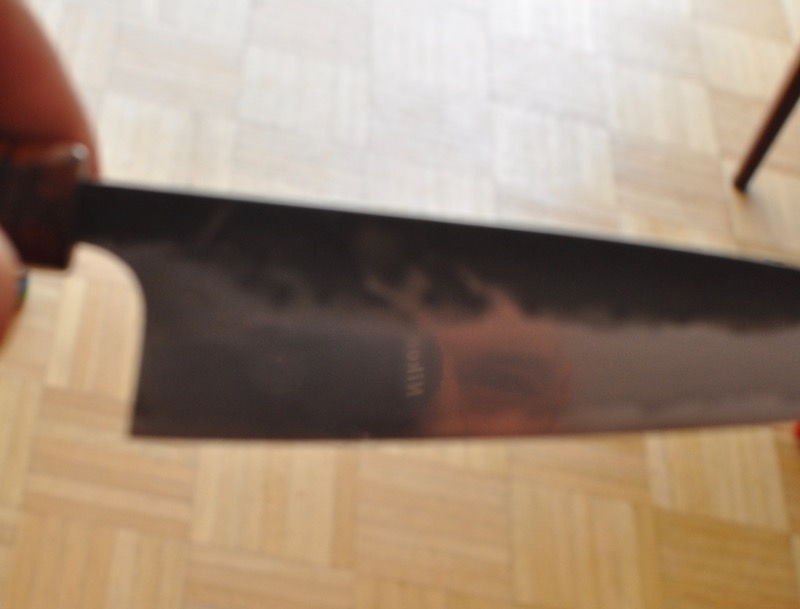
Total price: 9 euros (the price of the glue)--considering I already had shellac at home. Was ii worth the time? I let you judge. Here is a the results after a 10 min polishing on a well prepared knife.

DSC_3708.jpg


DSC_3712.jpg


DSC_3715.jpg
 
Great job and thank you for sharing.
The stone also seems to be worth the hassle. Hope to see it next time we'll meet.
 
You should be proud of that repair. I hope I never gave to do it, but now we have an excellent guide. Well done.
 
Ah nice!
Worked awesome! Cool you saved a nice one!

Ill try it next time ;)
 
Thanks guys for your posts! I am indeed quite happy with the result and it was pretty simple, although it takes some time.
 
Inspirational effort and outcome.

I hope I'll never have to refer back to it, but I'm very happy for you (and the stone) :)
 
Back
Top