Catcheside Cutlery - Works in progress.

Kitchen Knife Forums

Help Support Kitchen Knife Forums:

This site may earn a commission from merchant affiliate links, including eBay, Amazon, and others.
Back from denmark and fired into the Forgies, this time in the new Catchy-blue core ;)


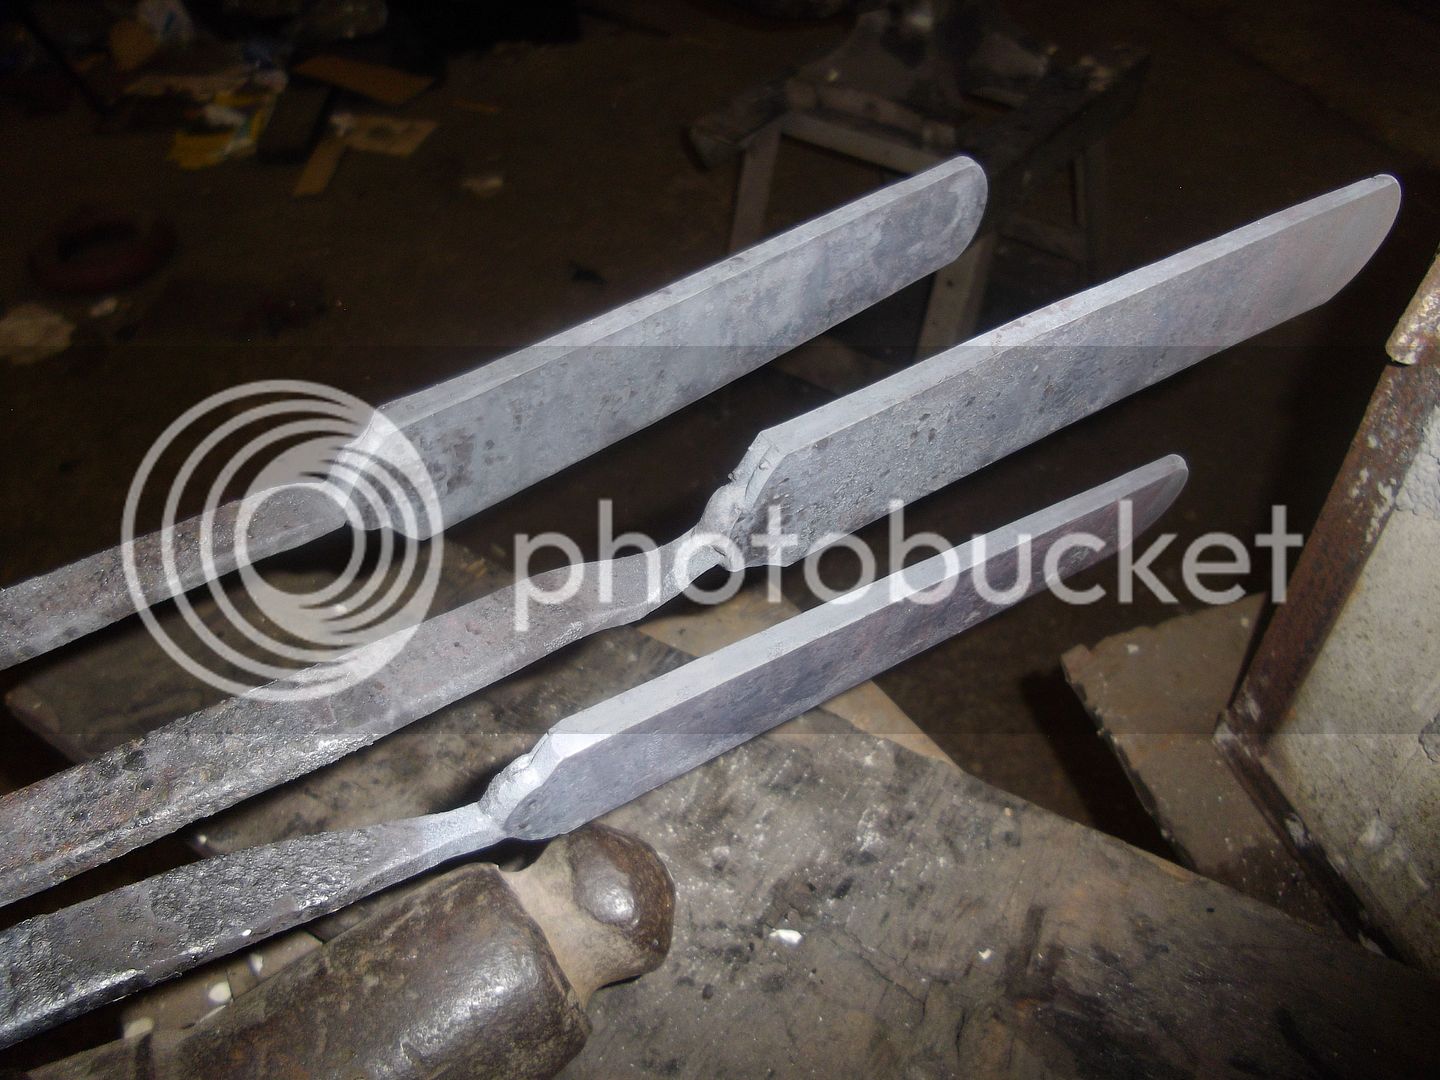
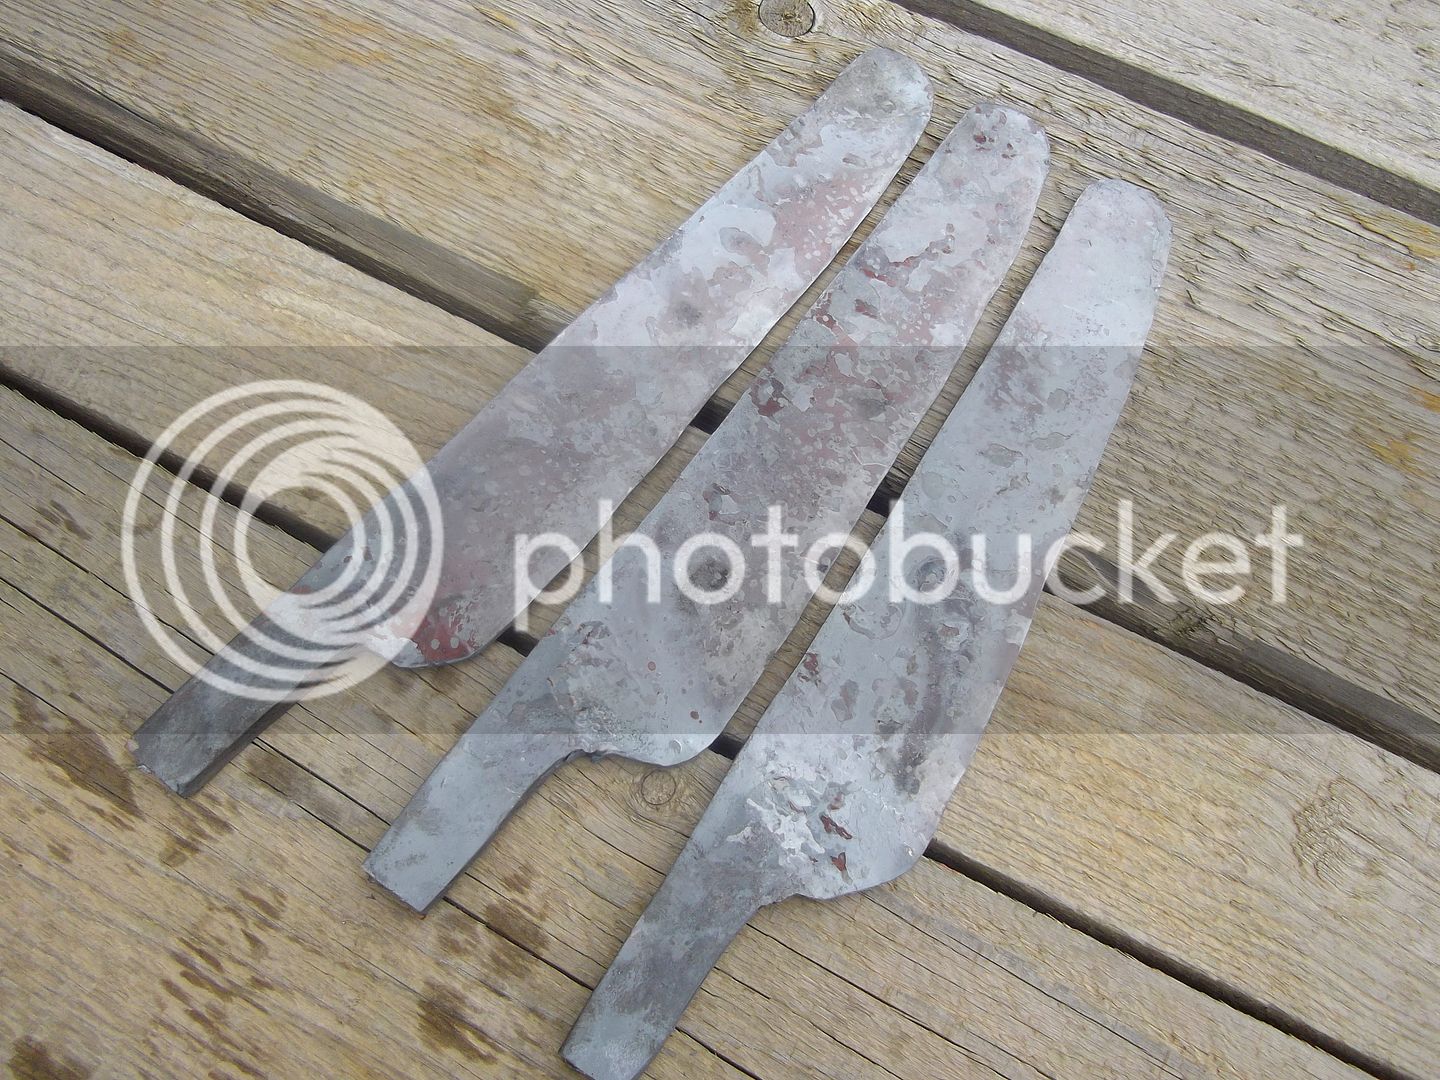
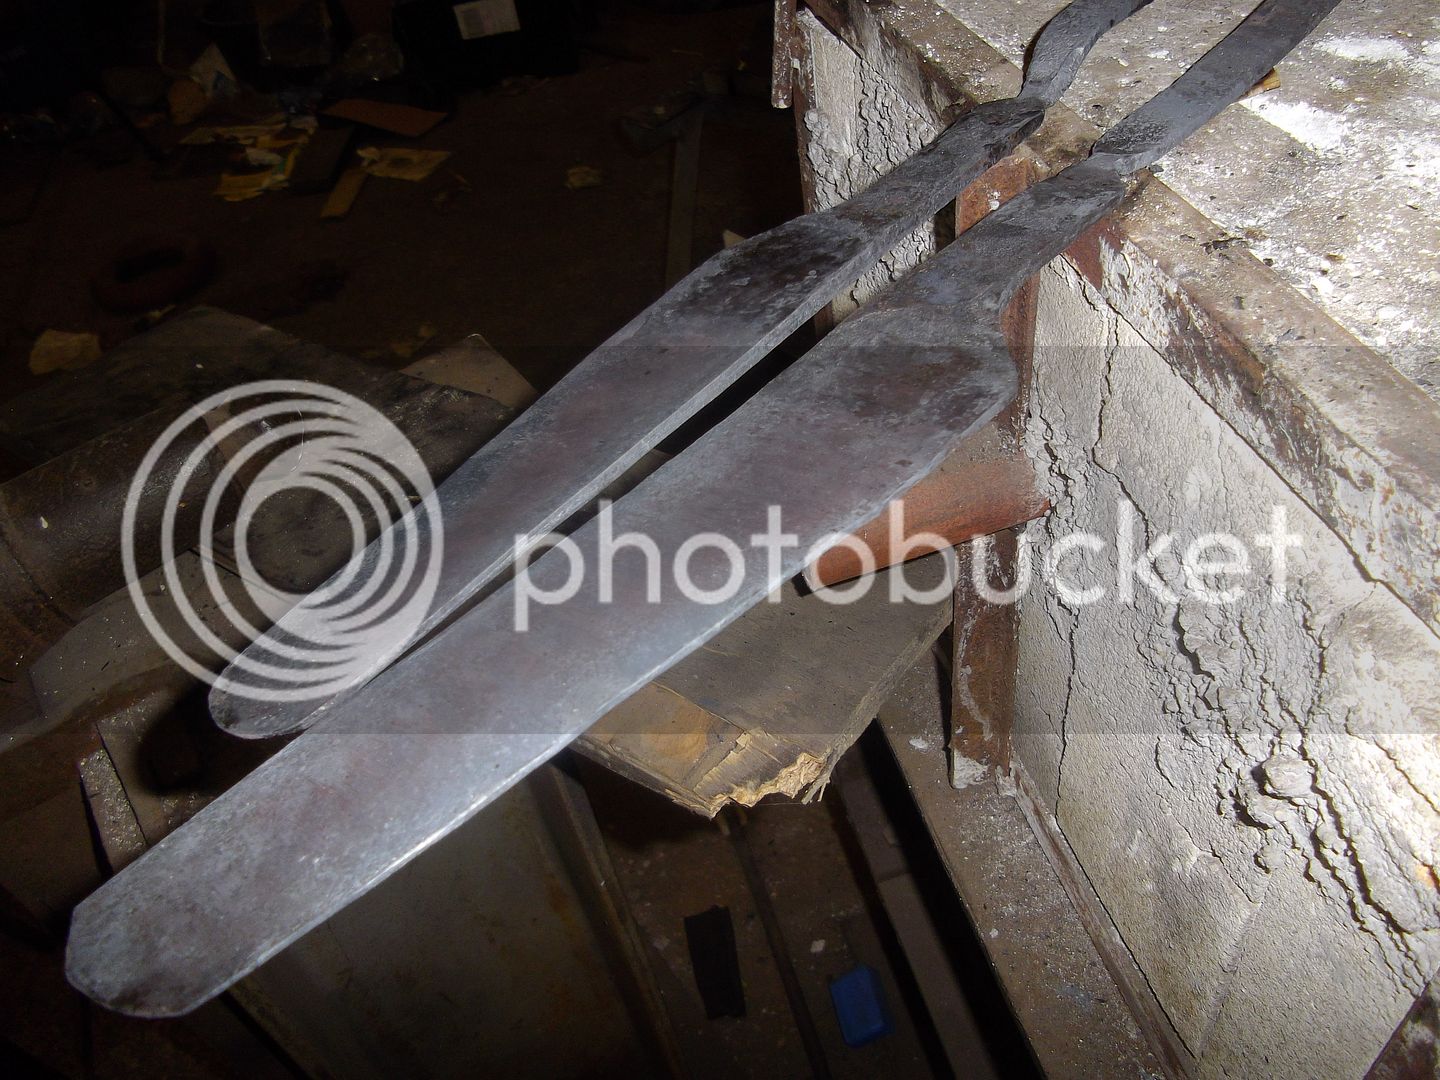
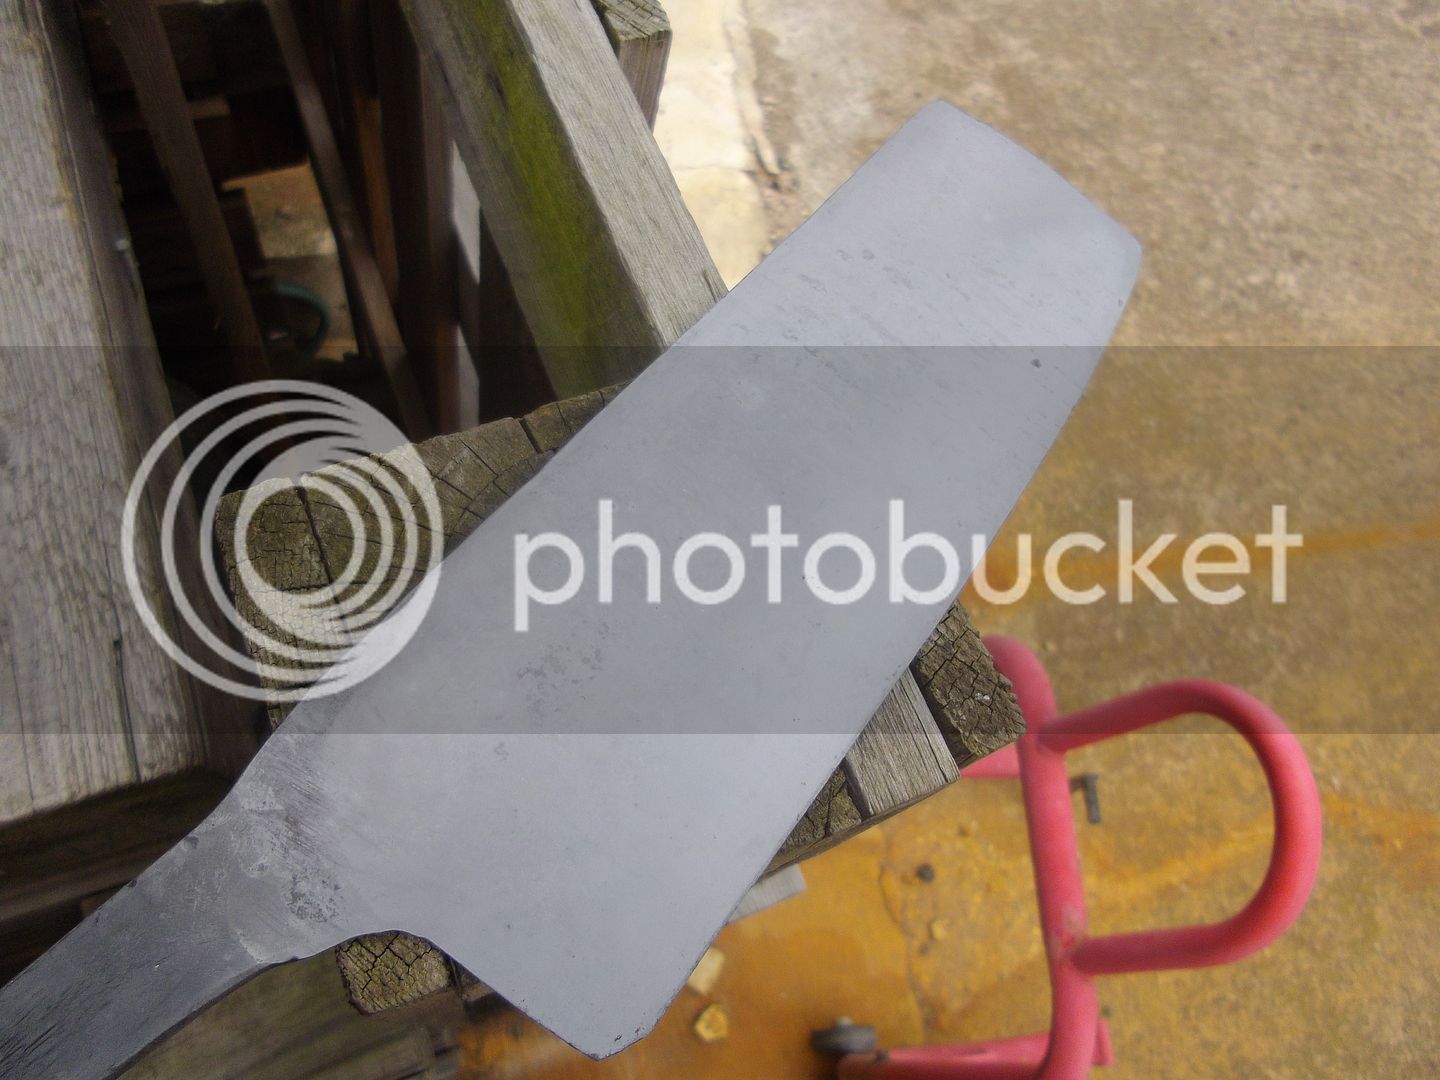
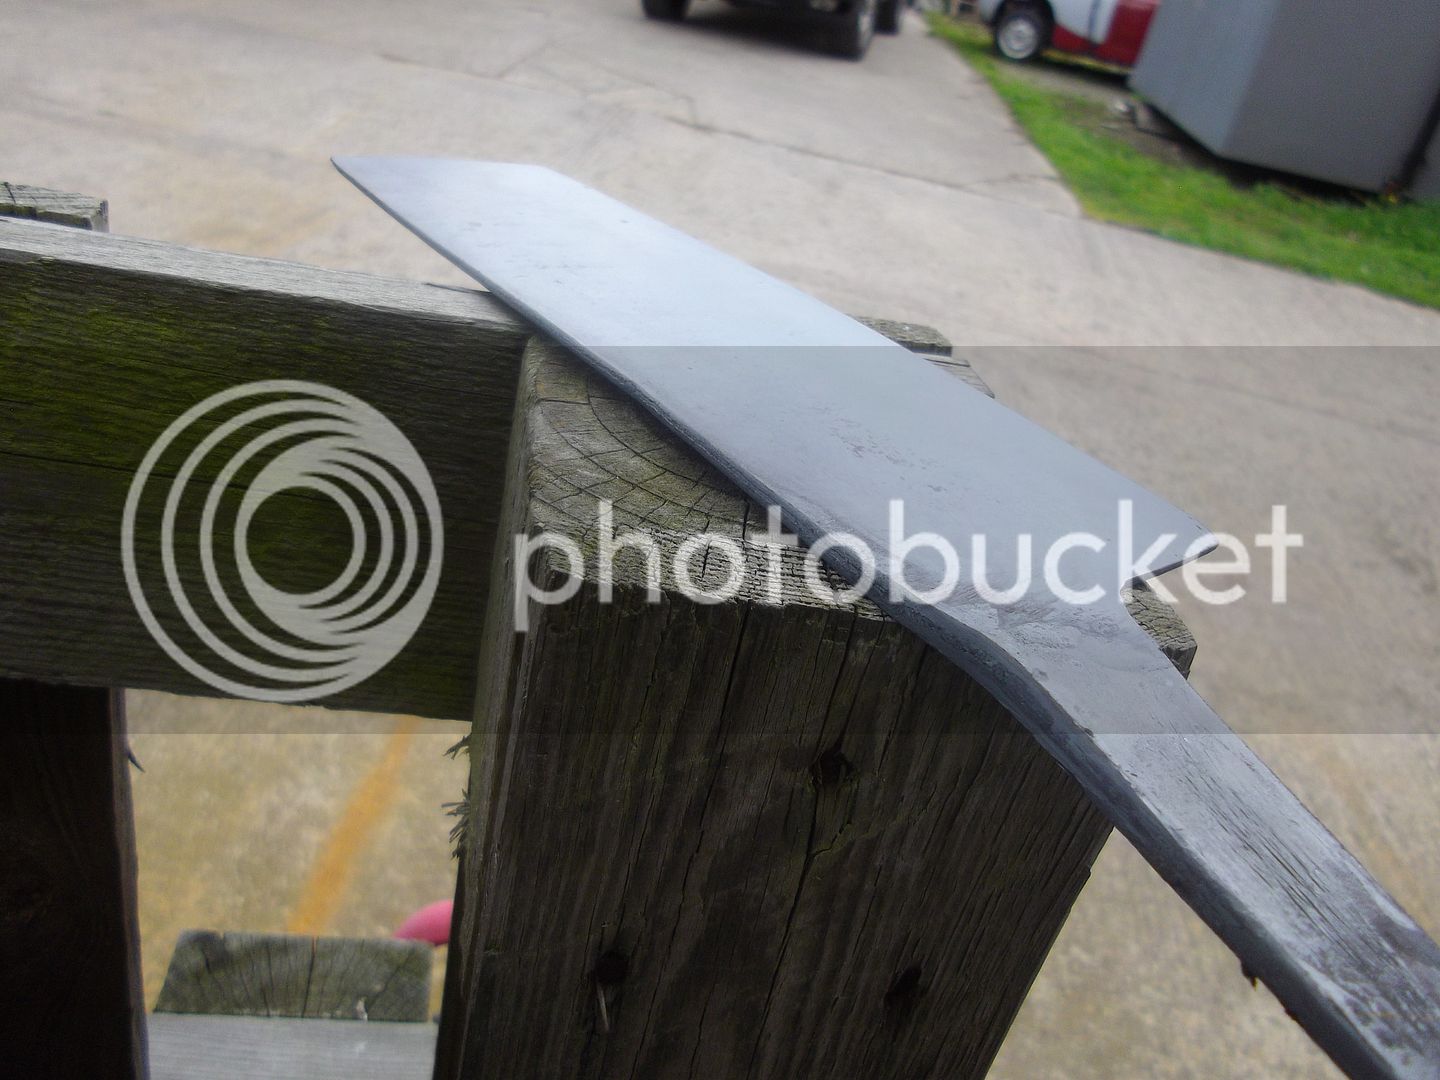
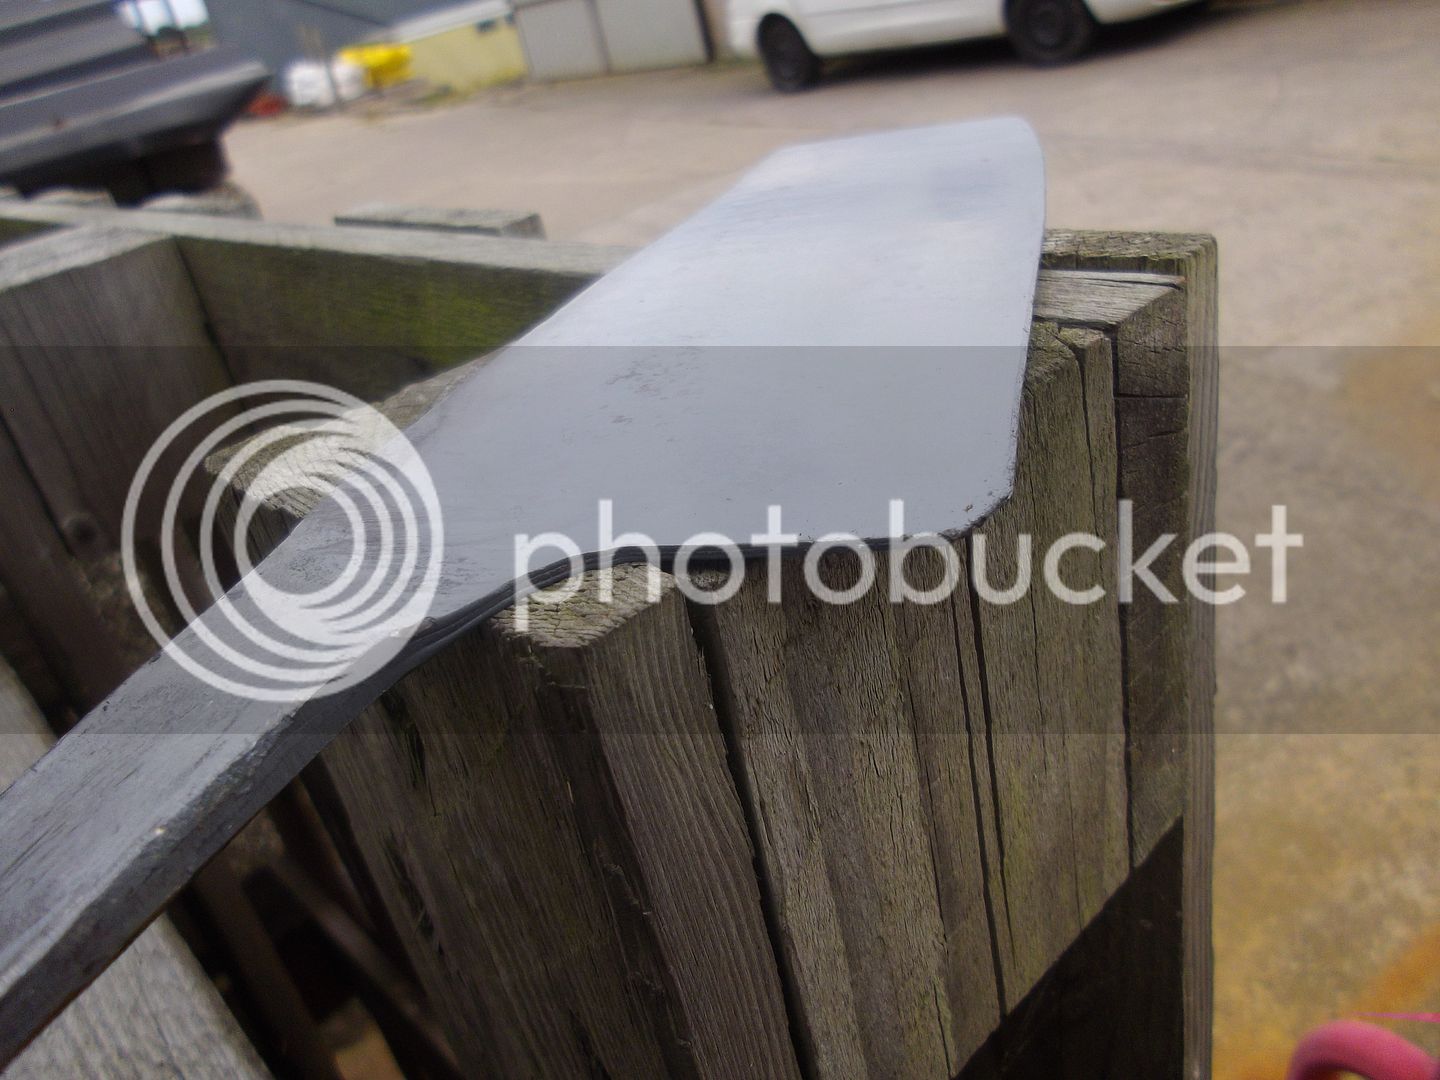
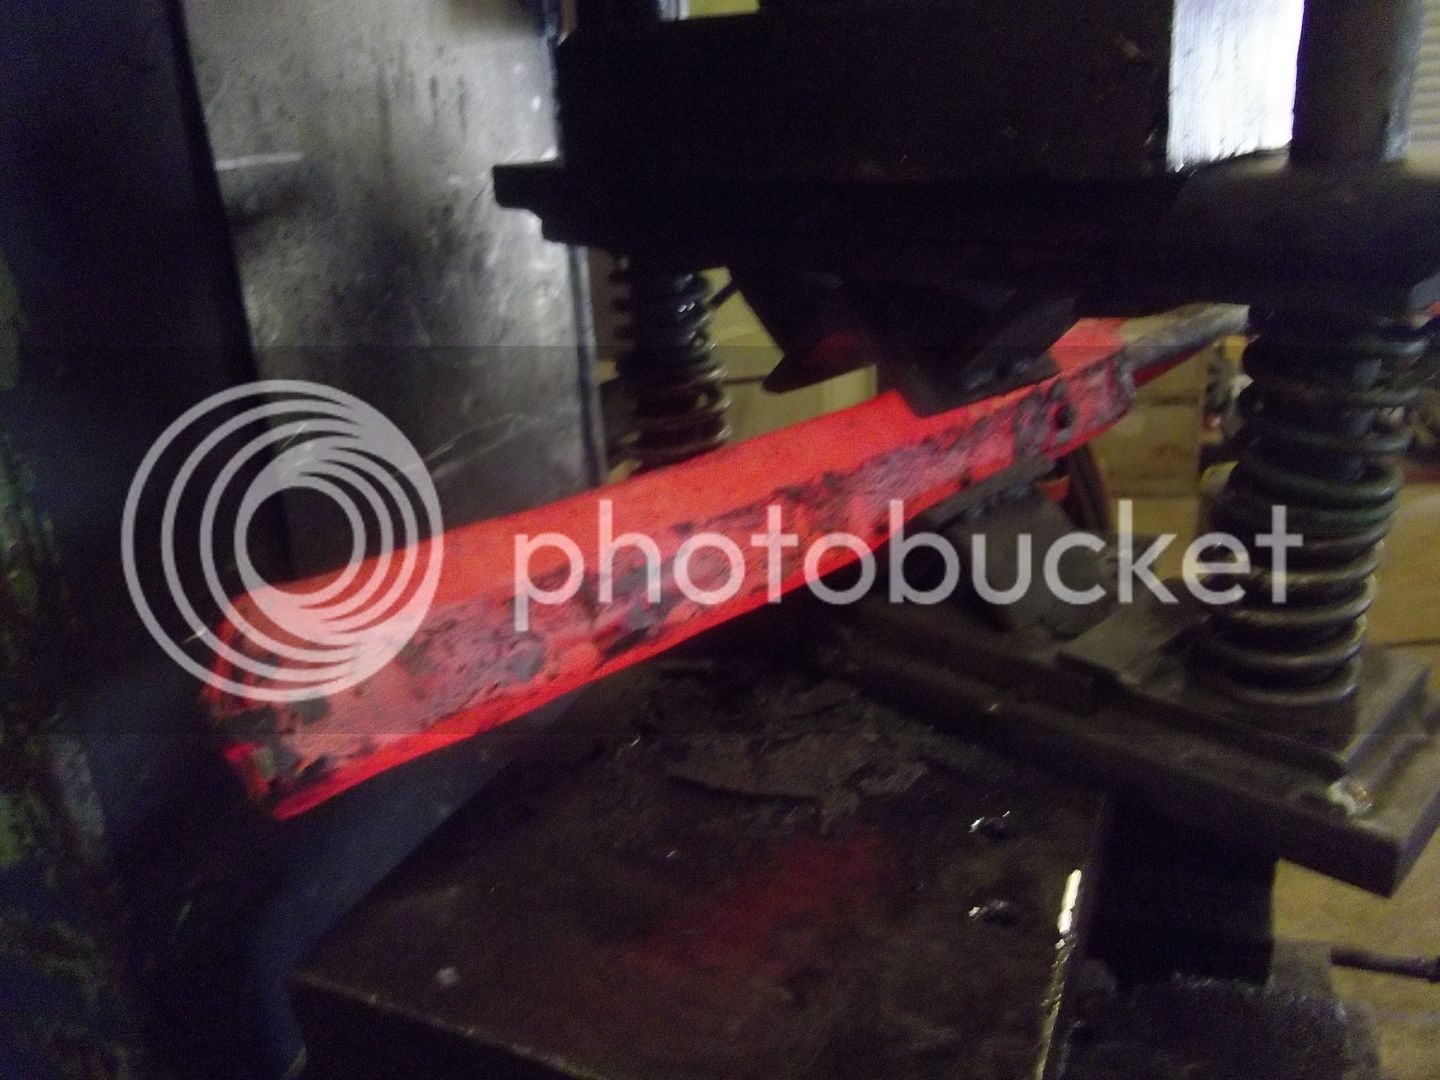
This is the first rough forging, followed by two more forgings at lower temperature then much straightening to ensure the forged geometry and hollows are even.


But most of the material is where I want it at this point.


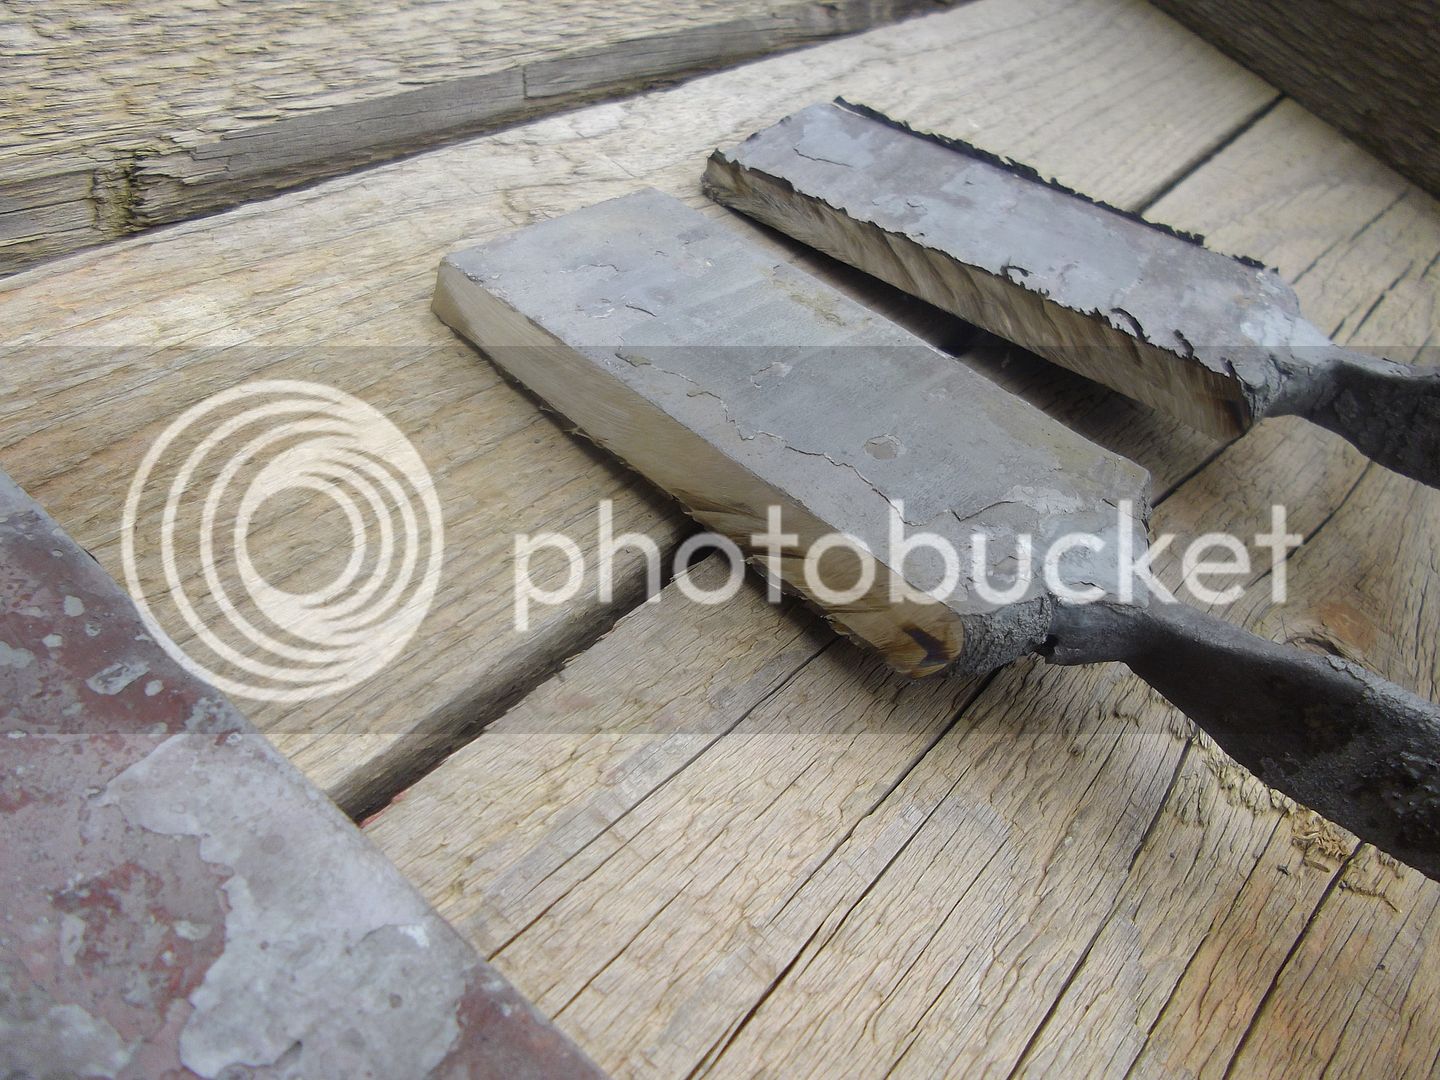
And two in Stainless clad Catchy-blue, again all forged geometry, not an easy trick but the first forging went well. Fingers crossed the steel plays nicely with the stainless in heat treatment.


Stainless clad rough/first forgings....

 
Yep, along the blue steel lines still, more carbon to the 1.2442 and less tungsten, surprisingly needed quite a different HT to the 1.2442 during testing ... . We will see :)
 
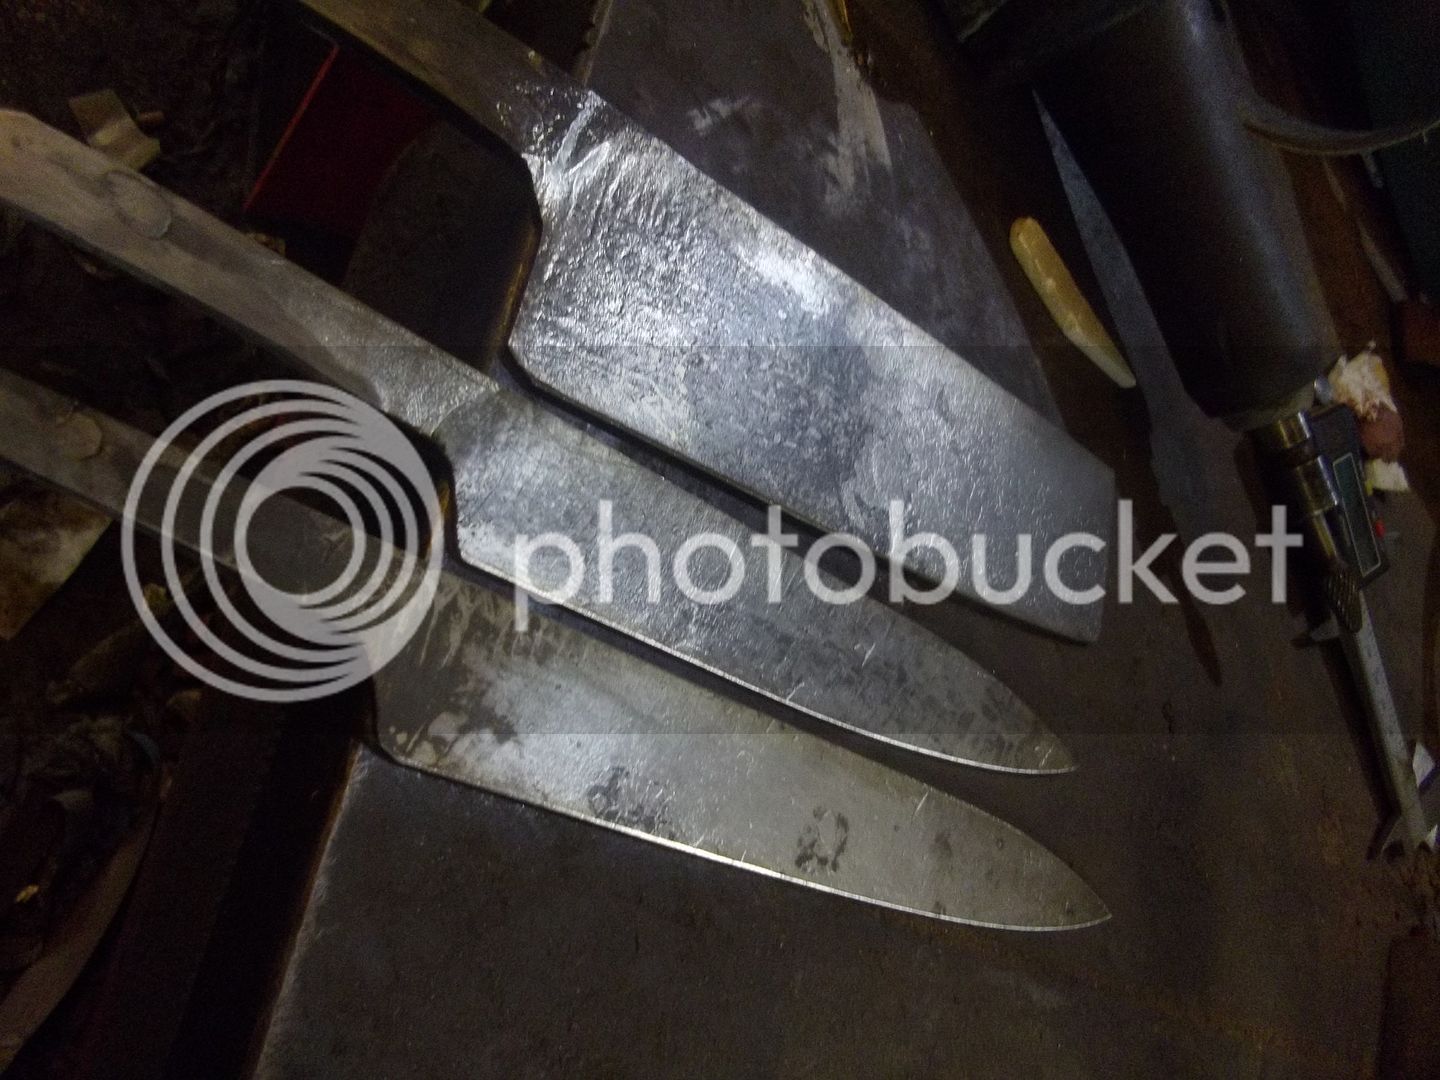
After second stage forging, done after descaling, now just one more forging descale and forging step to go to get the forged geometry perfect.
One with the tick is where I want it already. Will just have a surface finishing light run in the hammer.
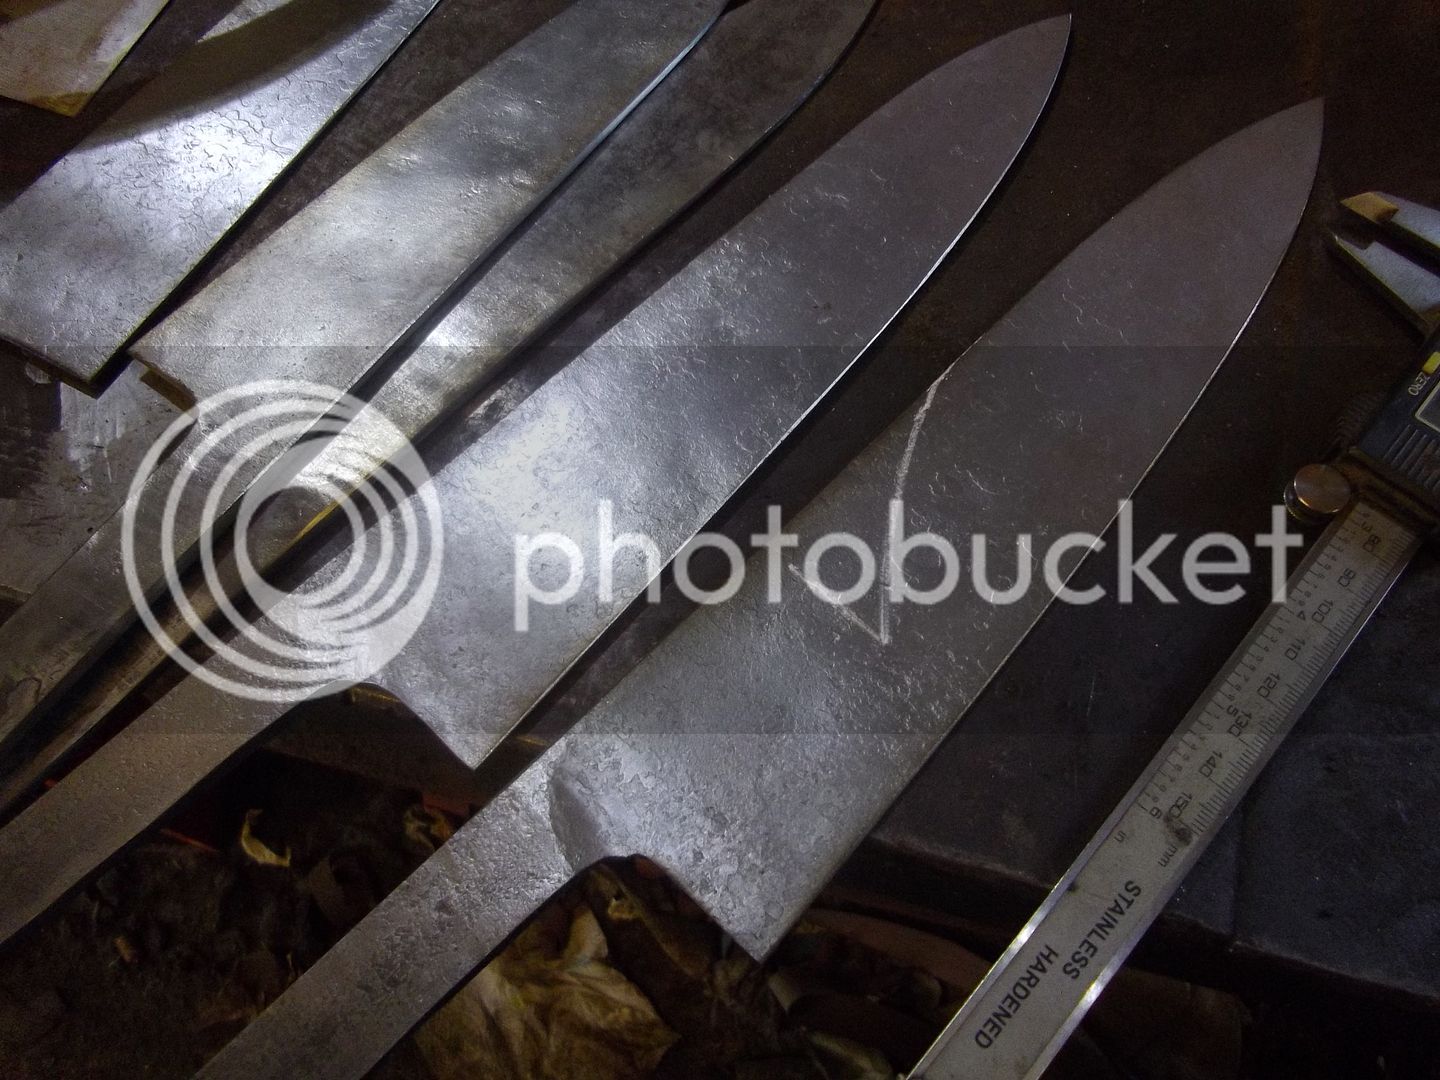


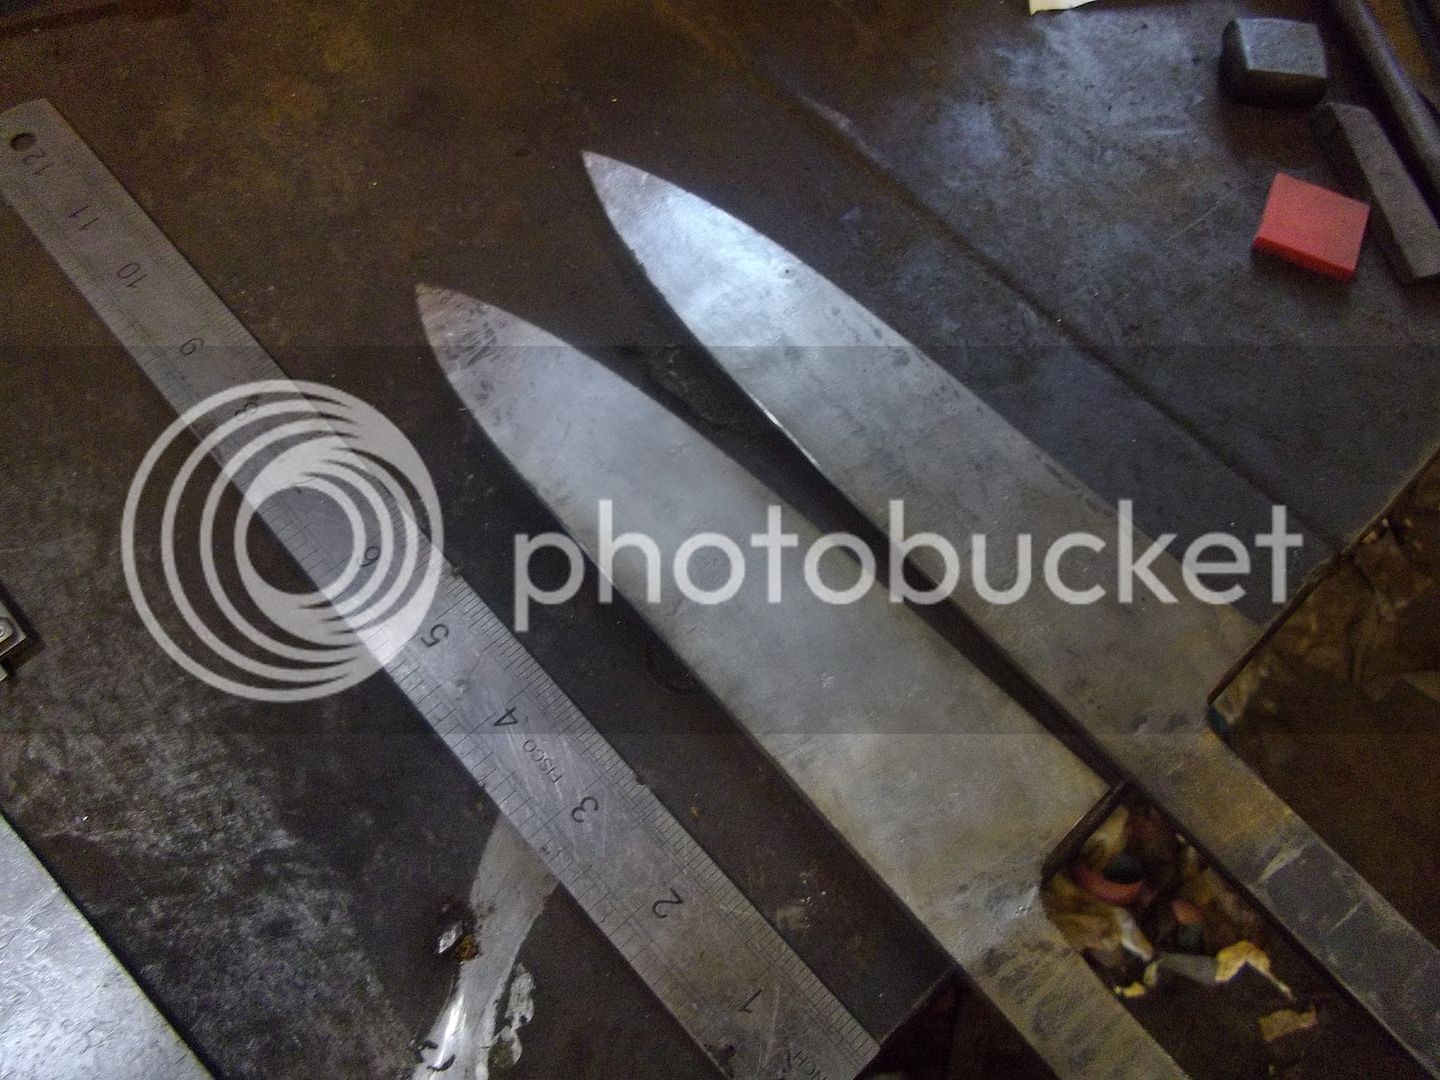
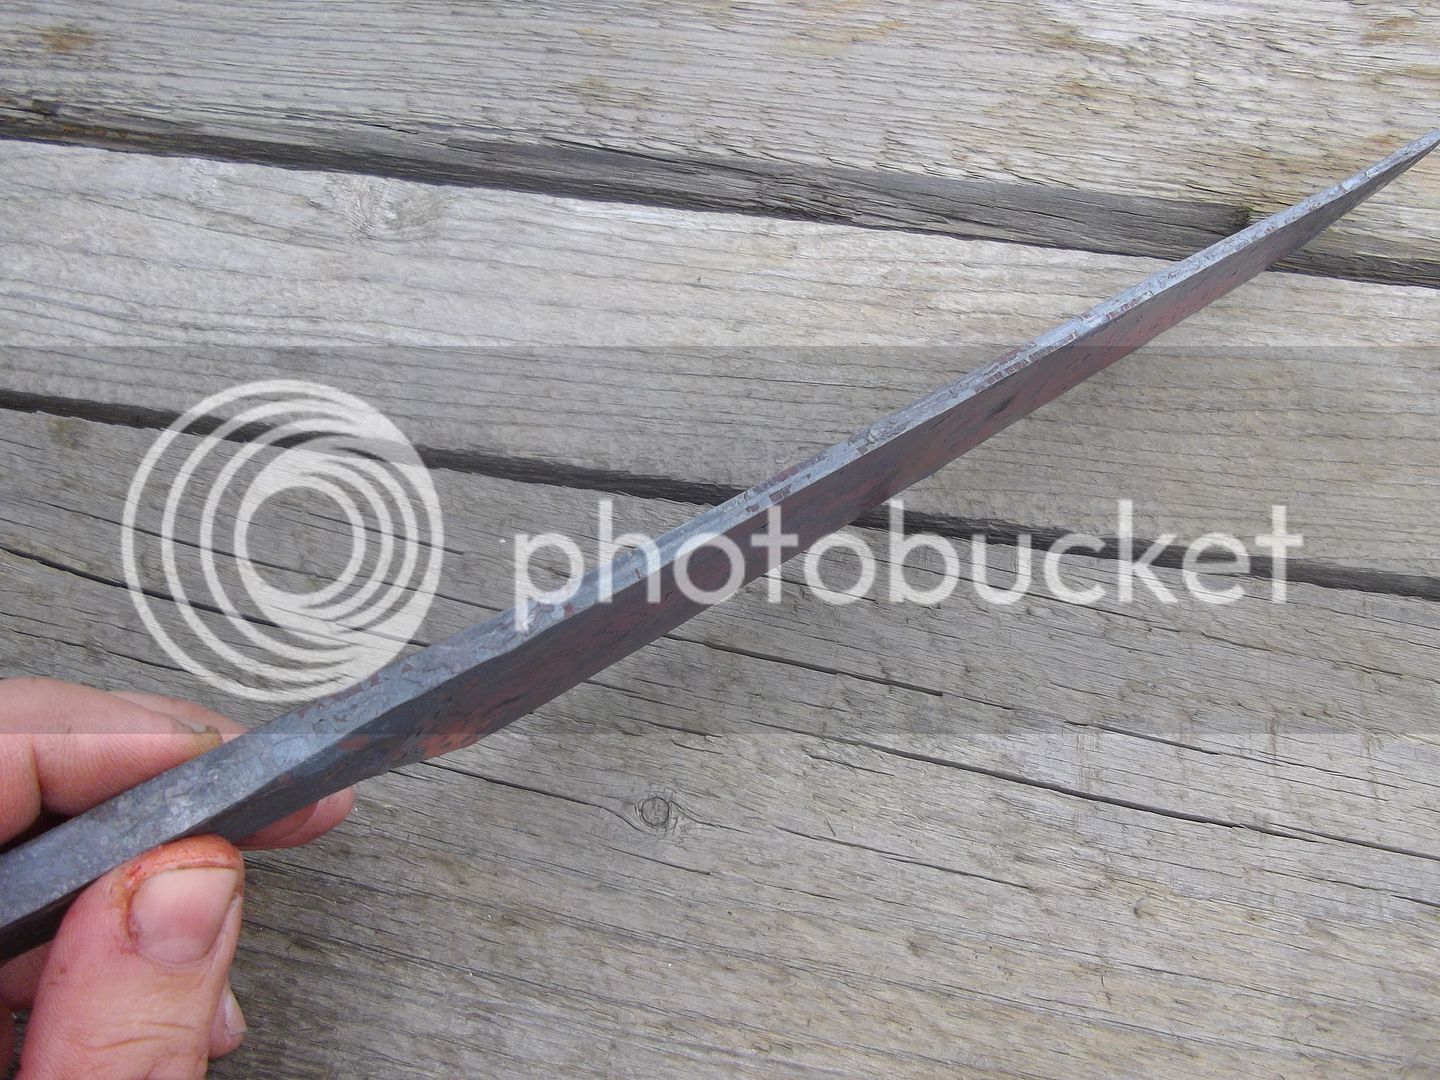
Measured 15mm behind the edge at the heel


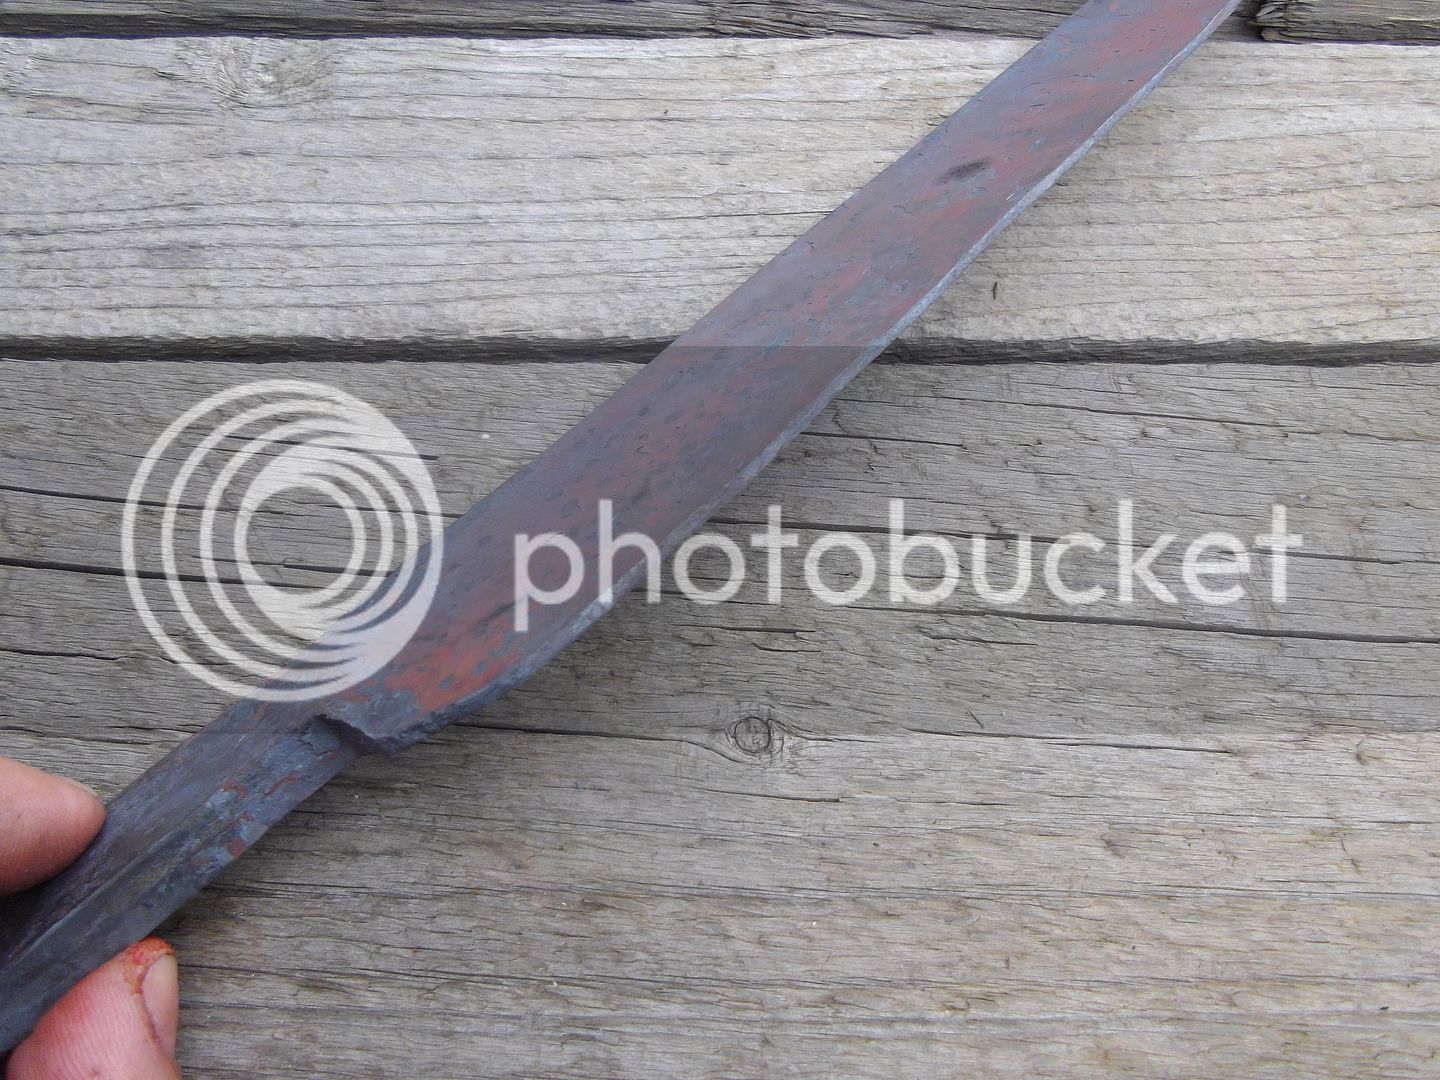
Spine exactly over heel, as it swells into the tang.
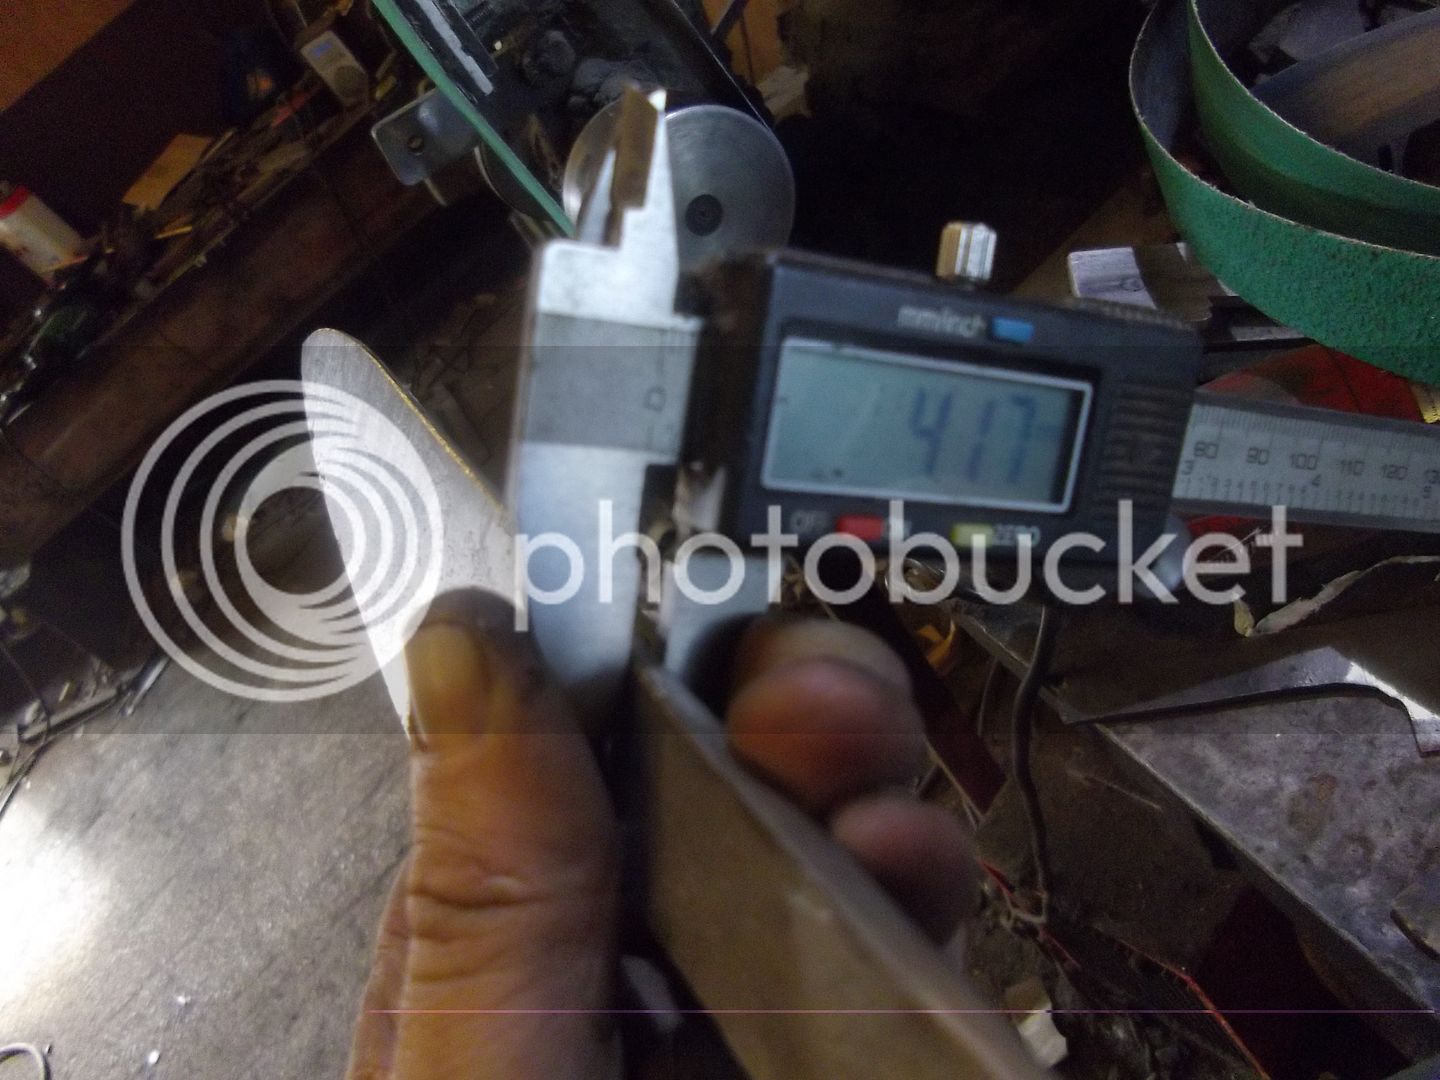


These 3 are all 240mm carbon clad
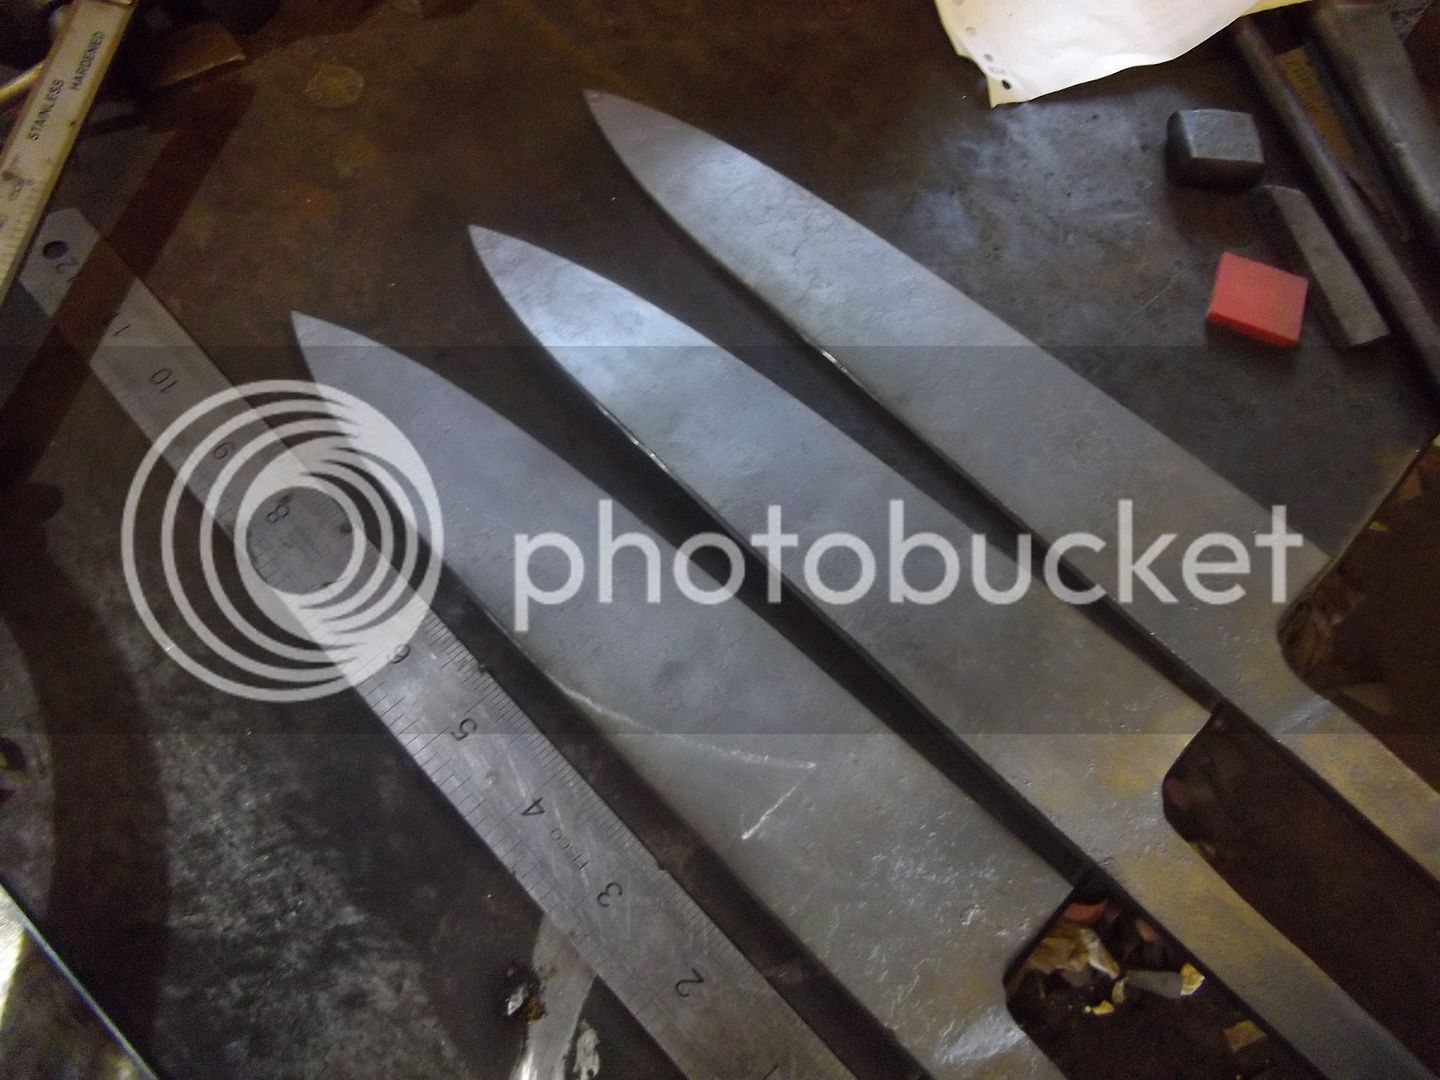


Headed for about 220mm stainless clad, forged geometry, don't see that everyday ;)


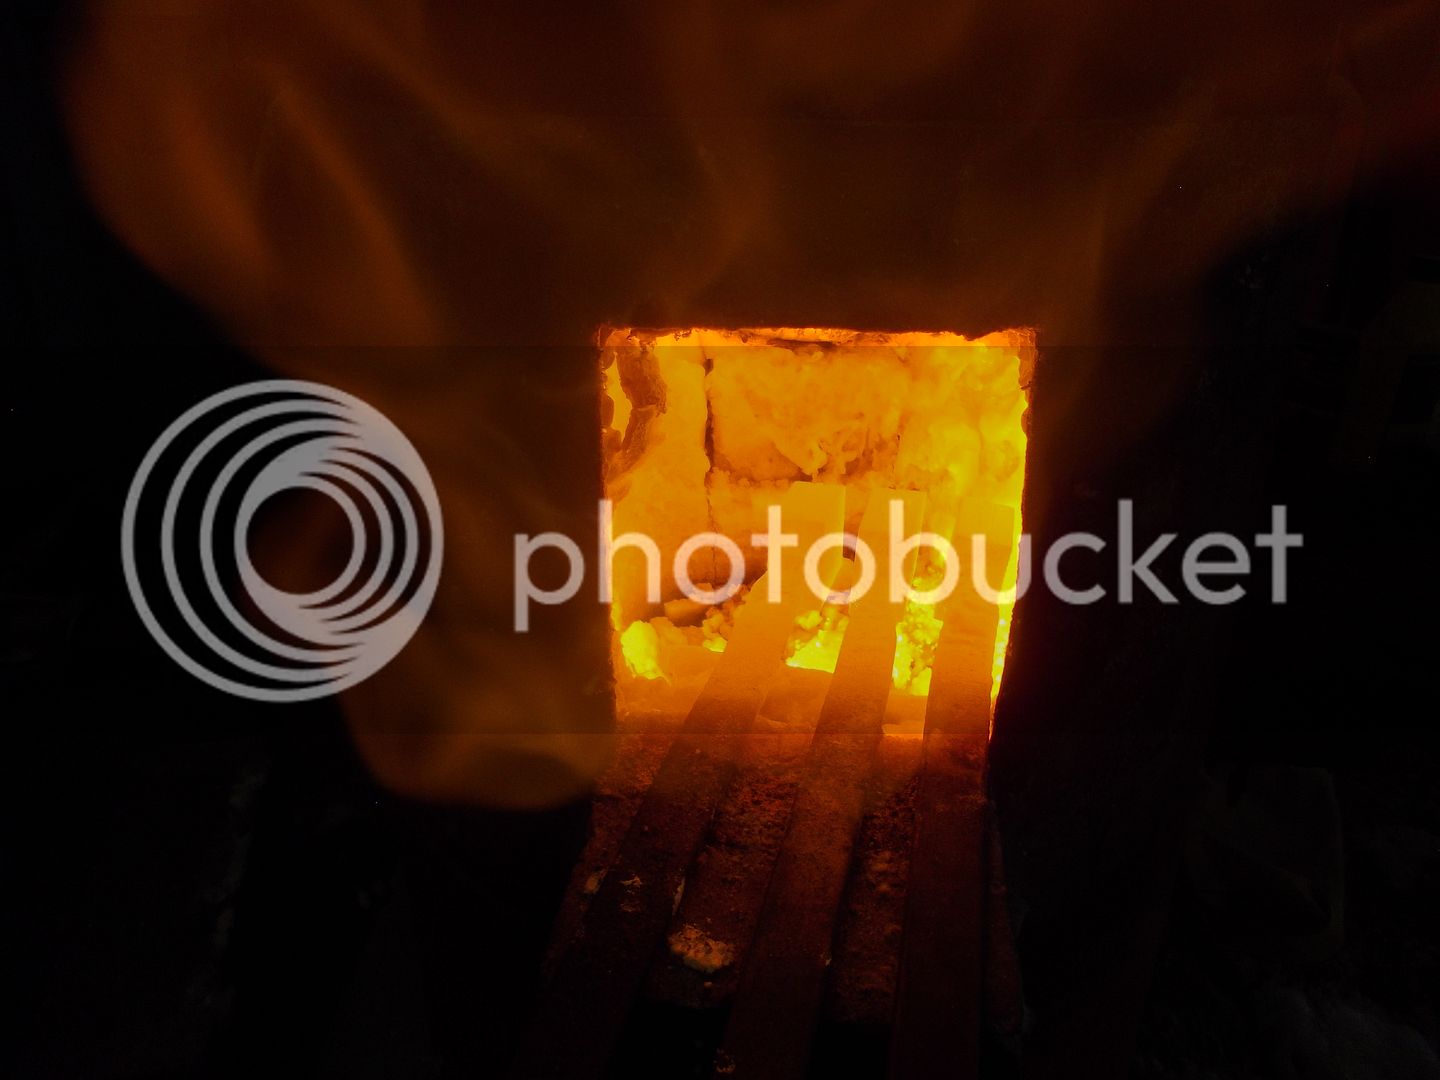
All completely forged now, and left to sub critical anneal for a couple of hours.
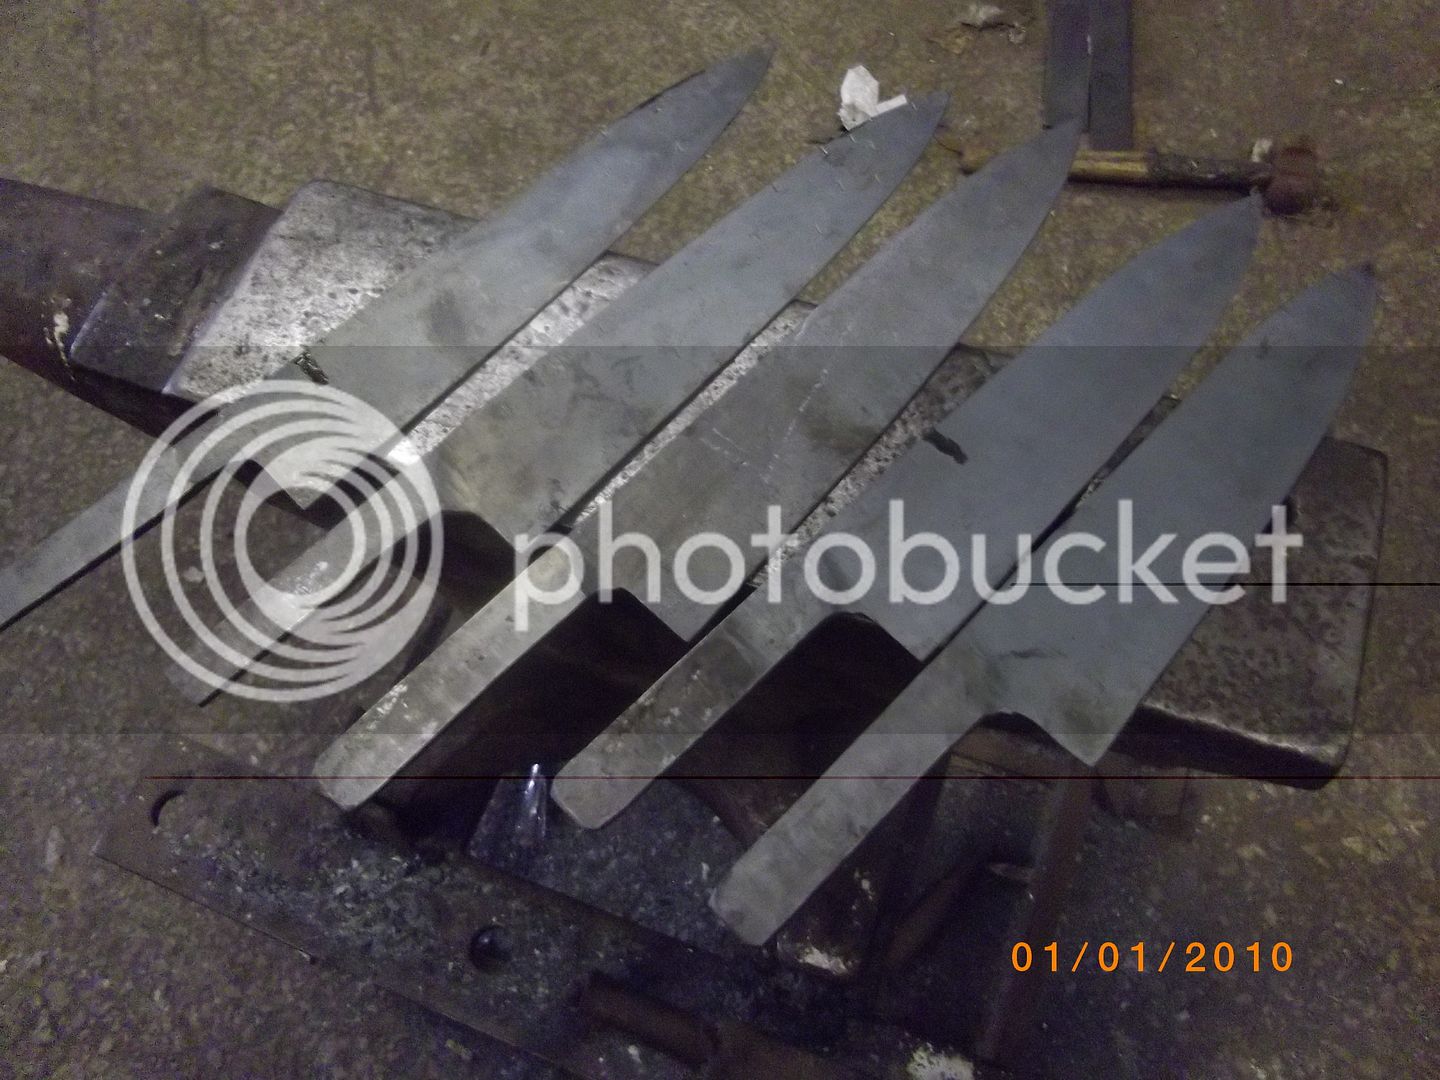


Yummy forged stainless clad mmmm
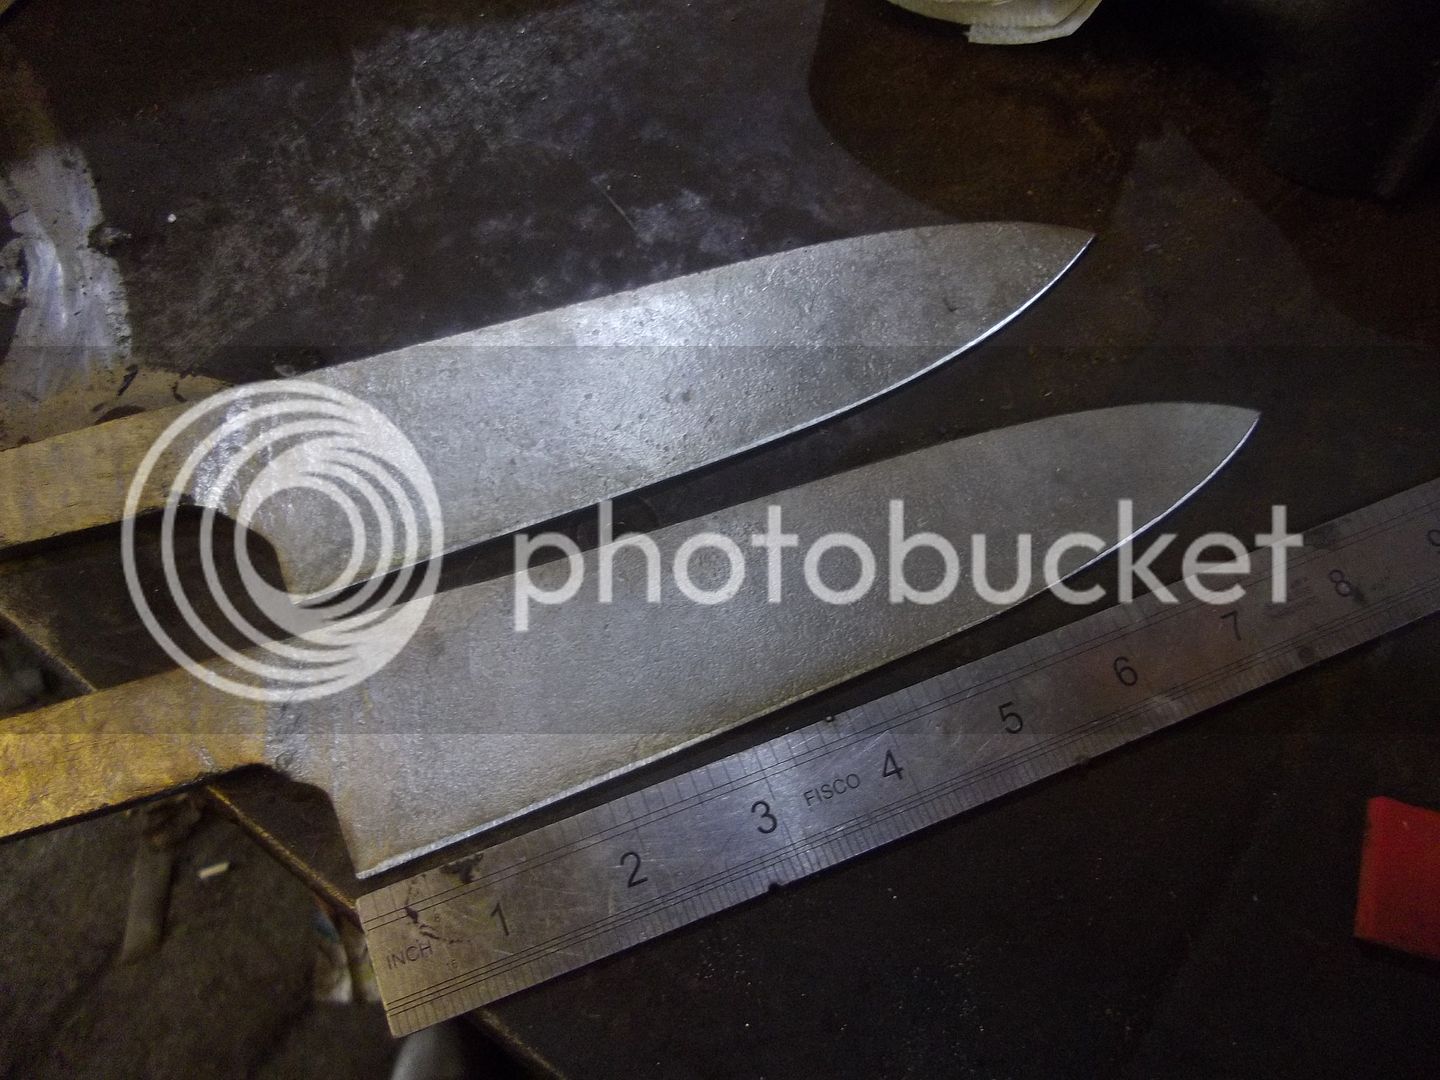

One in carbon 1.2442 nearly finished
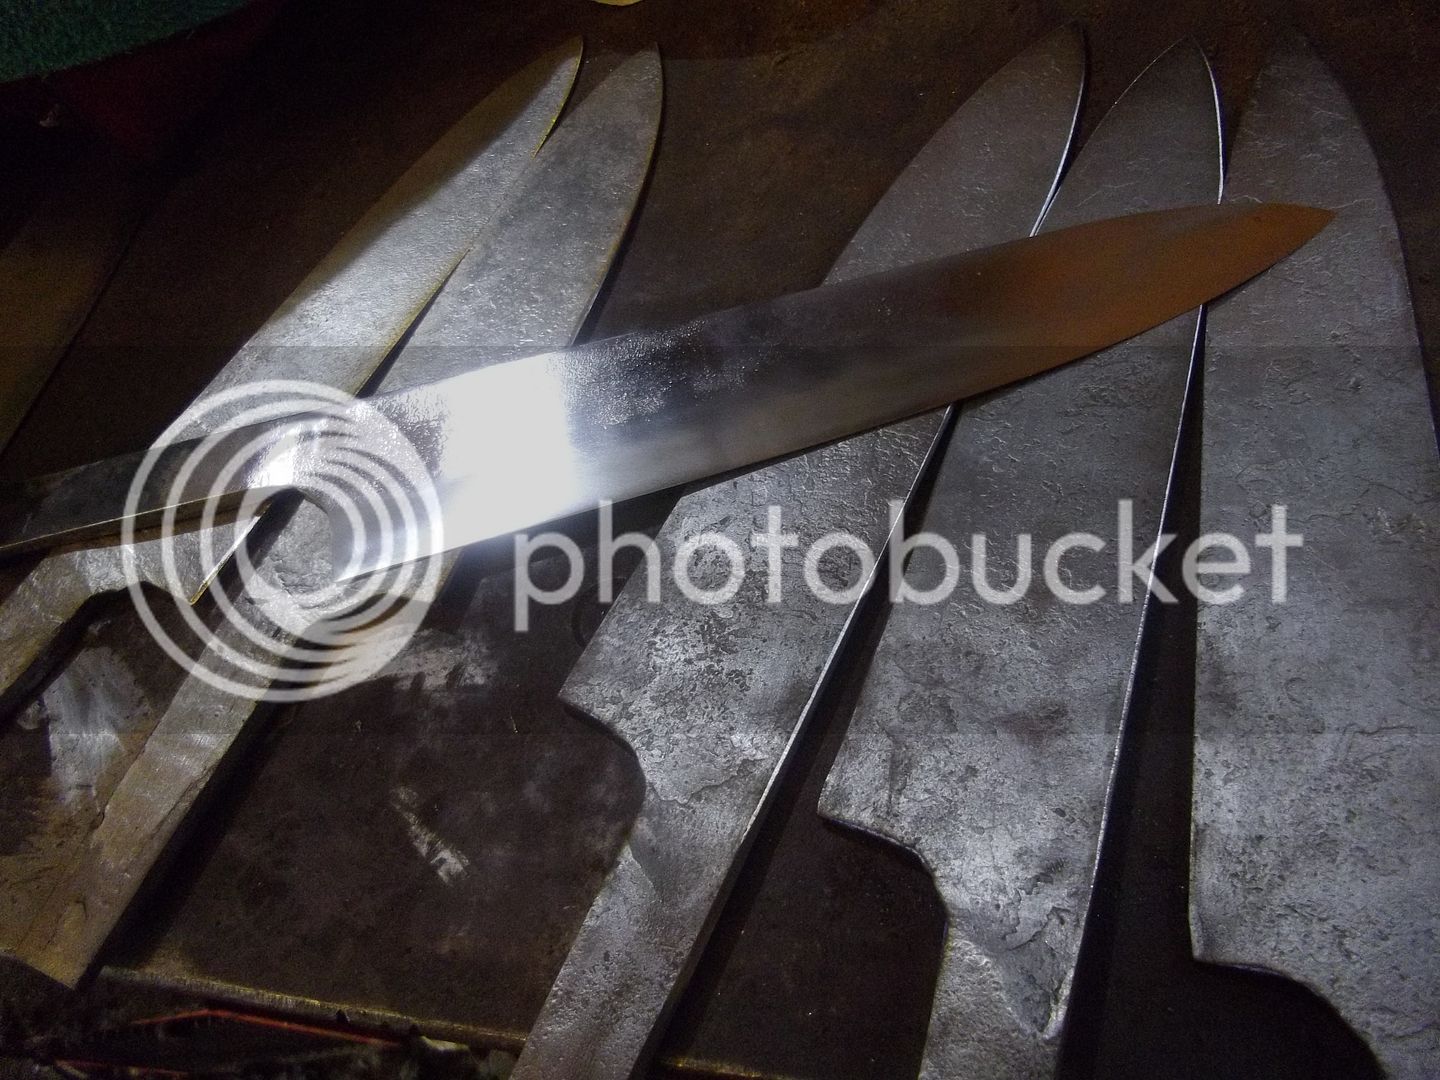


Finally some mosaic on the go..;


New steel testing also done, compared to 1.2442 the Catchy-blue has a considerably finer grain visuallycomparable to perfectly heat treated 01, therefore catchy-blue may not be the best name, but will stick with it as it designates it as a tungsten based high carbon steel, it has a smidge of vanadium which attributes to the grain refinement, it got a few points harder as quenched, its a beast. Hope it plays nicely with the stainless, the forging has been a little more quirky with more heat cycling necessary after welding to avoid micro cracks whilst forging. It also requires a much longer temper time and slightly higher temperature to get the beast down to 65/66, edge characteristics from the off a harder glassier feel than 1.2442 which will be the extra carbon forming cementite..... but shows great edge flex followed by a clean teeny chip with no distortion when pushed to destruction, was very hard to chip though, feels nice on the stones. On the surface fits perfectly with my goals and the perfect oil quench companion for my san mai and damascus to use along side the sc125 honyaki.

HT tomorrow, wish me luck,
 
Ha ha, if they were 7 years old they would all have those funny rounded profiles and reaaaaallly long handles that poke you in the privates while chopping, (special early feature of my work), think my phone date is wrong ;)

Thanks Bryan
 
Will, thanks for sharing. Really enjoy following your venture into kitchen knives.
And that golden nugget about thinning into the edge absolutely turned my thinking 180 even though I have been sharpening for a couple years now.
Never too late to learn new tricks..

Lars
 
Even if these photos were from 2010, they're pretty darn cool to see... :)

Thanks for sharing!!!
 
Thanks Matus, Lars glad the thinning/finishing tutorial helped:) Thanks Milky, ha its an old camera, never bother to set the date, I should because its a pain in photobucket as it plays a cool game where it just drops the photo somewhere randomly in my library, then I have find it. Will have my trusty D20 back soon, so will have some proper macro again soon :)

Dan my water logged phone is fixed, (Danish adventures) new screen, but still sounds like people are underwater on the phone.
It was fun getting back from Denmark on a motorbike with no mapping, actually the hardest bit was getting to my sisters in Camden, london, I had to shout at cabbies at nearly every junction , Camden, wheres camden.........Camden? your in south london mate....you want go back over the bridge.....etc
 
Great looking WIP as usual :)
Also, I have no doubt that London would be the most difficult part to navigate :D
 
Thanks dude :)

Few more stainless clad rough forged , A cleaver, lots more forging to go on height...and a couple of petty/suji.


Followed by straightening and heat cycling for the 5 Gyuto, the straightening for these is very involved, involves planishing to get the hollows even then working down towards the edge, checking the evenness and repeat as necessary........Then check after each heat cycle. Finally they all get quenched in oil at 90 degrees C, and immediately into the first temper. Gives me the best chance of the stainless not splitting up the core on cooling by not letting the blades cool until after a full temper cycle. Where upon I can check straightness again :)


So will know later if the stainless and catchyblue is a go go, or a no no;)
 
Thanks Dennis.....Mad, maybe ;)

One more update before the weekend, while the Gyutos were tempering I had a crack at the second forging on the Cleaver. Not done loads of Cleavers but a few, mostly using a fuller Geometry like a gyuto. With the forged geometry though want to go nice and thin just leaving some meat on the spine. Definitely the most fun job of the week.

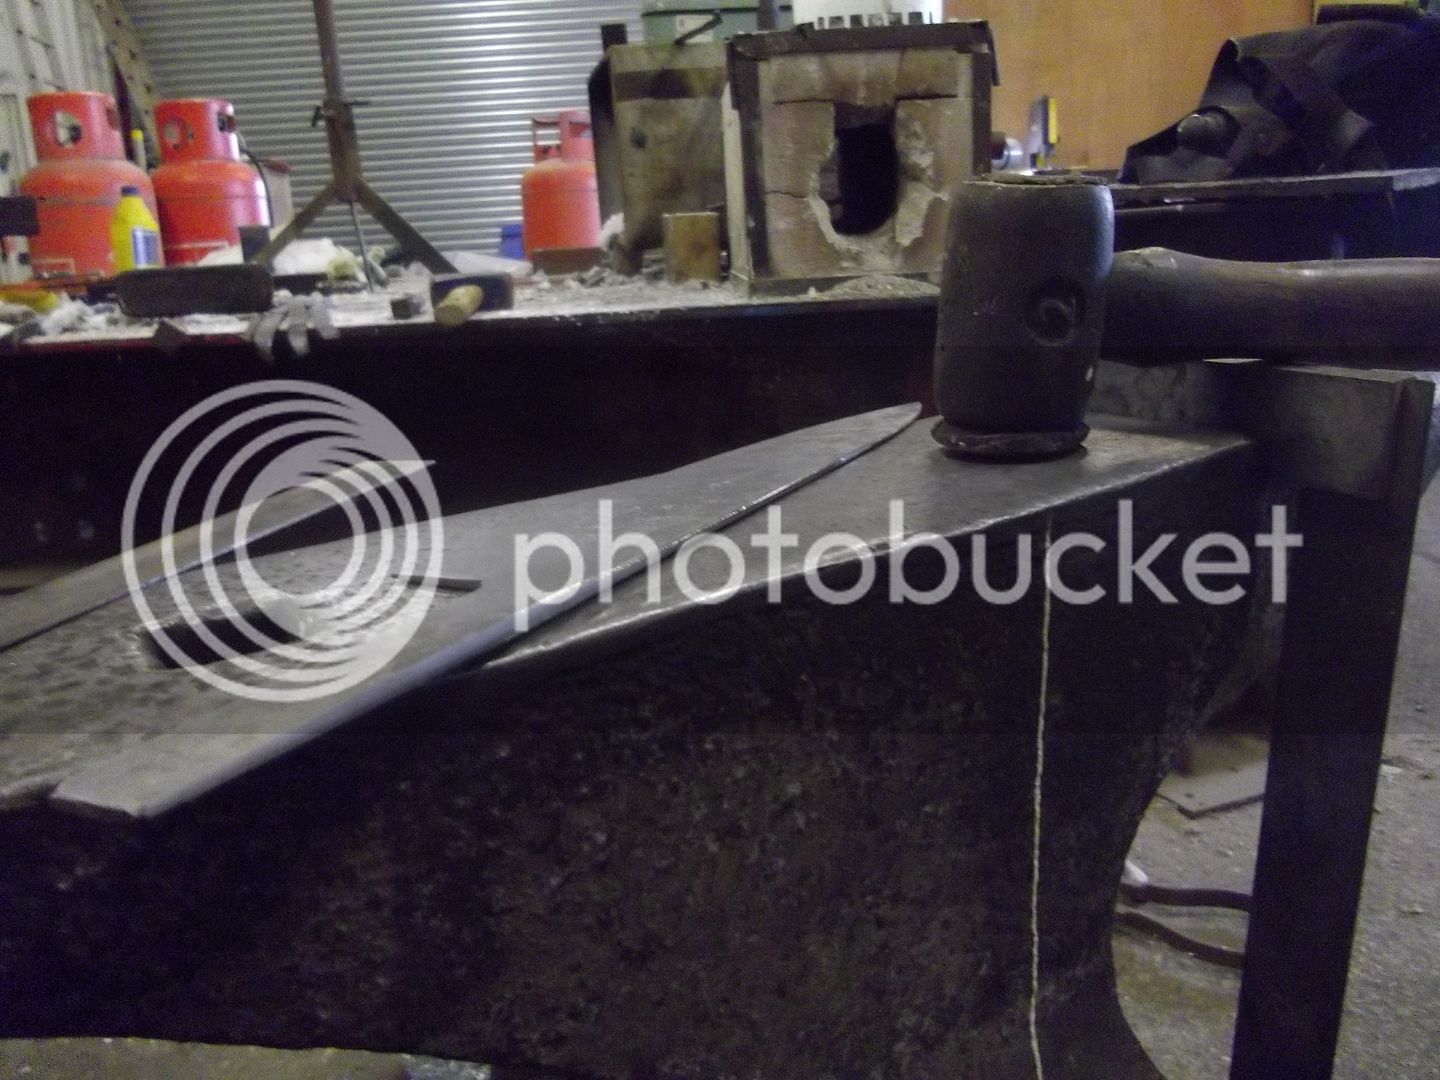
Forging starts into the edge and lower portion, the blade curves up, I then bring the hollows of the formwork up swelling just bellow the spine, eventually straightening the piece which has now grown in height about 20mm to 78mm tall.


Finally I readjust the tang in line and forge that out a little more bringing everything in line, only part left to forge from here is just a little more on the spine into the top of the choil otherwise will catch on the stones.

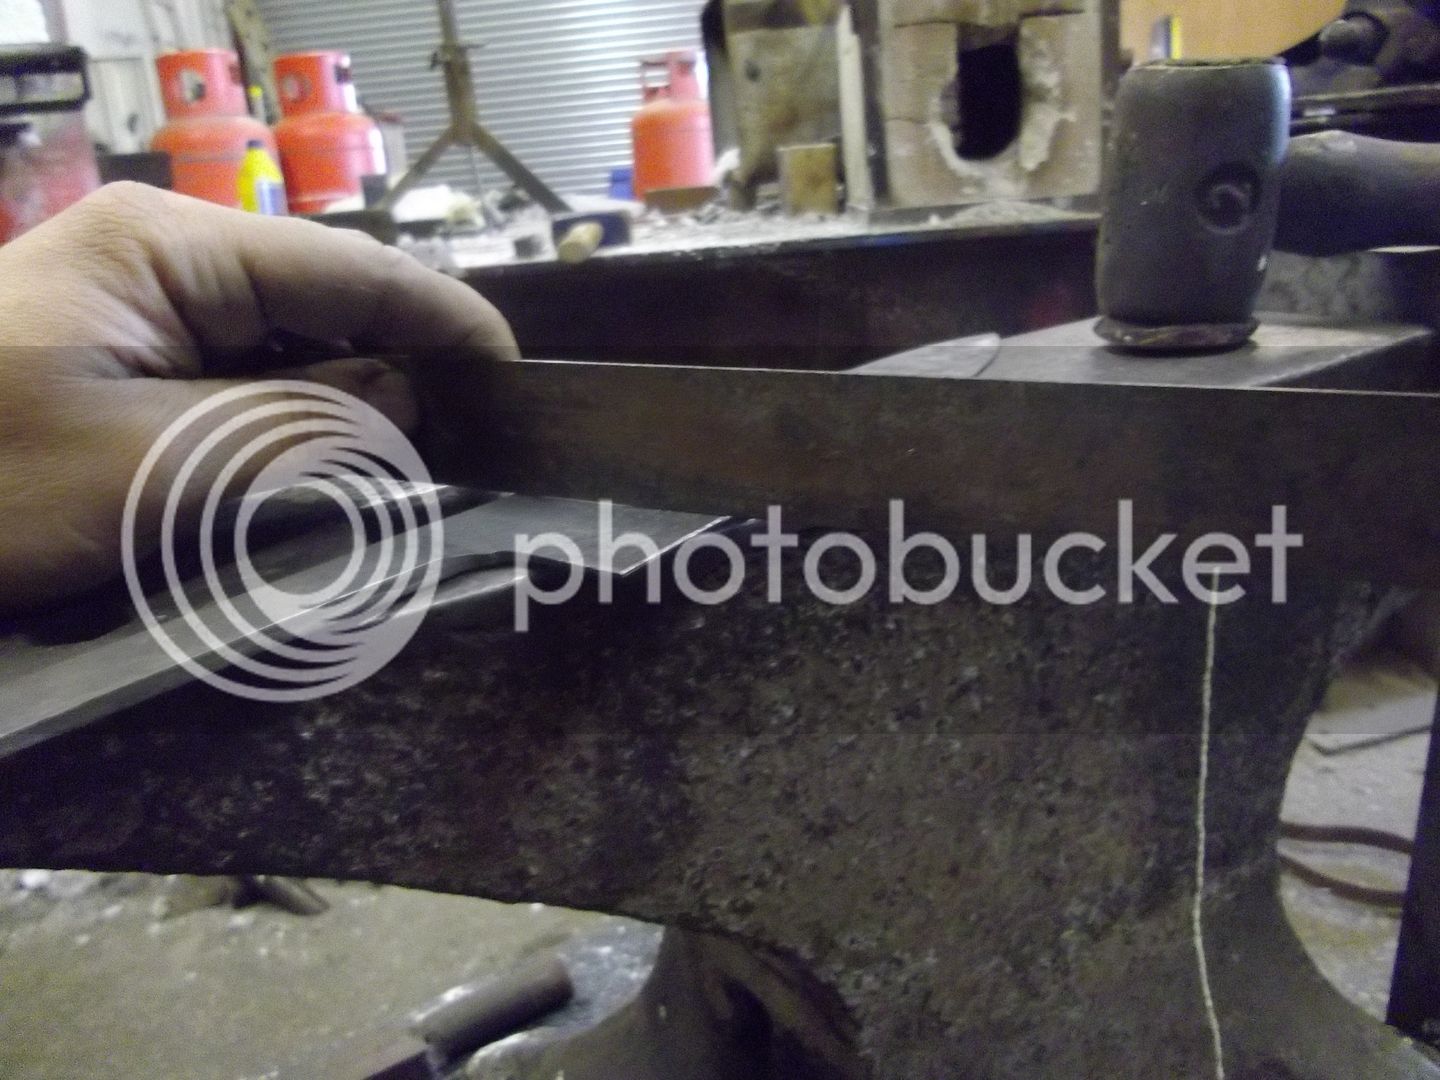
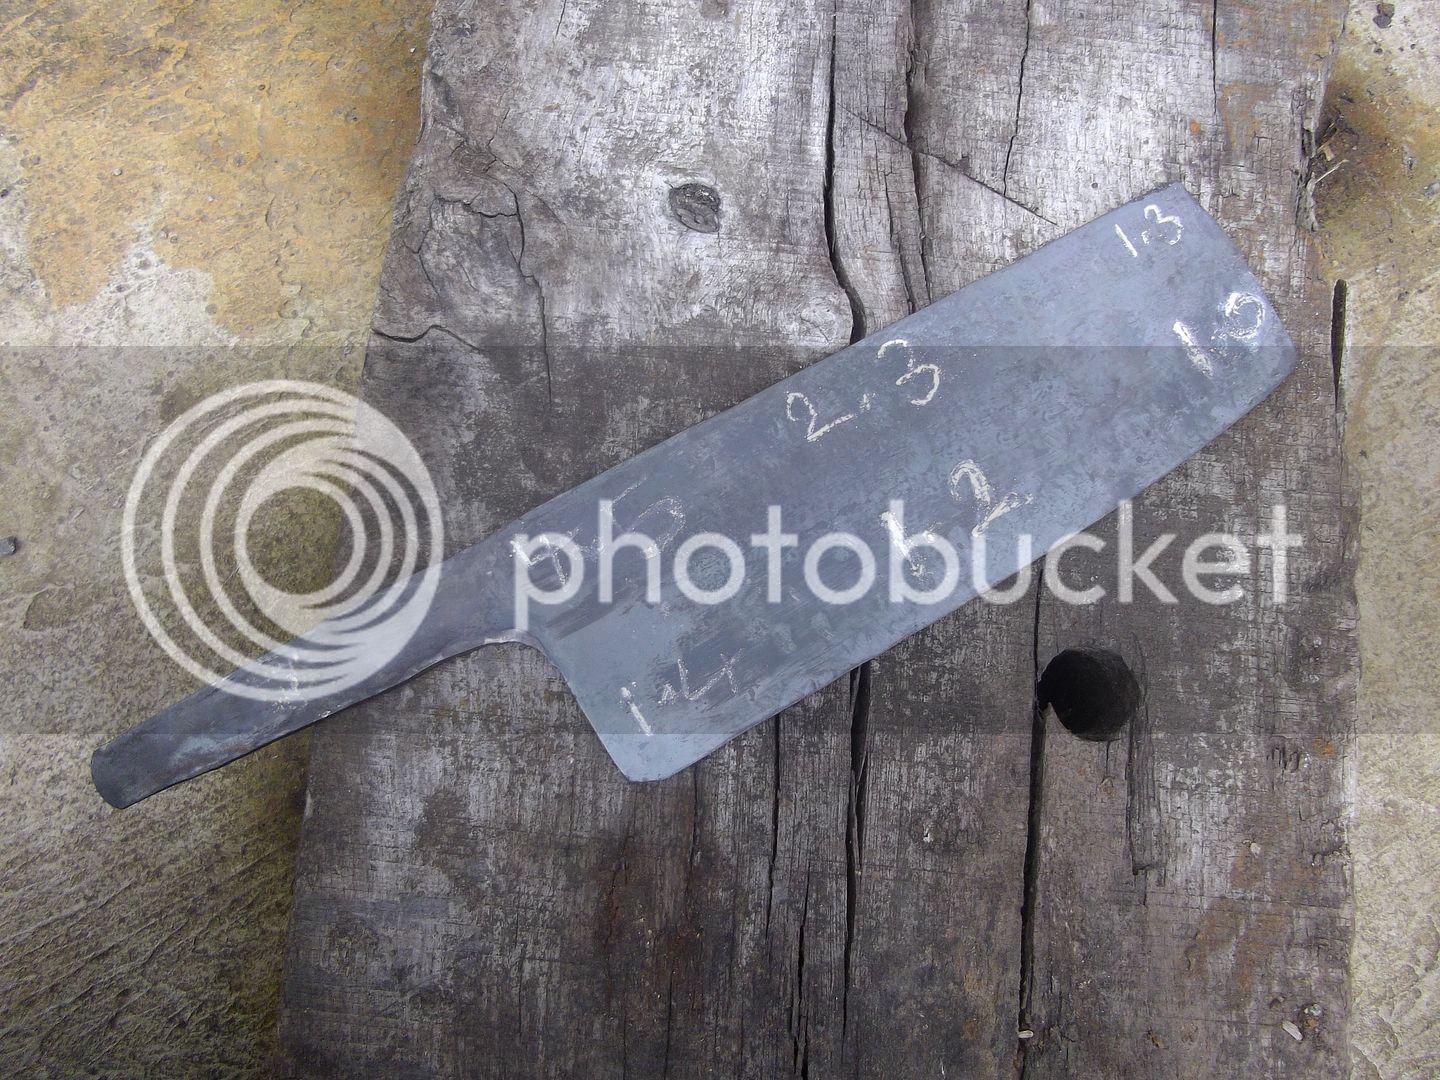
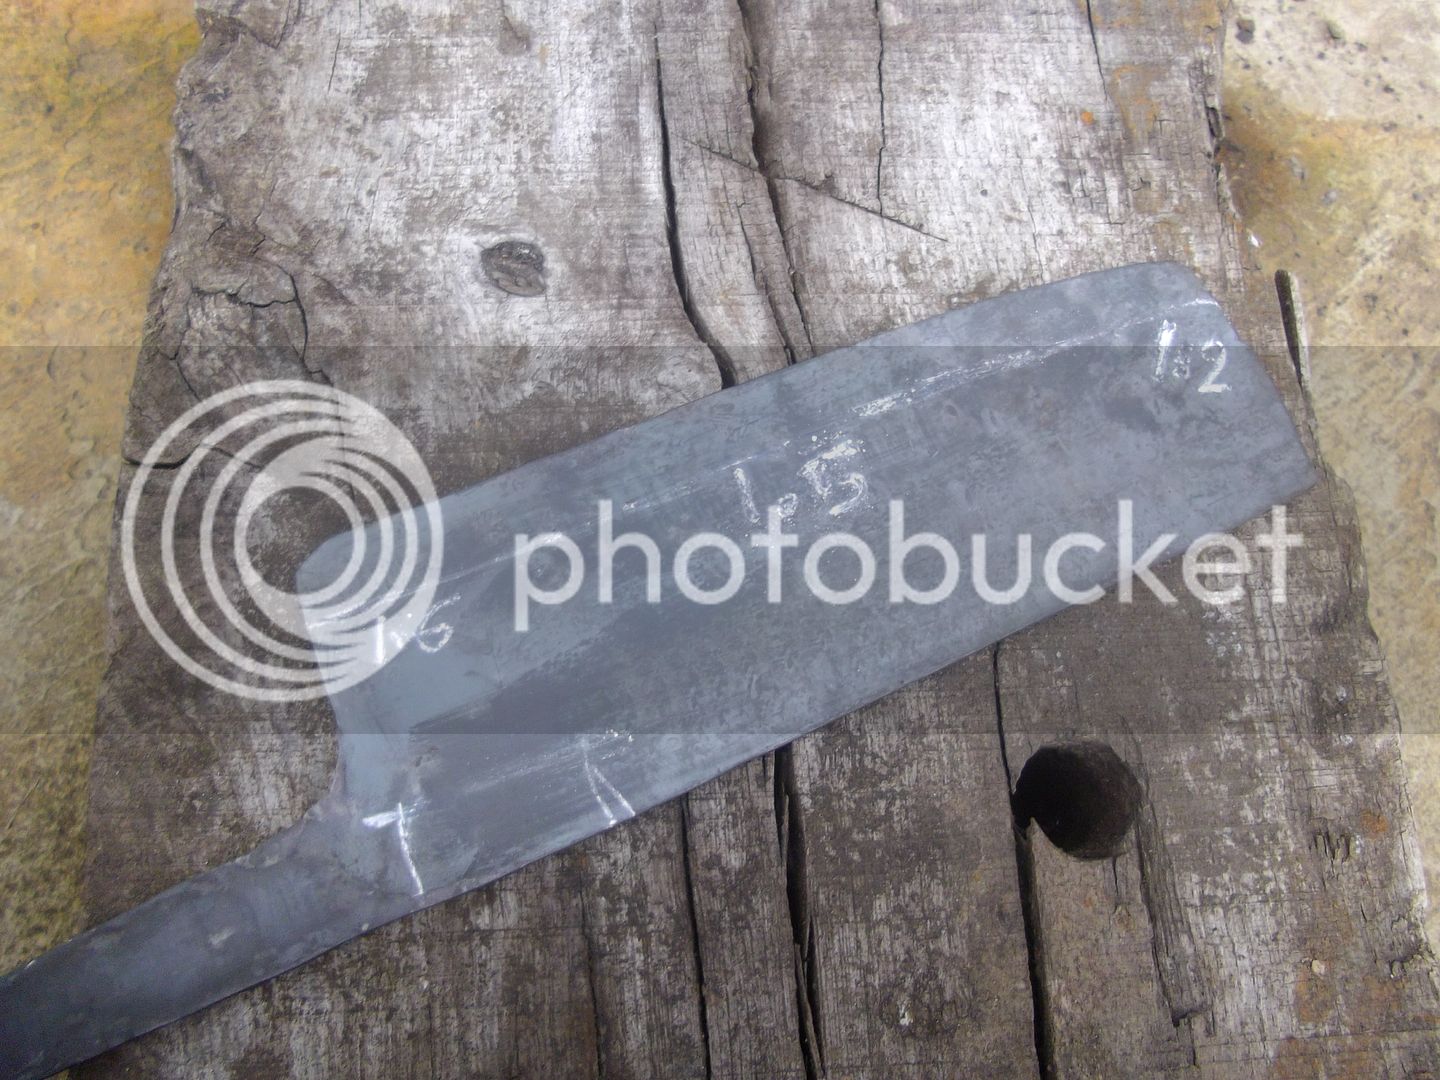
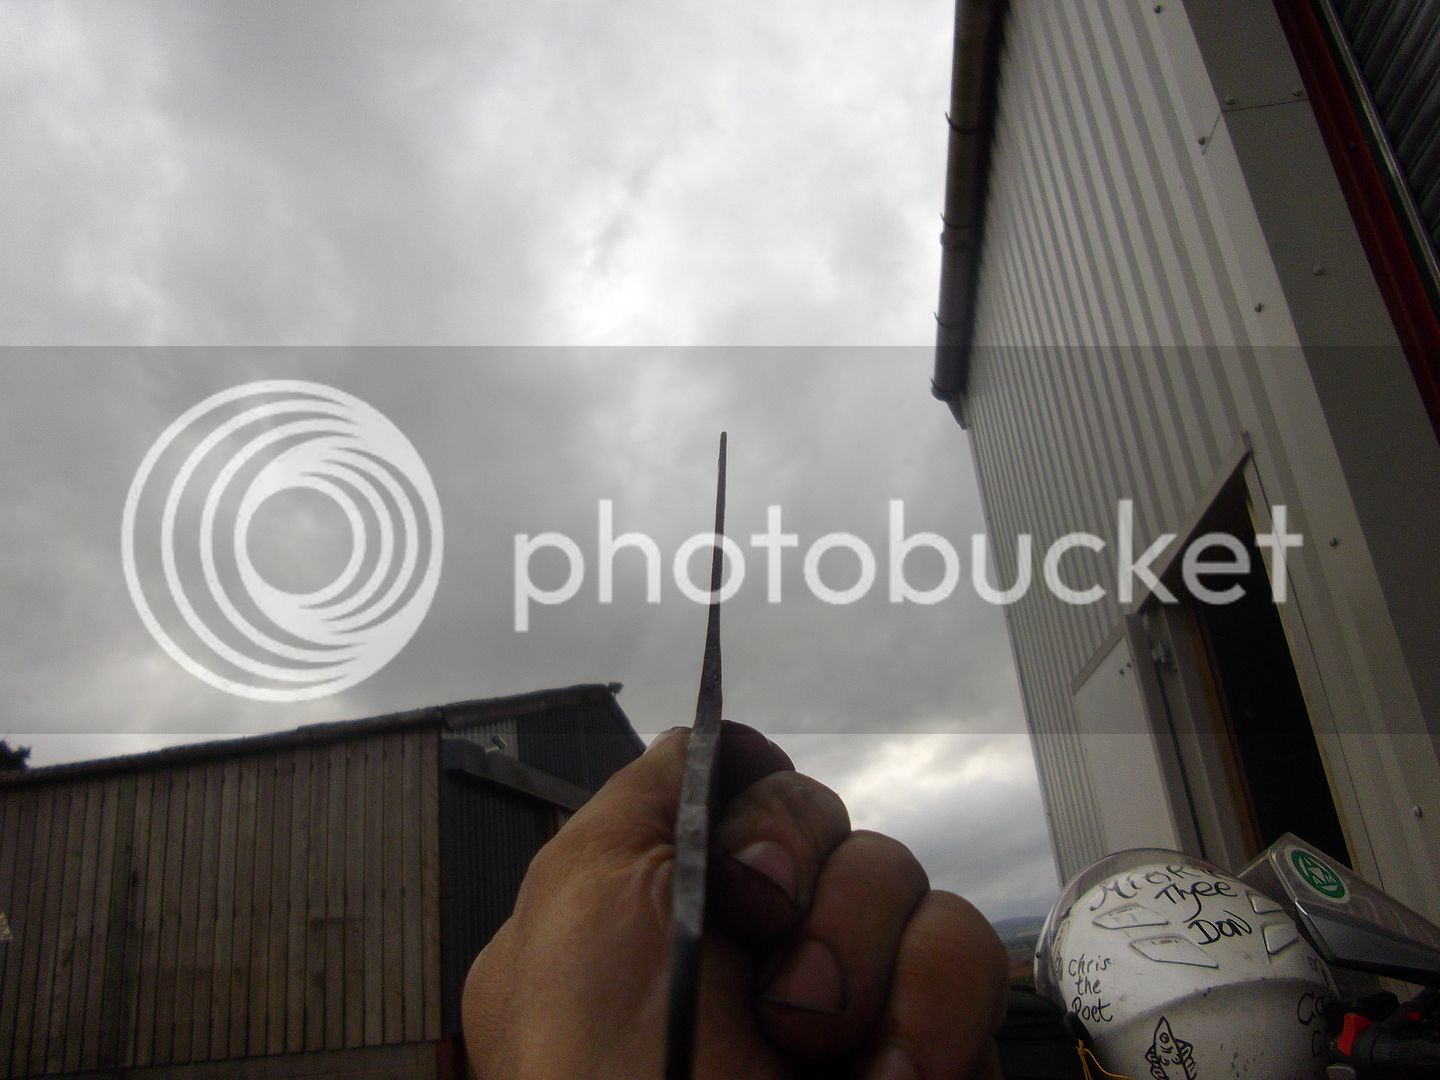
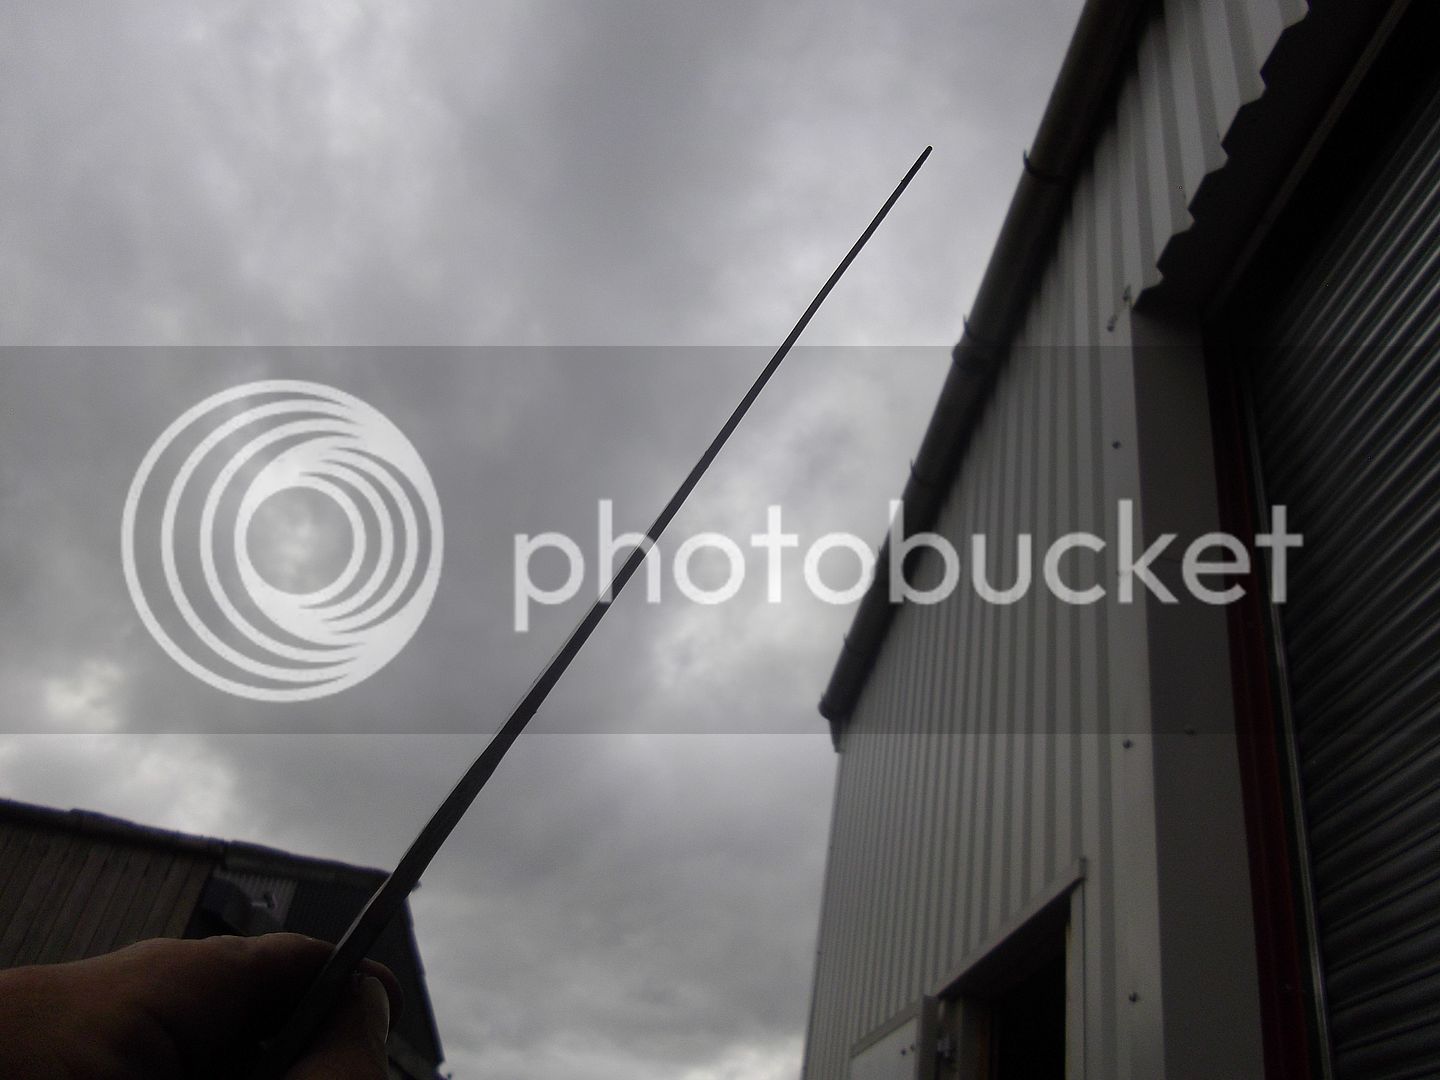
Here is all the forged thicknesses on the spine and edge, heel spine thickness will come down to 4mm on final forging done at a very low temperature.


Here are the thicknesses measure up to the line, approximately where the bevel will come up to...


Barely a few grams of material wasted to grinding happy days :)


So will have a few for sale next week, make sure your on my Mailing list to know when stuff is in store.

Thanks All
 
It's humbling to watch these WIP's. Amazing. Love to see some videos. "Catcheside... Part Metallurgy, Part Alchemy "
 
Thanks Mike :) Will do been meaning to do some formwork videos for these and some quenching for the honyaki.... Have a fun weekend :)

Zeteum click my website in my signature, or here
www.catchesidecutlery.com


Go to my store/shop page, scroll down to the bottom and subscribe there, or there is a subscribe button on my contact page too, same mailing list. Any difficulties drop me a message. Thanks
 
Amazing work / WIP Will! Thanks for putting this together and showing some of the inner workings ... much appreciated!

Quick question - For the blades you are looking to go on sale (stainless San Mai question for me anyway) will they all have handles pre-made/installed or were you open to customizing the handles at all?

Thx Tom
 
Thanks Tom, Shoot me a message on my site outlining what you fancy for the handle and i will reply with some pricing on Monday,
I bought some wood for handles for these and have a plan in mind for the cleaver but no handles made up yet so open to your input :)
Thanks
Will
 
That was so cool showing how close to the final thicknesses you get with just the forging on that cleaver!

I went to the website to sign up for email updates but it said I had already signed up. I guess I got so excited by these WIP that I forgot I already signed up in the recent past. LOL

Thank you for sharing and keep up the great looking work! :doublethumbsup:
 
Ha ha, awesome, thanks for signing up :) Yes forging is my area of work for a long time, so it's nice to be able to use these skills more than grinding on this aspect of my work, actually these forged pieces are only ground on the lower/wide bevel after ht, so although the forge process takes sometimes, once done there is very little material to remove, barely a few grams, this allows me more time to get the bevels really nice and a nice process through the stones to final geometry and thinness. First time I've forged a tallish cleaver like this with fully forged geometry, was lots of forging but it certainly beats grinding from what would be something like 5mm stock :)
 
Some grinding on the carbon san mai ones,

Got my canon dslr back, I missed it :)


First grind off the 36 grit big 3" linisher,


Down to 300 grit by now on the 2" belts.


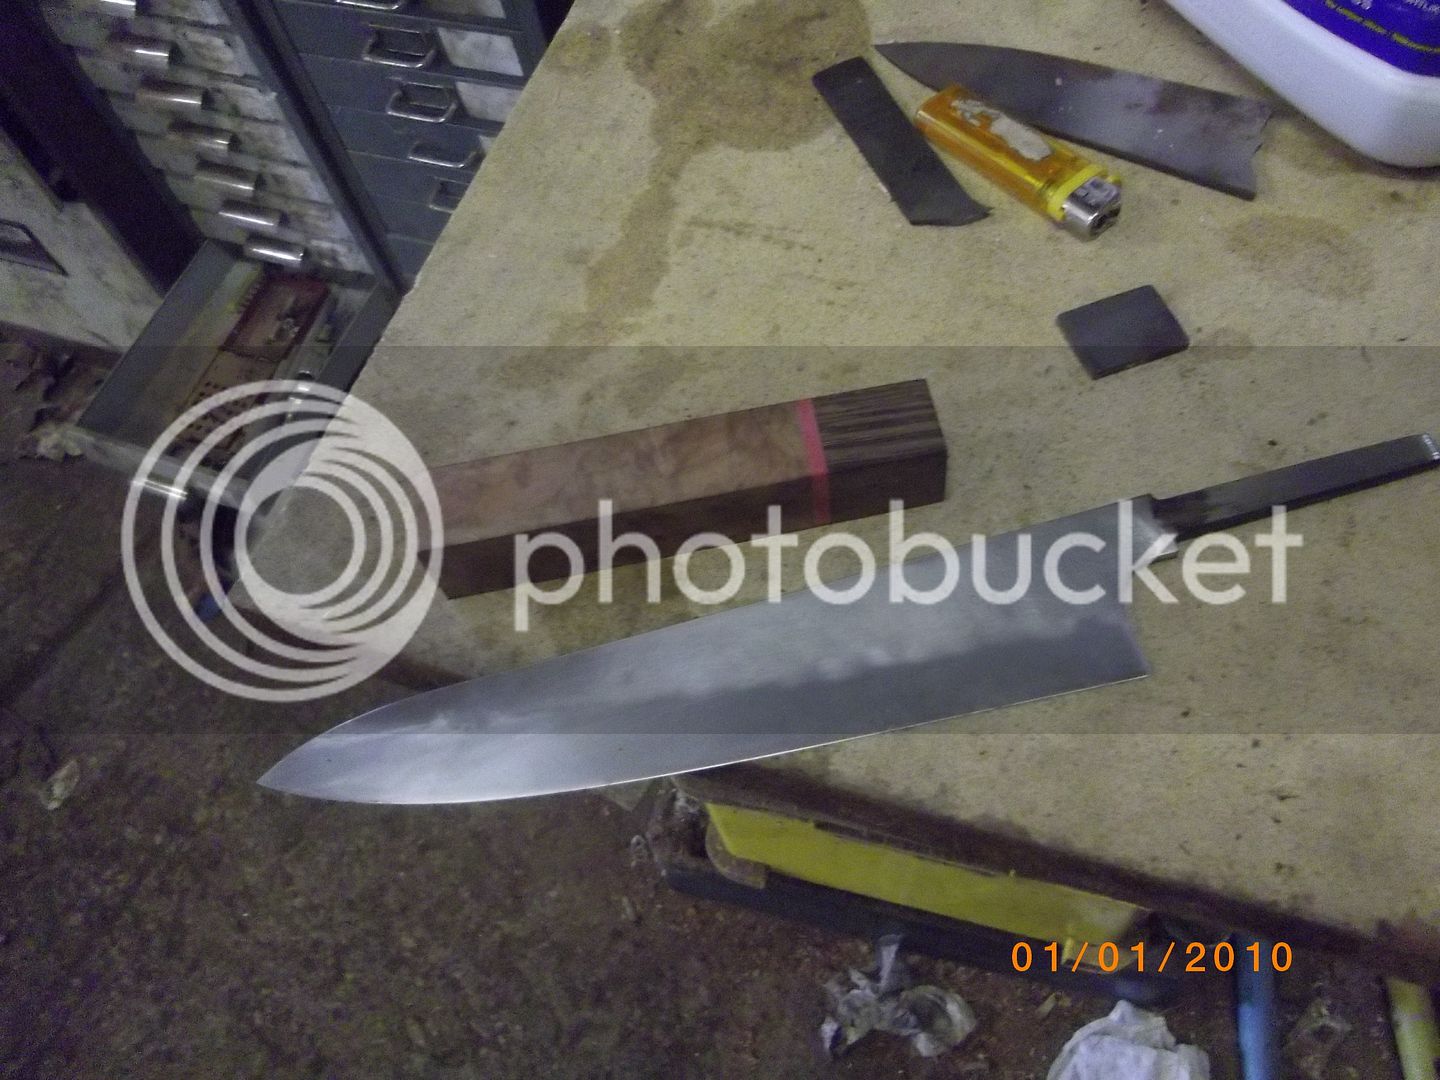
This one now stone finished and handled


Fantastic. That 3" grinder - do you use it just for the higher efficiency, or because you can use the steel sides as guides?
 
Thanks, a big powerful grinder really helps a course ceramic grit to cut efficiently. This one runs a 75mm wide 2m belt @ 3kw or 4 hp, running a 36 grit ceramic.. and it works much better and faster with course belts than a standard 2hp 2" grinder. I have fitted a ceramic platen to the machine bed and an angled rest, so I can push into the bevel evenly, other than that its a standard 2 speed 3phase industrial linisher.

When there is more material to be removed the 10" wheel is also a beast to use on this machine, I use it for anything from rough tapering lengthways like a manual surface grinder, to hollow grinding the initial bevel against the wheel, after this moving to a flat platen it goes very quickly to make a nice initial bevel.

After that its very quick to bring the bevel up with a 50 grit belt on a 2" 2hp machine, 2hp copes with 50 grit very well over 2"

An alternative for 36 grit efficiency is to run a 1" wide belt on a standard 2hp machine, thus doubling the hp/inch, but the beast is better if you can learn to tame it.
 
Back
Top