Carl Kotte
Senior Member
No problem, I made the handle myself out of brittle bog oak.How did you manage to crack it like that?


No problem, I made the handle myself out of brittle bog oak.How did you manage to crack it like that?
Lemon grassHow did you manage to crack it like that?
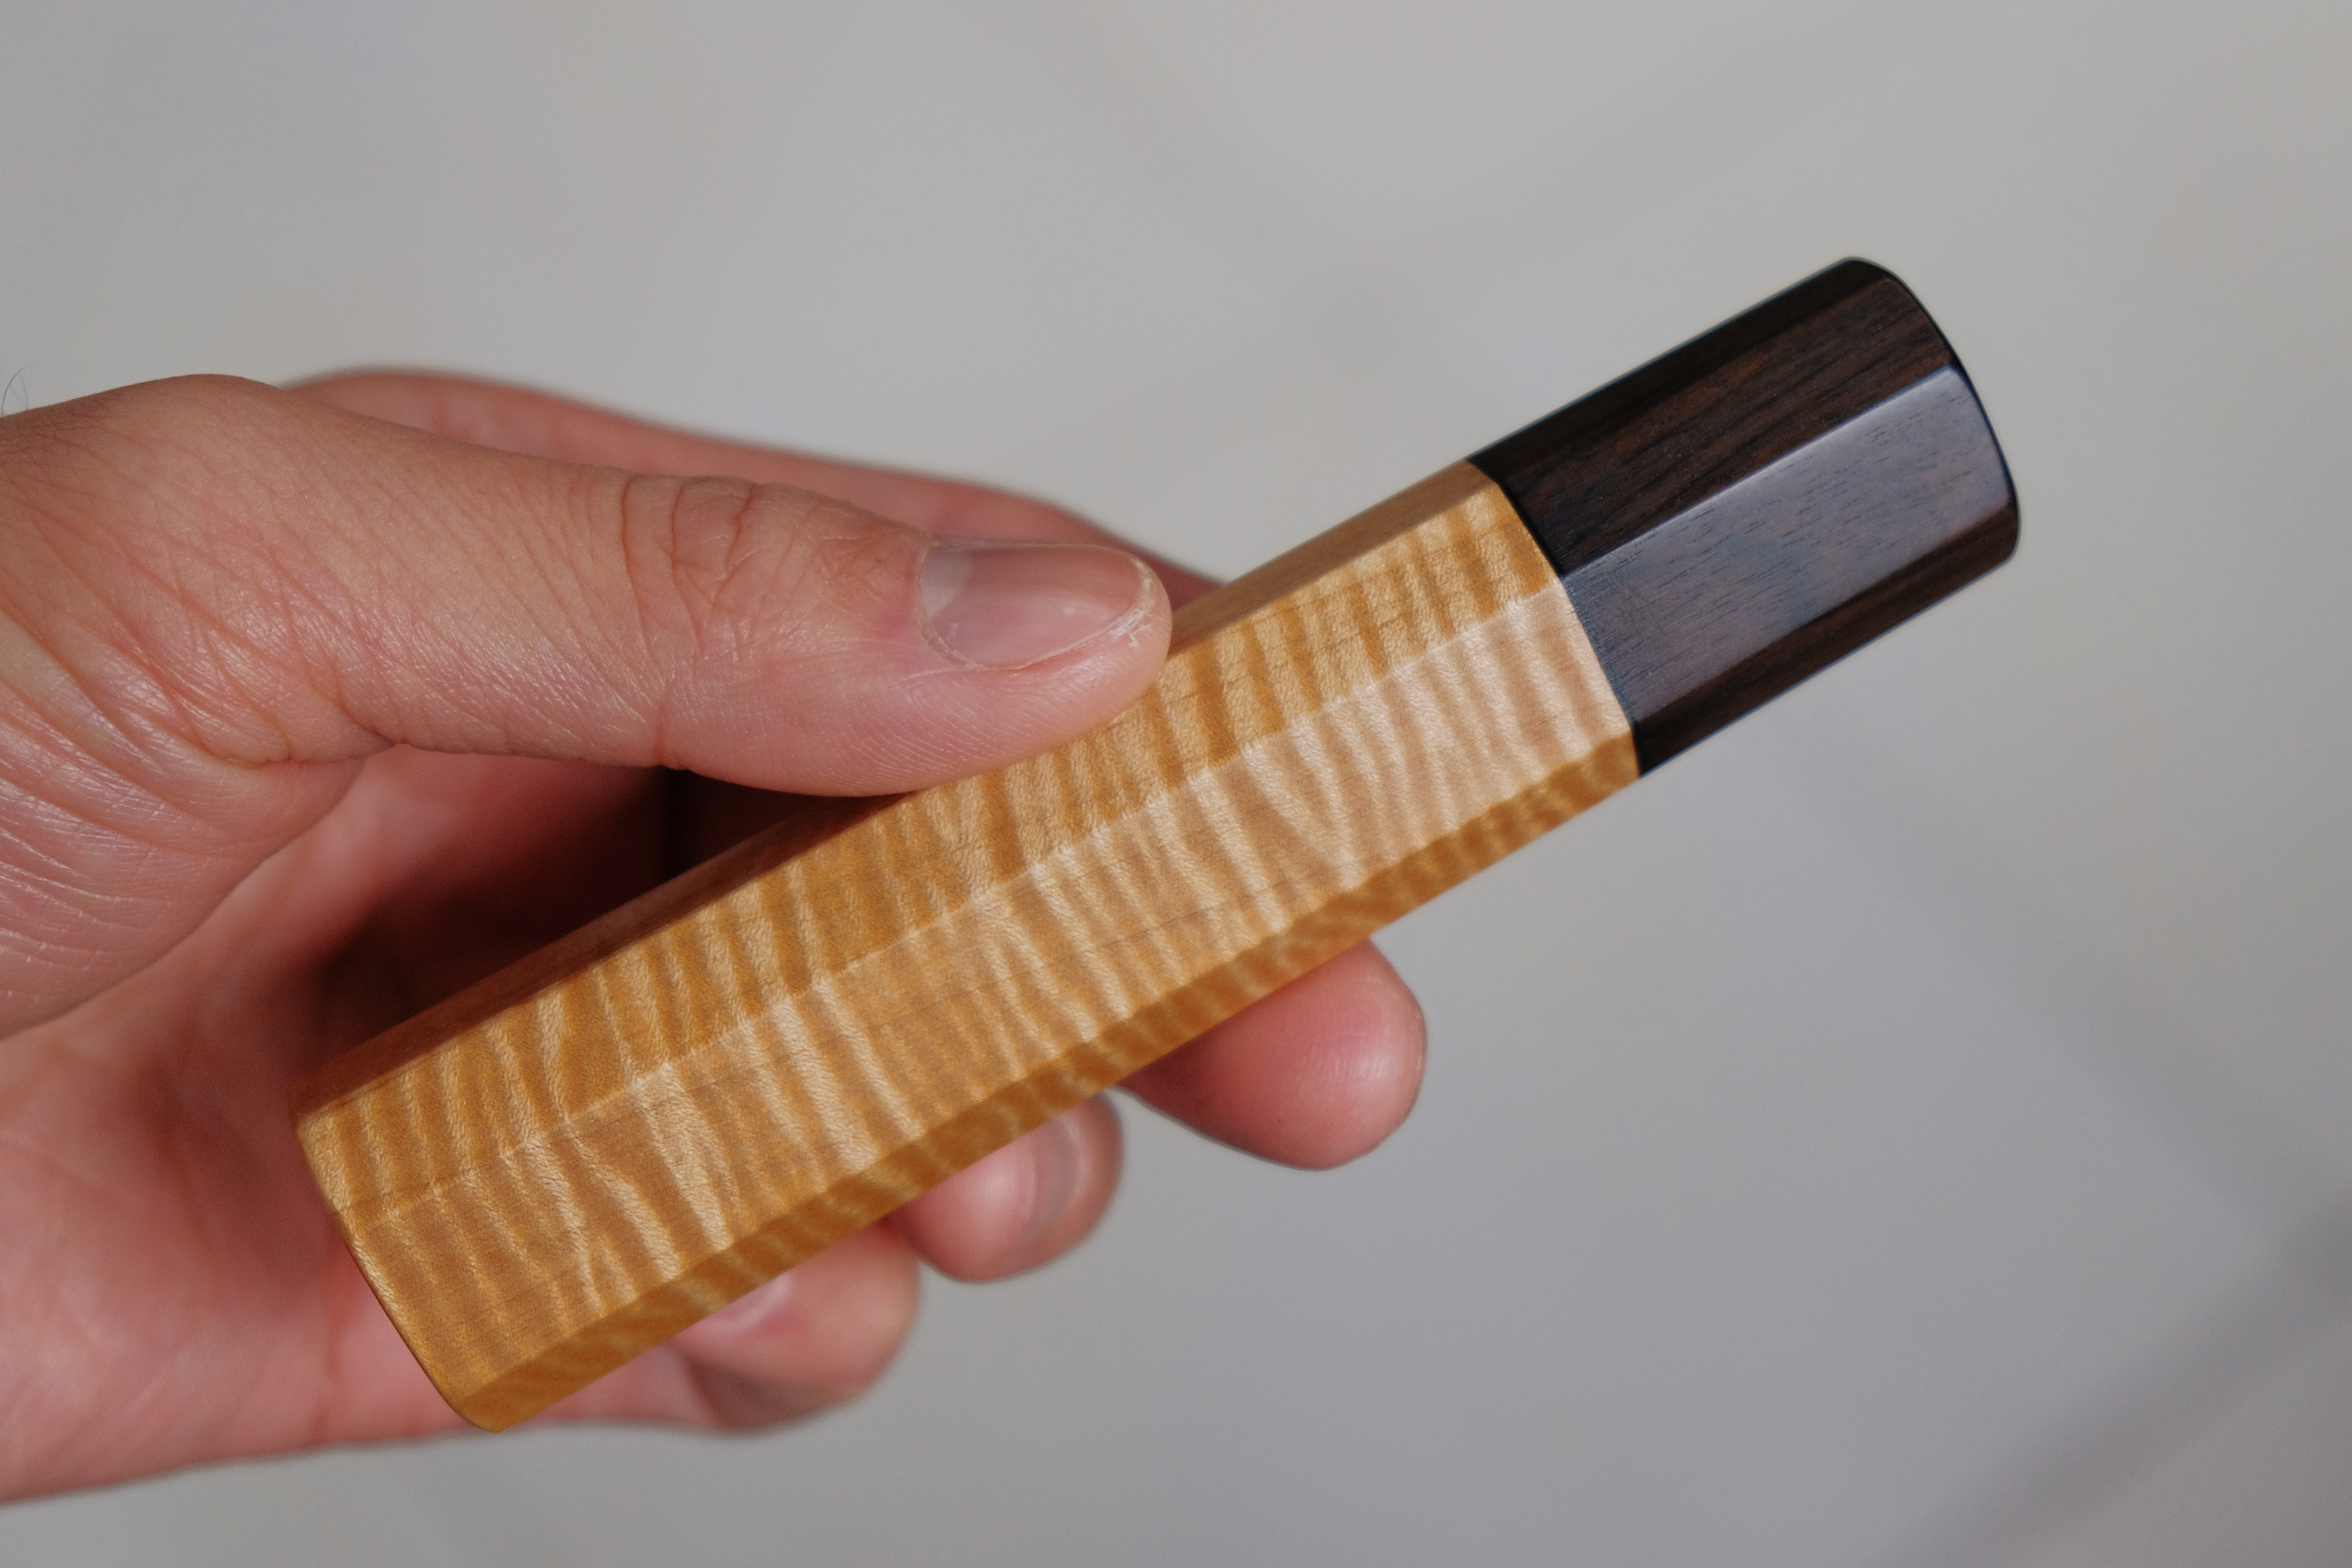
I really like what you did there, with the end of the handle.FWIW this handle was shaped entirely by hand. 2 rasps, 3 files, height gauge, calipers, 2 tool rests (since I don't have 1-2-3 blocks), my benchtop and sandpaper.
I might have to steal this idea, or something similar. I'm redoing the handle on that differentially hardened gyuto I'm making (for a couple reasons), and the piece of wood I'm using has a defect I'm going to need to work around, so I'm thinking I'll do something similar to this to remove it.Thanks! It was just a spontaneous idea while I was finishing up.
Bup bup bup bup bup....it's never defect removal, it's embellishmentI might have to steal this idea, or something similar. I'm redoing the handle on that differentially hardened gyuto I'm making (for a couple reasons), and the piece of wood I'm using has a defect I'm going to need to work around, so I'm thinking I'll do something similar to this to remove it.

Lol I'll remember that.Bup bup bup bup bup....it's never defect removal, it's embellishment
In all seriousness though, it needs to be harder wood or something stabilized to cut small facets cleanly. A flat needle file is a huge help too.
Colton put out a book on making wa handle with hand tools. You can also look at his blog, but go ahead and spend a few bucks to support his trade.
Colton hand crafted wa handles
If I was going to put a taper in with a plane, I would take short cuts on one end, and gradually take longer cuts until I'm doing the whole length.
I'm partial to western planes, but that's just what I have experience with. Having a chip breaker is always nice though.
None. Those are what I usually buy exotic woods as, unless I'm getting large blocks to stabilize. Make sure they're at least an inch square though, 1-1/4" is better. No telling how concentric your boring/broaching will be, and it really helps to have some room to play.Howdy KKF, any reason to not get "Turning Blanks" from like this:
https://barringtonhardwoods.com/collections/walnut-turning-blanks
I was thinking of getting some walnut and maple or maybe one of the variety packs as a means to get started.
None. Those are what I usually buy exotic woods as, unless I'm getting large blocks to stabilize. Make sure they're at least an inch square though, 1-1/4" is better. No telling how concentric your boring/broaching will be, and it really helps to have some room to play.
Walnut is fairly easy to work with, it's about the same density as pine/spruce. Maple on the other hand, well, you'll really come to appreciate the simplicity of sharpening planes and chisels over knives. Oh, and it loves to split, a lot like oak and ash, but not quite as bad. Elm, birch, cherry, and poplar are much easier to work with edged tools.
Unstabilized blanks are great and inexpensive. I'd recommend selecting kiln dried ones because if you instead use high MC% wood, you might get warping due to shrinkage as it dries. Also the cost difference is minimal if any between dry and non-dryHowdy KKF, any reason to not get "Turning Blanks" from like this:
https://barringtonhardwoods.com/collections/walnut-turning-blanks
I was thinking of getting some walnut and maple or maybe one of the variety packs as a means to get started.
Unstabilized blanks are great and inexpensive. I'd recommend selecting kiln dried ones because if you instead use high MC% wood, you might get warping due to shrinkage as it dries. Also the cost difference is minimal if any between dry and non-dry
I actually like maple because you can get nicely figured pieces. Curly or birdseye look good to me. I don't do high volume work with wood, but at my newbie skill level, it was not particularly difficult to work with.
Here's one I made a while back with curly maple. It was like $5 for 12inch piece, so that portion of the handle only cost a couple bucks.Thanks buddy. These ones look to be all kiln dried. I was careful to look for that.
Oh wow. They're producing high mc type carbide wood now? Amazing what the future has brought us.Unstabilized blanks are great and inexpensive. I'd recommend selecting kiln dried ones because if you instead use high MC% wood, you might get warping due to shrinkage as it dries. Also the cost difference is minimal if any between dry and non-dry
I actually like maple because you can get nicely figured pieces. Curly or birdseye look good to me. I don't do high volume work with wood, but at my newbie skill level, it was not particularly difficult to work with.
The shrinkage itself is not that big of an issue. I think it comes more into play when you start using more than one type of wood or material that expand/shrinks at different rate. Then you can end up with unevenness at the transition between two materials, and that really bothers me. Also, your point about weight is generally true that stabilization adds weight. However, note that some woods, such as ironwood and many rosewoods cannot be stabilized.If one chooses to use the blanks above for a handle instead of using stabilized wood, am I correct in saying the only drawbacks are that you may get some shrinkage/warping over time and you don't have the added weight?
The shrinkage itself is not that big of an issue. I think it comes more into play when you start using more than one type of wood or material that expand/shrinks at different rate. Then you can end up with unevenness at the transition between two materials, and that really bothers me. Also, your point about weight is generally true that stabilization adds weight. However, note that some woods, such as ironwood and many rosewoods cannot be stabilized.
Sorry no experience with planes. With sanding though, I feel like stabilization does not have a whole lot of effect on workability. Given two examples of the same wood, one stabilized and one unstabilized, cutting feels about the same, sanding feels about the same.Do you have experience with stabilized stuff and hand planes?


That color scheme looks really niceI was chatting with @MSicardCutlery in DM's and wanted to update this thread.
To anyone who may read this and gets this far, you can absolutely make a handle with all hand tools. You don't need anything fancy.
In my last post I said my hands weren't gonna let me pursue this. But, I got a message from our friend @MowgFace that said he hated the idea of me being held back like that. That nagged at me. Not in a bad way at all but precisely the opposite. It was motivation. I told myself to suck it up and go do something.
My thumbs present two problems:
1) They get sore and swell up. I can deal with that.
2) Lateral pressure that is just right creates a shooting pain and loss of grip. This one is a bit tougher to navigate.
It was the latter that was causing me a problem when I first tried this. The western plane is somewhat heavy and handling it would trigger that sharp pain. The Japanese box plane was perplexing to get set right so I just felt stuck and a bit deflated.
But, like I said, I rucked up and, going back to prior discussions with Matt, I picked up some course sandpaper, pulled out an old rasp, a square, the micrometer, the Japanese saws, and the mechanical pencil and gave it a go. I just did a little each night after work. My hands would get sore but none of these tools caused the sharp pain so all good.
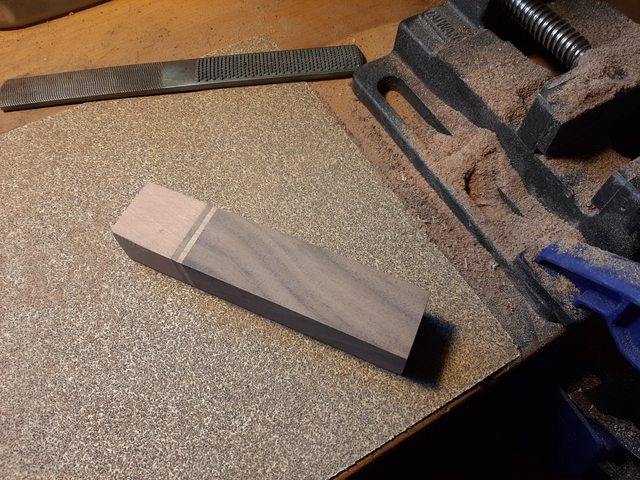
I was working with walnut and cherry.
I was using 2"x2" blanks so that meant I'd have a lot of material to hog off but also gave me plenty of room for error.
Now, I did use a battery-powered hand drill and the number one thing I would say to anyone wanting to pursue this is to get brad-point drill bits. Your regular carpentry bits will wander. I know, because mine did and so all my holes were decidedly off center in each piece. The second thing I'd advise is to make shallow drill holes in a block and then cut the spacers versus cutting the spacers and then drilling the hole. My cherry spacer was fine but my first walnut spacer snapped.
Anyway, I got things glued up and then rough sawed close to net shape. From there it was back to the rasp and paper. I had everything real close to final dimensions and started working on the back to front tapering.
I was even using my Japanese box plane to some effect, albeit limited. It was all coming together.
I was damn near done with the tapering when I realized... #$%@&*(*&^%$#@%^**@!!!!!!
Somewhere along the line of cutting and sanding, I'd mismarked the block. I'd basically rotated it 90 degrees so the blade slot now aligned with the fat side instead of the skinny side.
So, that ended that. I don't have a pic of the mistake as I just used the piece to play around with and experiment.
But, it did show me that you can do it and it really isn't that bad. Just check things often and measure a gillion times as you go.
I 1000% agree with @JoBone's recommendation to purchase Colton's guide that can be found here:
https://coltonhandcrafted.com/
I'd buy it even if you plan to use all power tools. Very well-done guide.
All that said, I did buy a little 1x30 belt sander to help me out. We'll see if I can manage to not screw up another one.
And the shape! THE SHAPE!!!That color scheme looks really nice
Enter your email address to join: