


As some of you may know I've started making knives not too long ago. Most of them are more EDC oriented, but I recently made the dive into making kitchen knives.
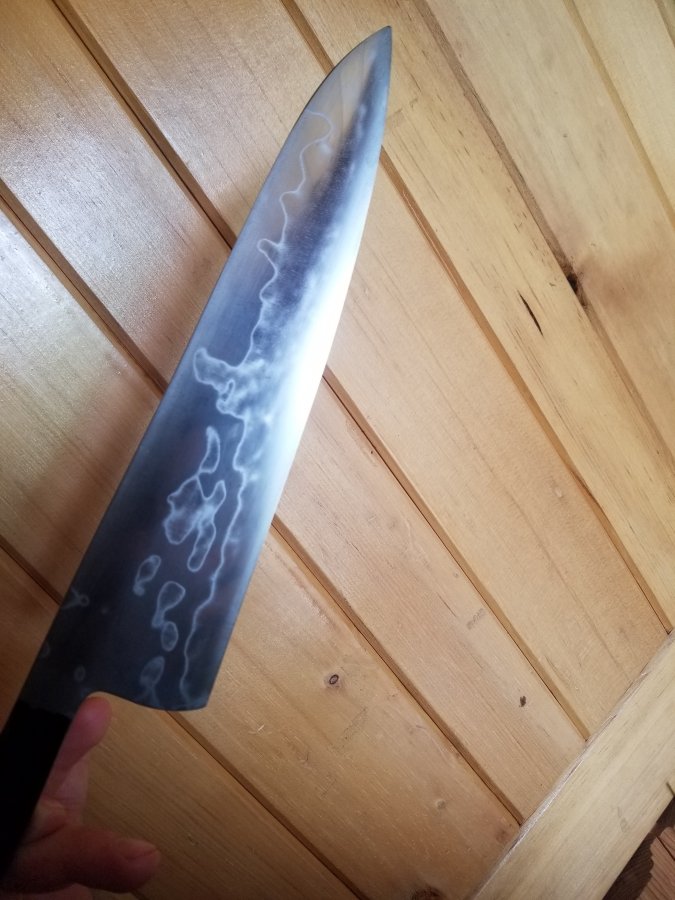
Since I decided to do that I had a piece of 1095 laying around that I decided would be perfect for a 240 gyuto, and I thought just a plane 240 gyuto would be a bit boring so I differentially hardened it (plus with how hard I plan on leaving the edge, a bit of toughness towards the spine doesn't hurt).
Anyway, getting to my point. I'm planning to polish it up, and want to do my best to get a nice looking hamon line at the end. I've polished my share of clad, damascus, etc. But I haven't polished a honyaki before. If I could get any tips or tricks before I get to that point in the build it would be much appreciated.
I'm sure I have everything I'll need for the process. Various synthetics, jnats, fingerstones, I have ferric chloride, sandpaper, steel wool, etc. So whatever you guys think would get the best results let me know.


 lol. Not so much the actual getting to a mirror part is, but I set it down and something scratched it, or idk what happened but there are a few stray marks, and it looks like I'm going to have to go back down from 1500, to something lower (hopefully not 800 again) to get whatever caused it out. Also I'm pretty much out of 1000 grit paper, so I'm really trying to avoid doing that. Idk.

