Jumping on the Saya bandwagon...

Kitchen Knife Forums

Help Support Kitchen Knife Forums:

This site may earn a commission from merchant affiliate links, including eBay, Amazon, and others.
Joined
Dec 31, 2019
Messages
936
Reaction score
2,194
Location
Philly Suburbs
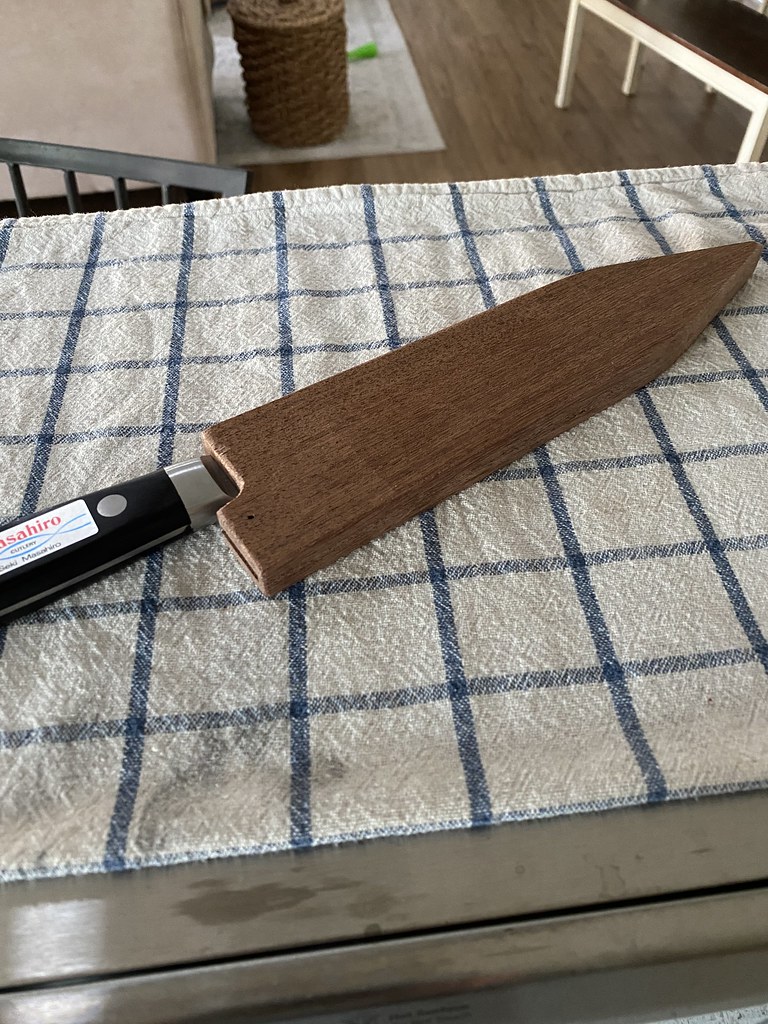
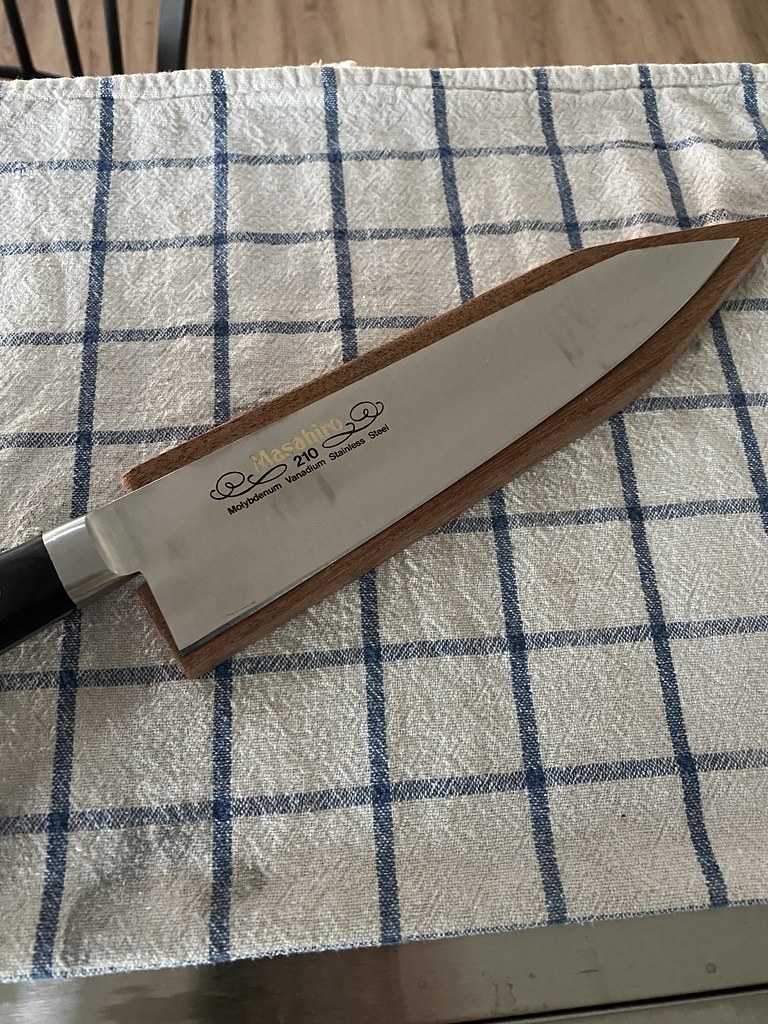
After being inspired my Marc and ChefShamrock, I started experimenting with equipping my knives with saya..

20200518_085430.jpg
20200518_085440.jpg


In red cedar for Misono dragon slicer...
 
Really fantastic work. I love the red cedar. Looks like you bought some finishing oil? Danish?
 
Nice sayas. Im a big fan of sayas, specially when they have a good friction fit.
 
Thanks Chef, thanks Jville! The birds eye maple was from a salvaged piece of hardwood flooring, and the walnut was from a beat up table I found at a thrift shop. Both one-off lucky finds. I did get that 15 sq ft box of 1/4" red cedar for $28, which is good to play with, but you don't find many handles in that color family. I do want to try out the burnt finish that you have been doing, but I have to pick up a torch, which I always forget when I am at the store.

Don't know if you ever checked out Rockler. They have a decent selection of woods including some exotics. They offer free shipping on orders over $30 if you sign up for their e-mails. I havent ordered there yet, but I likely will.

I agree with you Jville and I wish I could tell you that all of mine had a tight friction hold, but I am still a rank amatuer so it is sort of hit and miss. Got some wooden cribbage pins on order to make some pins for some of my work.
Thanks for the info on Rockler. I will definitely check them out.
 
The Running Man honyaki I picked up on BST, now with Saya. I might do a bit more trimming where the handle slides in, or I may make an entirely different one. Used a router for the shape and glued the two halves together.
 

Attachments

  • IMG_20201130_165942601.jpg
    IMG_20201130_165942601.jpg
    166.6 KB · Views: 33
  • IMG_20201130_165959426.jpg
    IMG_20201130_165959426.jpg
    170.9 KB · Views: 34
I really would love to learn how to do this. I really don’t have a ton of tools at home. I was thinking of going to woodcraft or something and picking up some soft wood and other things to try the three or two piece saya method. Could anyone maybe point me in the direction of tools I would need? I’ve done some research but still a little lost.
 
Nice work!

Personally I'd chamfer edges a little bit at the knife opening. It would prevent wood chipping and make it a bit more accurate looking piece. And it takes 30 seconds to do with sharp chisel or small knife.
 
Could anyone maybe point me in the direction of tools I would need?

I use the two piece method. I start by outlining the profile of the blade on the wood. If the knife is a middle weight or laser, I typically only shape one side of the saya. For a thicker spine, I have to shape both sides of the say, so trace mirror images of the blade on both halves of the saya. To cut the shape into the wood, I use a handheld router (Harbor Freight, $39 I think) with a 3/16 cutting bit. Freehanding the shape requires some practice, so get a feel for it on scrap wood first. While routing the shape, you generally can't go the full depth of the blade in a single pass, so I go shallow first, then adjust my depth with the router incrementally until the outline is deep enough to accommodate the blade. I use a sanding drum on a Dremel tool to clean up and smooth the indentation, but I suppose this could be done by hand.

Once I am happy with the depth of the fit and smoothness of the blade shape, I glue on the other half . I use Titebond I, as I have heard some other wood glue formulas can, be corrosive to the steel. I have not seen this myself, but don't want to risk it. When the glue is cured, I trim up the shape of the saya with a band saw, then sand it to final shape.

I have heard that the 3 piece method is easier, since all you have to do is cut the shape of the blade in the center slat, then sandwich it between 2 veneers, I just can't cut my veneer wood thin enough to make that work.

I am no pro, but if you have questions, you can feel free to DM me and I will help you as much as I can. It is great fun to do this kind of stuff and customize your own collection.
 
Even though I used the 2 piece/router method, the three piece would be easier with commercially available veneer if you are short on tools. That's assuming the veneer is thicker than the knife spine. The Running man Honyaki is pretty thick at the spine. The middle layer can be cut exactly and the evenness of the veneer makes more a smooth and clean sheath. Using the router leaves some unevenness of the routed surface, and the edge is not perfect(my freehand routing problem) and since I was creating the wood layers on the table saw using highly figured curly maple, the layers weren't exactly clean and uniform. curly maple is inherently twisty, is easier to saw and sand than to plane and join.
So, when I glued the two layers together I wasn't able to get the halves lined up internally. I had two attempts that were too tight for the knife. I had to create a bigger accommodating space inside to account for my misalignment of the halves. I think in the future I will use drill holes outside the final shape to keep the alignment during glue up. (that idea just occurred to me as I type). Maybe I'll head out to the shop and try again!
If using veneer( which I would order online, can't seem to find anything suitable in local hardware stores) all you need is something sharp to cut through the veneer. A box cutter would work using multiple passes, and you can get more sophisticated from there. Clamps are useful, but you could probably get away with stacking heavy stuff on top of books or other flat things. maybe a piece of wax paper to prevent glue from leaking out on your first edition of The Last Samurai.

It was a fun project, and pretty much a learning thing. I'll have to try a few more times and see how it goes.
 
Just finished some new jackets for a few of my knives (Considering how cold and snowy it is up here, I figured they needed them.

I have been playing with inlays on my saya recently, trying to pick up the handle wood constructions in the saya. This is for a Tanaka ginsan 240. The saya is made of curly maple, the inlay is 2 strips of katalox and a trimmed cut off from the handle material, stabilized curly maple.

20210216_124026~2.jpg
20210216_124034~2.jpg

,
This knife was my first real introduction to the rabbit hole. It is a no-name 180 gyuto made with a stainless clad sg2 blank. It is very Takamura like, laser thin, light. It is still a fun knife that I occassional whip out at home. Figured it deserved some love. I rehandled it in a stabilized golden camphor burl, then used birdseye maple (reclaimed flooring) and used a piece of the handle material for the inlay

20210216_124139~2.jpg
20210216_124143~2.jpg


For my Gesshin Kagero I picked up the handle colors in the inlay, then cut the form out of crotch cut walnut. Really beautiful figuring in this wood.

20210216_124213~2.jpg
20210216_124222~2.jpg


The Yoshikane SKD K-tip got the same walnut wood treatment. I didnt have any of the actual handle material, which I think was stabilized maple burl, so I tried to pick up some of the pinkish/reddish hues with a strip of Bolivian rosewood.

20210221_161817~2.jpg


On a non knife related note....my rosemary continues to thrive. Wish some of the other herbs could survive. I miss that fresh flavor lift.
 
I couple of recent additions to my collection....

I have been trying to match the handle materials in my saya construction. Since I often buy handle blanks in smaller dimensions, I rarely have additional thin stock to make a saya with. As a result, I have been doing inlays of the handle wood in sayas that are constructed with thin stock of wood in a complimentary color.

This one, for my Tadatsuna INOX 270 is made with sapele wood and an inlay of dyed cypress burl

20210329_093914_HDR.jpg


For the Konosuke HH, I was able to rip cut thin stock of the same cypress burl that I used for the handle

20210415_175023.jpg


On the Catcheside O2 mono, I didnt replace the handle so I didnt even have cut-offs of the handle material to do inlays. I dug through my box of cut-offs and found some that matched pretty well. Used figured bubinga for the main wood of the saya and a little strip of dyed mountain ash for the inlay.

20210415_175046.jpg


My Wat 240 cover, got reclaimed walnut, with a thin strip of the handle material, stabilized sindora burl.


20210504_112543.jpg


Only a few more knives to outfit with new coats and shoes, and then I will be finished. Perfect excuse to buy new knives!
 
Woodcraft also has thinner stock of exotic woods and domestic as well. I used to use Balsa wood or bass wood as the middle of the 3 piece saya, very soft wood, so if there was contact with the edge, it wouldn't mess with it too much. 1/8" covered most of the japanese blades, but basswood is usually available in a variety of thicknesses, too. I think I had 1/16", 1/8" and 3/16". Deba may need thicker pieces or stack 2 together.
 
I am lucky to have a few weeks off, so plenty of time to work on knife related projects. Just finished a couple of projects that incorporated some cool experiments. For my S Tanaka 210 Blue Damascus I did the saya in a really cool figured piece of Honduran Rosewood. The handle is made of rosewood, with a brass front cap. I had intended to do a brass inlay, but discovered that the rosewood was a bit too hard to allow the wood to flex and accommodate the brass wire. Unfortunately, I realized this after the channel was cut and I had already dipped some quick drying epoxy in. (It worked great in the scrap piece of pine that I piloted the process in) Since the wire wouldnt work, I mixed some brass shaving into the epoxy and did a resin fill instead. Eh, it sparkles a little.

20220107_105543.jpg
20220107_105553.jpg


The saya I did for my new MCX Fredric Spare incorporates the brass wire inlay. It worked this time! Learning from my last mistake, I tried it first on a scrap piece of oak, which is the same wood I cut the saya from. In this project I also utilized an old wood finishing technique called ebonizing. Ferric acetate reactes with tannins in wood and turns them black. I wanted to match the jet black of the Spare bog oak. Credit to @cotedupy for making me aware of both the ebonizing process and doing resin inlays!


20220107_105605.jpg
20220107_105613.jpg
 
Back
Top