Oh #$@% - Macro chip on a rather pricey knife

Kitchen Knife Forums

Help Support Kitchen Knife Forums:

This site may earn a commission from merchant affiliate links, including eBay, Amazon, and others.
Thanks for doing this thread, it makes me appreciate my knife even more now (it's going to get a rehandle)
Glad to hear it, I love these knives too!

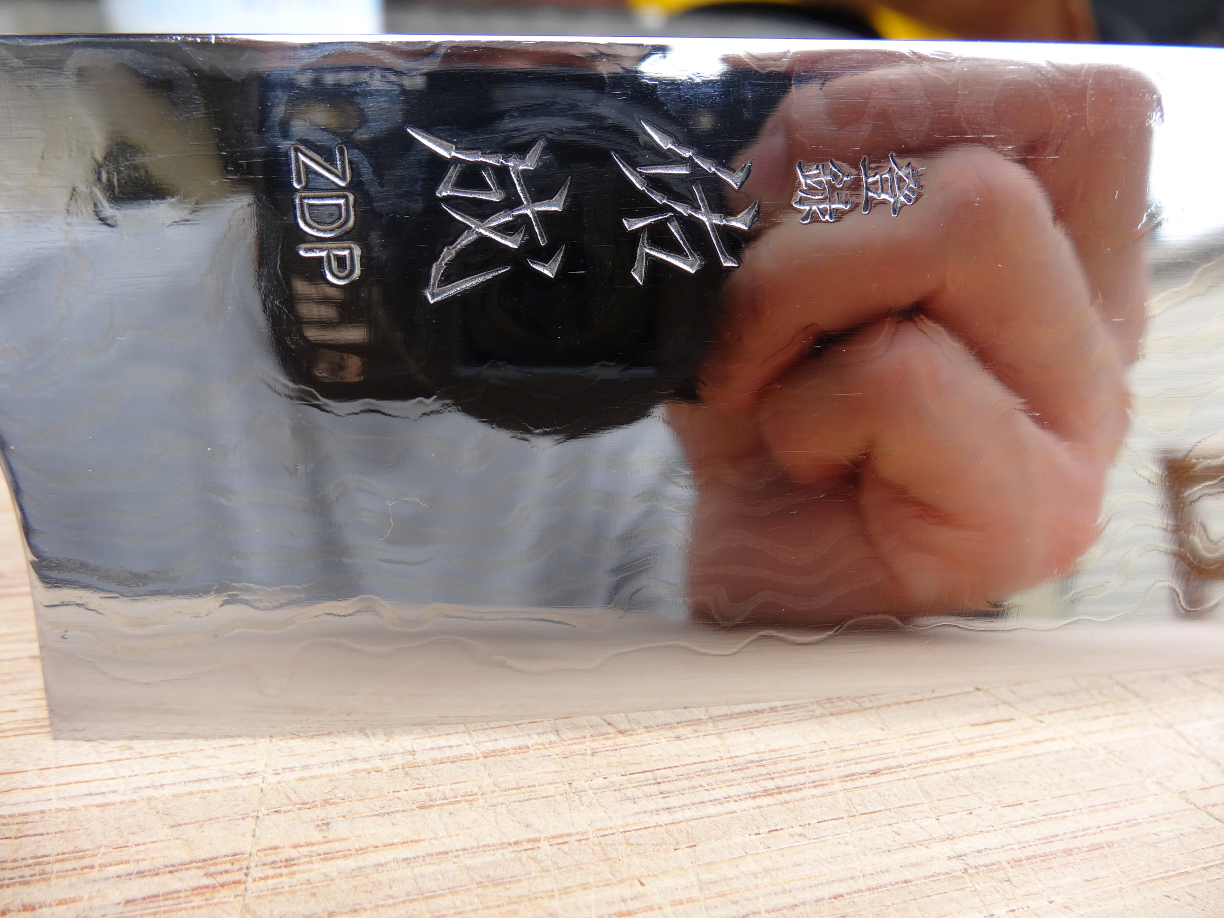
Only a fortnight after receiving my first ZDP 240mm, I enjoyed it so much I went ahead and ordered the 270mm. I figured that even though I didn't really need another gyuto, Sukenari deserved my support for using a PM steel that isn't so popular anymore and heat treating it to its maximum hardness (everyone else making ZDP gyutos seem to dial down the HRC by a few points).
Who are you going to get to rehandle your knife? And please post pics or PM me when you get it back, I'd love to see what you have done to it!

This damaged knife seams extraordinary as it is. Have you consider not repair it? Then you’ll get a parmesan and pumpkin proof 67HCR knife. On your video I cannot see any functional problem with the chip. And you’ll save 1.5 to 3 mm ZDP189 and a bunch of time.

You are correct about there being no problem when cutting pumpkin and parmesan, but with a chip there I can't use it in the same way I use the other ZDP knife in the escabeche video.
Even cutting through the parmesan, I can feel the drag on the chipped part of the blade as it forces itself through. Not the nicest feeling I admit, but it was worth it for these videos alone.
And anyway, I'm looking forward to fixing it. I would like to change a few things about it, such as the profile and thickness, and the whole experience should be a great learning tool for myself and a few others here.
Maybe I'll turn it into a sujihiki or even a double-beveled kiritsuke ! :eek2:
 
The feeling was probably akin to what I felt when "someone" used my 270 Shig to chop almonds… a nice little knot in your gut… Learn to embrace the flea bites young grasshopper.
 
If it were my knife would take no more than half the chip depth out. That way edge still below Damascus. With that much done regular sharpening will in time take it down more. You are not doing major surgery taking too much steel off the knife.

In a production kitchen knives do wear down but no need to hurry the process. It looks to be a good cutter as it is.
 
Glad to hear it, I love these knives too!

Only a fortnight after receiving my first ZDP 240mm, I enjoyed it so much I went ahead and ordered the 270mm. I figured that even though I didn't really need another gyuto, Sukenari deserved my support for using a PM steel that isn't so popular anymore and heat treating it to its maximum hardness (everyone else making ZDP gyutos seem to dial down the HRC by a few points).
Who are you going to get to rehandle your knife? And please post pics or PM me when you get it back, I'd love to see what you have done to it!

I've been in discussion with one of the vendors here. I'll PM you as I'm not 100% sure if it would be considered "advertising". And yes there will be pictures at some point.
 
Thanks for the PM tjangula, I've messaged you back.

-------------------------------

So at the moment I'm most of the way through repairs on the knife, and as promised I'll share it here for anyone that's interested.

Before I got started I had some serious thinking to do about how I would approach the problem of removing the chip. One option was to thin the knife from either side until I removed the chip, and the other option was to 'bread knife' the cutting edge into the shape that I wanted and then thin the knife from there. I decided on the bread-knife option as I felt I would have the most control over the overall shape that way.
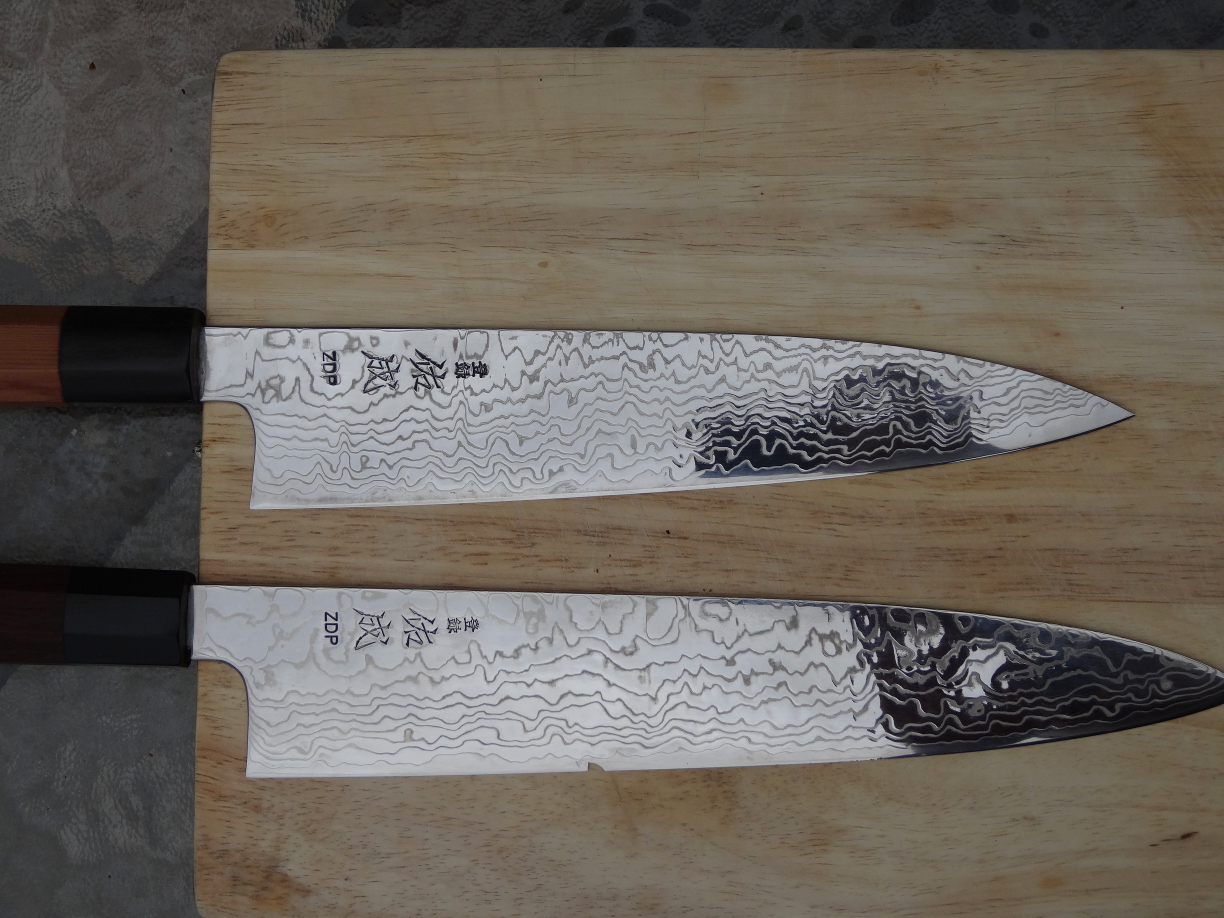
So I started by comparing the two knives I have; the 240mm who's belly I adore and the 270mm which has more of a flat spot (which I wanted to get rid of).

AFyhrMl.jpg


qoVq34m.jpg


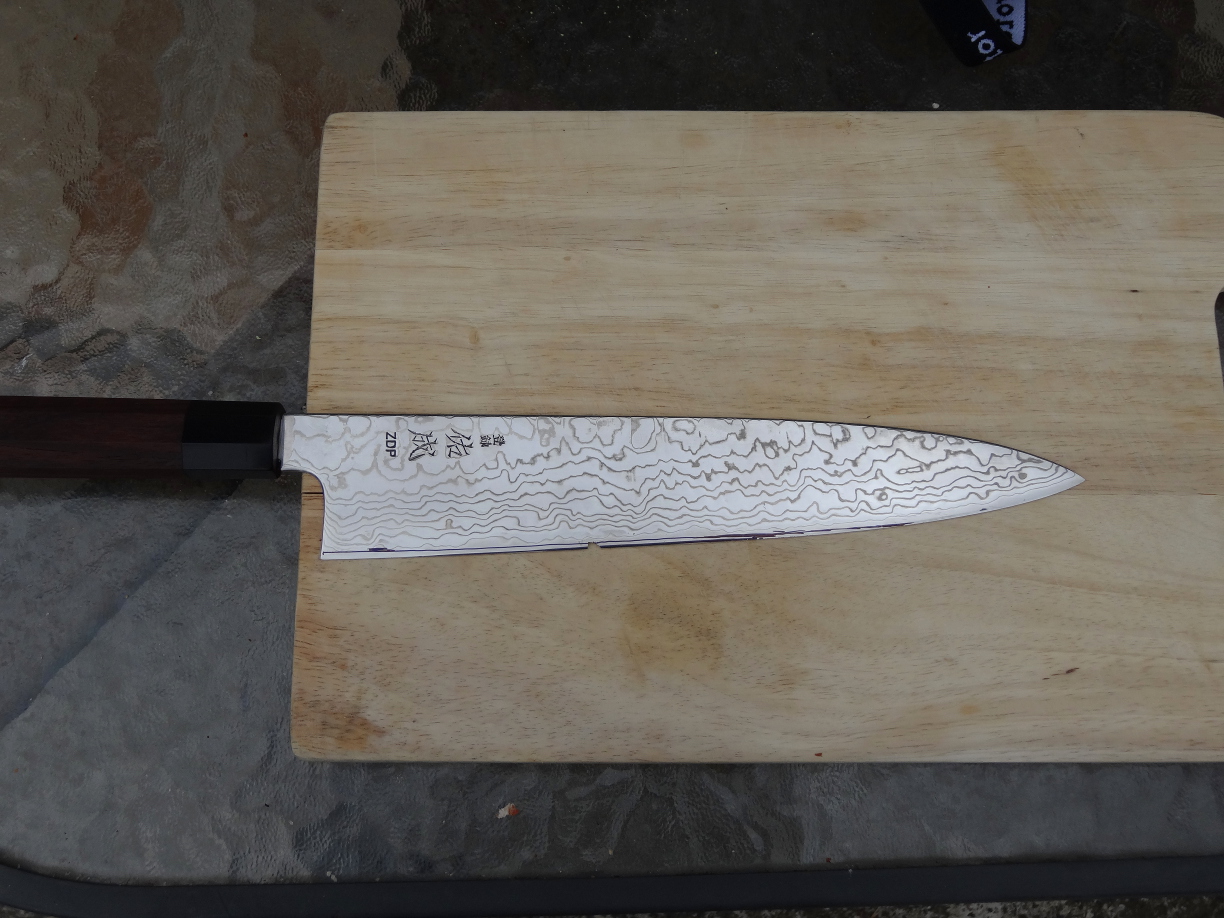
I took a thin marker and drew the new edge onto the 270mm in a way that it would have less of a flat spot. It's not so obvious in this picture, but later you can see the flat spot will become less pronounced.
I also made sure to draw this line below the level of the chip because I wanted an allowance for mistakes and to help make thinning the knife easier later on.

-------------------------------

j0jxhxP.jpg


So here is the knife after using a belt grinder to bread-knife the edge away. Notice the chip is still slightly visible (and will be for the rest of this post). Also the tip of the knife has been modified by bringing the drop point up a little and have the tip higher up on the knife then it was before. This is because the knife started to look a bit weird and misshaped after I had removed a few millimeters off the entire cutting edge.
Notice that the core layer is now covered by the cladding in some spots.

-------------------------------

tp1ofOo.jpg


Choil shot after bread-knifing. At this point I noticed that the blade is slightly warped down its length, and I spent a few minutes trying my best to bend it back into a straight line (see choil shot a few pictures below for comparison).

-------------------------------

gw3heMf.jpg


Here is the knife after using a 80 grit high speed belt. I'm very grateful that I have this cheap grinder because it got days of potential elbow grease done in a few short hours. I over-heated some minor areas on the edge :shocked3: The thinner the edge gets, the faster it overheats!
I used the grinder to do as much work as I could safely manage before switching to the trusty stones.

-------------------------------

3yrwjSe.jpg


So this is how the knife currently looks... for now. This is straight off the belt and onto a cheap silicon carbide stone for half an hour or so. I'm very pleased with how the cladding has moved up the blade and exposed a good amount of the ZDP core: There was always a small chance that the core wasn't centered in the middle of the san-mai construction, and the end result could come out looking a bit off... but no such issues!
It hasn't been sharpened yet so it's completely blunt, however I've removed most of the bread knifing and it's very close to a zero grind, so sharpening will be easy when the time comes. But before then...

-------------------------------

jEyxwWT.jpg


1QXqZWb.jpg


I think the tip and the heel need a bit more work. They are notoriously difficult to finish accurately on a high speed belt without screwing something up. Maybe I need to learn/practice it as an advanced skill, but for now I'd rather use the slower hand method, especially on such an expensive knife.
Also the knife in it's current state is completely unpolished. That will come next when I'm happy with the tip and heel. Lastly will be the sharpening, which should get rid of any overheated spots as well as the last remaining part of the chip that I left there.

So far I'm very happy with how it's turning out. Let me know what you guys think and feel free to ask me any questions! :)
 
Looks good so far, although I didn't understood why you haven't removed that chip completely using grinder.
 
I would guess it is because he's planning to remove some of the fatigued steel at the edge with stones, saving a little bit of height.
 
Looks good so far, although I didn't understood why you haven't removed that chip completely using grinder.

Sorry, I should've been clearer in the original post.

Ultimately when anyone approaches a job like this or anything all the way through to basic sharpening, we need to remove steel to improve the blade as much as we can while simultaneously removing as little as we can.
During the thinning process I'm aiming to get the knife down to a zero grind. then bring the edge back a bit with a secondary bevel and any subsequent sharpenings. Zero grinding makes the whole job take a bit longer then it need be, but I prefer to do it this way for a few reasons:
- Zero grinds are awesome to start with. When the secondary bevel is so small that it doesn't cause any noticeable wedging, the knife is so much fun to use!:lol2:
- As the grind gets ever closer to theoretical zero, I begin to see any minor flaws down the cutting edge (e.g. over-grind on one side) which I can correct as I go.

zrRTlvT.jpg


- The grinder I use has one speed only, and it's damn fast. A 585mm belt length going at +2,000 RPM will tear chunks of steel off the knife if I hold it the wrong way for only half a second. Couple that with trying to get the knife edge as thin as you can and you have a very delicate edge which is even easier to damage quickly. Having some extra metal there which I plan on removing later is a kind of an insurance policy which allows for some sloppy mistakes.

7esIktL.jpg


- There's also the problem with heat management. As the metal gets thinner, it becomes much harder to keep cool. There were a couple of very small areas which I accidentally allowed to over-heat, but they will get removed once I start pulling more metal off the edge when I begin on the secondary bevel (you cant see the burns in the pics but I know they are there, they go the same distance into the blade as the chip currently does.)

ySUYu9e.jpg


So Dardeau was bang on the money when he said I was "planning to remove some of the fatigued steel at the edge with stones, saving a little bit of height."
You can even see it pretty clearly in this picture; the detailed shot of the tip. The knife looks kinda strange without any secondary bevel, but I need to allow extra space to add one in the near future.

jEyxwWT.jpg


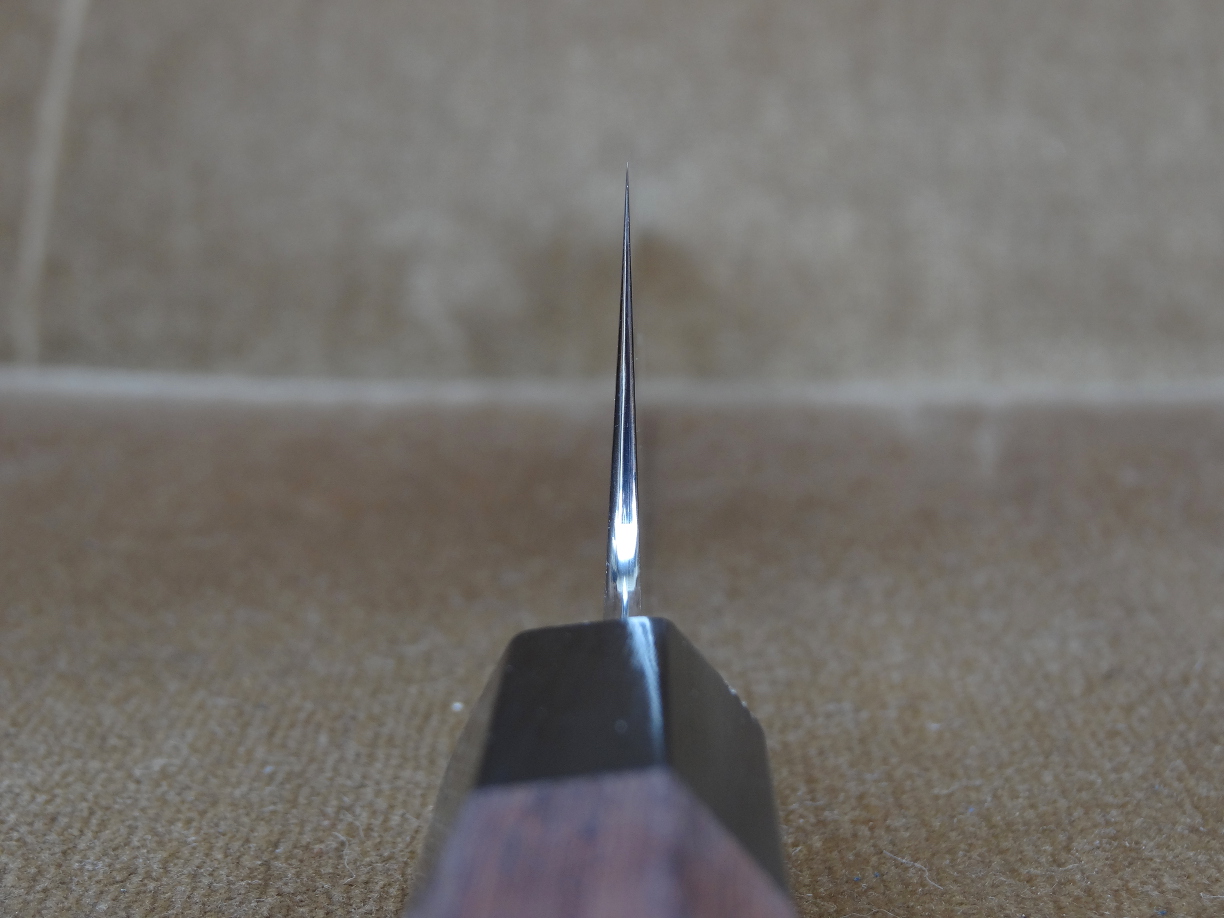
Congratulations on the worst choil shot ever!

I should've attached a NSFW warning, or at the very least got you to sit down first...
It's like a KKF nightmare! :eek2:
 
Can you please elaborate a little? the image is a little fuzzy and I can't tell what's up?

there is no edge; the steel goes straight across to join the two sides instead of terminating in a point.
 
Hey guys, I'll post the finished knife now that I'm happy with it. I'll continue from where I left off.

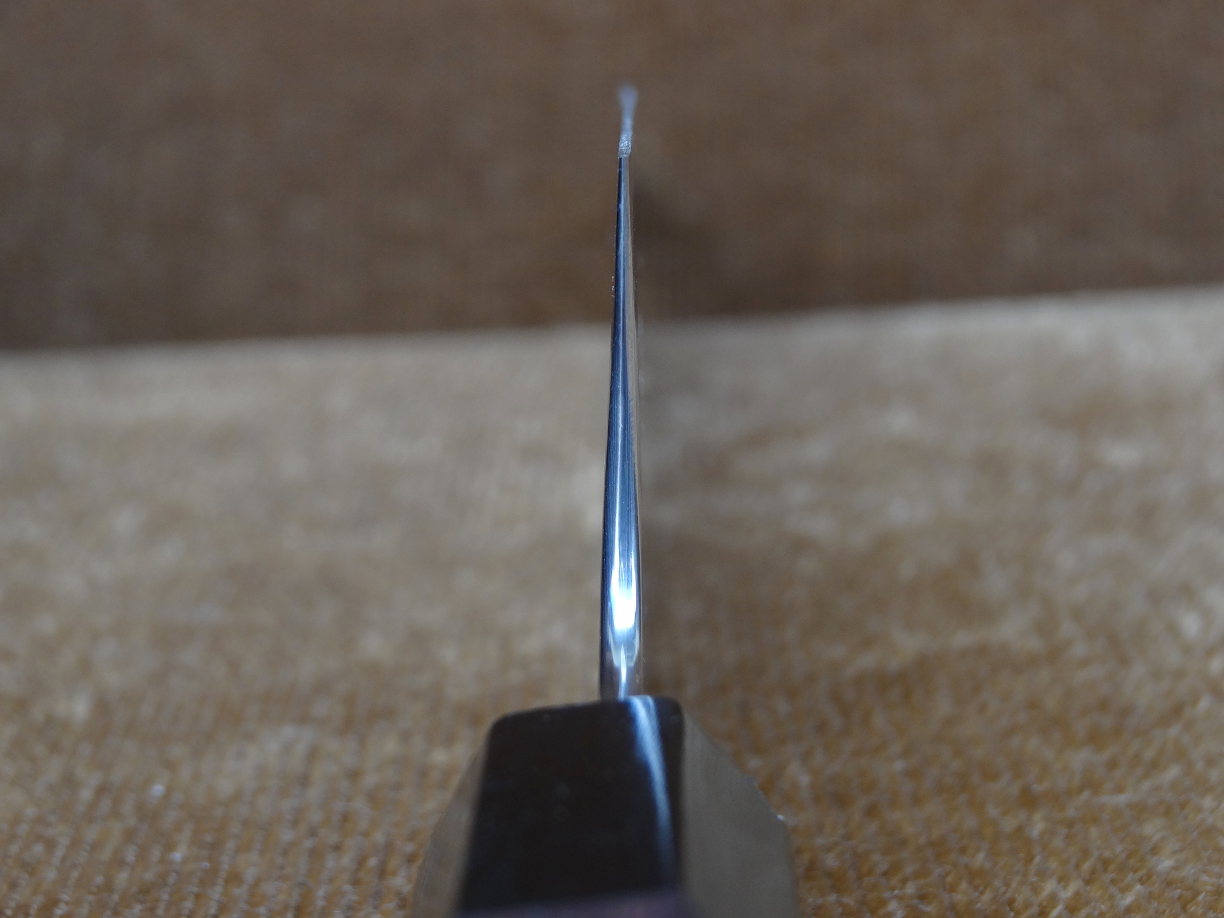
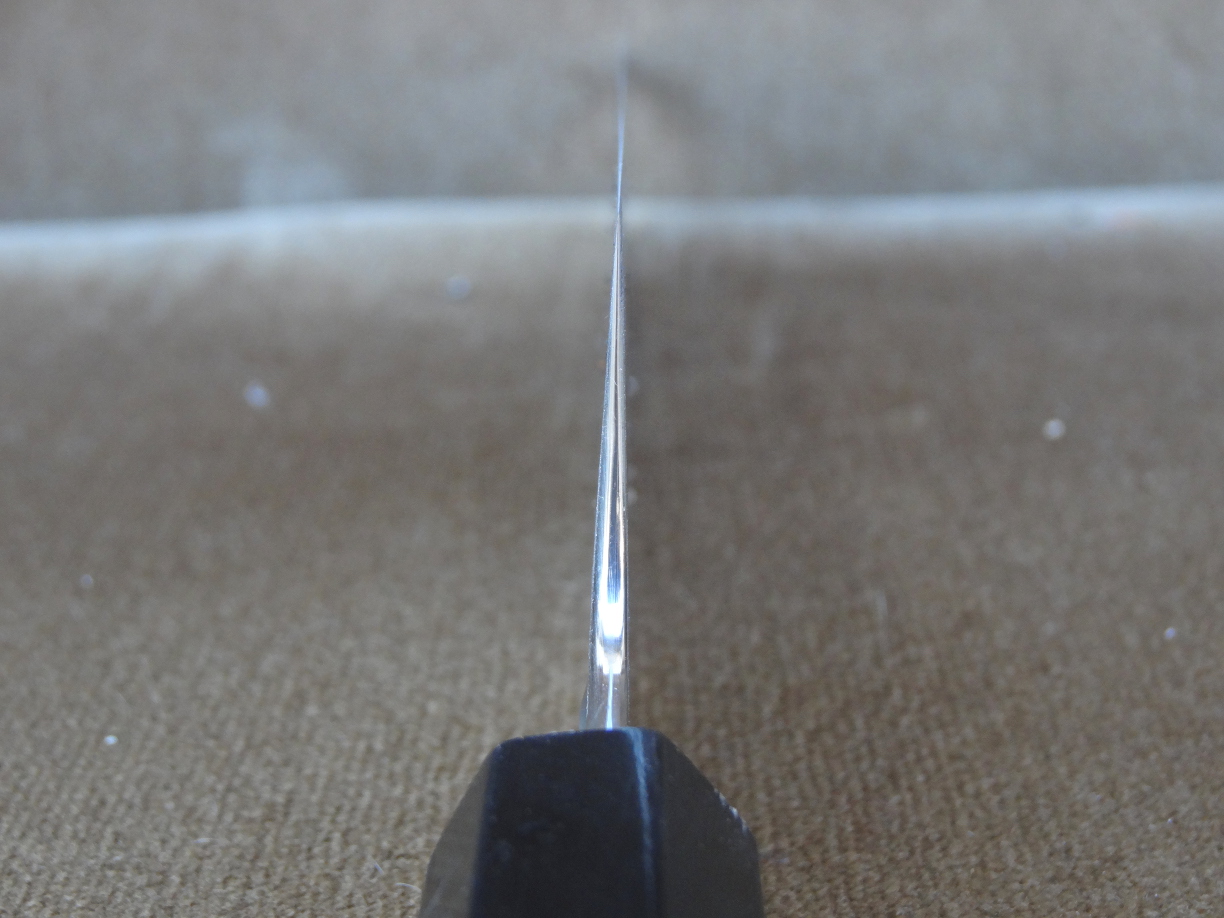
I got the cross-sectional geometry where I wanted with a course stone and a bit of elbow grease, working mostly the heel and the tip (the rest was done with the grinder earlier).

h3144U0.jpg


It's quite thin behind the edge, but after doing those tests earlier in the thread I'm thinking the knife can take this kind of angle.

Now that I was happy with the overall shape, all I had to do was polish and sharpen the thing. Here's a a picture of what the surface looked like during hand sanding the surface (80>120>360>600>800>1600 grit wet/dry)

QWKogvR.jpg


Then after that I went out and bought a bunch of polishing compounds and buffing wheels that I could attach to my grinder.

mtB0pnZ.jpg


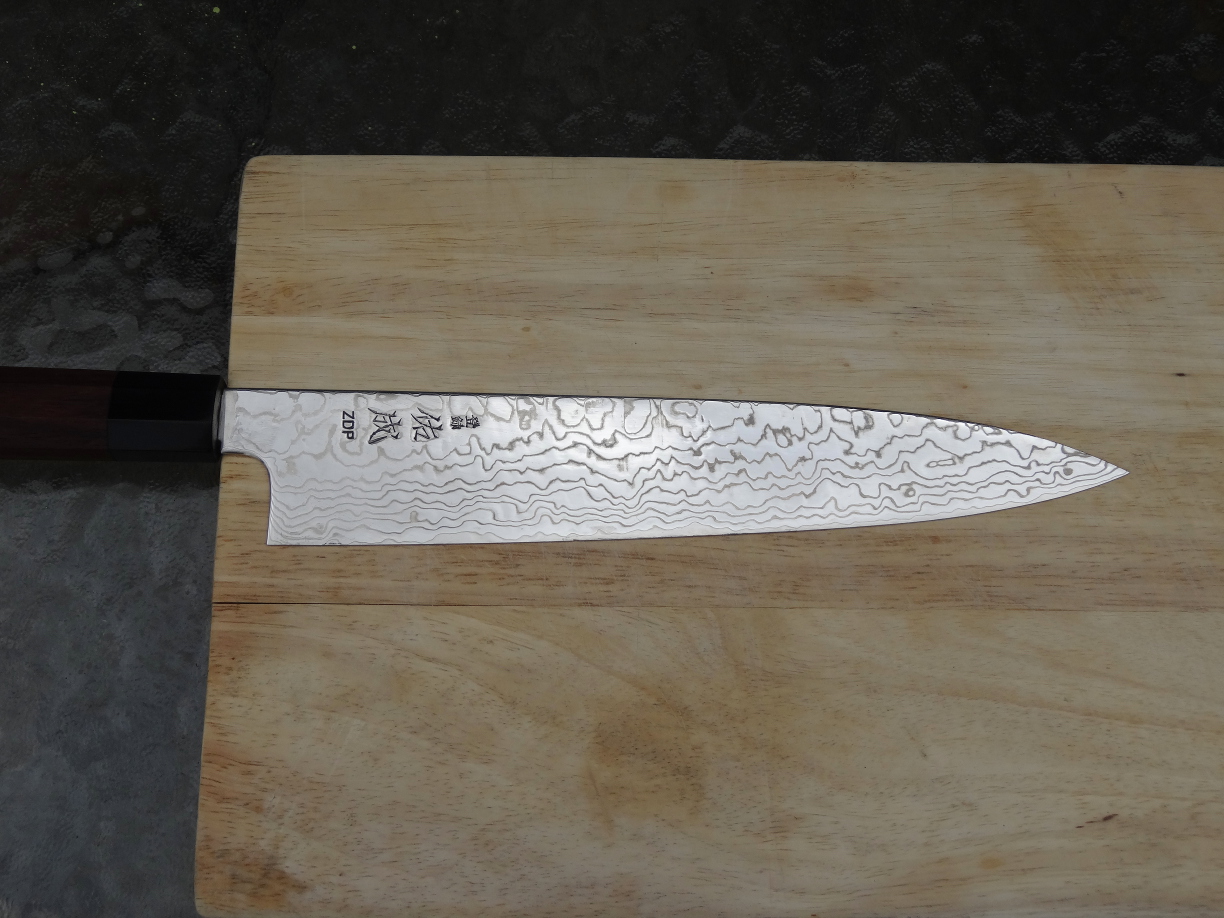
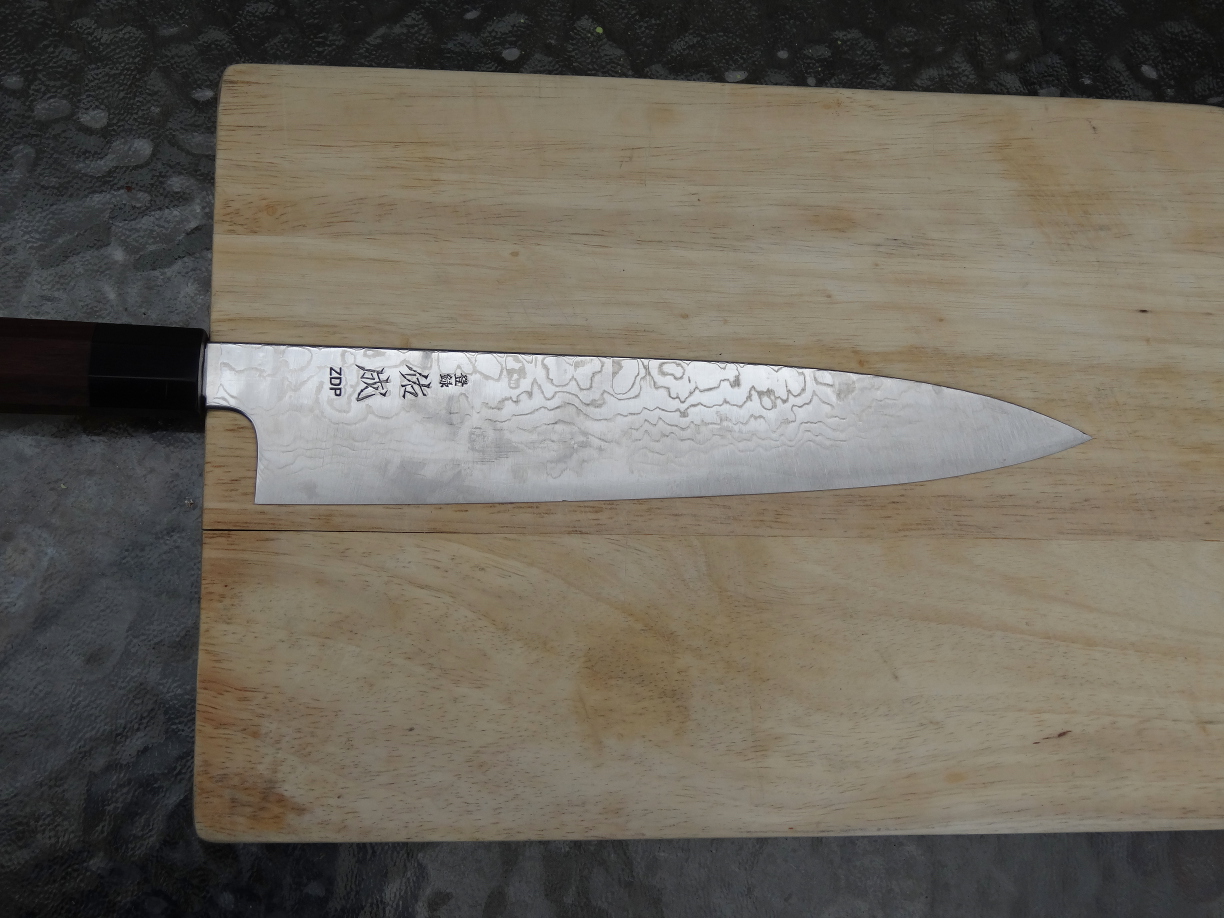
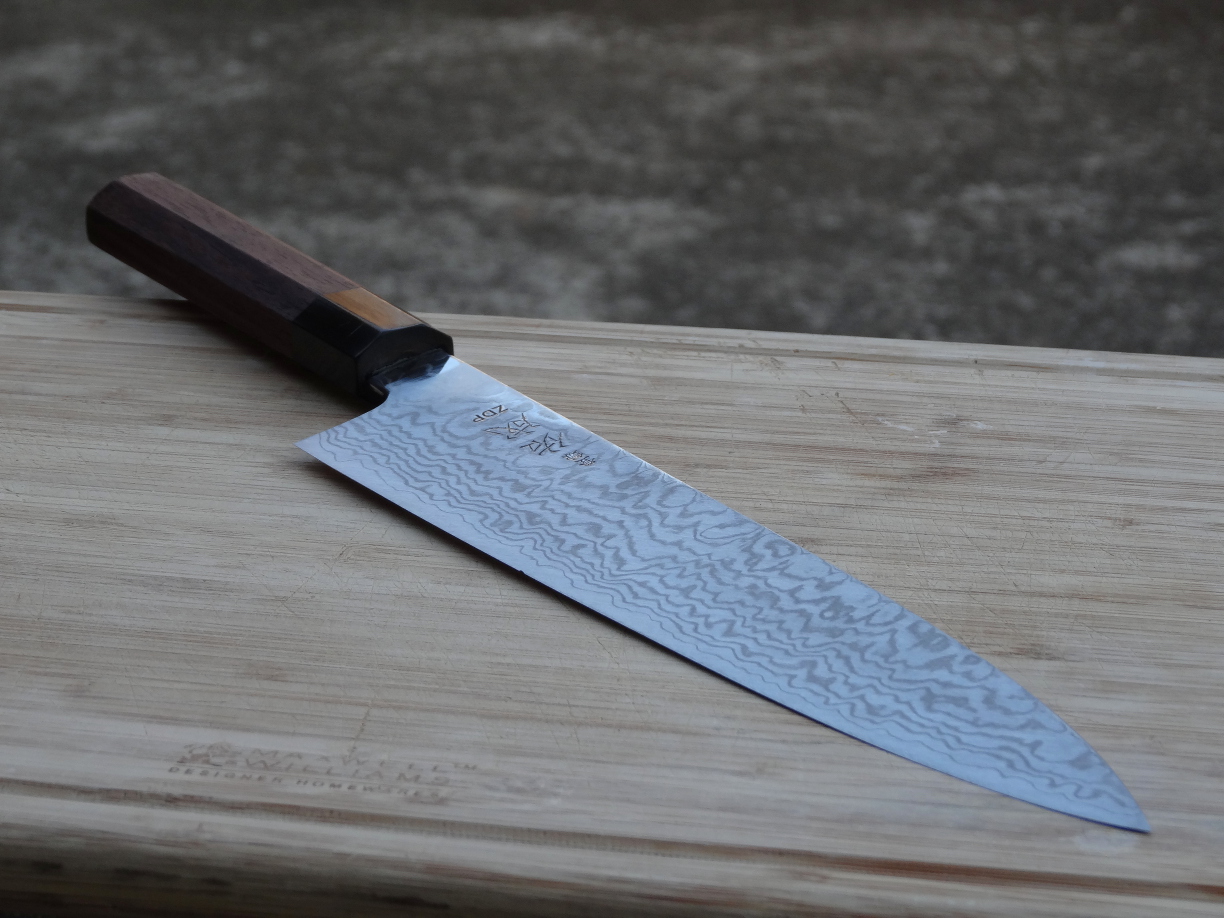
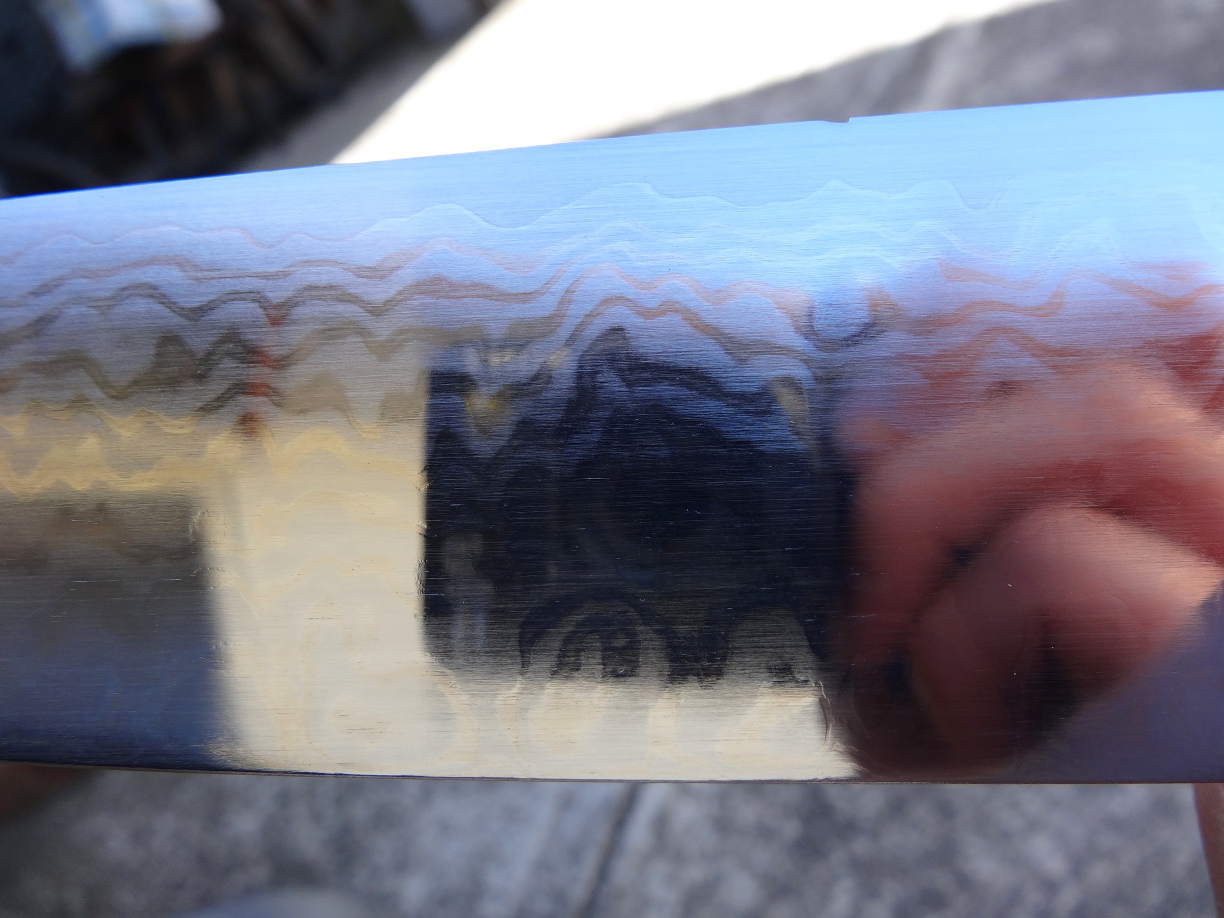
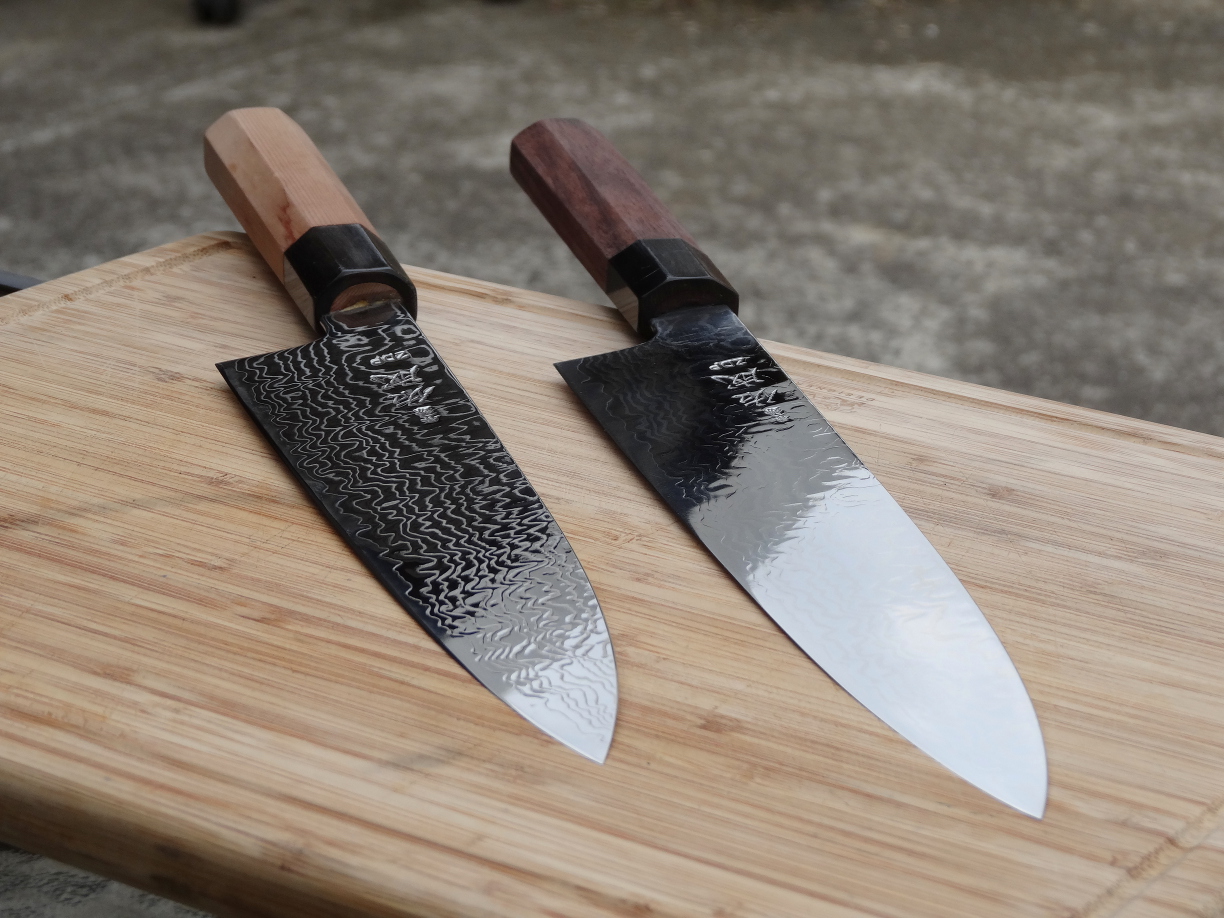
Man the buffing wheels do a sweet job, but unfortunately the finish doesn't look much like the original. Here's the comparison shot with the 240mm version.

SiRcasx.jpg


And yea I've sharpened the 270mm in that picture. That big ol' chip has almost completely disappeared, along with any fatigued spots along the edge.
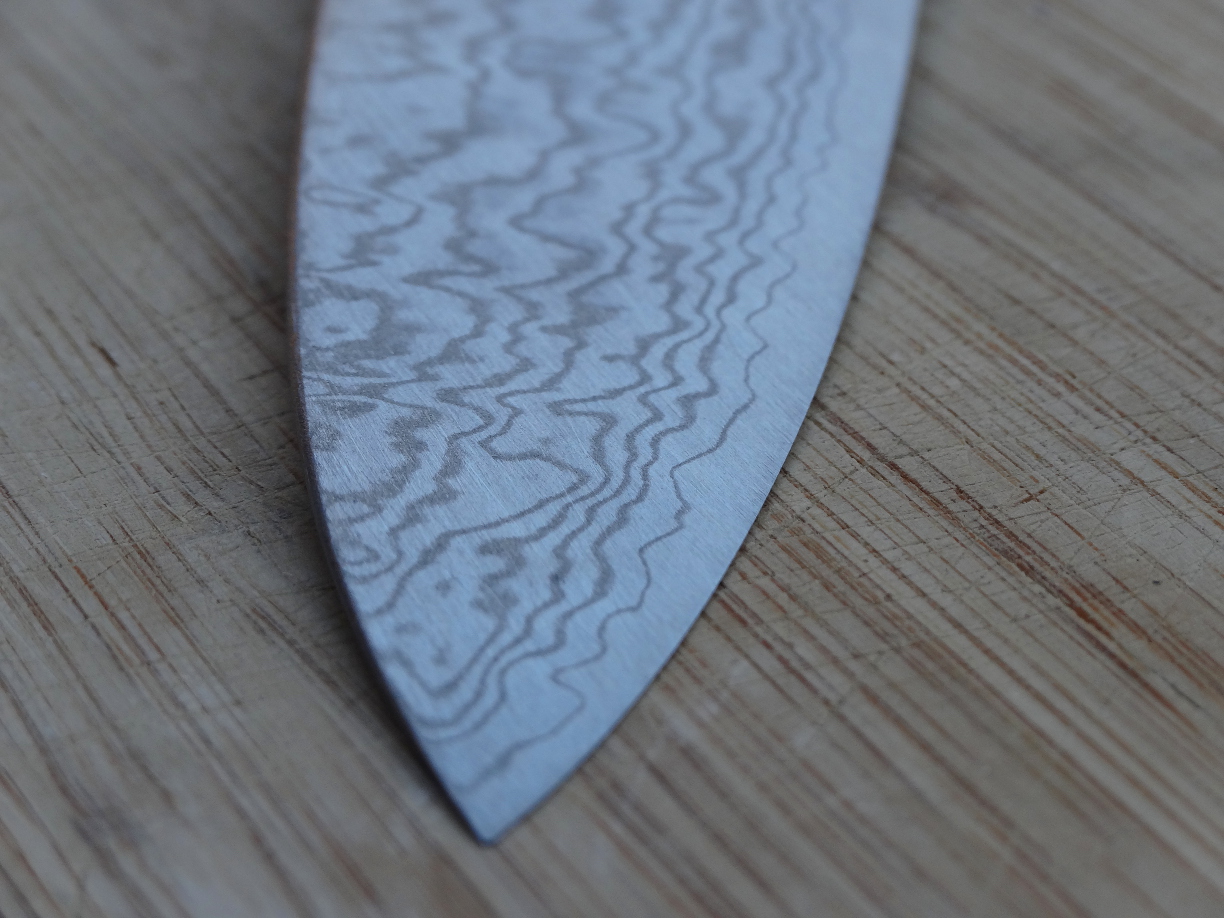
I don't think I'll bother trying to replicate the original damascus finish. I think I'd have to go out and buy a bunch of stuff to even attempt to copy it, and even then there's no guarantee that it will look the same.
Besides... it looks pretty good in it's current state. :biggrin:

So that's it I guess. I'll take it to work in a couple of days and use it for prep and service. That will be an interesting time for me as I think I've done some pretty heavy work on the knife.

This is the first time I've done such a big job on a knife and I think it's turned out really well!
Once again, any criticisms or questions are welcome. Let me know what you think! :)
 
Wow, looks great! Wonder if an etch would bring back what you're missing from the original?
 
Thanks! Yeah I was thinking that too, but there's also a lot more depth to the grooves. It's like they used a buffing wheel with a course compound for ages before moving on to the finer grits.
I was thinking of buying some of that etching chemical. What was it called again, and how much does it cost?
 
Fantastic work! Now I feel like a slacker for my poor progress on a simple thinning project....
 
Wow, two beauties. Does the ZDP steel get chippy during normal use (i.e. not hacking through bones or coconuts)?
 
How does it cut after your repair? Wedging? Food release?
 
Thanks guys!
Some good questions...
Does the ZDP steel get chippy during normal use (i.e. not hacking through bones or coconuts)?

When I first got these ZDP knives they would micro-chip like crazy, so I changed the sharpening angle on them slightly to help alleviate the problem. The micro chipping then stopped, but to be honest I'm not sure if that was due to the change in angles or the removal of a fatigued edge. I get the feeling it was the latter.

How does it cut after your repair? Wedging? Food release?

This is a hard one to answer. When I sharpened this knife I had meat carving in mind because 270mm has turned out to be too long and unwieldy for me as an all-rounder kitchen knife. As you can imagine I've taken it to work and been very happy with it as it has no issues with wedging or food release on a cooked piece of meat!
I've read a lot about stickage and food release on these forums, and it's kind of an interesting side topic for me. Sure I understand that some cutting jobs can be hugely affected by stickage, but as it turns out none of the cutting jobs I have to do at work (for the current menu) would benefit from even the most non-stick convex grind out there. Depending on the food I'm cutting, I'll either get insane amounts of stickage that can't be avoided (only ignored or worked around), or no stickage at all (such as meats and the like).

That being said, I'm happy to record some videos putting it through some more tests in the interests of learning!
I'll try chopping a raw potato to test for stickage as soon as I get some free time. Feel free to let me know any more ideas for these post-sharpening tests!
 
Thanks for taking the time to post the photos. Very useful sequence and explanations.
 
I must thank you greatly for posting your progress! You did a wonderful job and answered some of my concerns that I had with these ZDP knives.

I want to purchase my first Japanese knife, and don't want to double dip at high prices so I wanted to get something beautiful exactly like the 240 or 270mm version you have.

I'm worried now after you mentioned microchipping that I may just destroy this knife during every day use and more importantly during sharpening. Would you recommend I stay away from these high HRC rated steels entirely, or can I learn to minimize damage, and more importantly is it worth putting up with a delicate knife to begin with? My current plan would have 2 different size gyuto's, 210-270, so I can protect my shiny baby as much as I can. However, my rational side says that's not efficient and I should get 1 that lasts and not be caught up with looks (Cater KU gyuto).

Welcome, not sure if you saw the earlier videos of what the Sukenari knife was subjected to but it appears quite robust; I know I'd never use mine like that. I have Carter stainless clad so not the KU but seeing them side by side with the Sukenari, I'd be more worried about damaging the Carter as they are much thinner. With KU you also have the reactivity
 
Welcome, not sure if you saw the earlier videos of what the Sukenari knife was subjected to but it appears quite robust; I know I'd never use mine like that. I have Carter stainless clad so not the KU but seeing them side by side with the Sukenari, I'd be more worried about damaging the Carter as they are much thinner. With KU you also have the reactivity

Thank you for the reply. I went back and was shocked at the videos. I was cringing with fear and excitement each time the blade was smacked hard into the board with the bone. This thread alone is my first resource as to why I want that Sukenari knife. I cannot believe how well he salvaged his blade, and the video showing him make the fish dish was beautiful.
 
Very nice work, congrats on your new knife. Gary
 
How does it cut after your repair? Wedging? Food release?

Yay! New video! :)

Sorry this took so long to record/post, I've been really busy at work as of late.
The first thing I do is test for steer on a carrot by running the knife down the length of it with very little pressure on the handle, basically encouraging it to travel in any direction it wants . It steers ever so slightly to the left. It would be an easy fix, but I don't feel the need to do it.

I didn't have any good ideas for stickage testing, so I cut up some spuds at different sizes and ended up boiling them for a mash. I actually learned a few things about stickage doing it this way but as I've mentioned before, it isn't too much of a big deal for me at work so I'm not going to over-think the results.

There was also one point where wedging was a problem but it seemed to happen to just one of the potatoes in particular. The rest seemed fine.

[video=youtube;L9n-GQTj-zM]https://www.youtube.com/watch?v=L9n-GQTj-zM[/video]

Thanks for all the kind comments in this thread that I didn't get to reply to. Reading them really helps to get me off my backside to record stuff! :biggrin:
 
Back
Top