Forty Ounce
Senior Member
- Joined
- Mar 30, 2019
- Messages
- 326
- Reaction score
- 482


send knife asap Daniel
")


Appreciate it Badgertooth. Really enjoyed getting into it, and I know my cousin and her husband think of him often when they're processing "Porky". Have a very old hand axe and a couple large blocks of walnut from his shop. Plan is to someday carve a new handle for it. btw, Grandfather, not Dad. Made him a sanding block in 7th grade wood shop (~1972, yikes!). Now it's in my workshop - still has my initials on it. Don't know what it is about tools but when my father in-law passed about 3 years ago I got a hammer, shop brush, and a few clamps. Use them all often. Sometimes it's the simple things that can bring back some of the best memories...Your dad would be proud, you did a beautiful resorption and that hairline finish really sings.


im just learning this, but i will try my best to answer, and others should also help.Does every blade have this "potential" or some San mai are just more basic?

im just learning this, but i will try my best to answer, and others should also help.
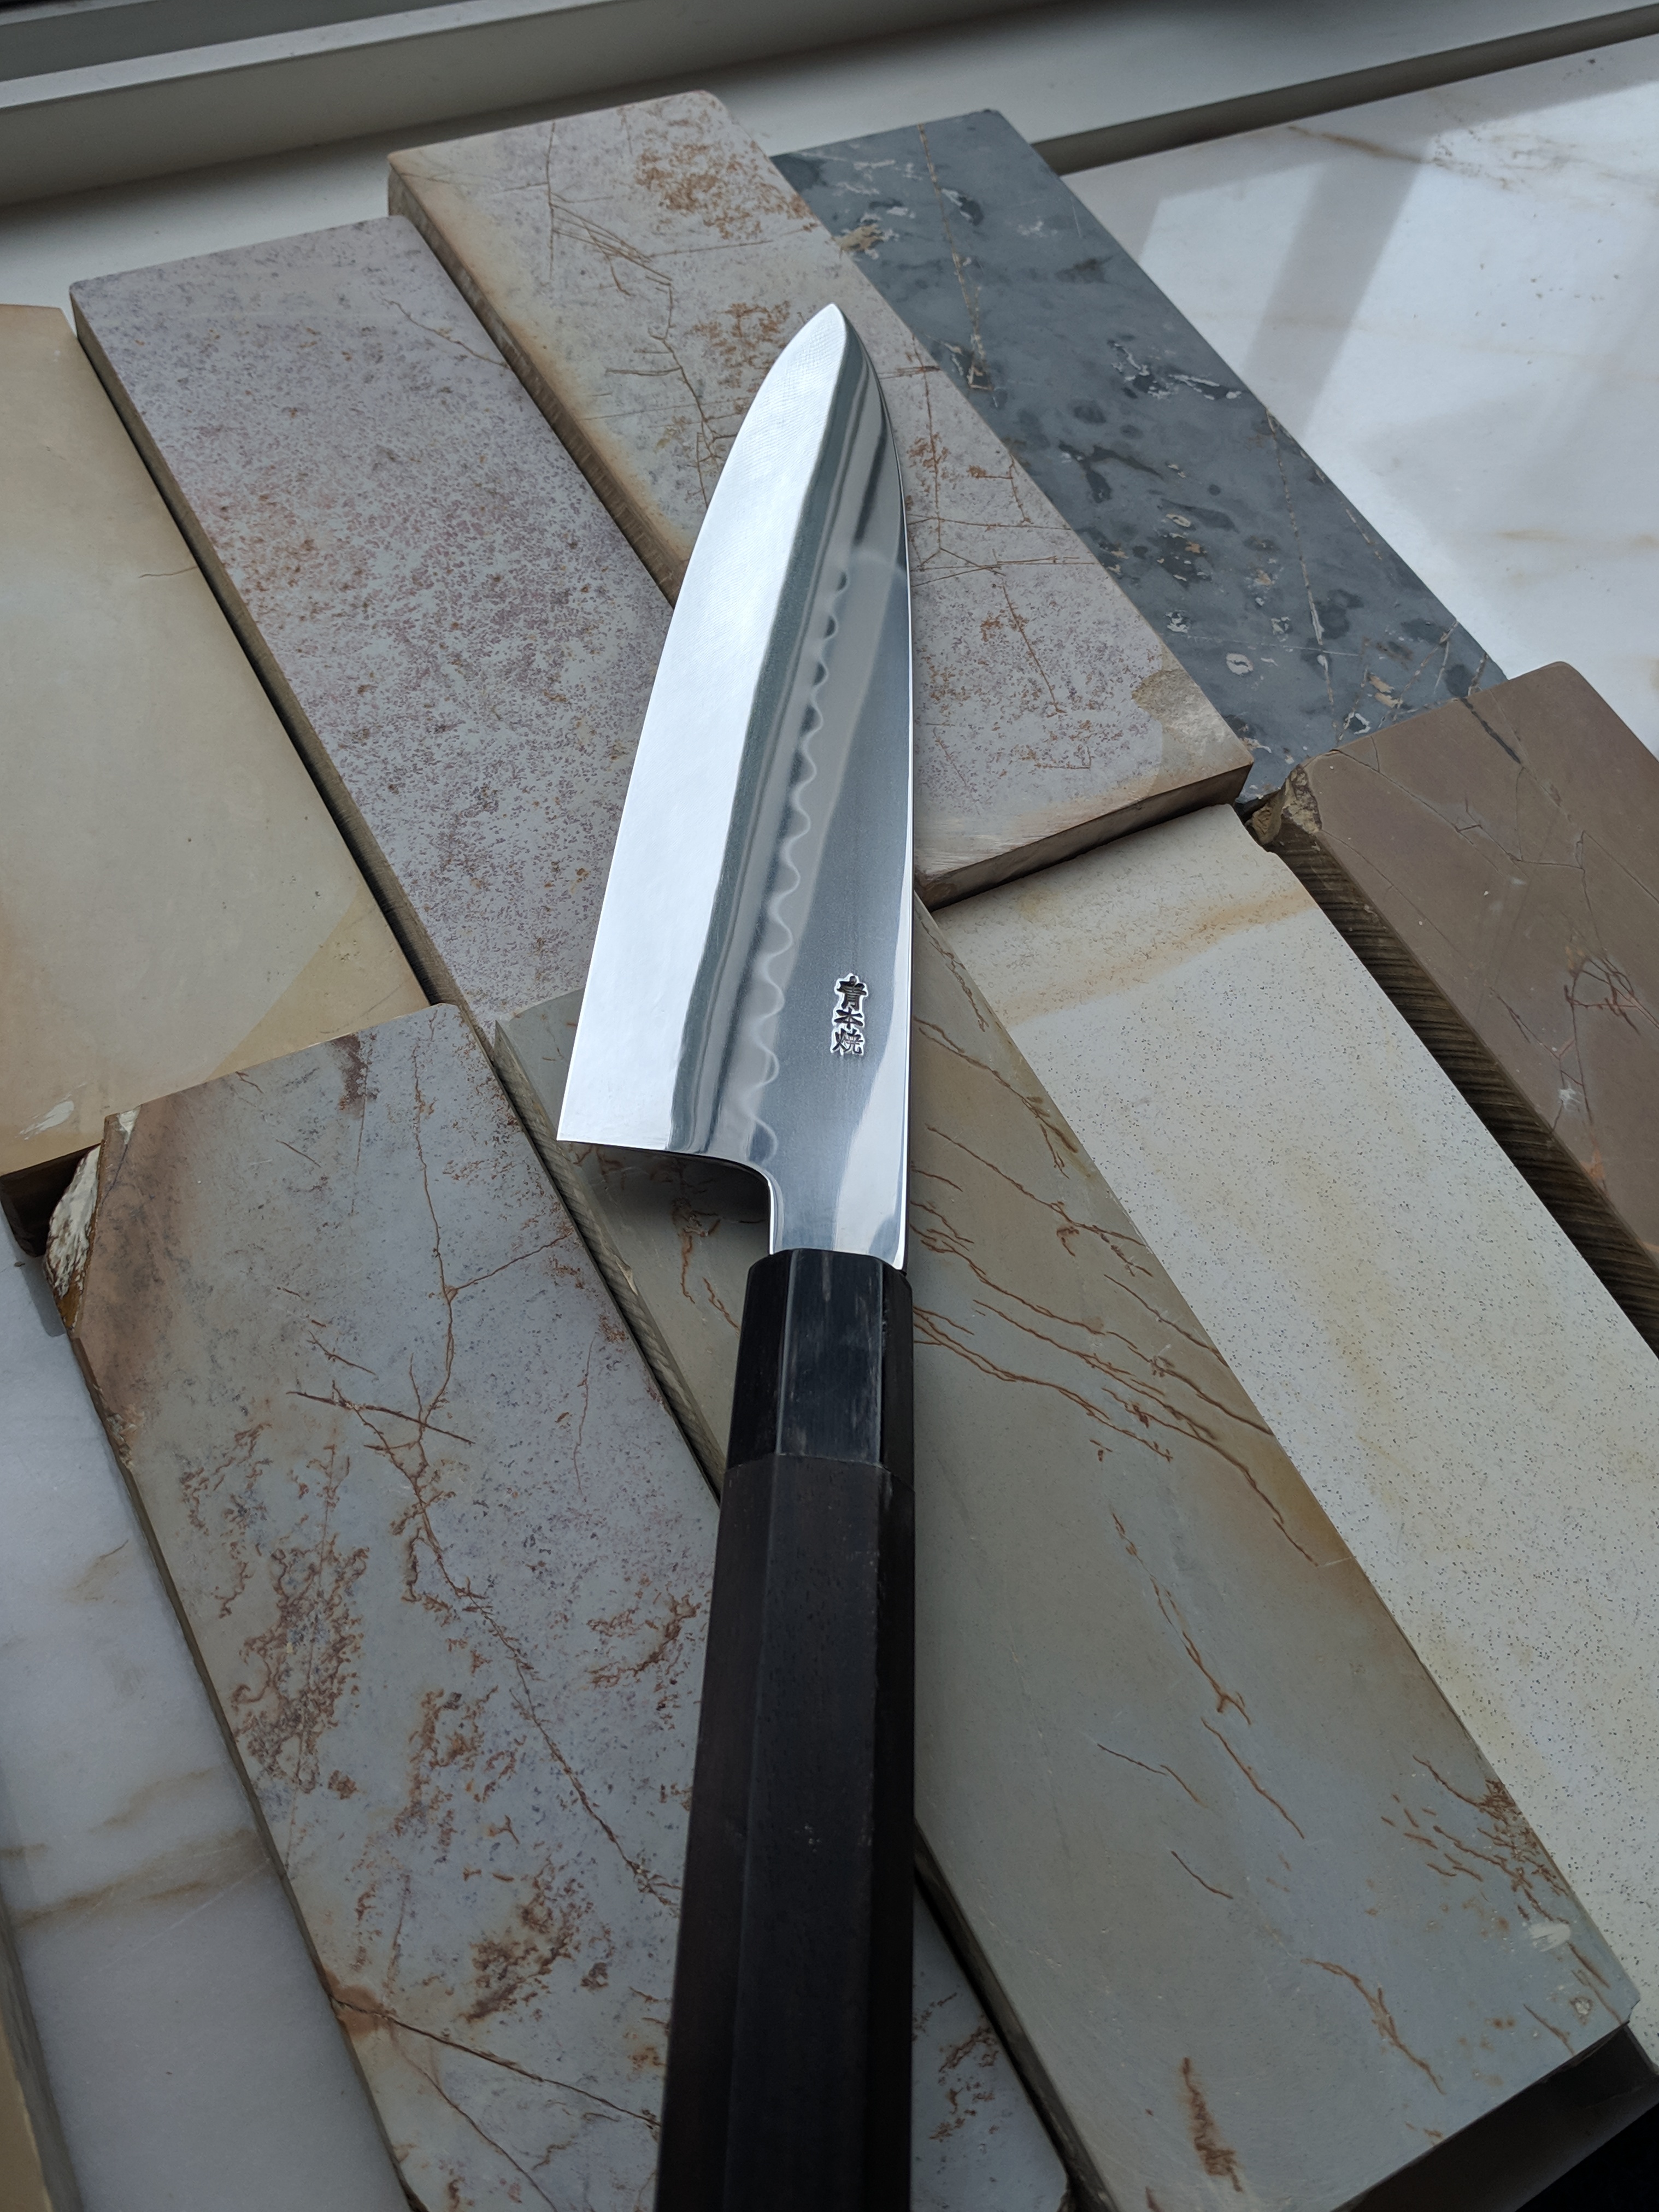
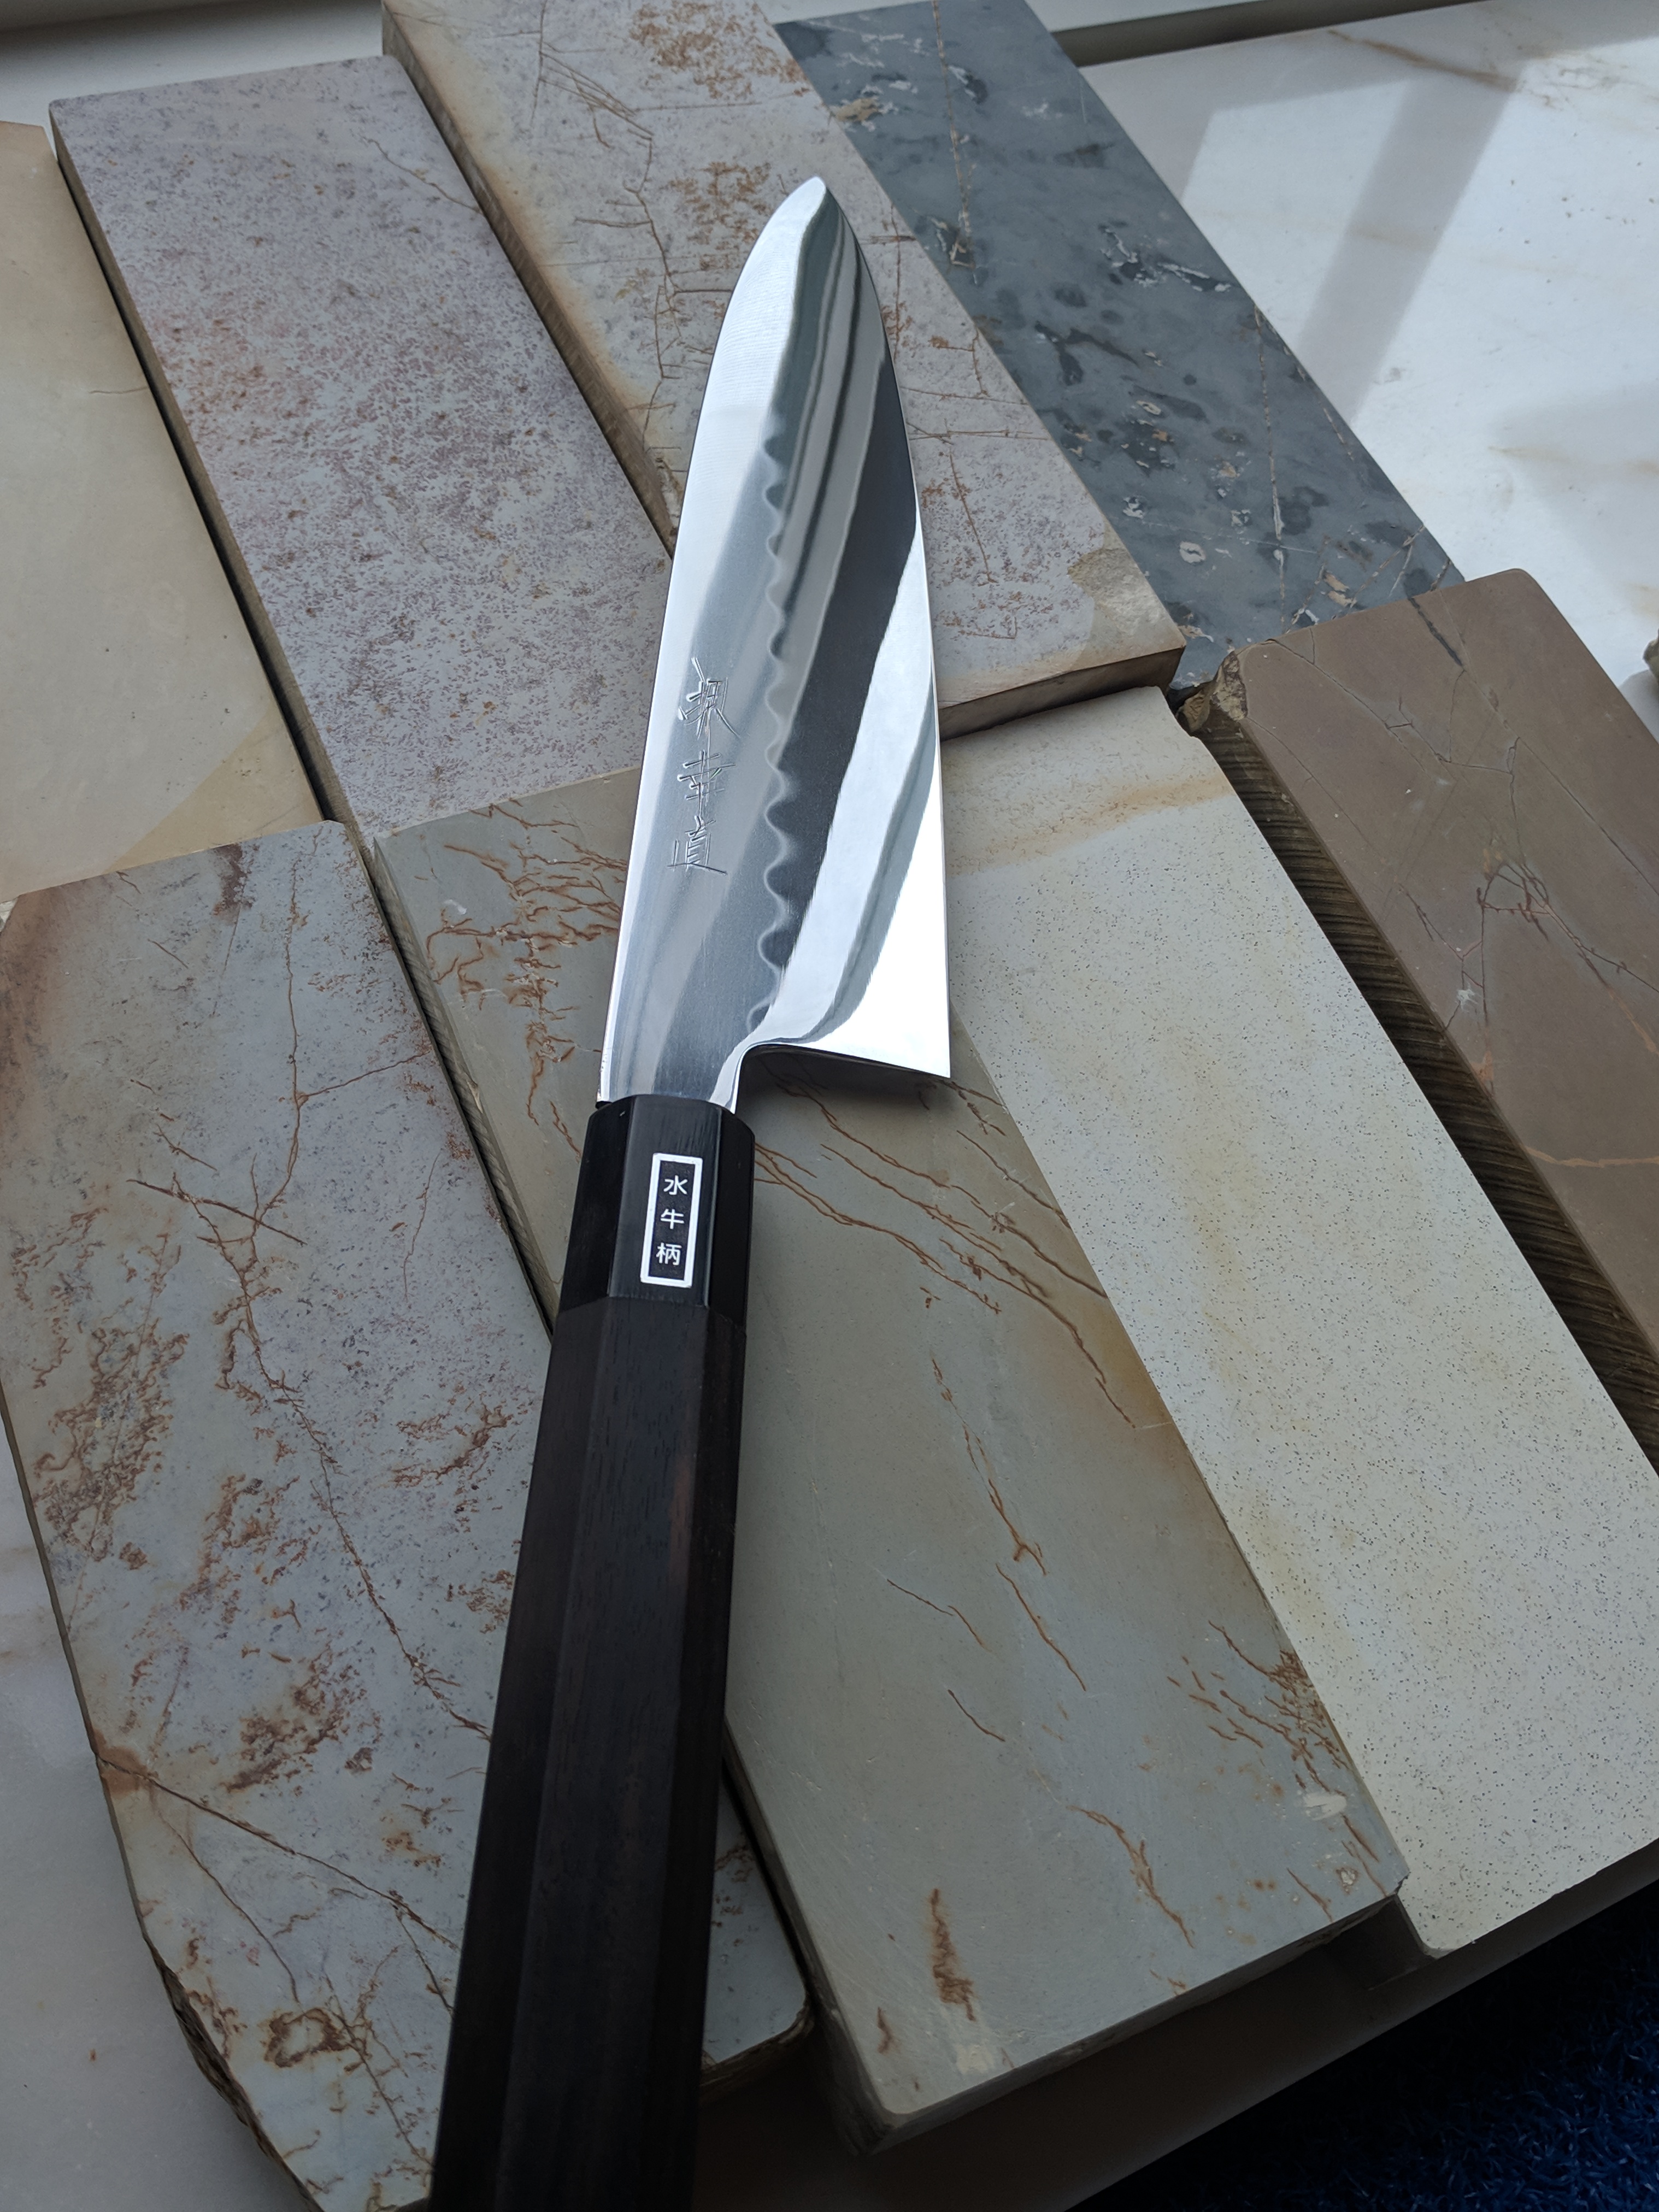
these are layers of iron, so i think it depends on who made the billet and what technique they used, but i dont know much beyond that. I think each cladding has its own sort of potential, some have swirls, some have lines or waves, perhaps some have no special character to be found, i am not sure. when i first began to polish this one, first it was just turning more grey and foggy. after time i could just begin to see hints of those layers. then this morning i tried some different things on the stone and was able to coax more of the layers to show themselves. it was a long process with of experimenting on the stones to find this effect.
before that, i was able to get a line at the core, that now is not so visible, so different things happen depending on how you understand the stone. because i dont really know what im doing yet, i cannot replicate my efforts, so i play. this is what it looked like last night after some polish. notice the lighter layer where cladding meets the core. this was the same knife on the same stones last night.
View attachment 75240


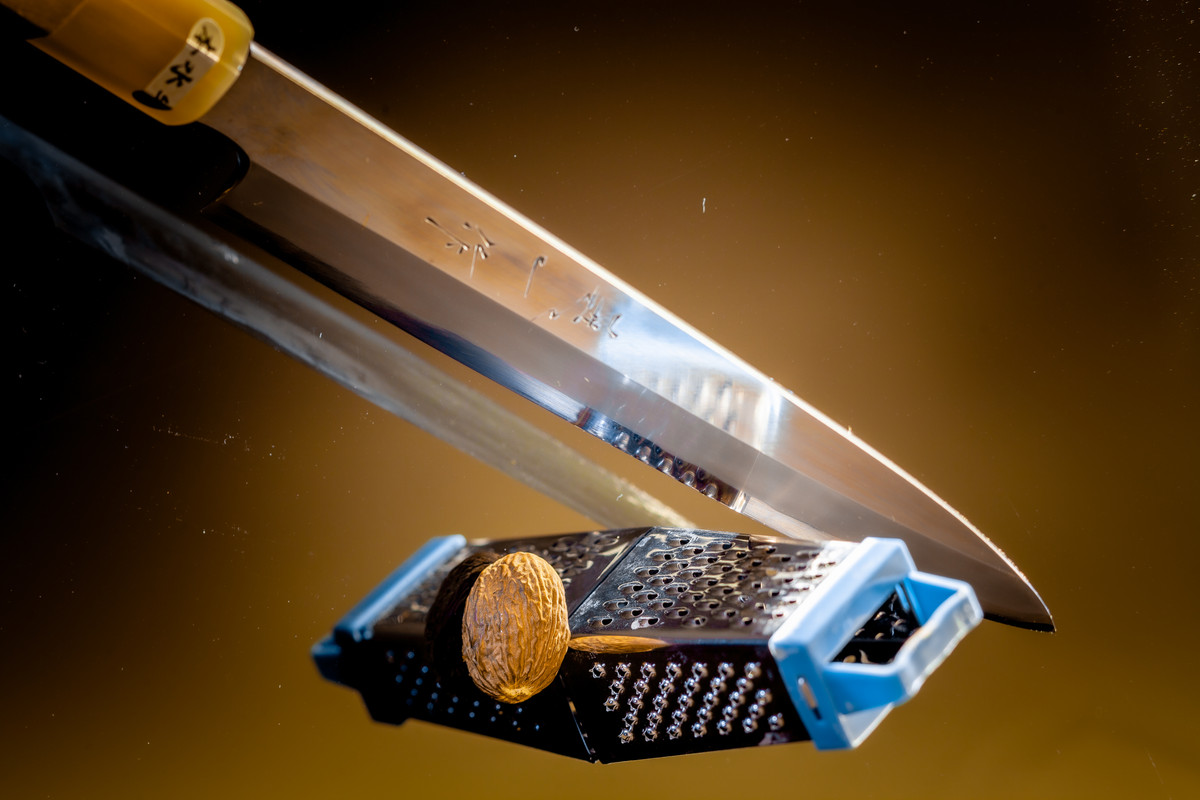
Sure! Shapton glass 2k, Shapton glass 4k, King super 6k, Ohira Uchigumori (my only J-nat).Thats a really nice finish ! Would you share your progression ?


thanks Carlos, this was my first time trying to reset the bevel to convex like in your video tutorial. this knife is ground assymmetric, flat and high on the left bevel while convex and a touch lower on the right bevel. i had troubles when going back to blend the convexity like you showed, i lost a bit of the contrast going back to blend that in, but i had to be satisfied for this session. now to consider if im ready to try harder stones like your okudo suitathat's a pretty nice polish
Great work!thanks Carlos, this was my first time trying to reset the bevel to convex like in your video tutorial. this knife is ground assymmetric, flat and high on the left bevel while convex and a touch lower on the right bevel. i had troubles when going back to blend the convexity like you showed, i lost a bit of the contrast going back to blend that in, but i had to be satisfied for this session. now to consider if im ready to try harder stones like your okudo suita


Enter your email address to join: