Soo, winter is really good time to play with steel and stones, isnt it?
And so I sent my Masamoto budget edition to spa.
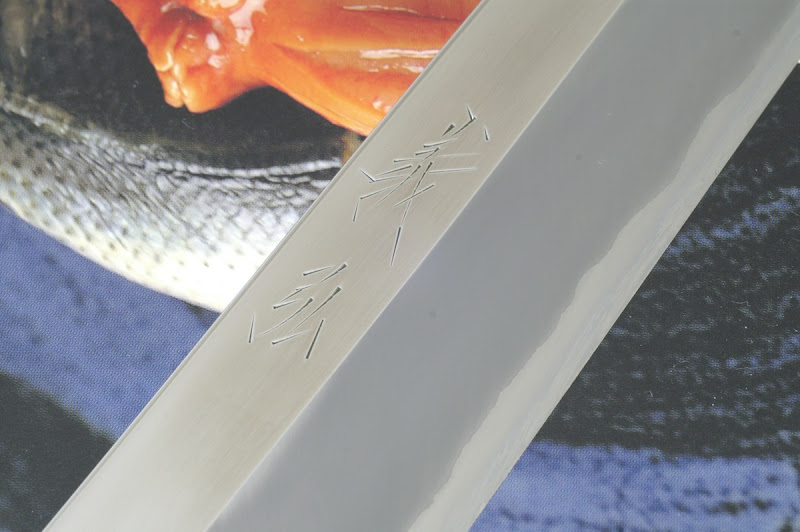
I polished the front entirely and set new, quite cool kasumi with the naturals im using now.
Please notice on the photo how angles of reflection changes for the iron cladding and steel edge")
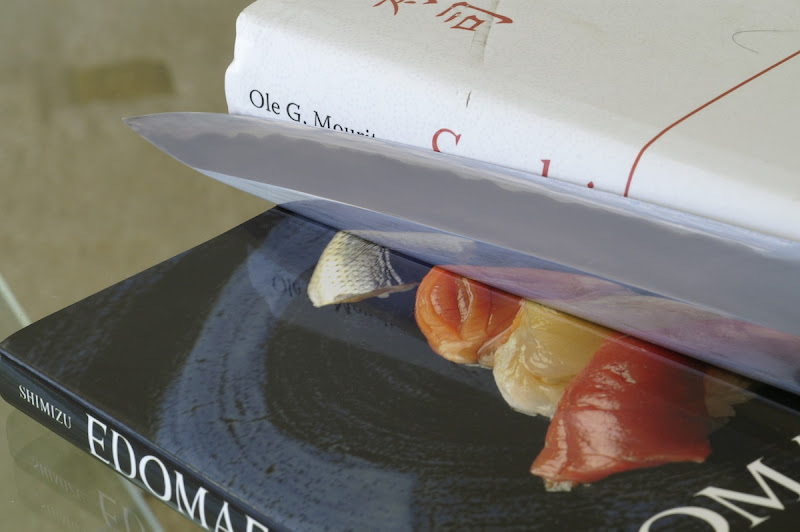
The result:


Kasumi, huh? :wink:

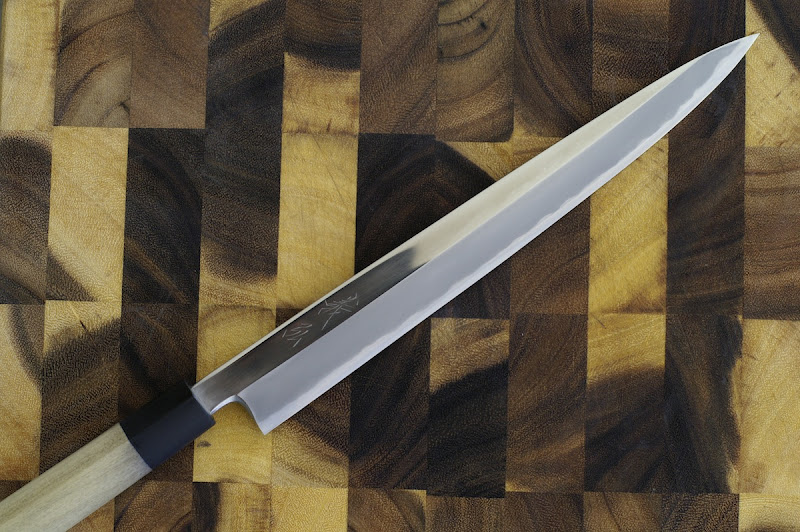
Some photos with my home made oak saya


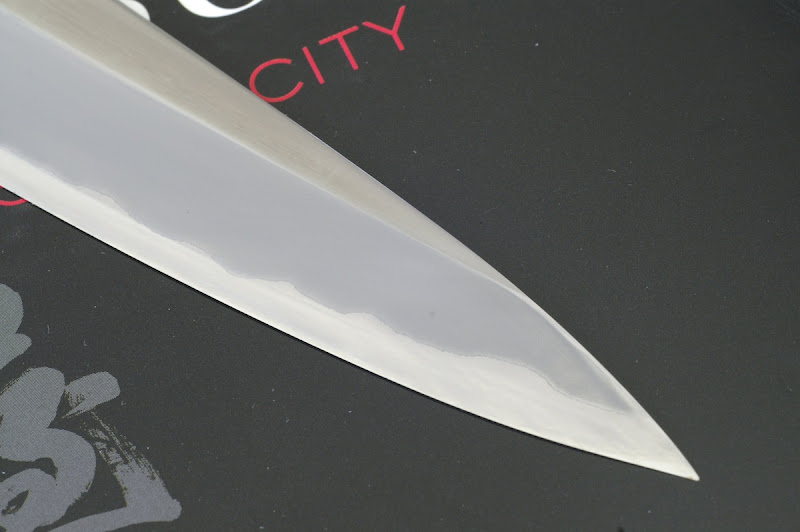
I really like fow the wood is reflected in the blade


That is what I think a kasumi is
Im thinking of polishing the back also
And so I sent my Masamoto budget edition to spa.
I polished the front entirely and set new, quite cool kasumi with the naturals im using now.
Please notice on the photo how angles of reflection changes for the iron cladding and steel edge
The result:
Kasumi, huh? :wink:
Some photos with my home made oak saya
I really like fow the wood is reflected in the blade
That is what I think a kasumi is
Im thinking of polishing the back also