Takeda thinning (LucasFur Method)

Kitchen Knife Forums

Help Support Kitchen Knife Forums:

This site may earn a commission from merchant affiliate links, including eBay, Amazon, and others.

LucasFur

Warrior of Jarhead clan
KKF Supporting Member
Joined
Jan 22, 2016
Messages
975
Reaction score
385
Location
Toronto, On
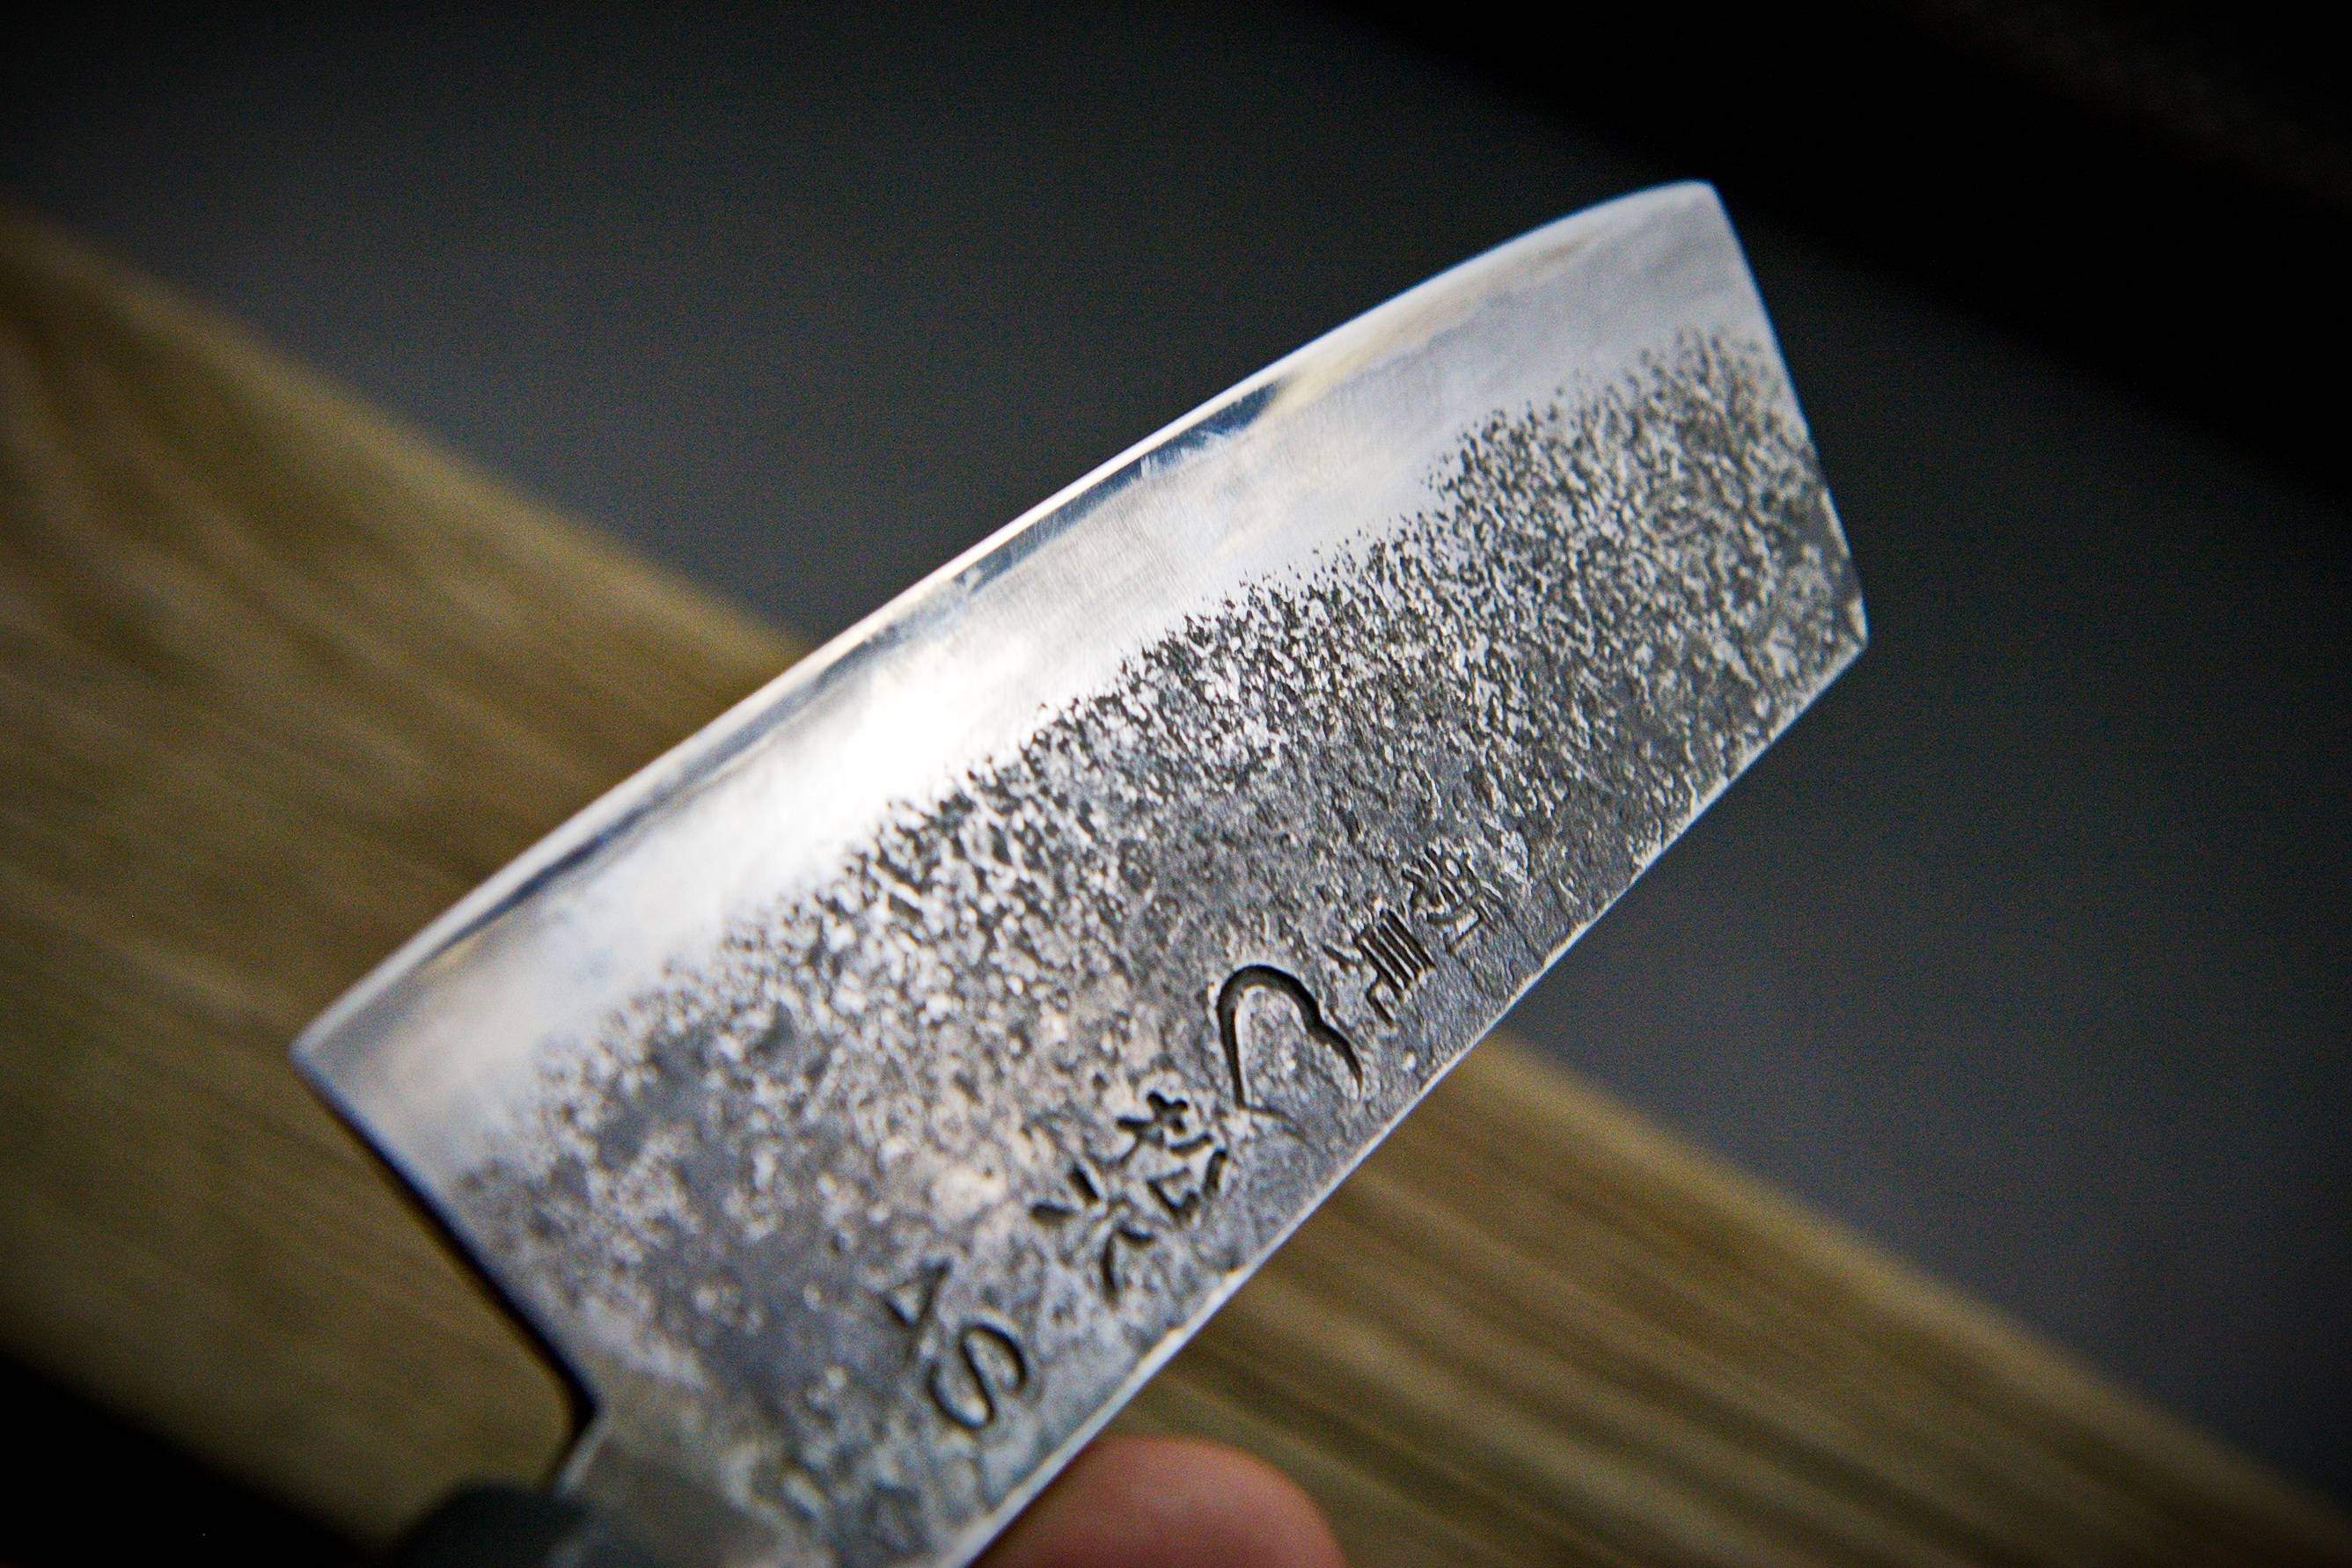
Hey guys. I own a Takeda 240 iron clad gyuto.
When i received about 6 months ago there was a very pronounced shoulder.
After using it a couple times I decided it was time to remove it.
I read all I could, and saw what magnus had gone through, and saw that this was actually a very common problem.

SO, I used some from my experience from sharpening razors for sharpening my Takeda.
Instead of using the bevel and trying to freehand the shoulder away, usually this causes a lot of the kurouchi finish, that is desired anyways.

1. I simply applied 4 layers of electrical tape on the spine.

2. I then laid the knife completely flat on the stone, just to make sure, just the tape and the pronounced shoulder were touching the stone.

3.Then japanese style grid away on a 4k Naniwa lobster stone for about 100 strokes every section, and 30 italian style grinding.

4.Noticed it was a little higher then what i wanted so I went to 7 layers, this was to target the sharpest ridge of the shoulder more accurately.

5. used the knife for a few days

6. touched up with 8 layers of tape to make the tip a real laser, and to thin it out a little more at the top of the primary bevel.

*note: this shoulder grinding does not affect the primary bevel in any negative way, only the shoulder is effected.
*note: I consider japanese grinding to be back and fourth on the same spot (samurai style) and italian griding to be the whole knife sharpened with one stroke.
*note: I only worked with the 4k stone because i was worried about ruining the finish, and did not want to over do the removal of the shoulder trying to keep it at a level i would like.
*note: the number of layers of tape will be different for the sasanoha, but should work fine for 210-240-270+ gyutos

Since i did it many months ago I don't have images of the before. and Admittedly i had to revisit this method again because i wanted more thinning in certain areas.

http://imgur.com/a/95tmf

This has made me love the Takeda, as it has some what my own flare to the grind.

let me know your thoughts.
 
Thanks for sharing, I follow what you're saying about the affecting the primary bevel… you'd need to work it for quite some time to hit it especially at that grit. I like how you were able to save the finish too… definitely a win-win.

I just sent my 270 Takeda NAS to JKI to see if it would benefit from a spa treatment. Seems fairly thin and cut well, but I didn't use it too much because the tiny stock handle was super annoying.
 
to panda: yea, when i got it from knifewear, they said it was one of the last if not "the" last to come from the iron clad line, to the point where the person who marks was only doing stainless stamps

Yes its 4000 lobster stone. I did it on purpose because initially i started with a 400, and the groves were very deep on the soft iron, then 1000, still I thought when i hit the level i want i dont want to re-polish to make it a nice finish again. so i used my 4k stone, and it worked surprisingly fast because it is soft iron. i honestly only spent maybe 2 hrs working on it total, a lot of that was inspecting/ testing, and making sure i ground the same on both sides, and that the grind lines were even from the heal to the tip.

Its actually an amazing knife now ... i use it more (and like it more?) then my zkramer, carter, honyaki, all knives known for their grind.

My method is fool proof, saves the finish, and you can customize how much of a laser you want the thing, while keeping the classic large primary takeda bevel.
there you have it KKF members ... feel free to buy takeda's again
 
Show me a choil shot...I've seen the pics, but can't tell a thing from the shot...
 
Thanks! This is great. I've been wanting to thin down my 210 a bit. The "normal" method of thinning has worked...but it's taken off more the kurouchi than I would like.

Do you happen to have any pictures of how you taped up the spine?
 
Maybe I am misunderstanding your description of the methodology, but is the tape abraded as well and if so is that a problem?

As OP stated, this technique was borrowed from sharpening straight razors, where the tape is used to preserve the spine. Electrical tape is surprisingly resistant to abrasion, and you're applying most of the pressure to the edge, not the spine. If you do happen to break through a layer, it's easy to replace it.
 
If the blade road was higher and the grind was once again an S configuration I would more than likely pull the trigger and get a Takeda. I just can't put aside that the thought that the Takeda is now more expensive and the grind dumbed down. That said I would love to have one in my hand.
 
I don't think the primary bevel remains totally unaffected by thinning or easing the shoulder. Some debris building occurs and will make a touch-up beneficial.
 
https://imgur.com/a/sP8W8

Finally got around to taking some pictures.

First few you can see the primary (large bevel), and the secondary ( small bevel, where the shoulder use to be)

RJ, there are some photos there that show the tape along the spine .. i did 4-8 layers. Only thing is that you have to make sure that there is no folding, or bubbling in the tape when it is applied because your using it as a guide for the edge to be removed. This is a partial reason why my finish didnt come out perfect on the back side of the blade. The other reason is that there was a bit of a inconsistency in the thickness at that point, its hand made so its expected.

the last few photos i show the full 8 layers on the spine of the knife. and put it to the a flat surface, so you can see the light coming through when i lay it flat. it perfectly targets the wedging shoulder.

hopes this helps guys, and now you don't have to be afraid to buy takeda's
sorry for the bad photos, its hard to focus on a choil with a Iphone.
 
Thanks for those pics, Lucas! Really helpful. Looks like I have a weekend project now...
 
I tried the tape method on my 250mm Classic Gyuto and it worked very well. I didnt count strokes and just eyeballed it.

I used Chosera 400 and it took me around 3 sharpening sessions 1 hour each to reach my desired thinness. The bevel then looked around x2 of the original bevel height. I then proceeded to Chosera 1000-3000-Hideriyama then microbevel.

The knife cuts really well now with minimal wedging on very thick cuts with tall carrots, none with potatos, onions, daikon, cabbage or japanese sweet potatoes. Tomato falls right through when dropped 3 inches above the edge.

Thank you for sharing your method as it was of great help. It was timely too as when you posted this, I had just gotten the knife.

Cheers!
Julian
 
i regrinded my banno bunka

it was really bad before ...not super fat ...because i bought it used and it was allready regrinded, but still useless.

so gave is a nice convex grind with as much contact to the sides but not to much to remove the nice kuro ochi finish.
some polishing with some scotchbrite like stuff to remove scratches and improve food release and a little jnat mud polishing.. BOOOM now its really awesome!

its still far away from any laser but cuts awesome.. never thought this could do so well!
i am also wondering if the rust problem is also better, because it went fill berserk rusty without using it.

so i actually just started and and just went on with no plan (as usual)
convex grind was an awesome idea.. well i always so this on any knife thats not a single bevel.


well with that super small blade it was done pretty fast ;)

here are some shots:
http://imgur.com/a/xU9Cv


63otVCy.jpg


best regards, danieL!
 
hmmm i still have to figure out what you actually did since it sounds interesting with the taping...ahh ok took me some while ;)..
actually i just put my knifes flat on the stone grind them ugly ..since they are not fully flat i hit the sides first and dondt grind anything on the edge or make it sharp first..
 
Julian -- Fantastic!!! - how many layers of tape did yo use? Im glad you turned your takeda into "your knife" - One person used the method and it worked this post has done its job. but i hope you can share your experience for the other frustrated takeda owners.

Daniel -- wicked bud -- glad it is now a awesome cutter. it doesn't look like you tapped the spine with a several layers and laid the stone flat ... it looks like it was done free hand. solid keeping the finish.

Tanner - I saw your post in may. Jon does impressive work.
 
For those who have thinned the shoulders, how has this affected the food release, if at all? How much does the reactivity increase after thinning?

I'm still learning my way around a small takeda gyuto I picked up a while ago; nothing really cuts quite like it. It's excellent at push cutting/chopping and the food release is unreal, but it does have a slight tendency to wedge when splitting onions, root veg, etc. It's not very good at slicing more generally. I selected this blade because it was stiffer than most with minimal flex, but I worry that if the shoulders get thinned too much, it might degrade the food release. Any thoughts?

I'd post a few choil shots, but it won't let me upload any attachments. :eyebrow:
 
@lucasFur
Thanks! Fully freehand ;) well i just put the blade flat on the stone, grind, then after some time start to increase the angle and wiggle with different angles .. the real edge sharpening at the end with something around... i dondt know ;) its around 10 degrees.. and you hear and feel if you sharpen the edge..
i guess i should make a video ! it looks stupid.. but if its stupid and it works its not stupid ;) .. the wrecked flat surface from the grinding is polished away afterwards .. just have to be careful not to wreck the edge with the 300grit sponge

for the first session on that knife its a good result! ia still experimenting with weird stuff..

nice thread by the way and good ideas for crazy grinds! ;)
 
Krassi...YES, make a video..highlighting the steps. I thinned a TF to laser thin behind the edge but the trade off is that I lost the covex geometry.
This nakiri has been sitting around for months for me to do the work. So, it would be quite timely to see how somebody did it...like you say,
the hell with stupid if it works!!!
Bill
 
I'd say "make a video so I can try it", but I don't know if I want one that says NAS. :eyebrow:
 
Back
Top