Dave, it is the support and advice that you, experienced knife makers, share with us that makes it possible for us to to learn much faster. Big 'thanks' from my side for that.
Hey how do you think I learned 1/2 of what I know?


Dave, it is the support and advice that you, experienced knife makers, share with us that makes it possible for us to to learn much faster. Big 'thanks' from my side for that.
Hey how do you think I learned 1/2 of what I know?
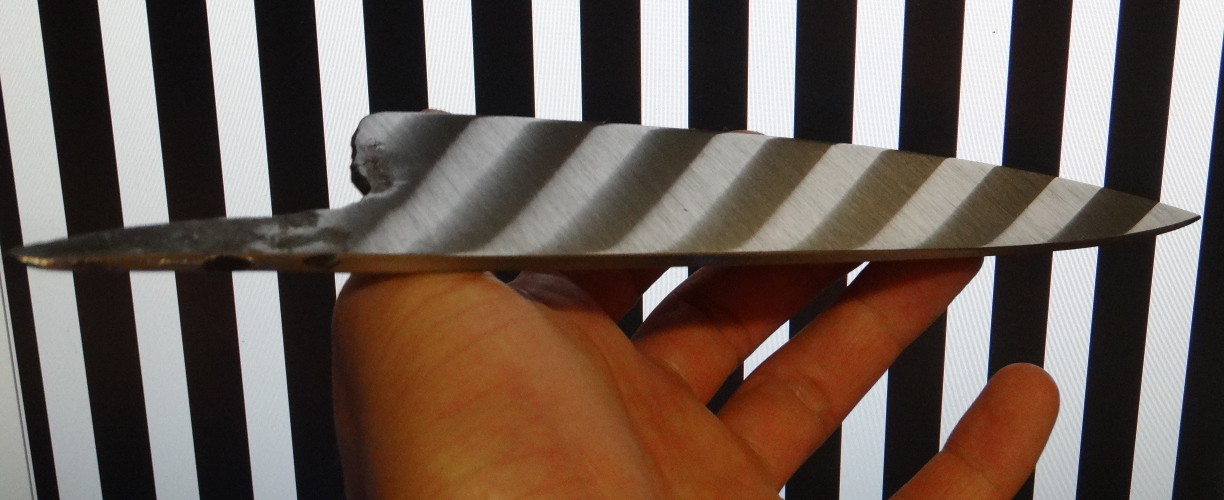
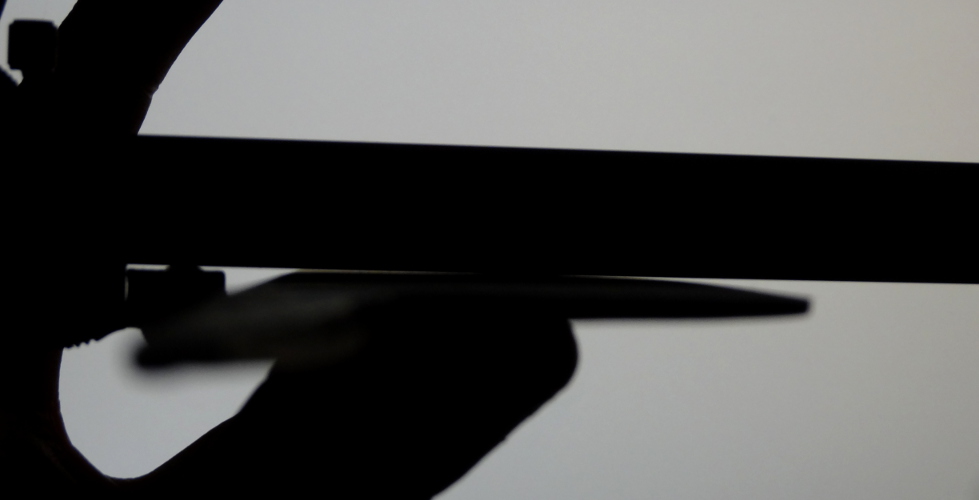
A few more blades ground down the road and the first that was also ground (smaller adjustments to the grind) after HT. It is a D2 gyuto. I am having a lot of trouble removing scratches on a belt grinder (the 1x30"). I have ground the blade with Sait 7S grit 40 belt, did the work I needed to be done. Then I have moved to 80, 120 and 240 belts (all Sait 7S) trying to remove scratches form the previous belt (not easy to observe as all are going in the same direction). I was not happy already during the grinding as I was often getting the impression that I can not 'reach' certain places on the blade - like I would have low spots roughly in the middle between edge and spine. Once I have moved to hand sanding I had to go down to 80 grit paper and still needed 1/2 hour to remove scratches left by the grinding.
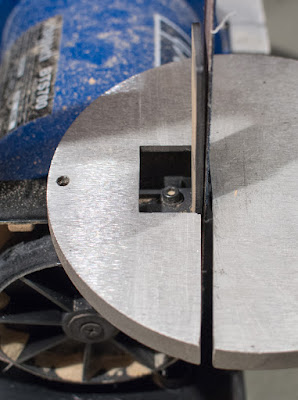
I am wondering what was the reason. On one hand - the 'platen' the grinder has is some 3mm thick L-shaped piece of metal that is only attached to the grinder on one end, so it can give under pressure. On the other hand I am having hard tome to estimate when I have removed the scratches from the previous step as I can not really grind under different angle with every step as that just seems hard to do on a belt grinder + there is not enough place on this little one.
I would appreciate your thoughts.
This is the grinder in question - here you can see the 'platen'. I remove the 'work rest' for bevel grinding though:
Enter your email address to join: