Justin0505
Founding Member
- Joined
- Feb 28, 2011
- Messages
- 1,454
- Reaction score
- 5
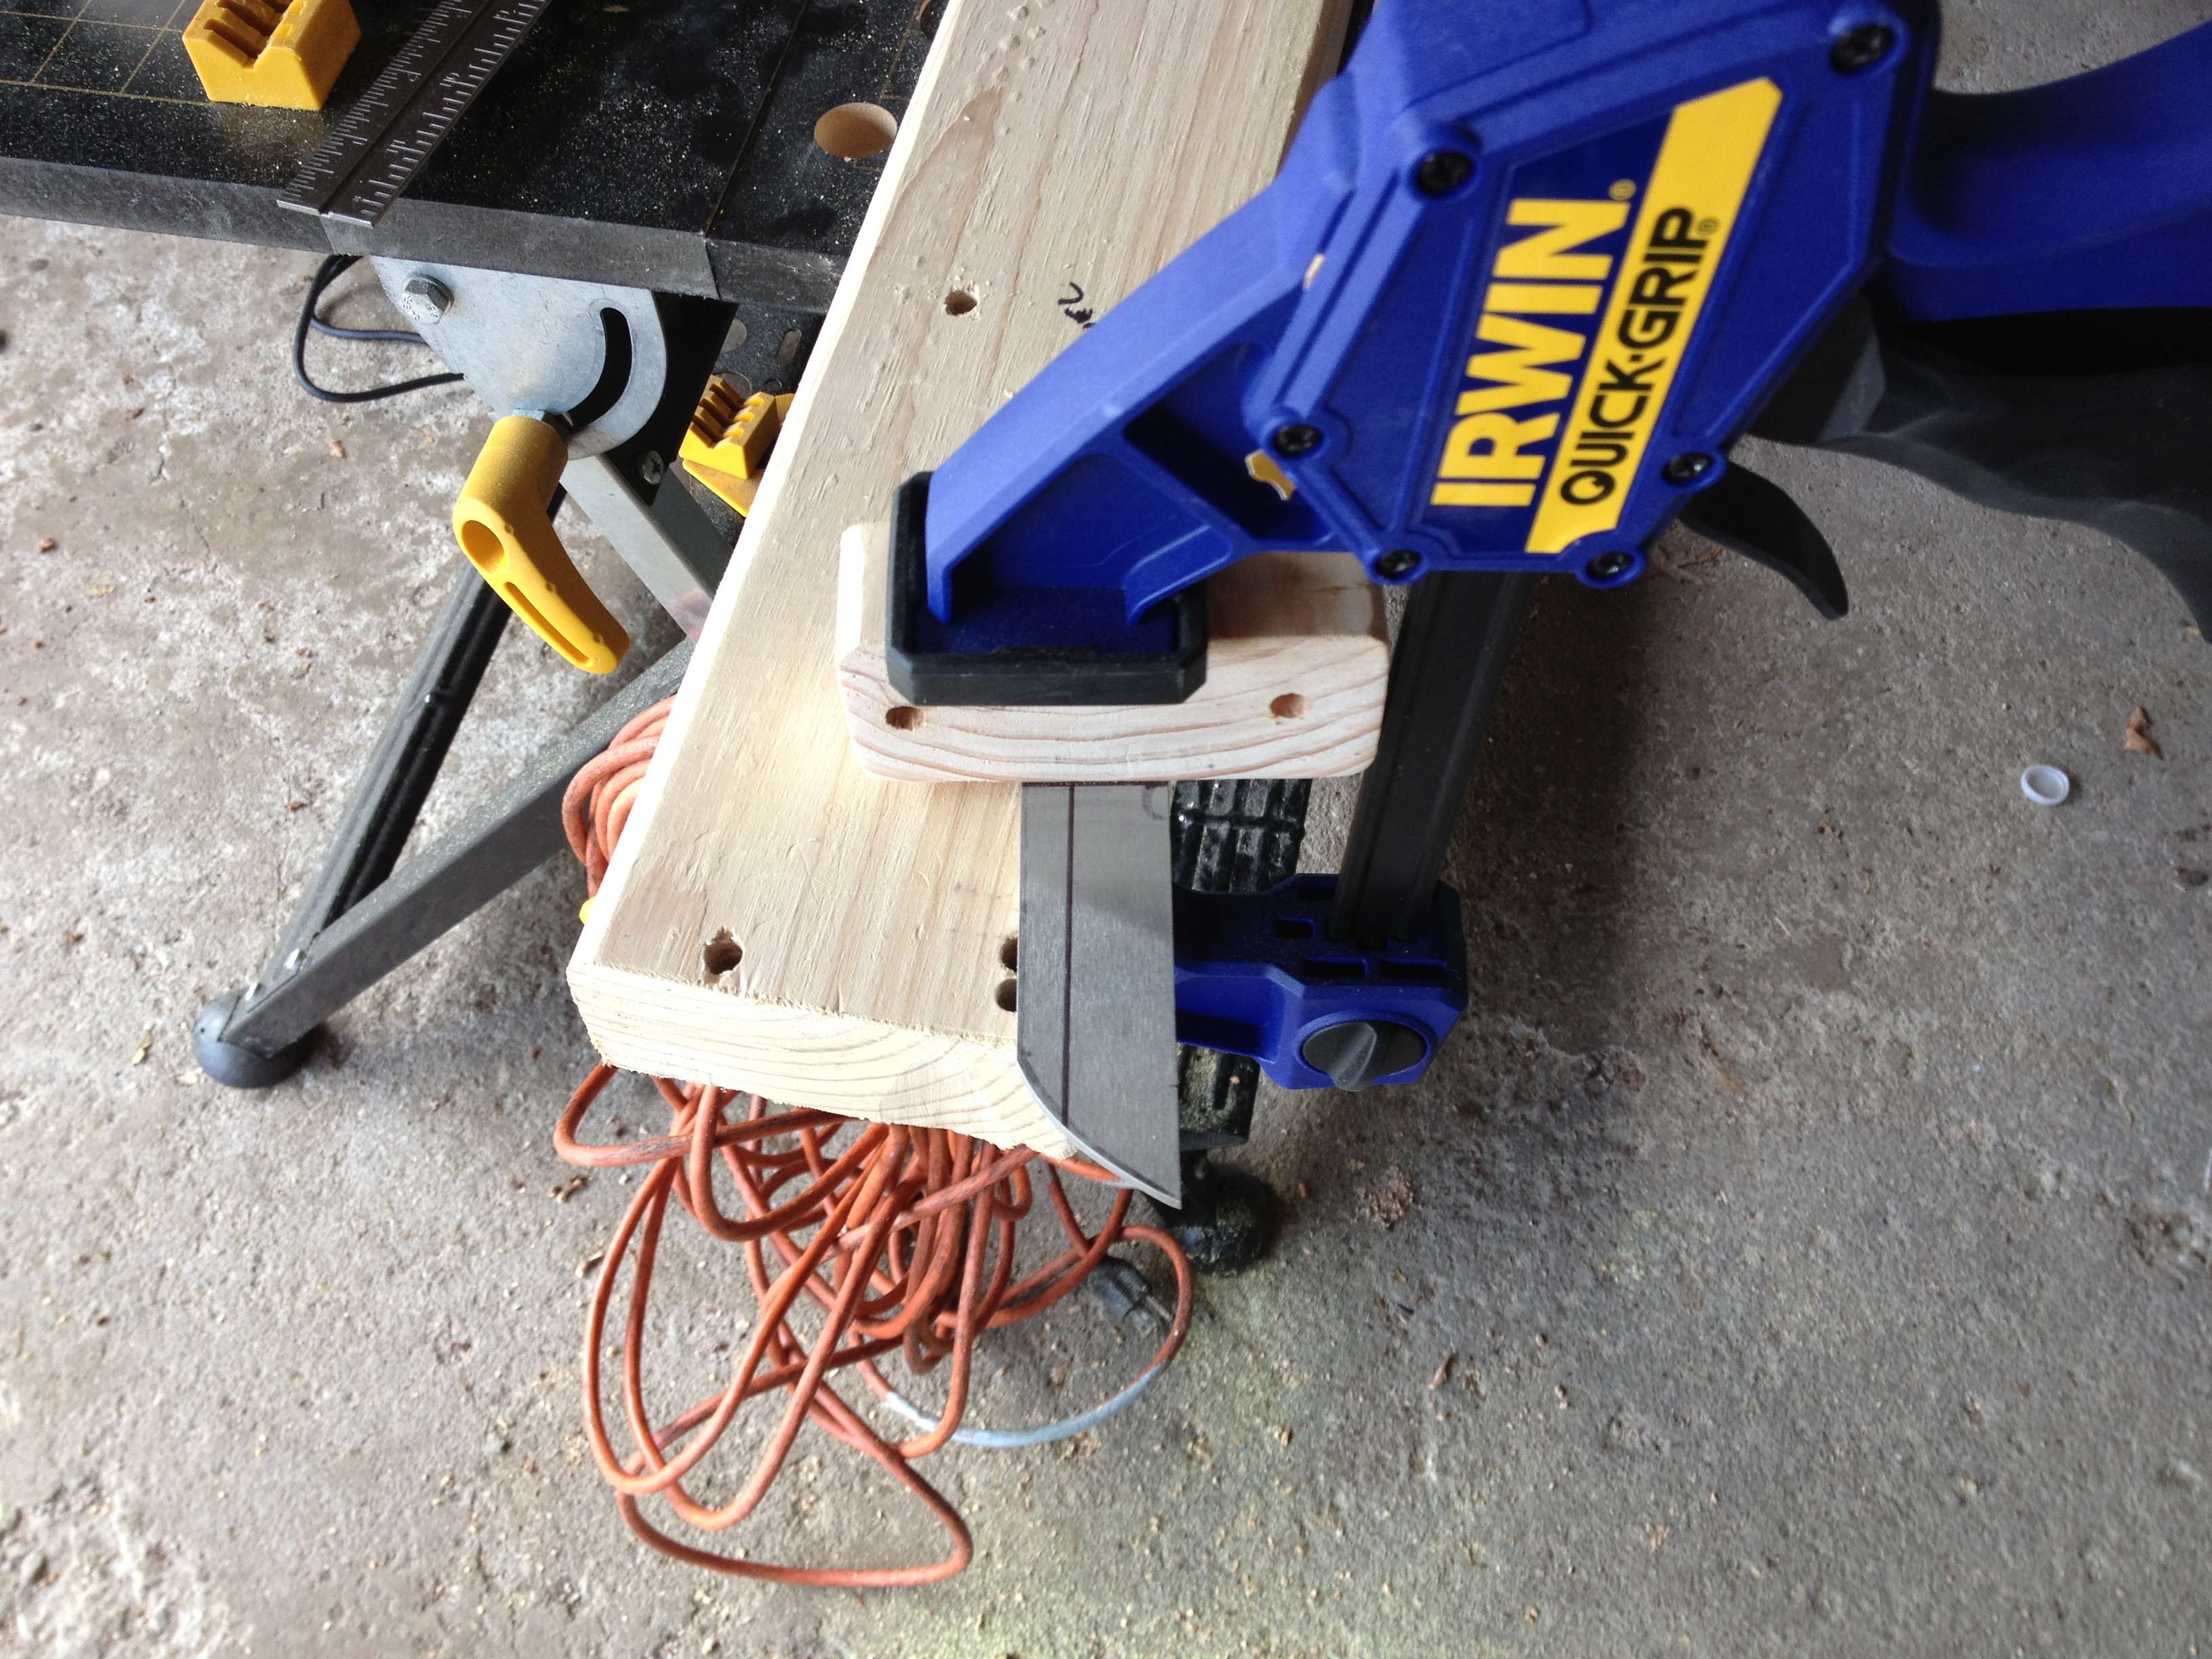
Like a giant edge-pro! Cool!


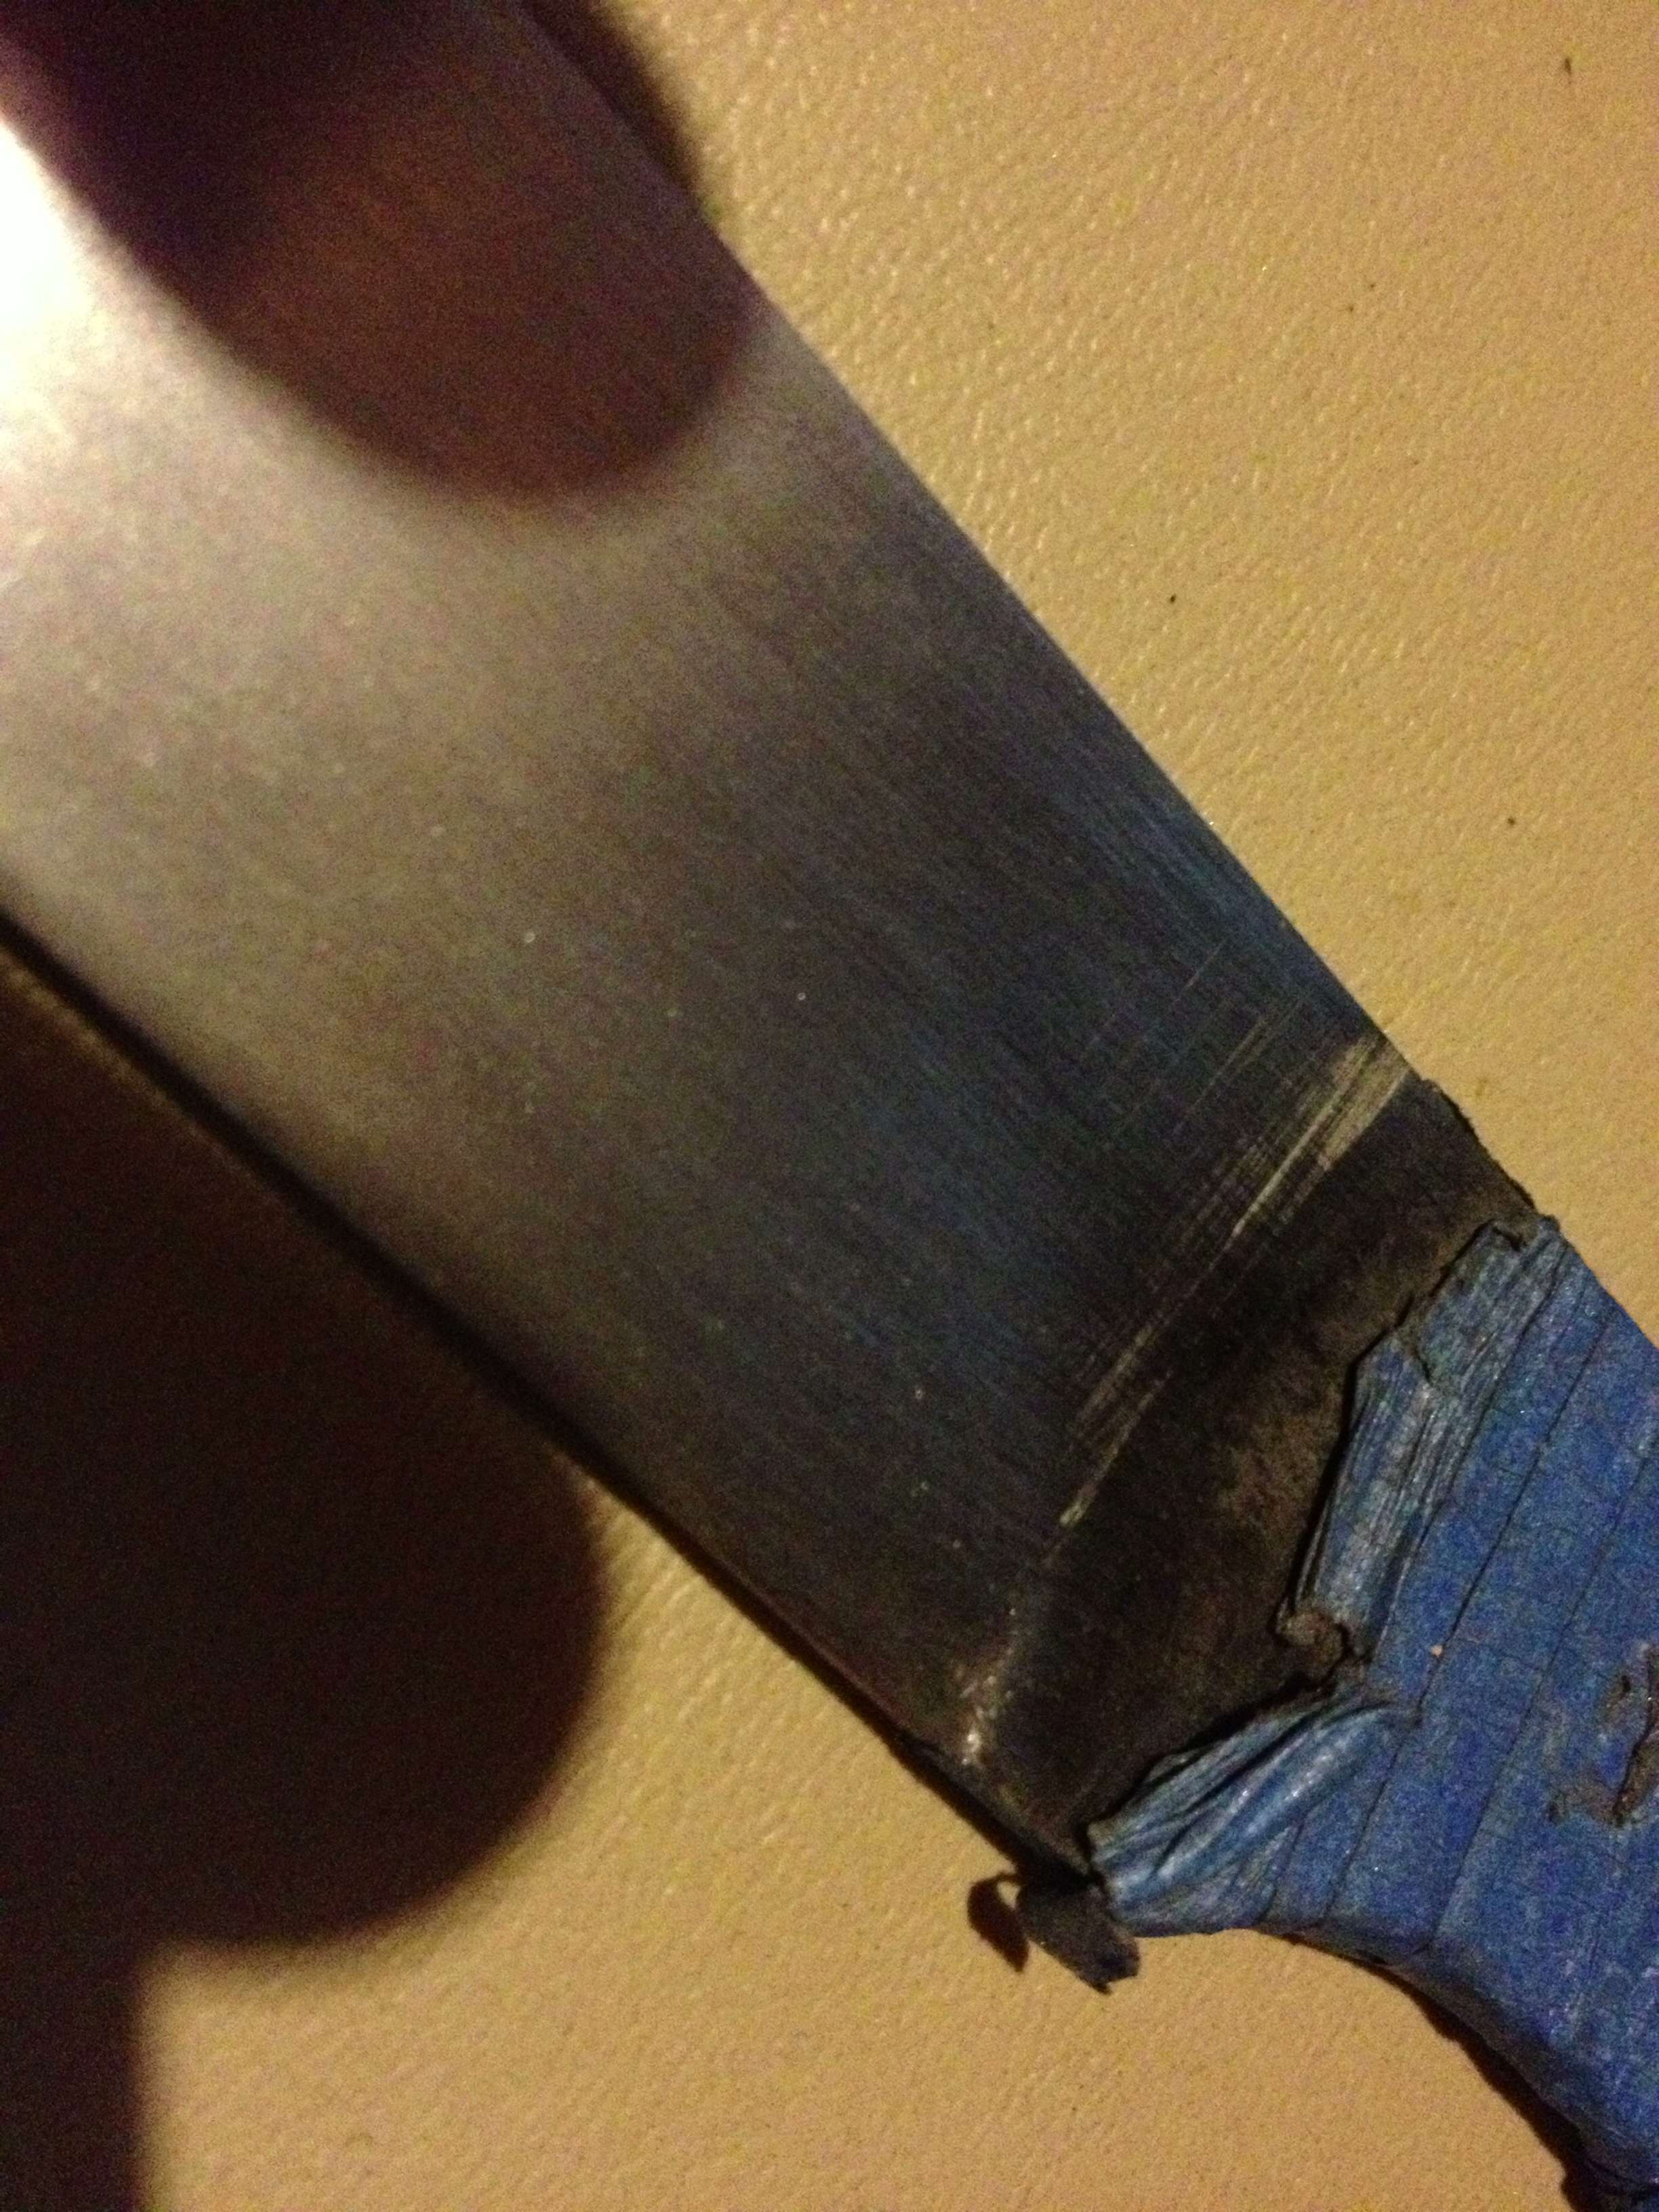

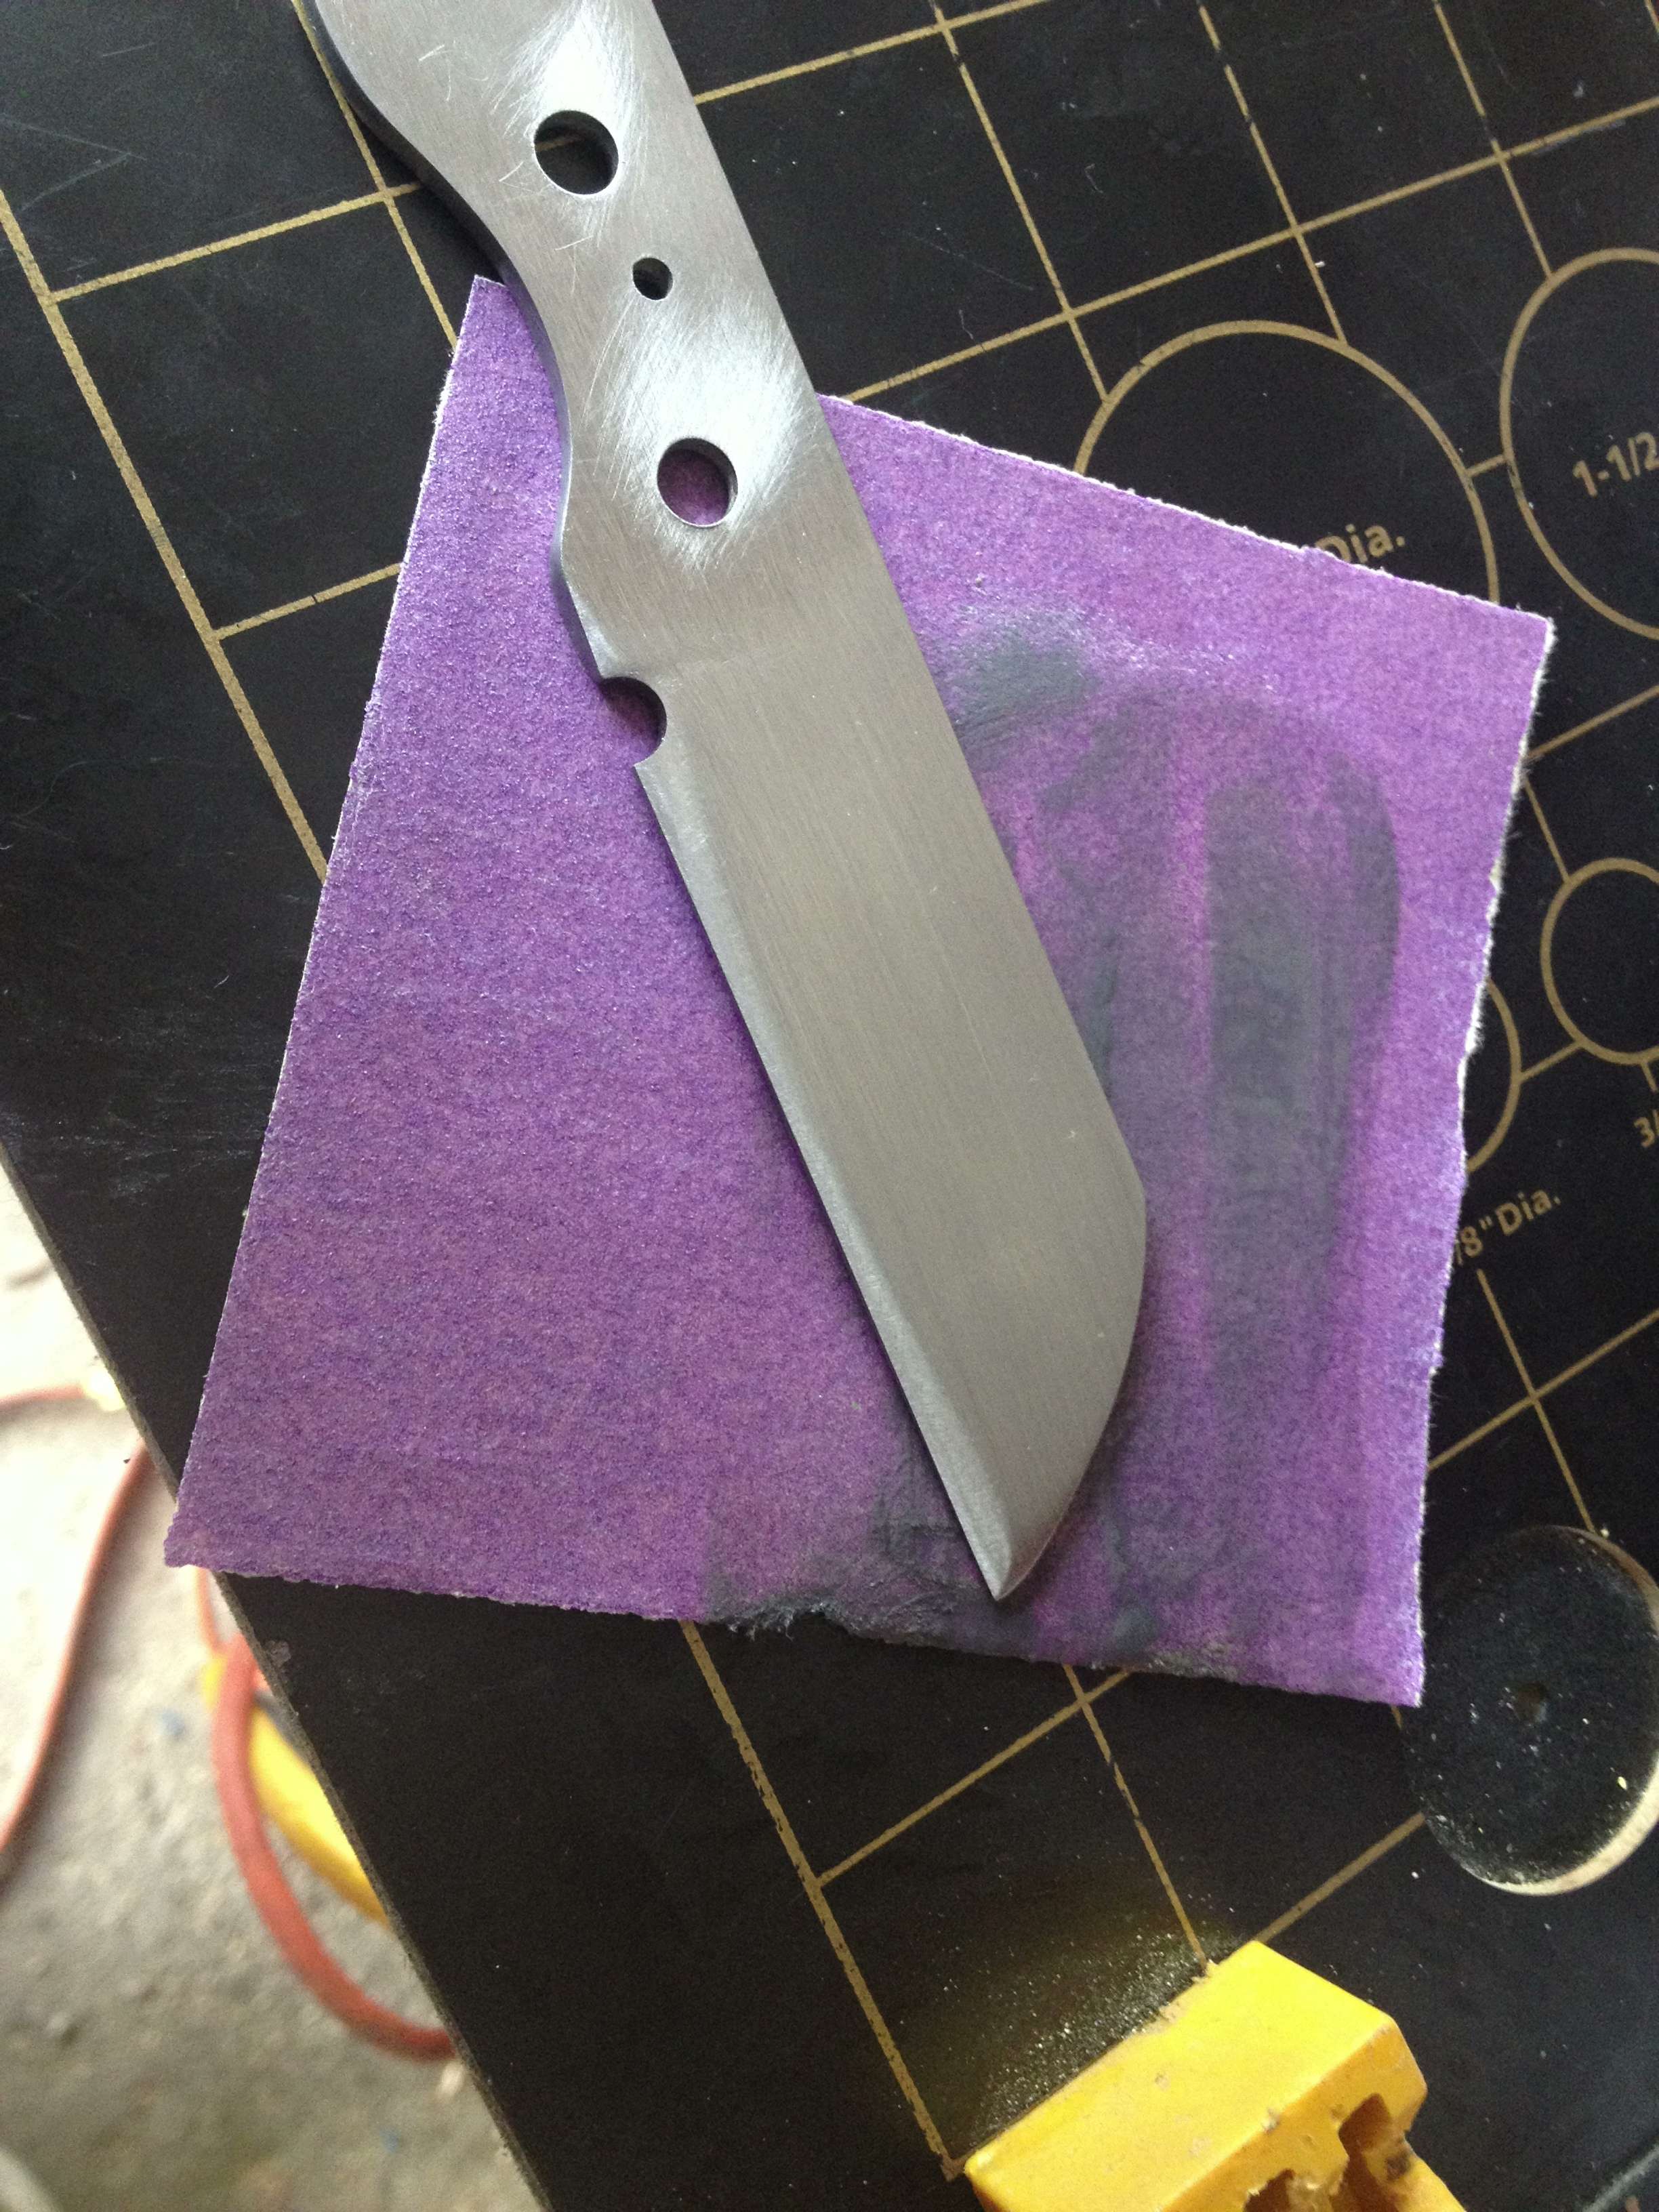
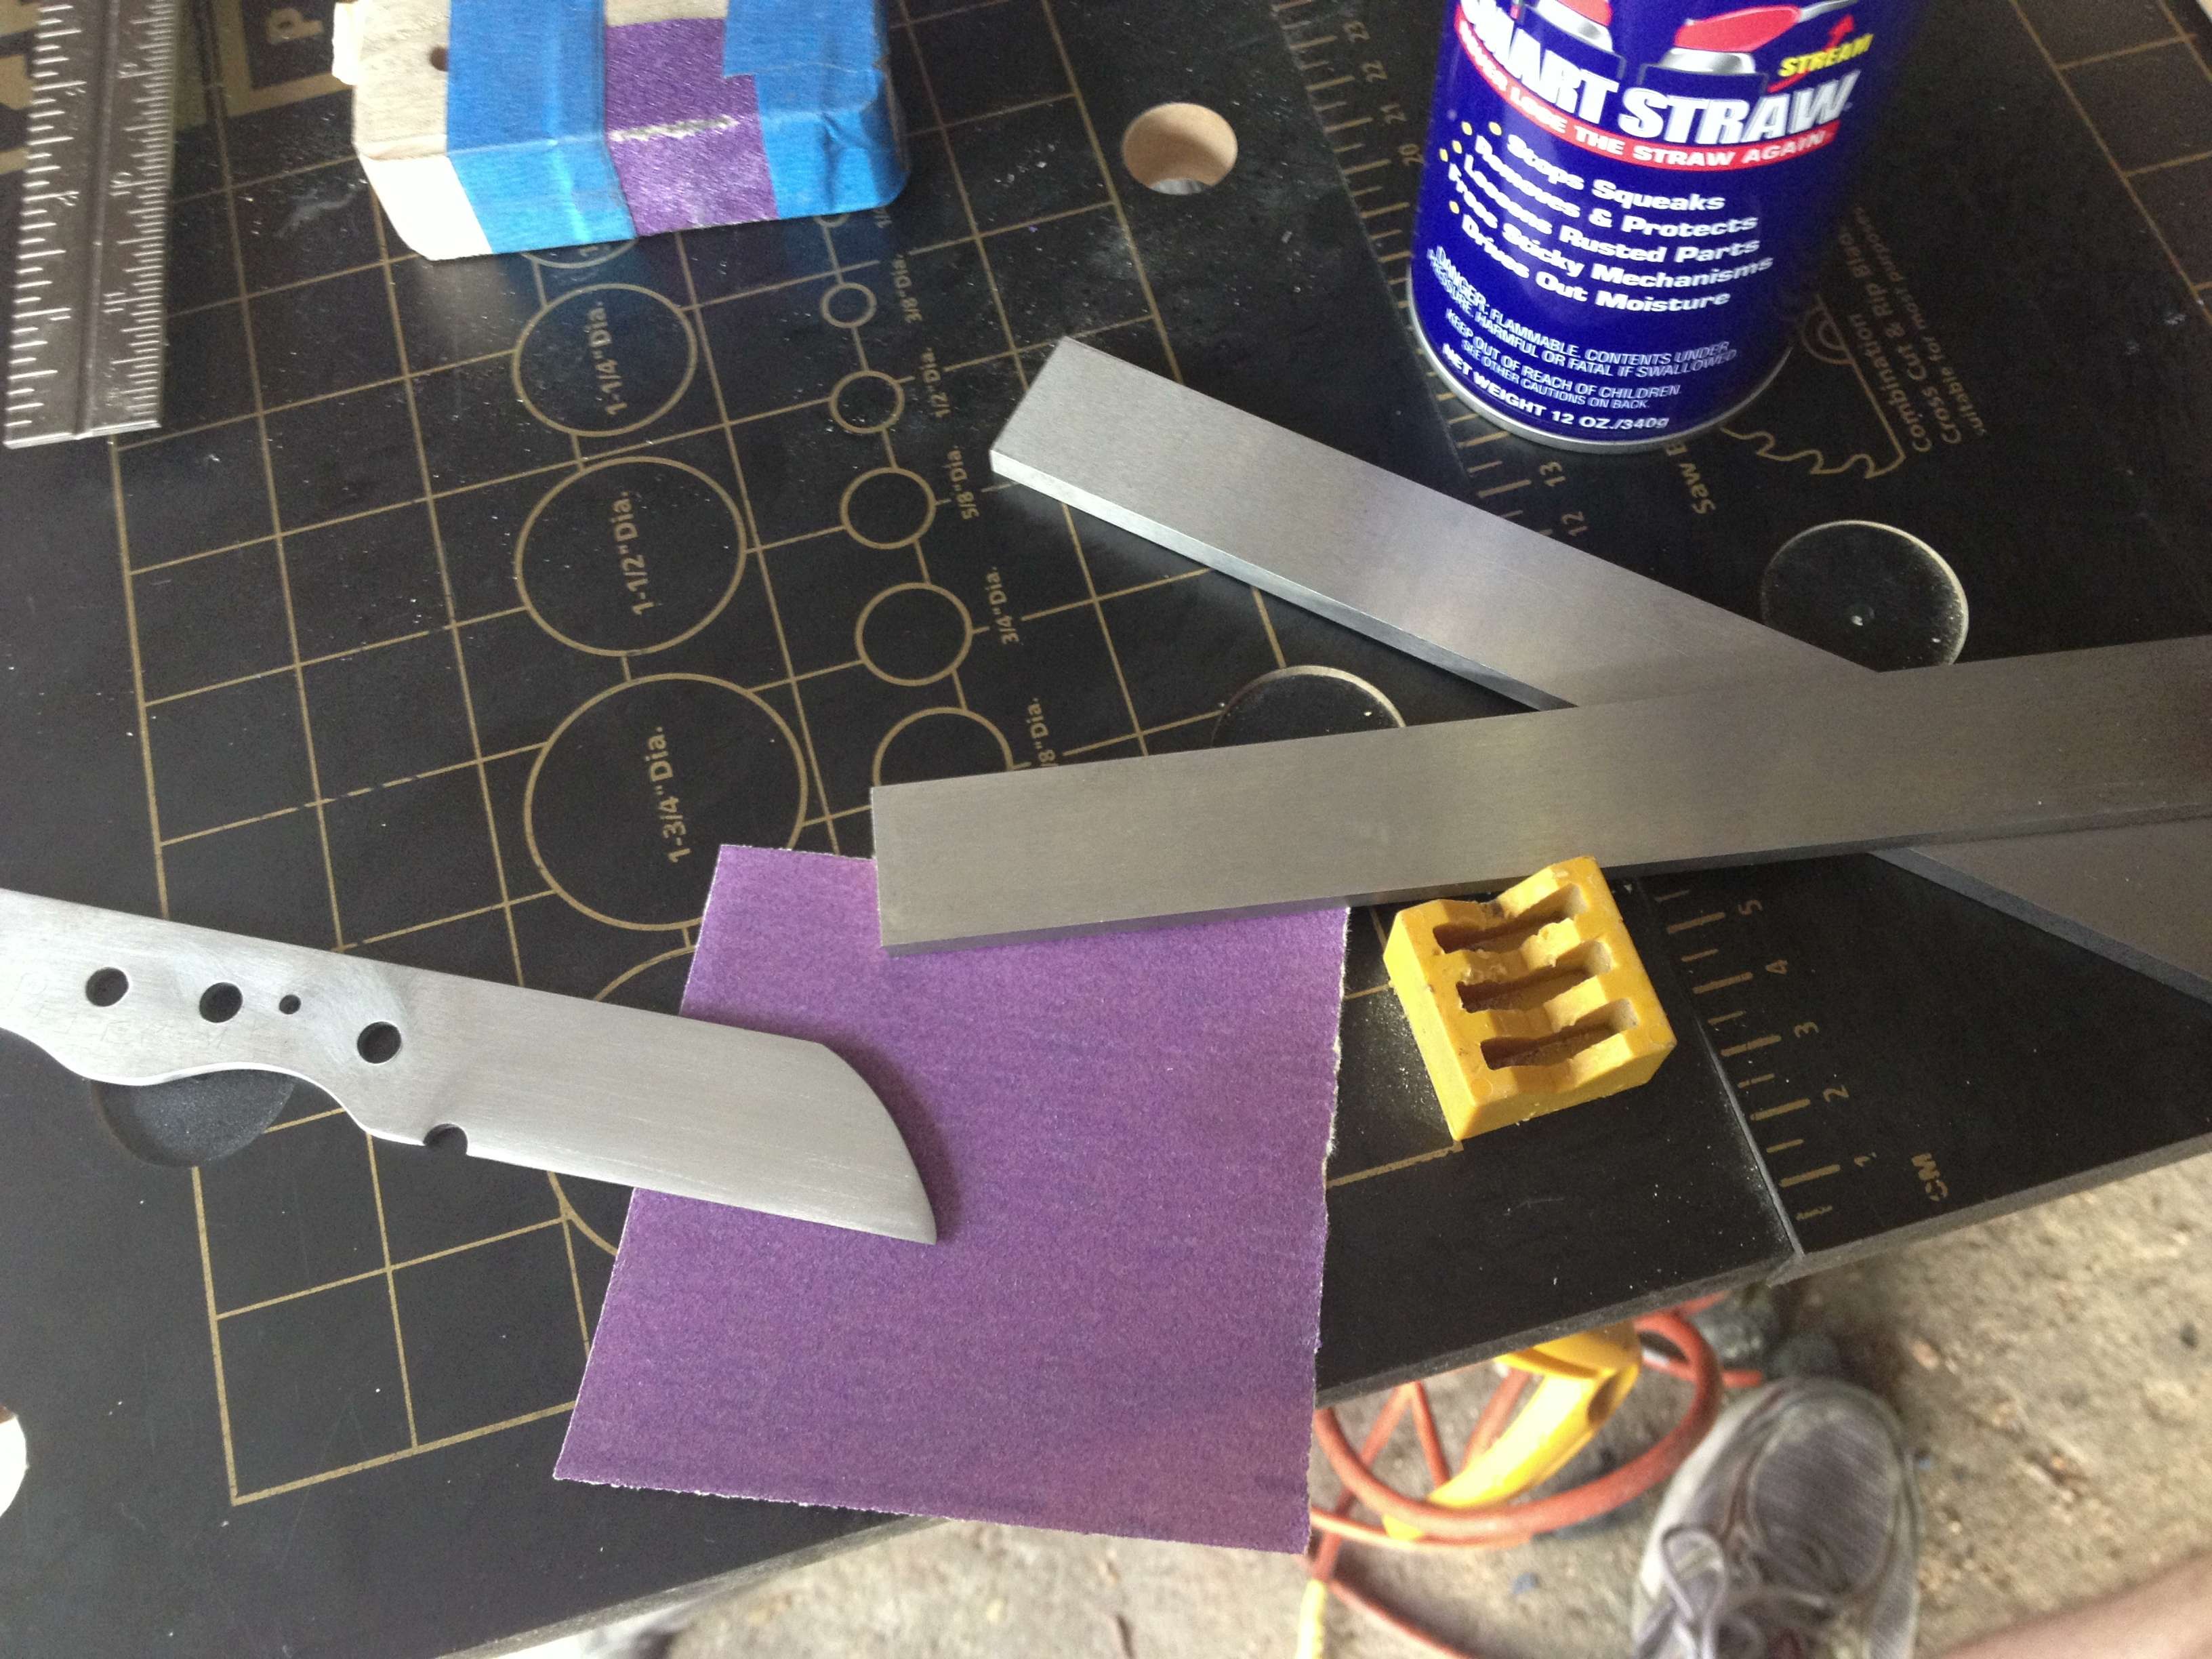
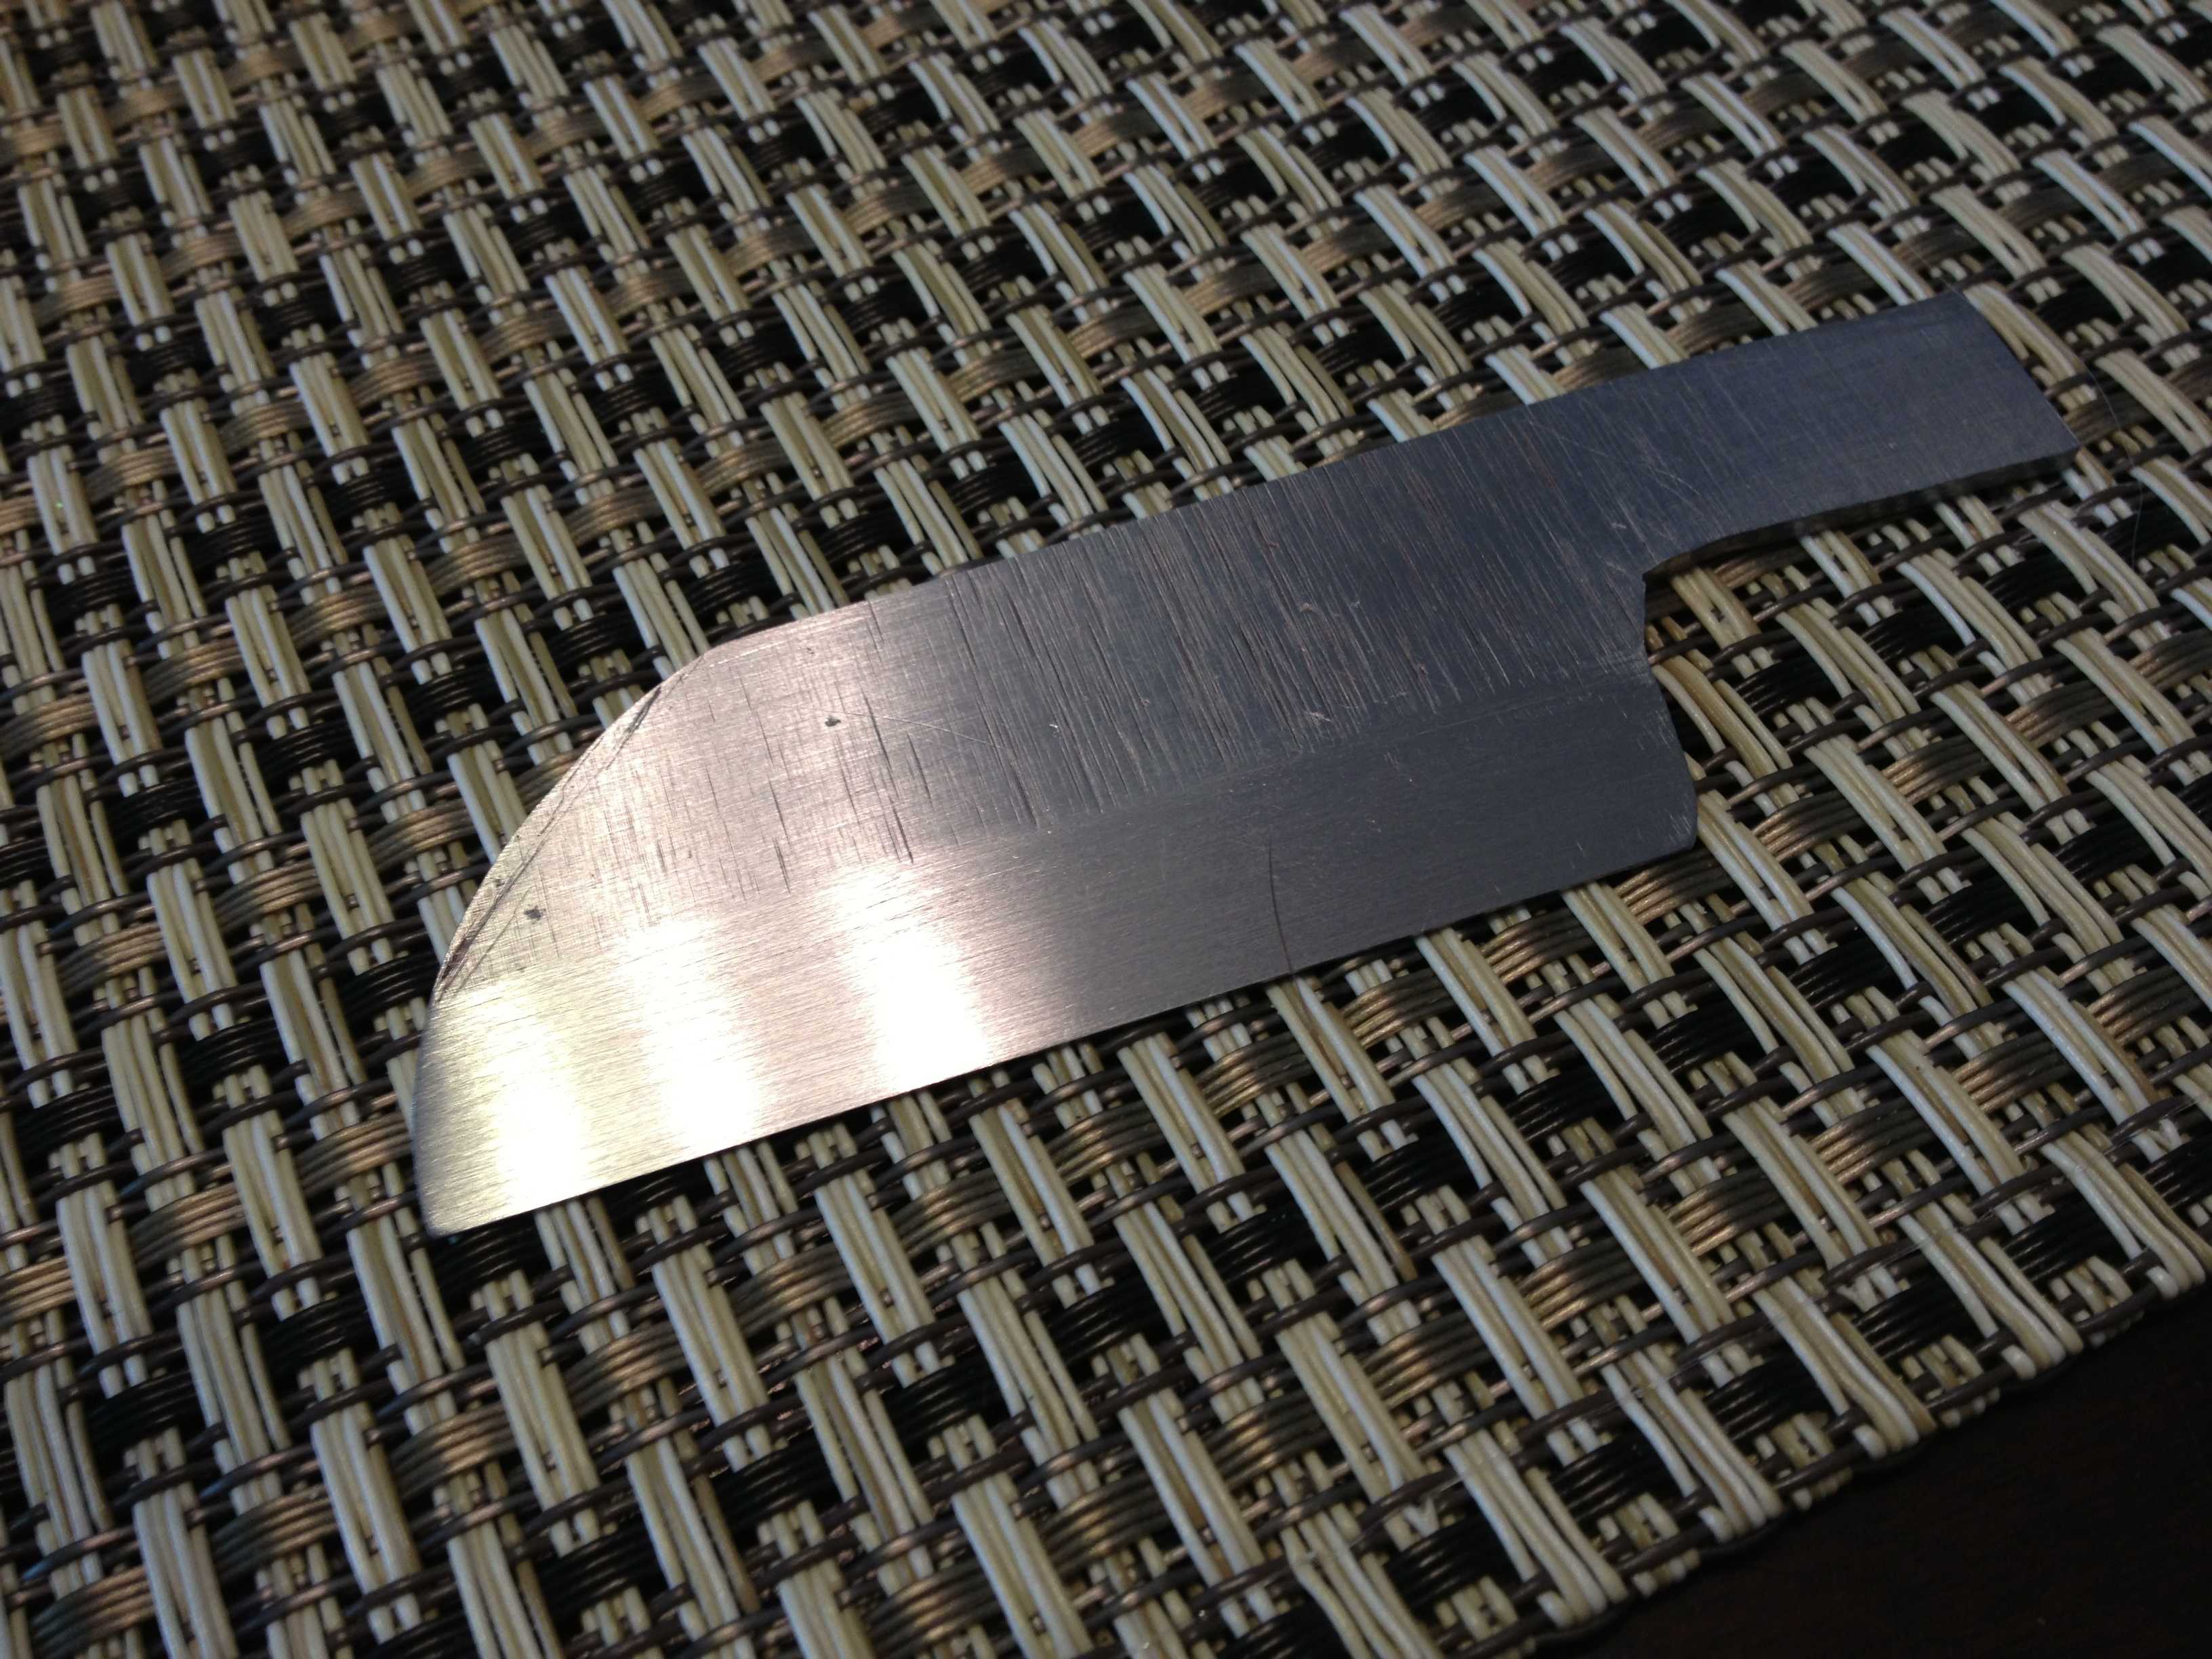
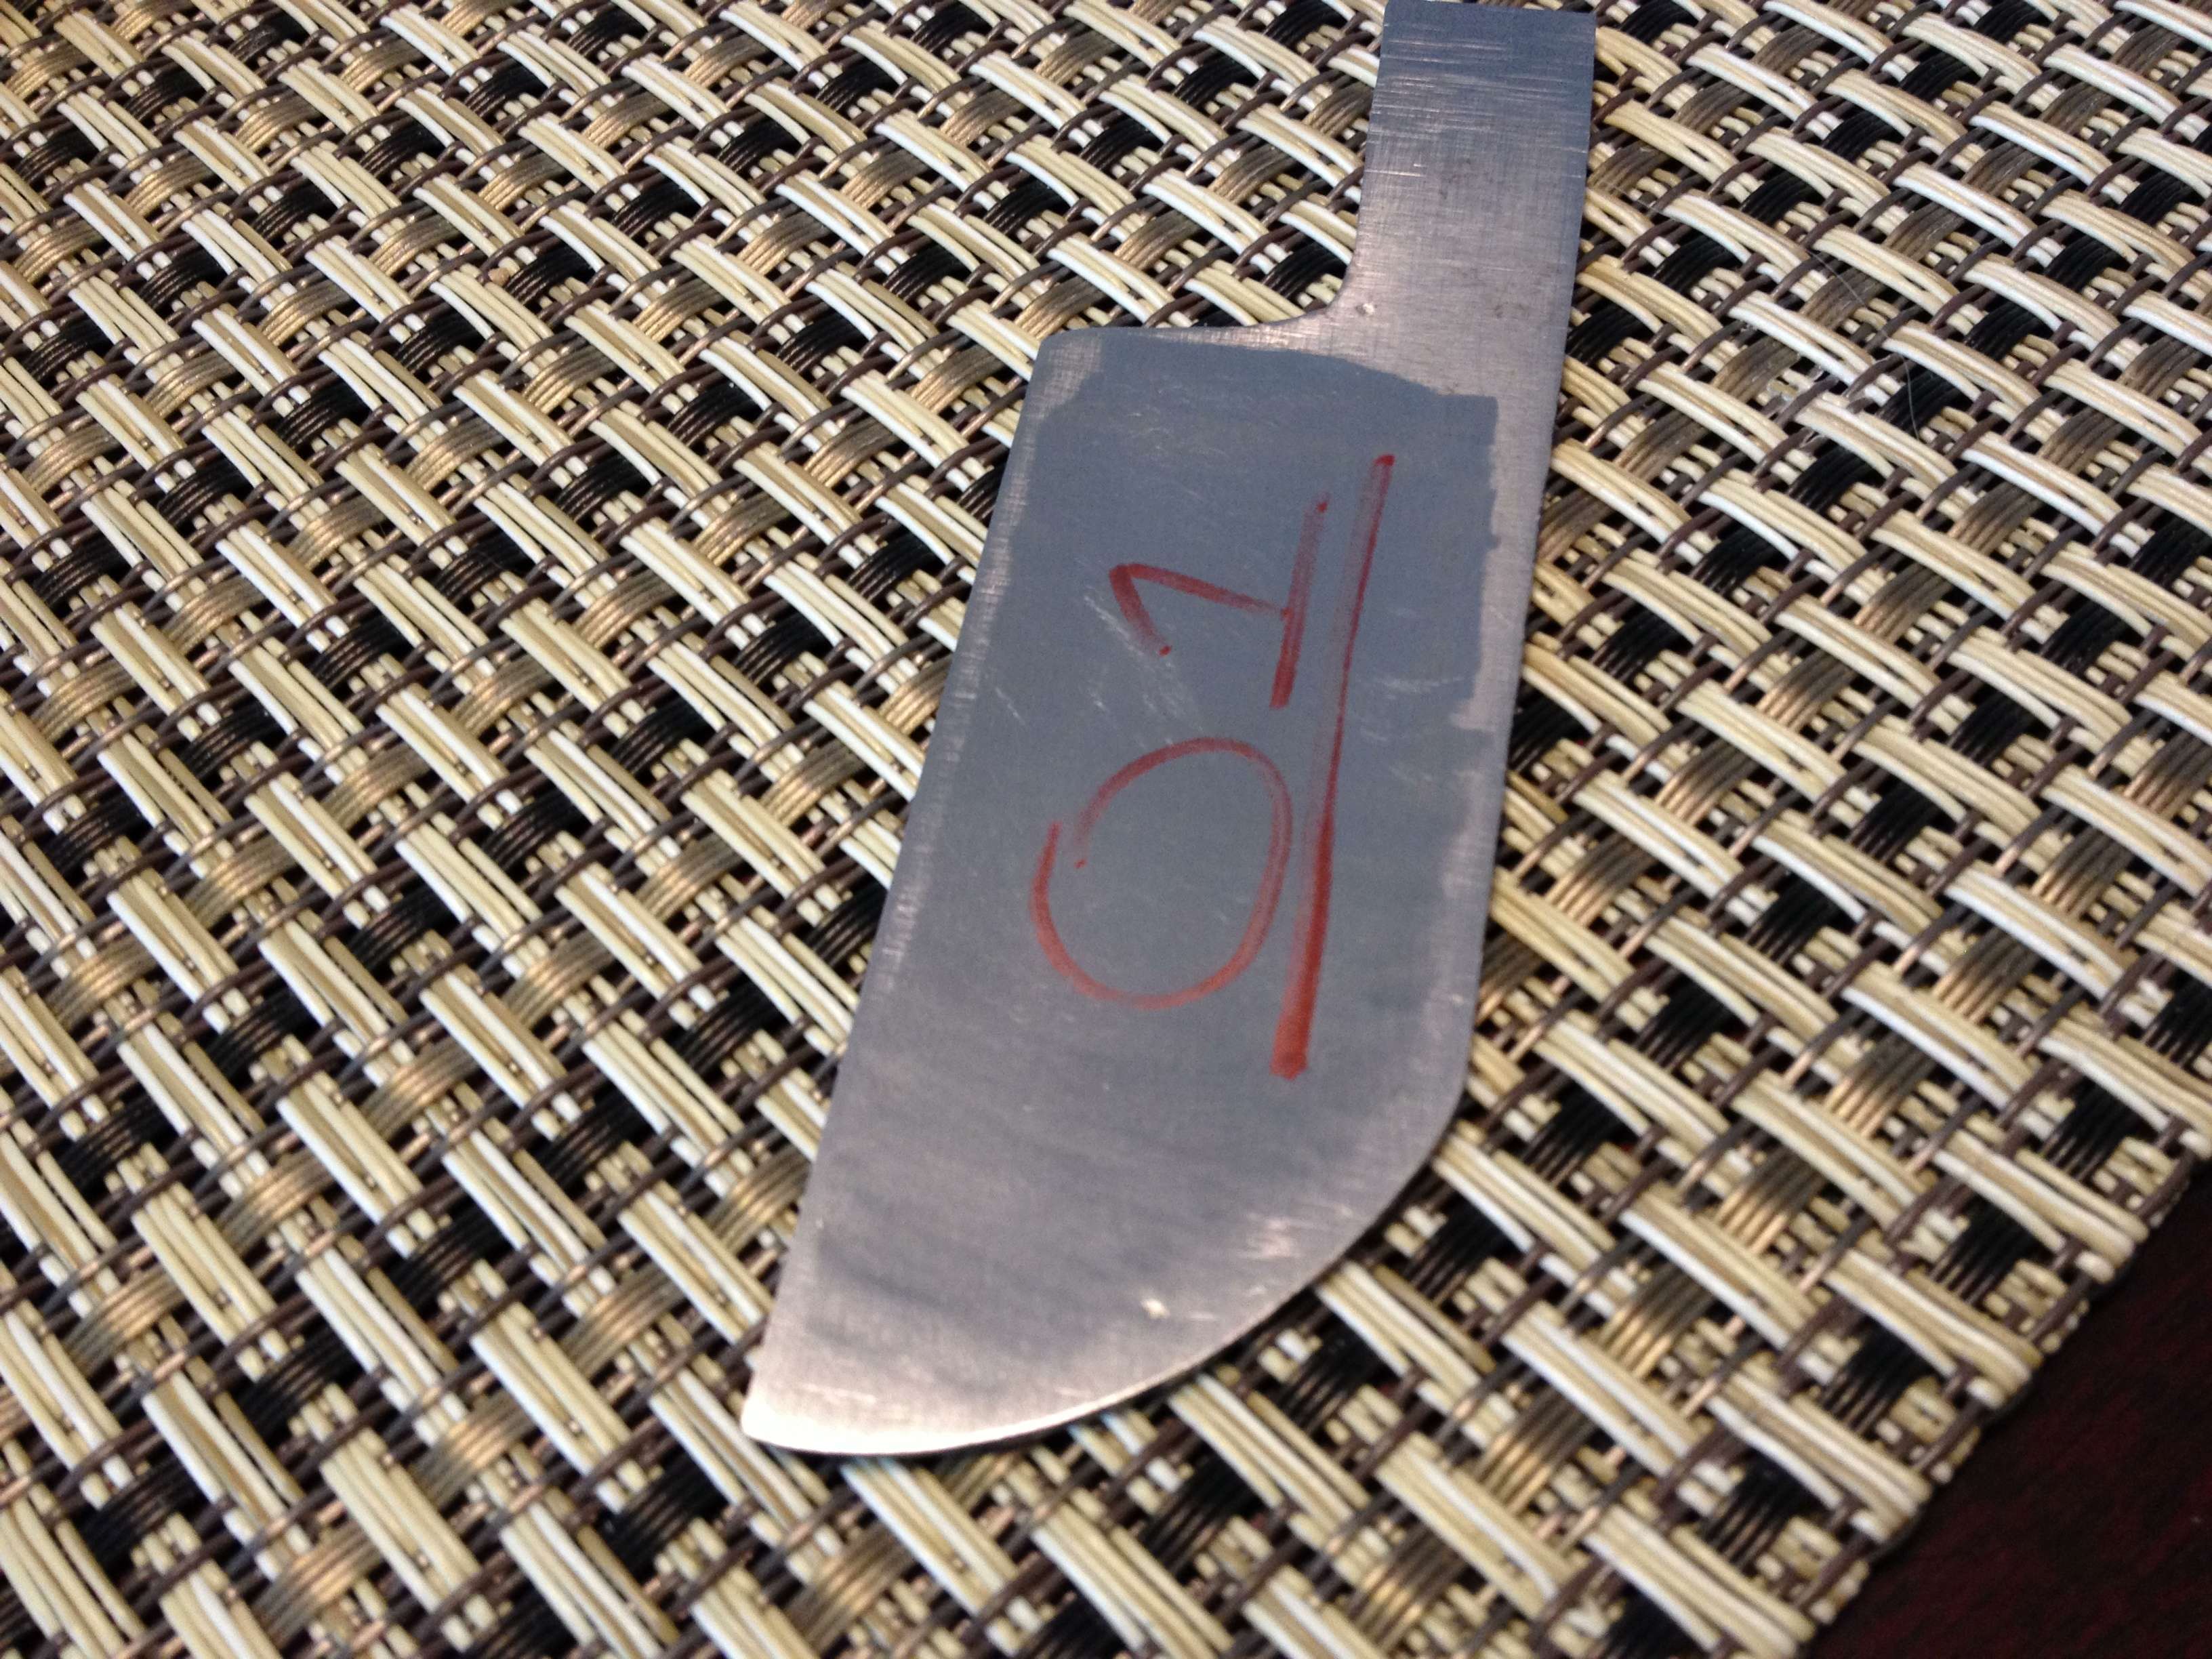
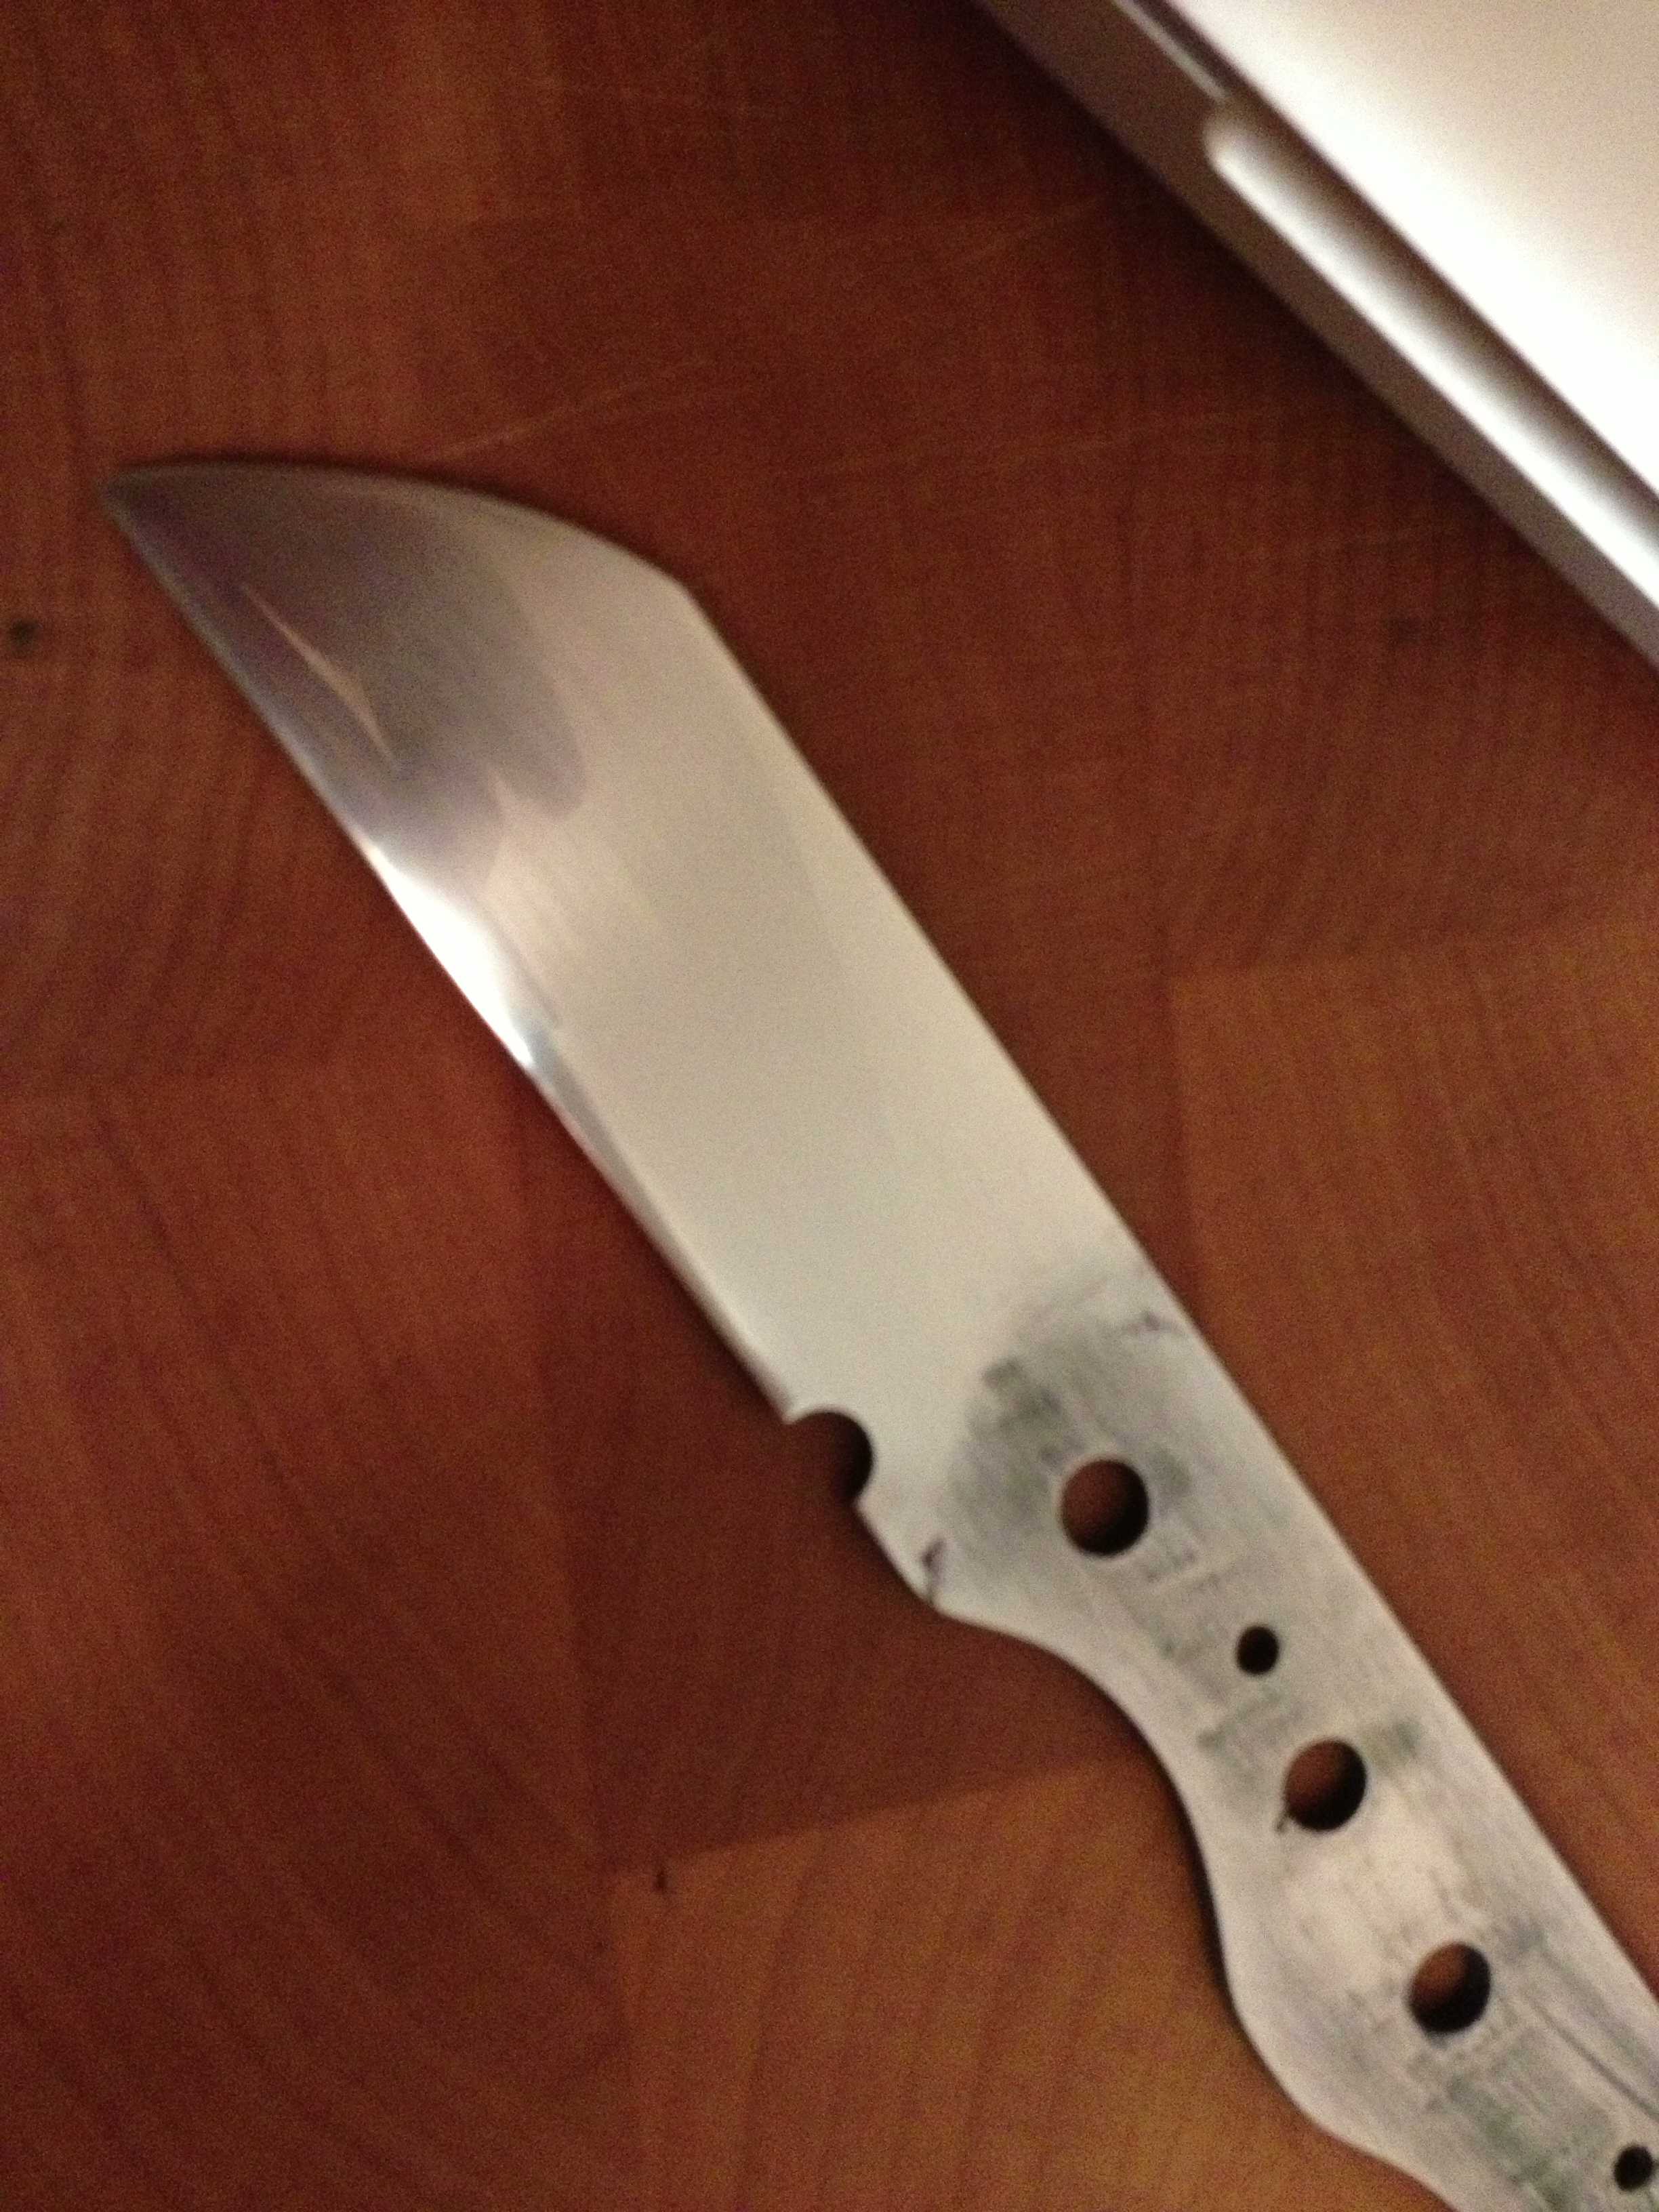
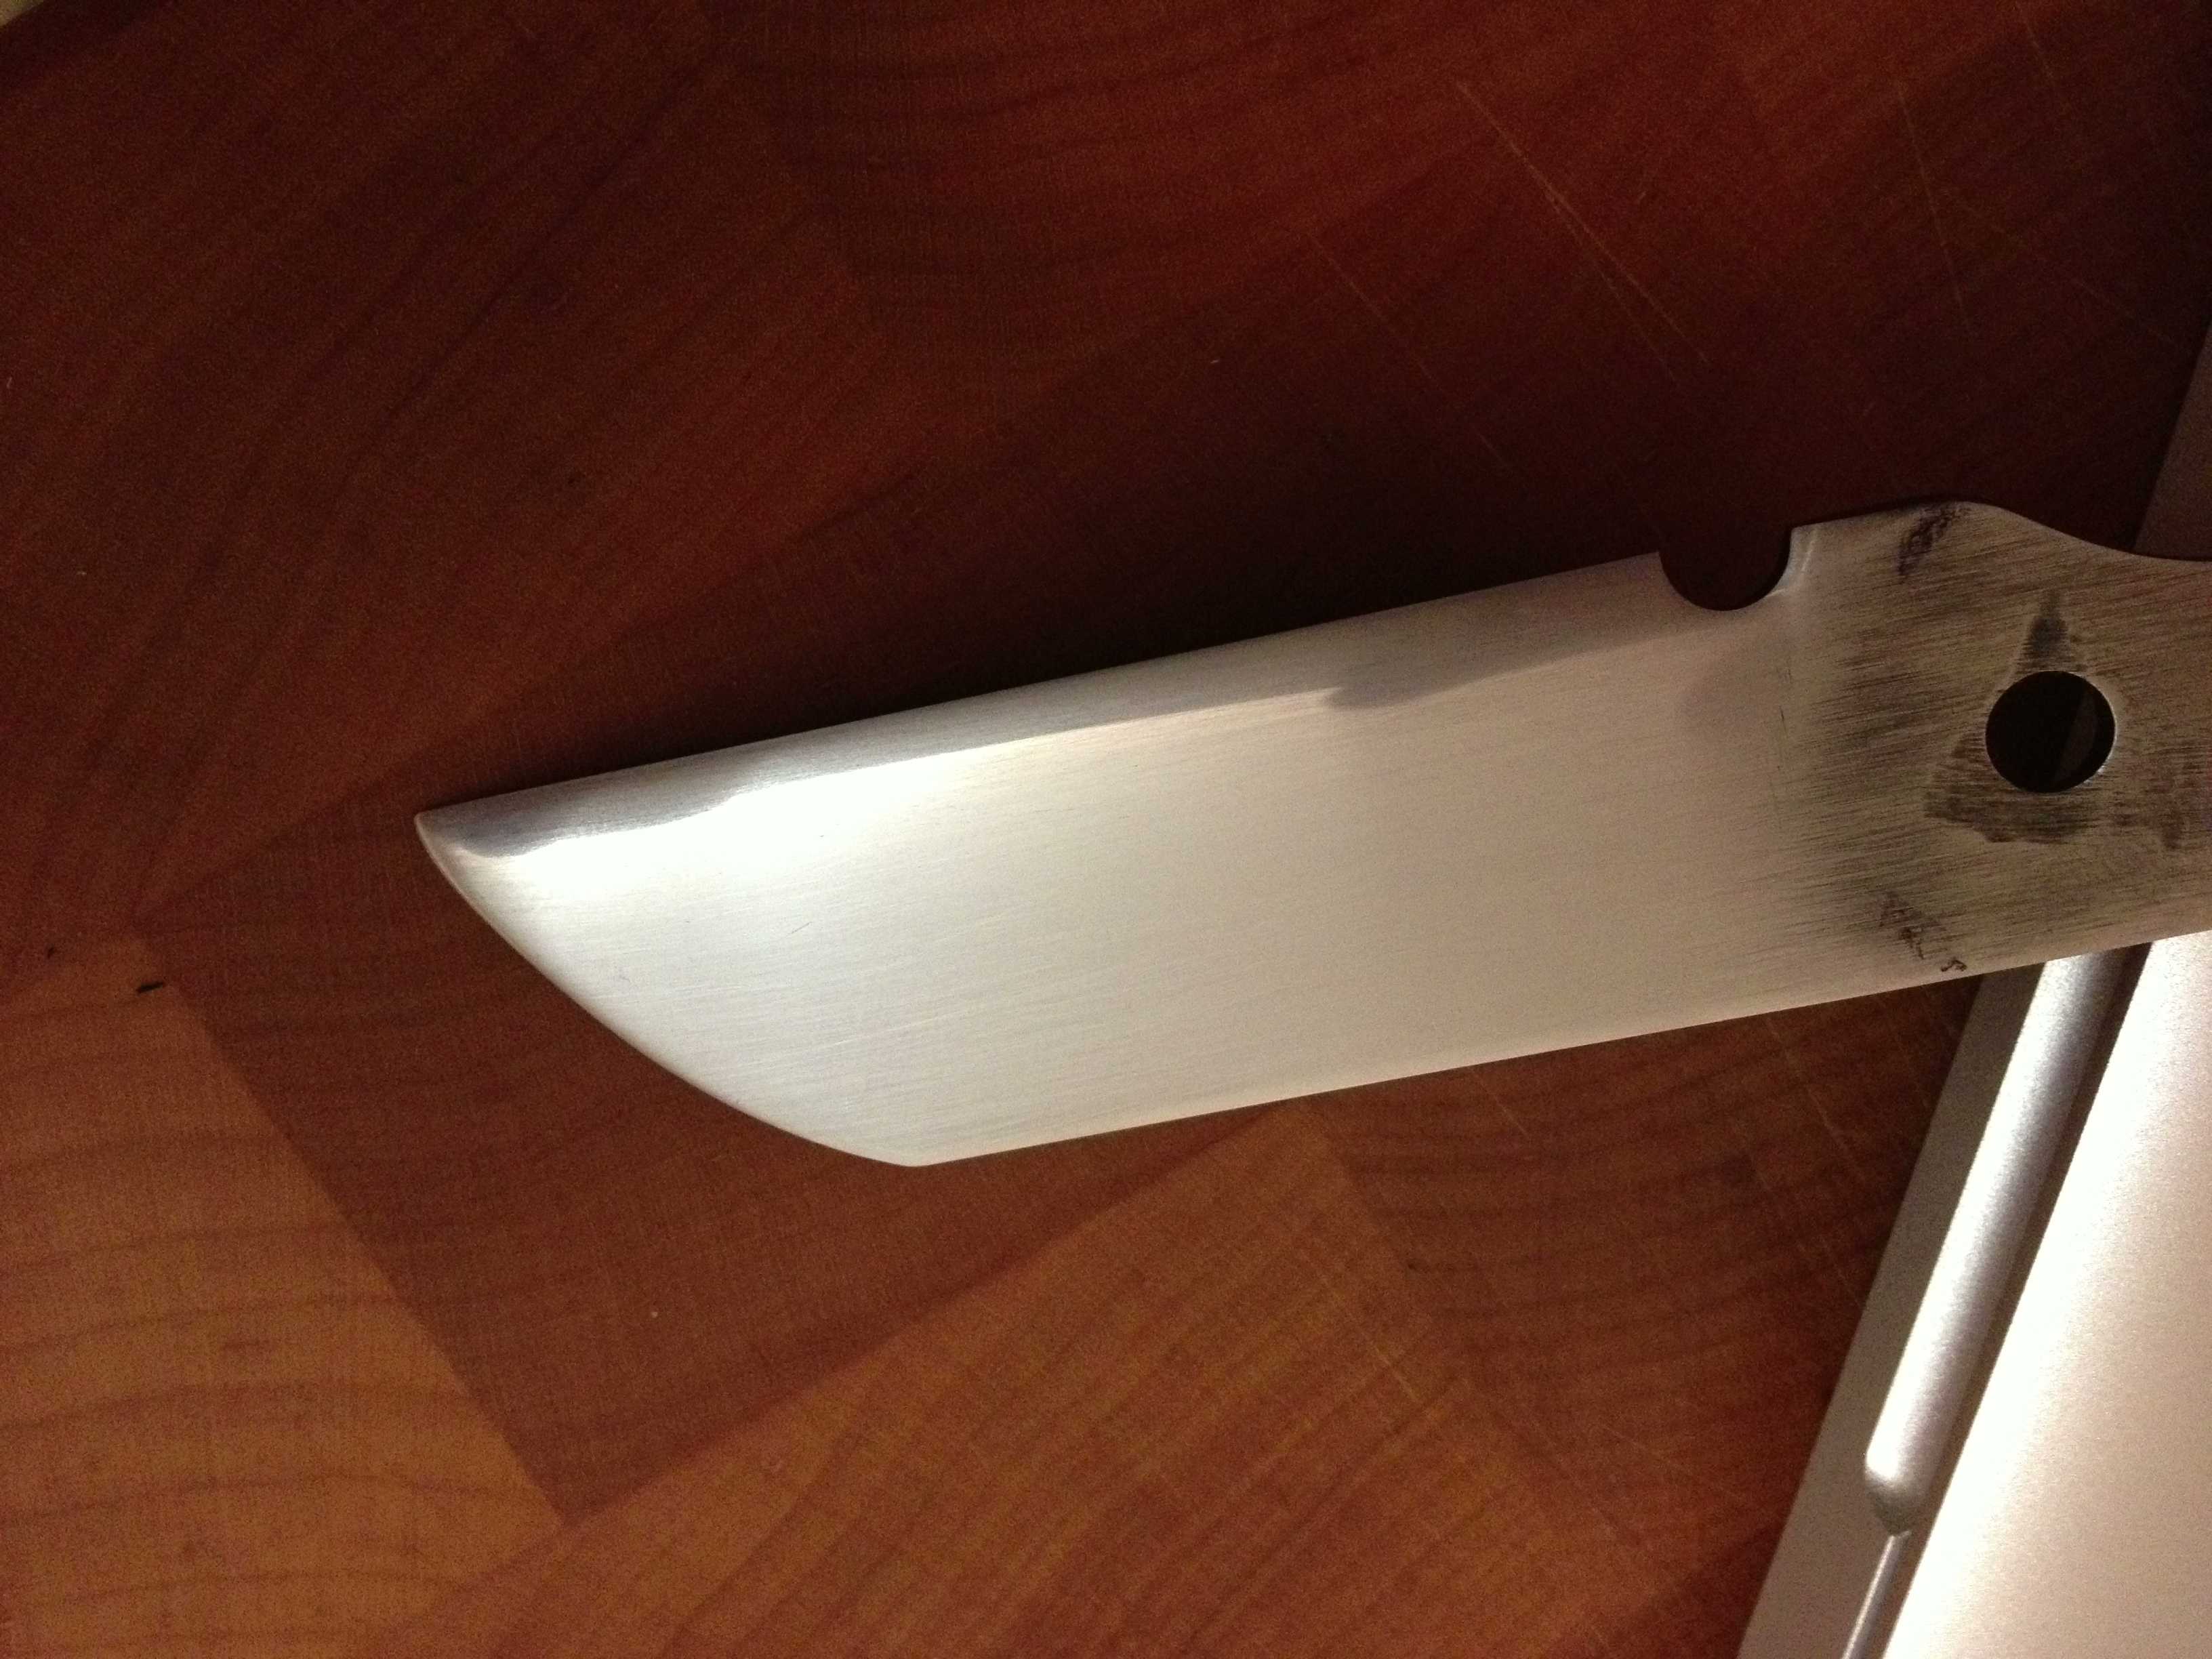
If your going to be using hand tools after HT, do yourself a favor and thin the edge down to 0.5mm or so before you harden it. I wouldn't worry about unfixable warping on such a stocky knife.
You'll be able to pare a coconut with this thing. lol and jk. Very fun wip, thanks.
Out of curiosity, How many hours do you estimate that you have invested in the first knife?
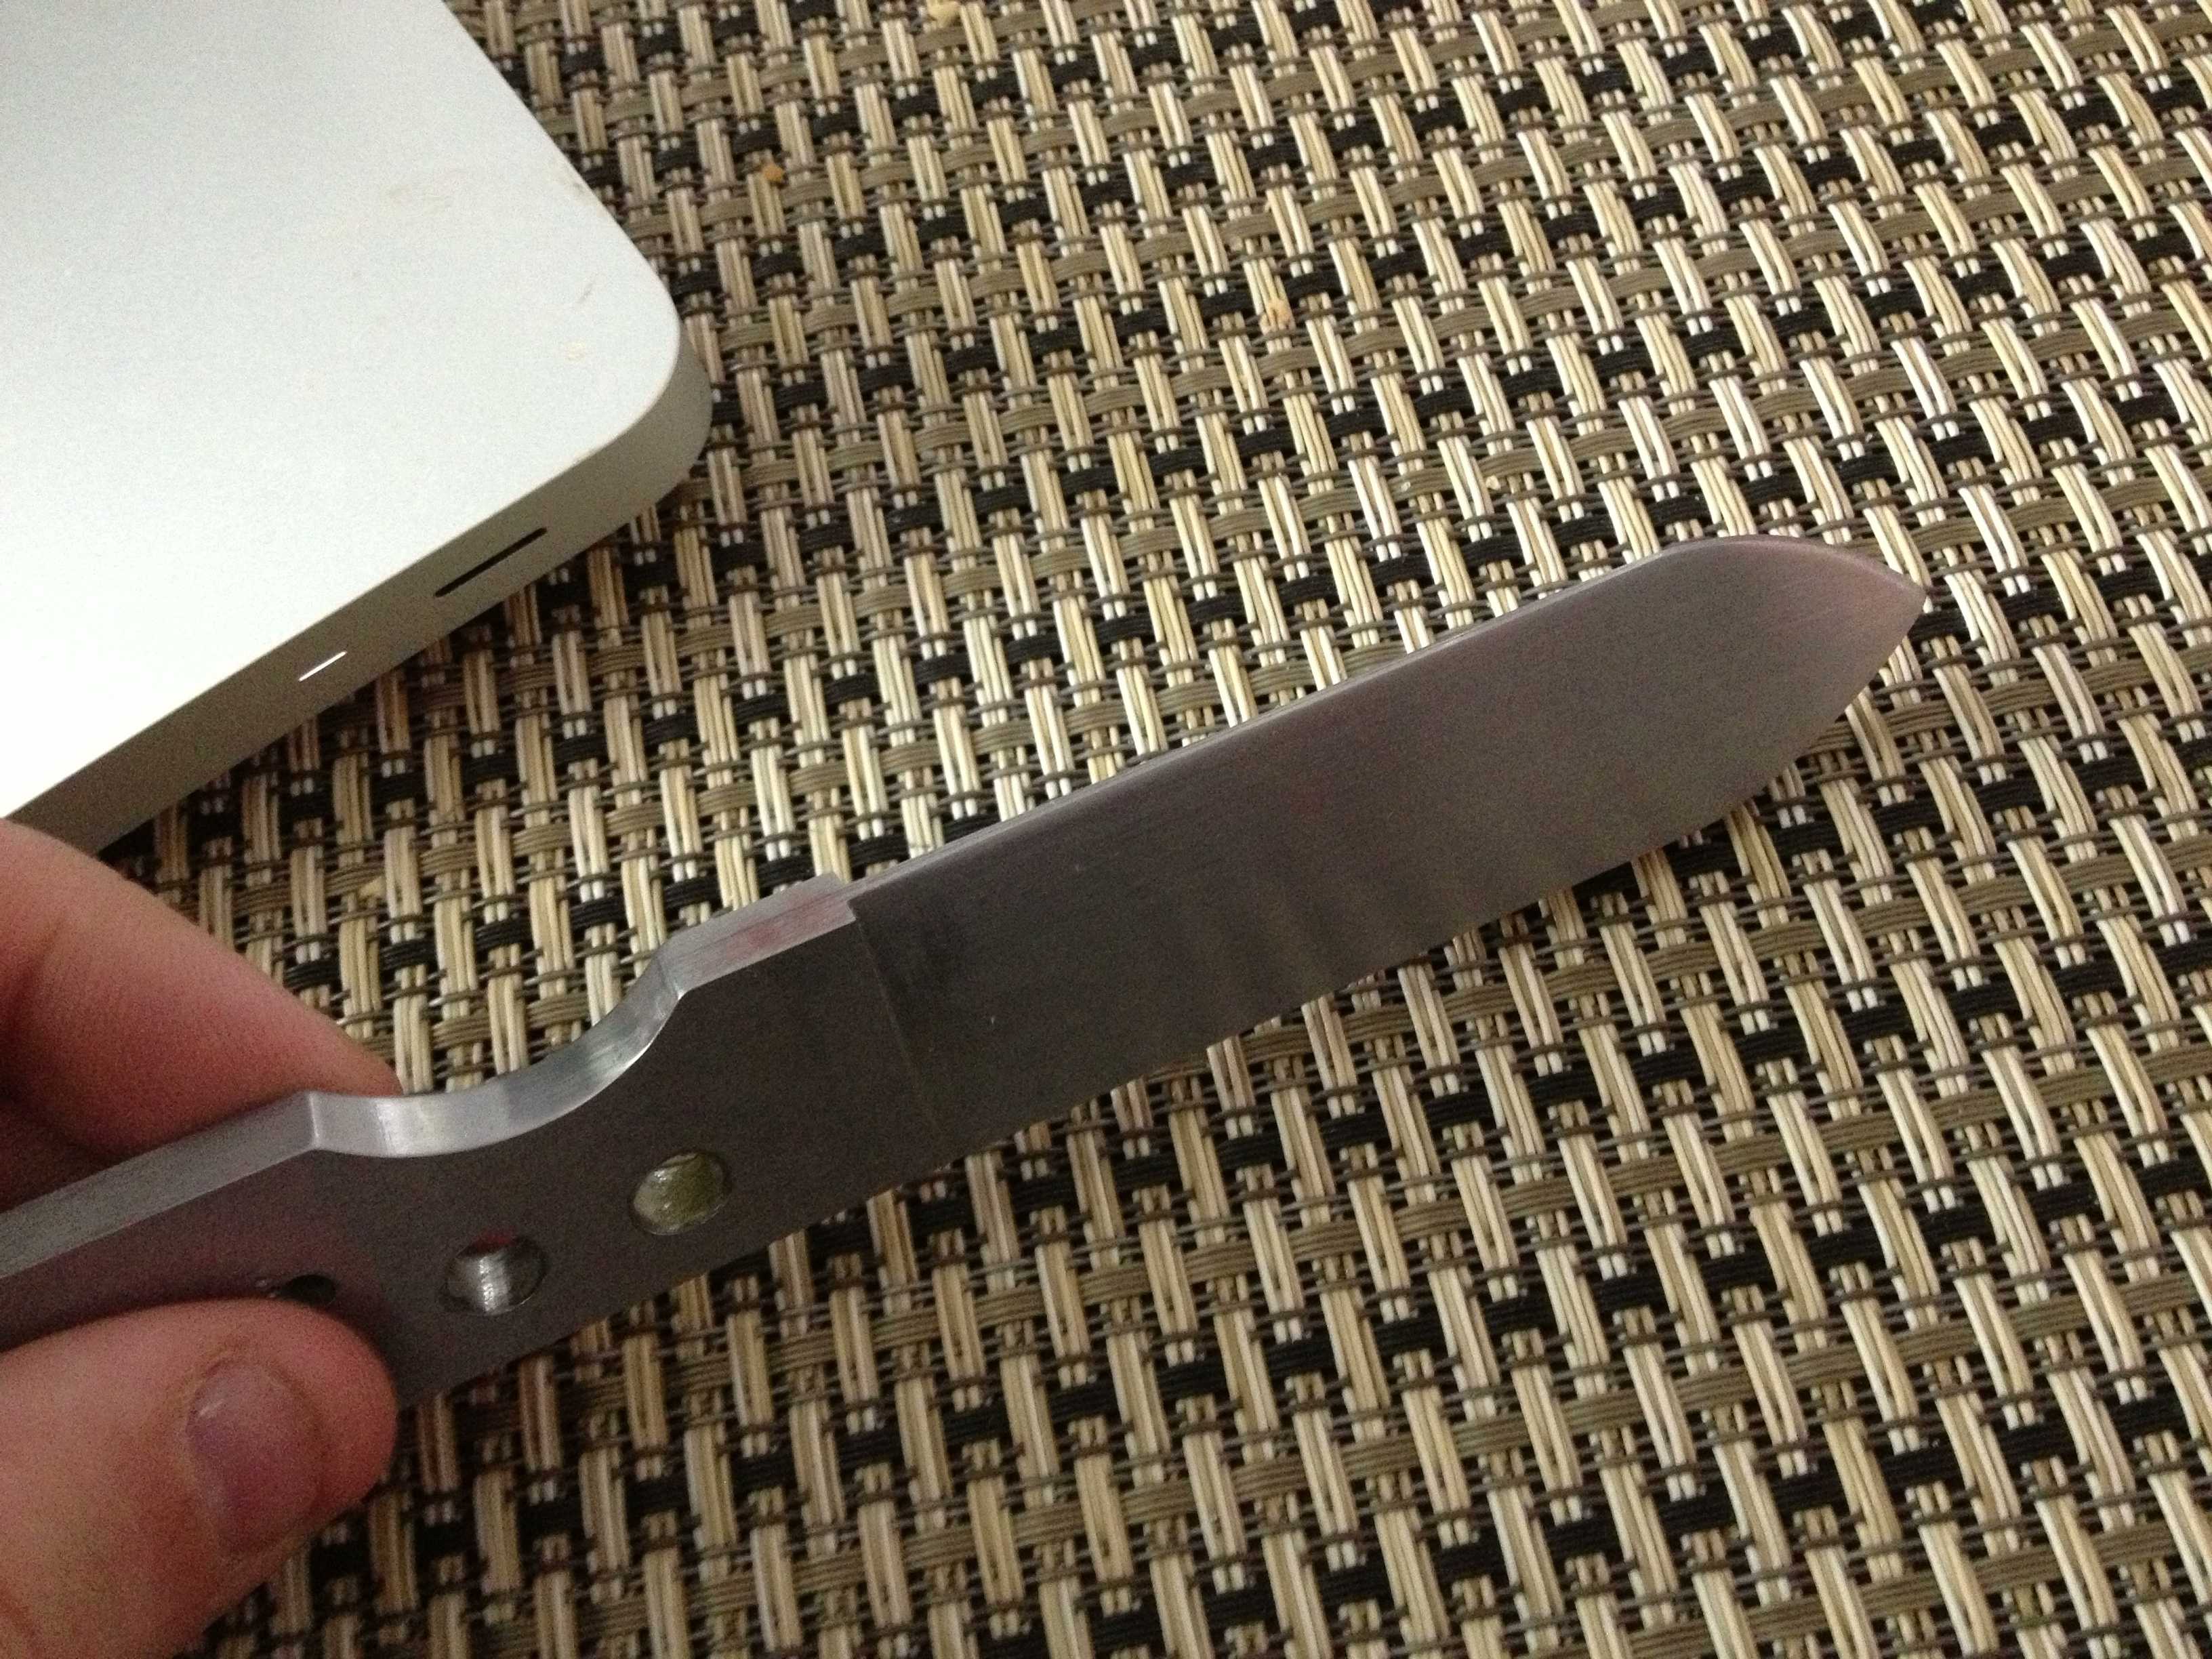
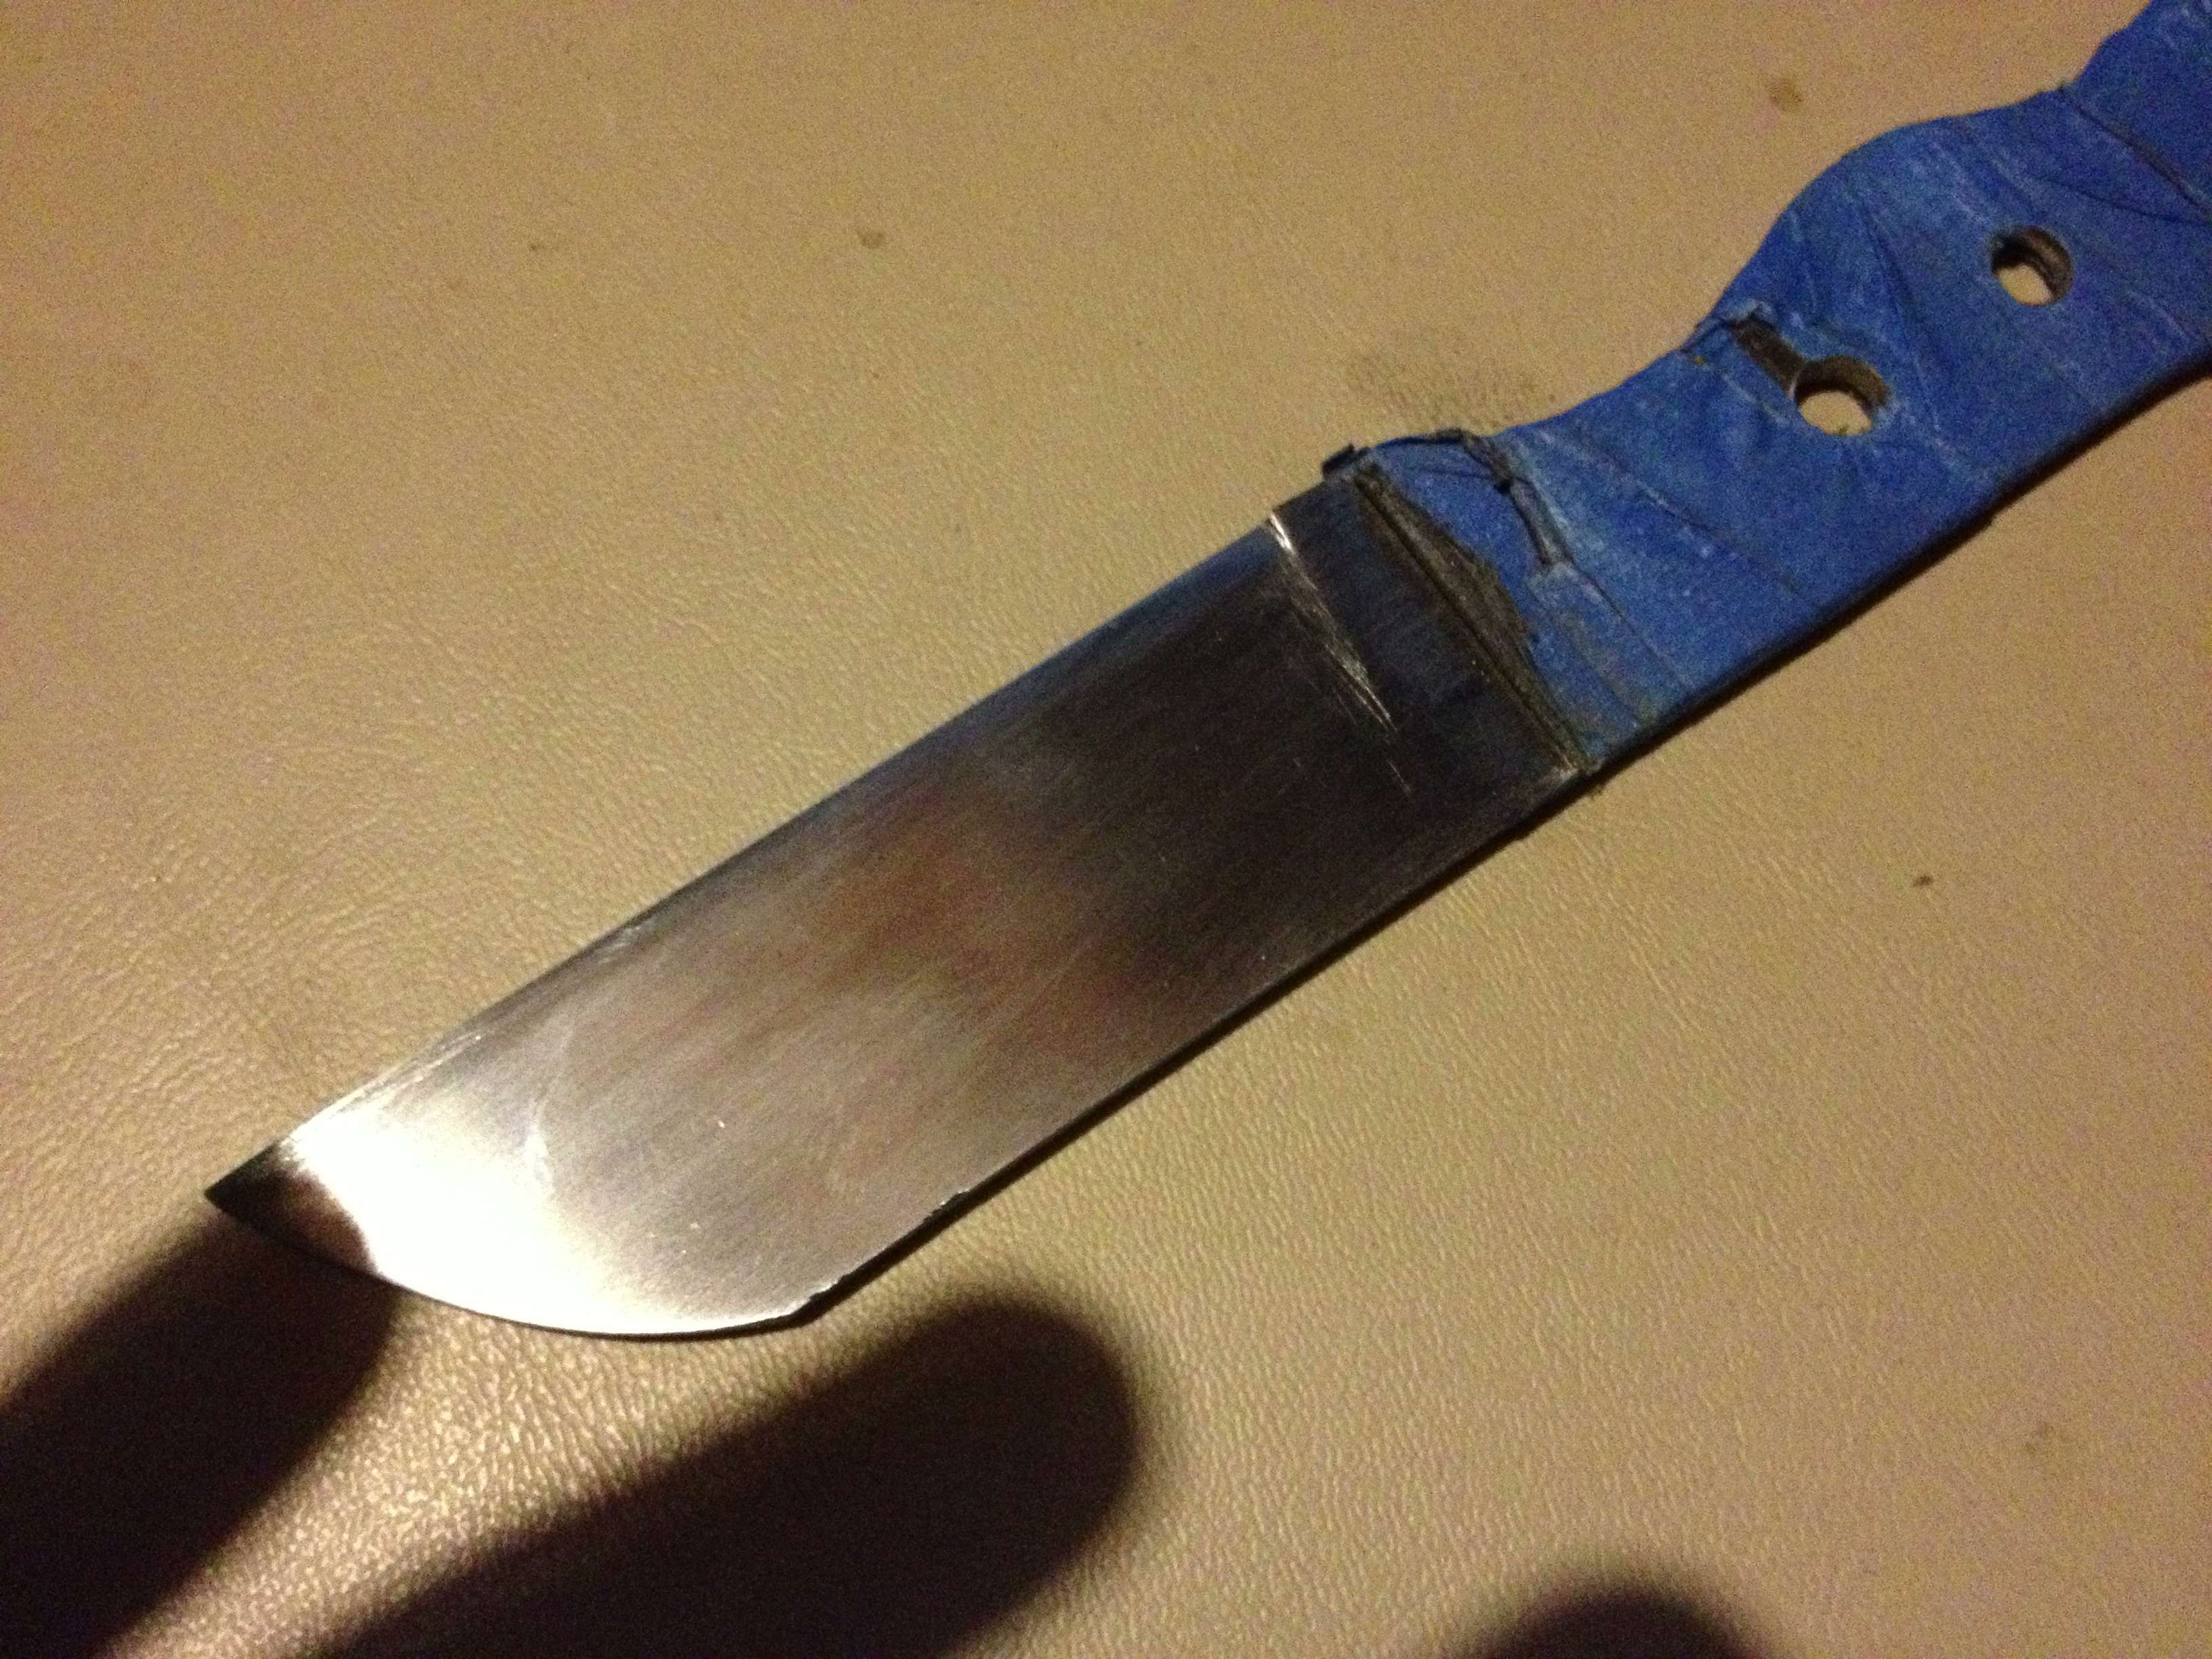
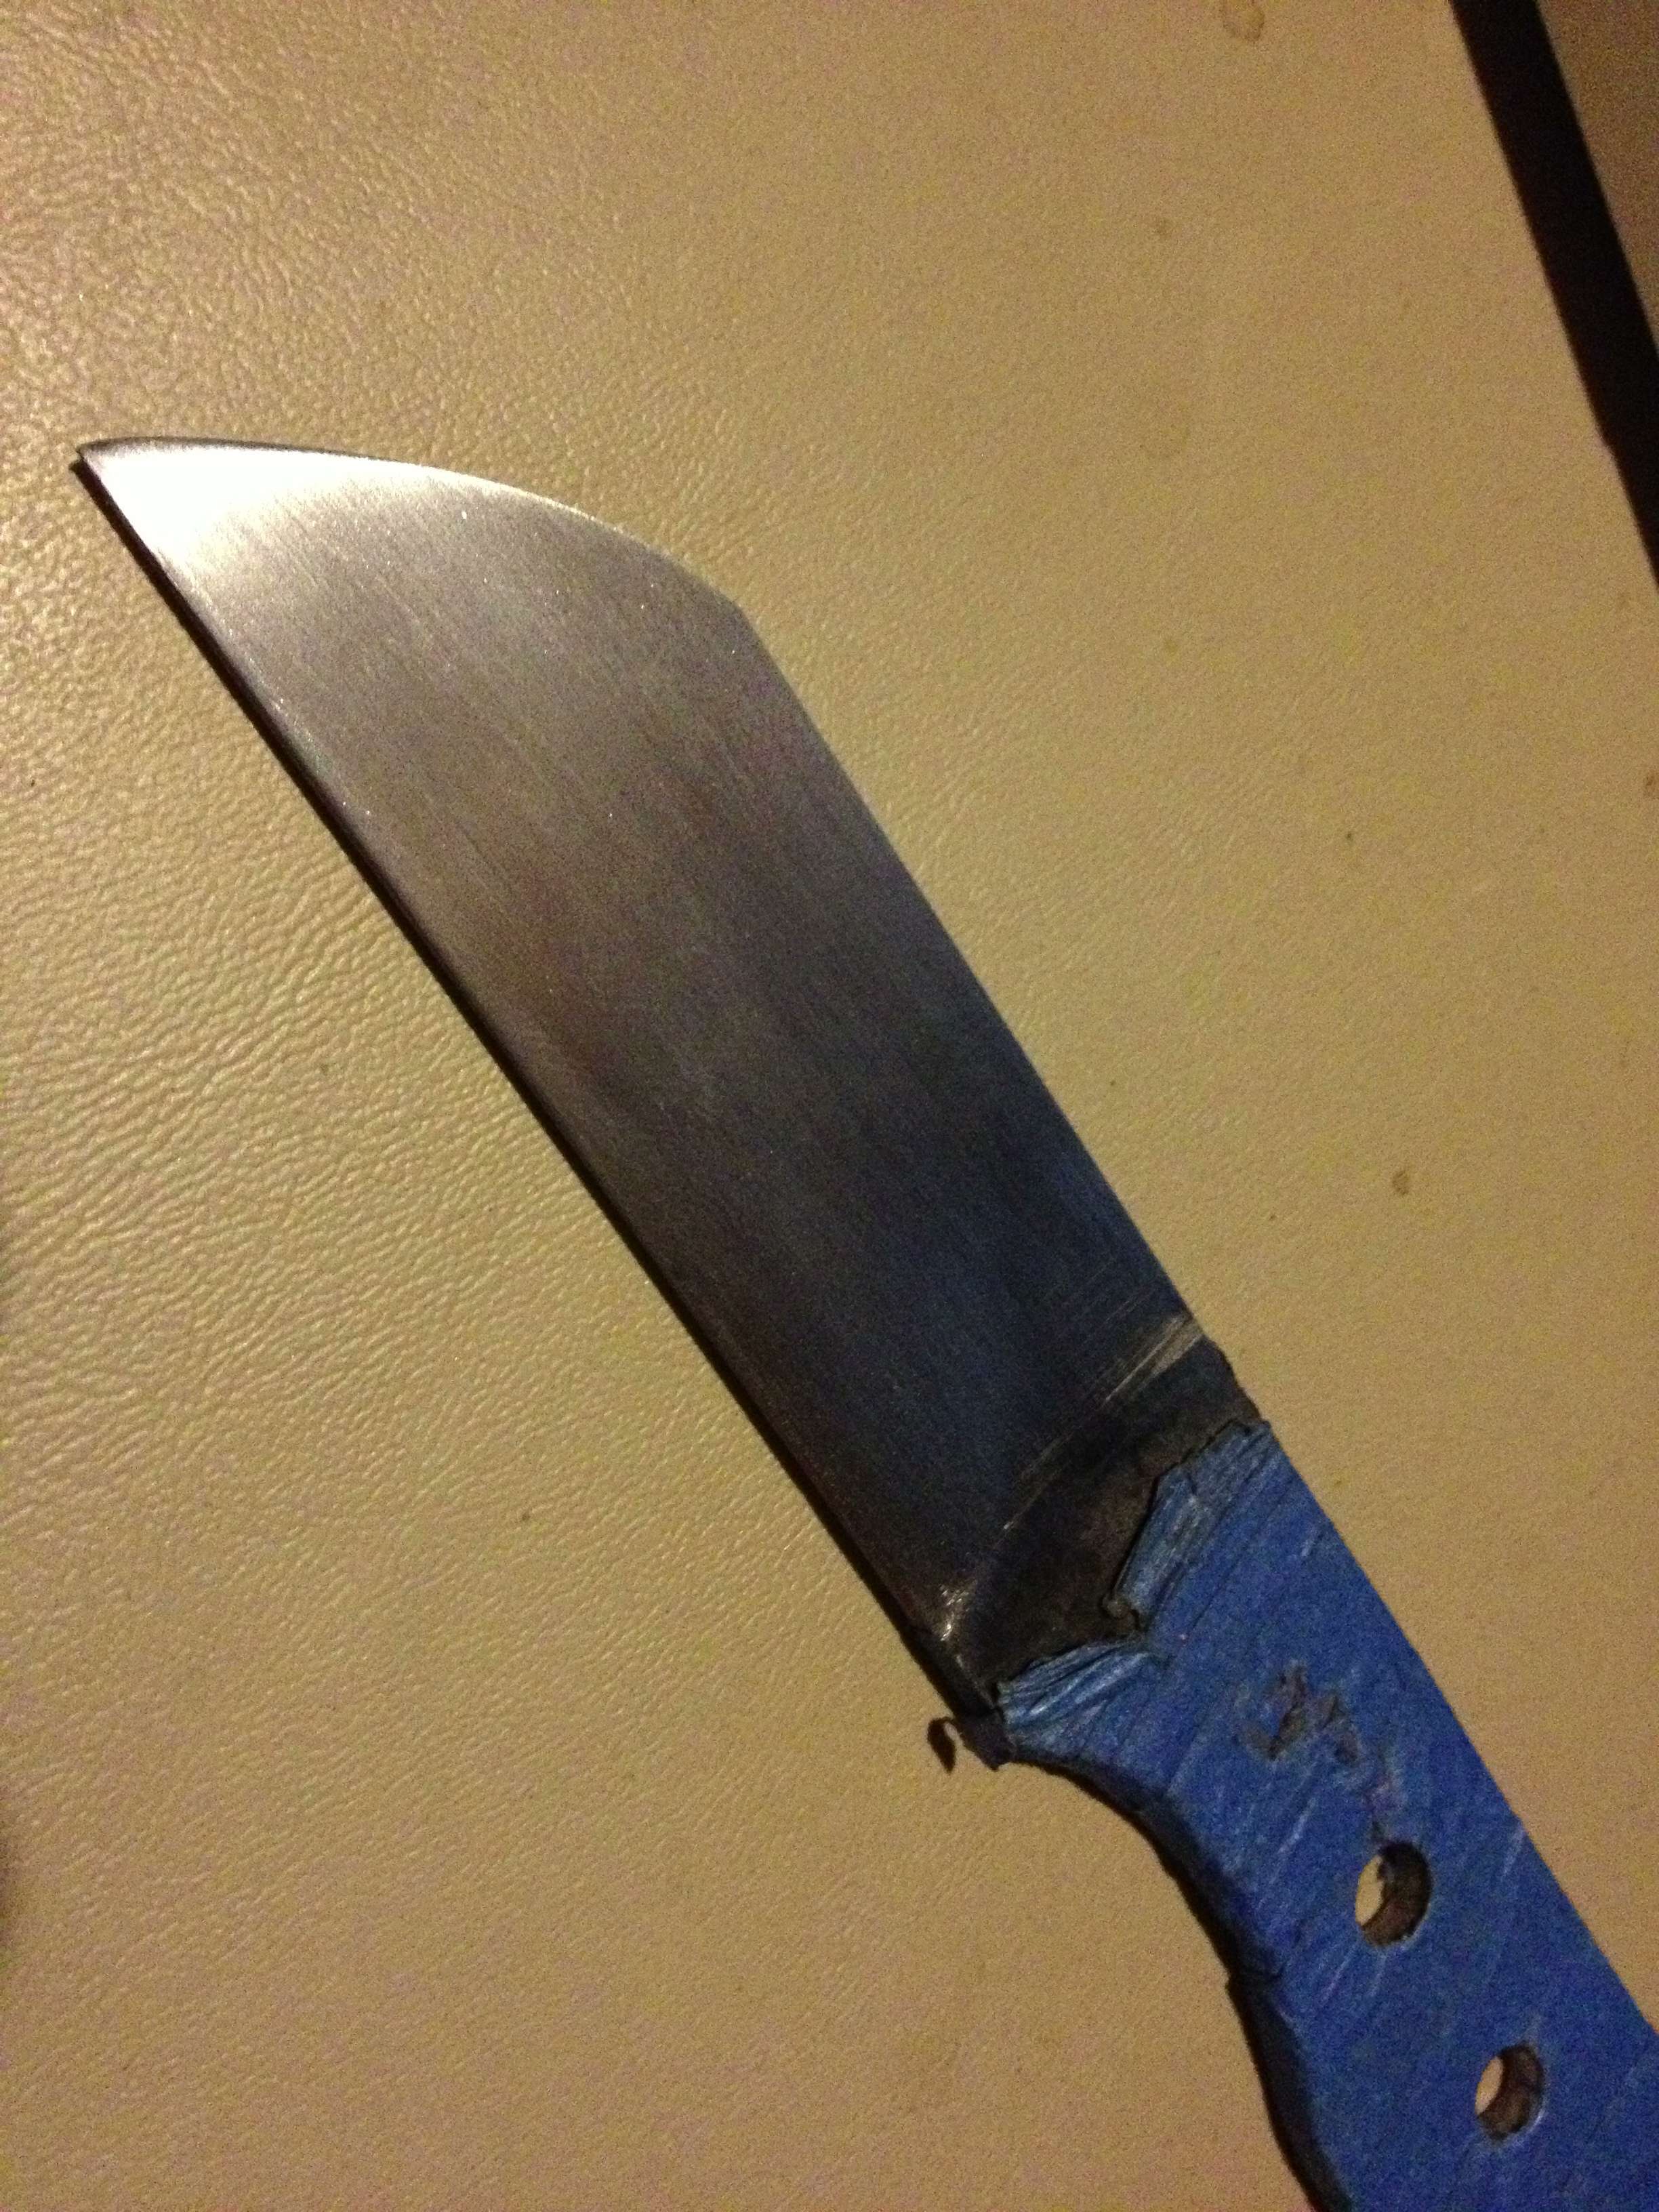
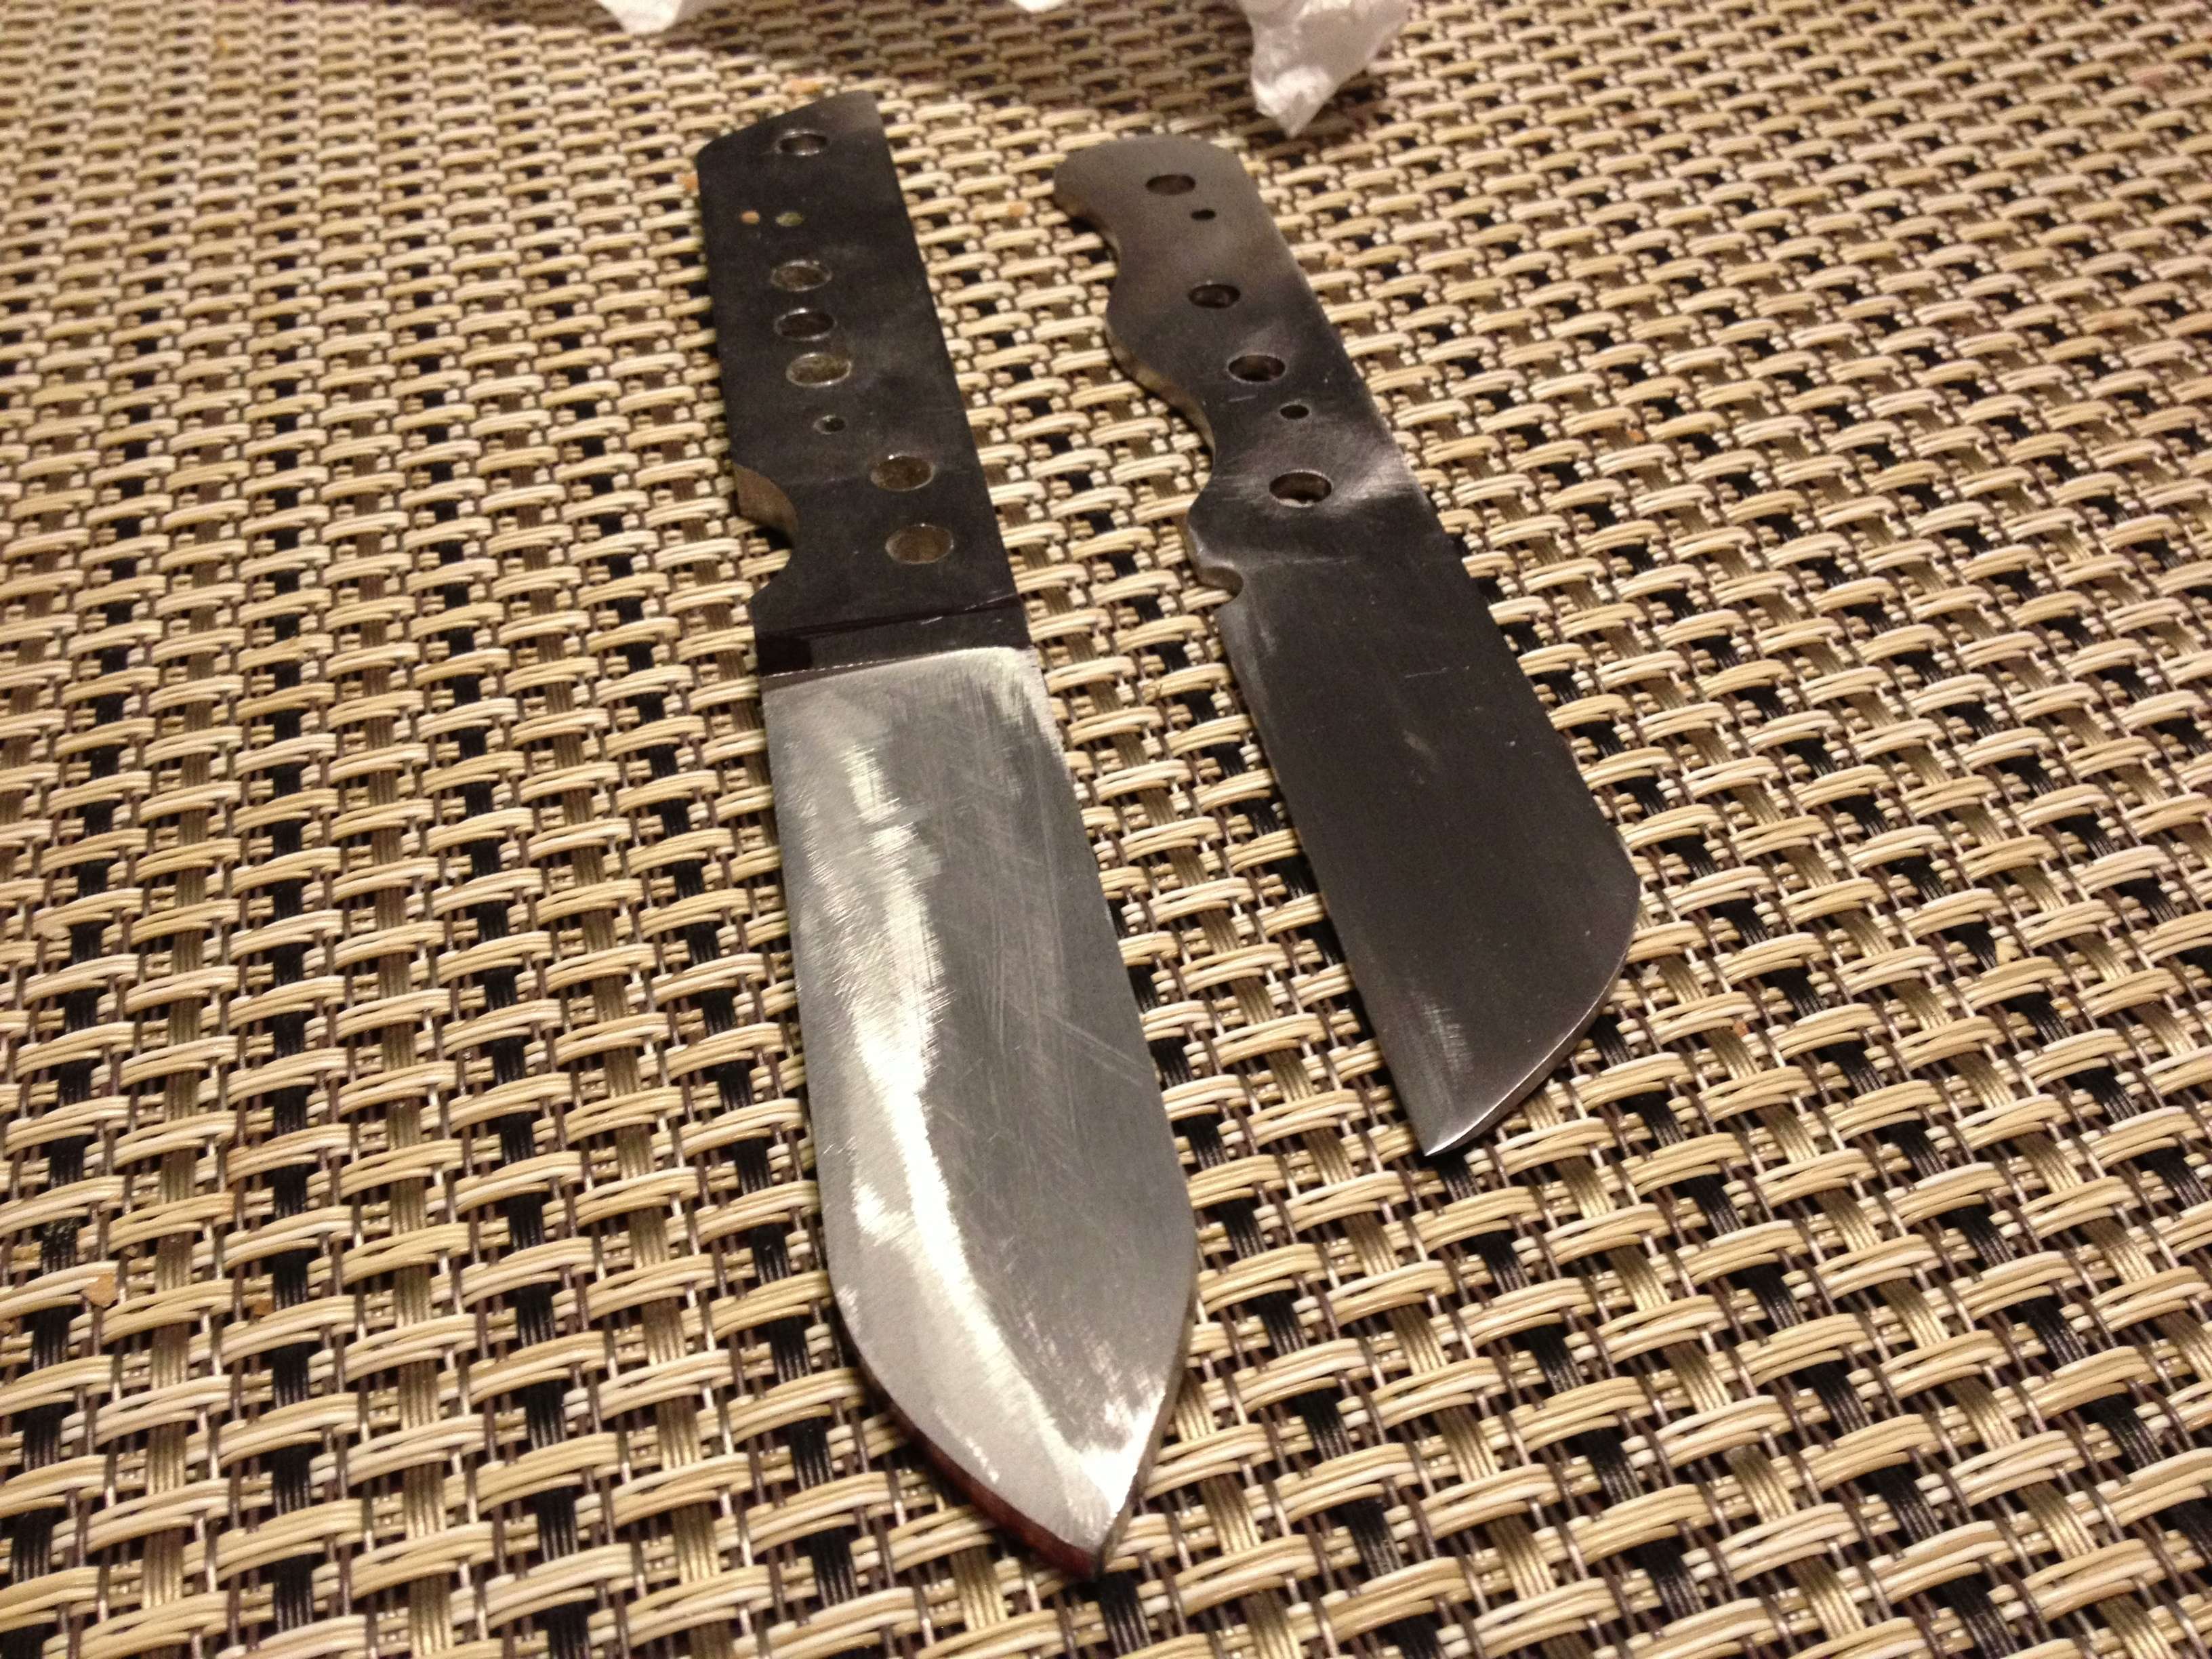
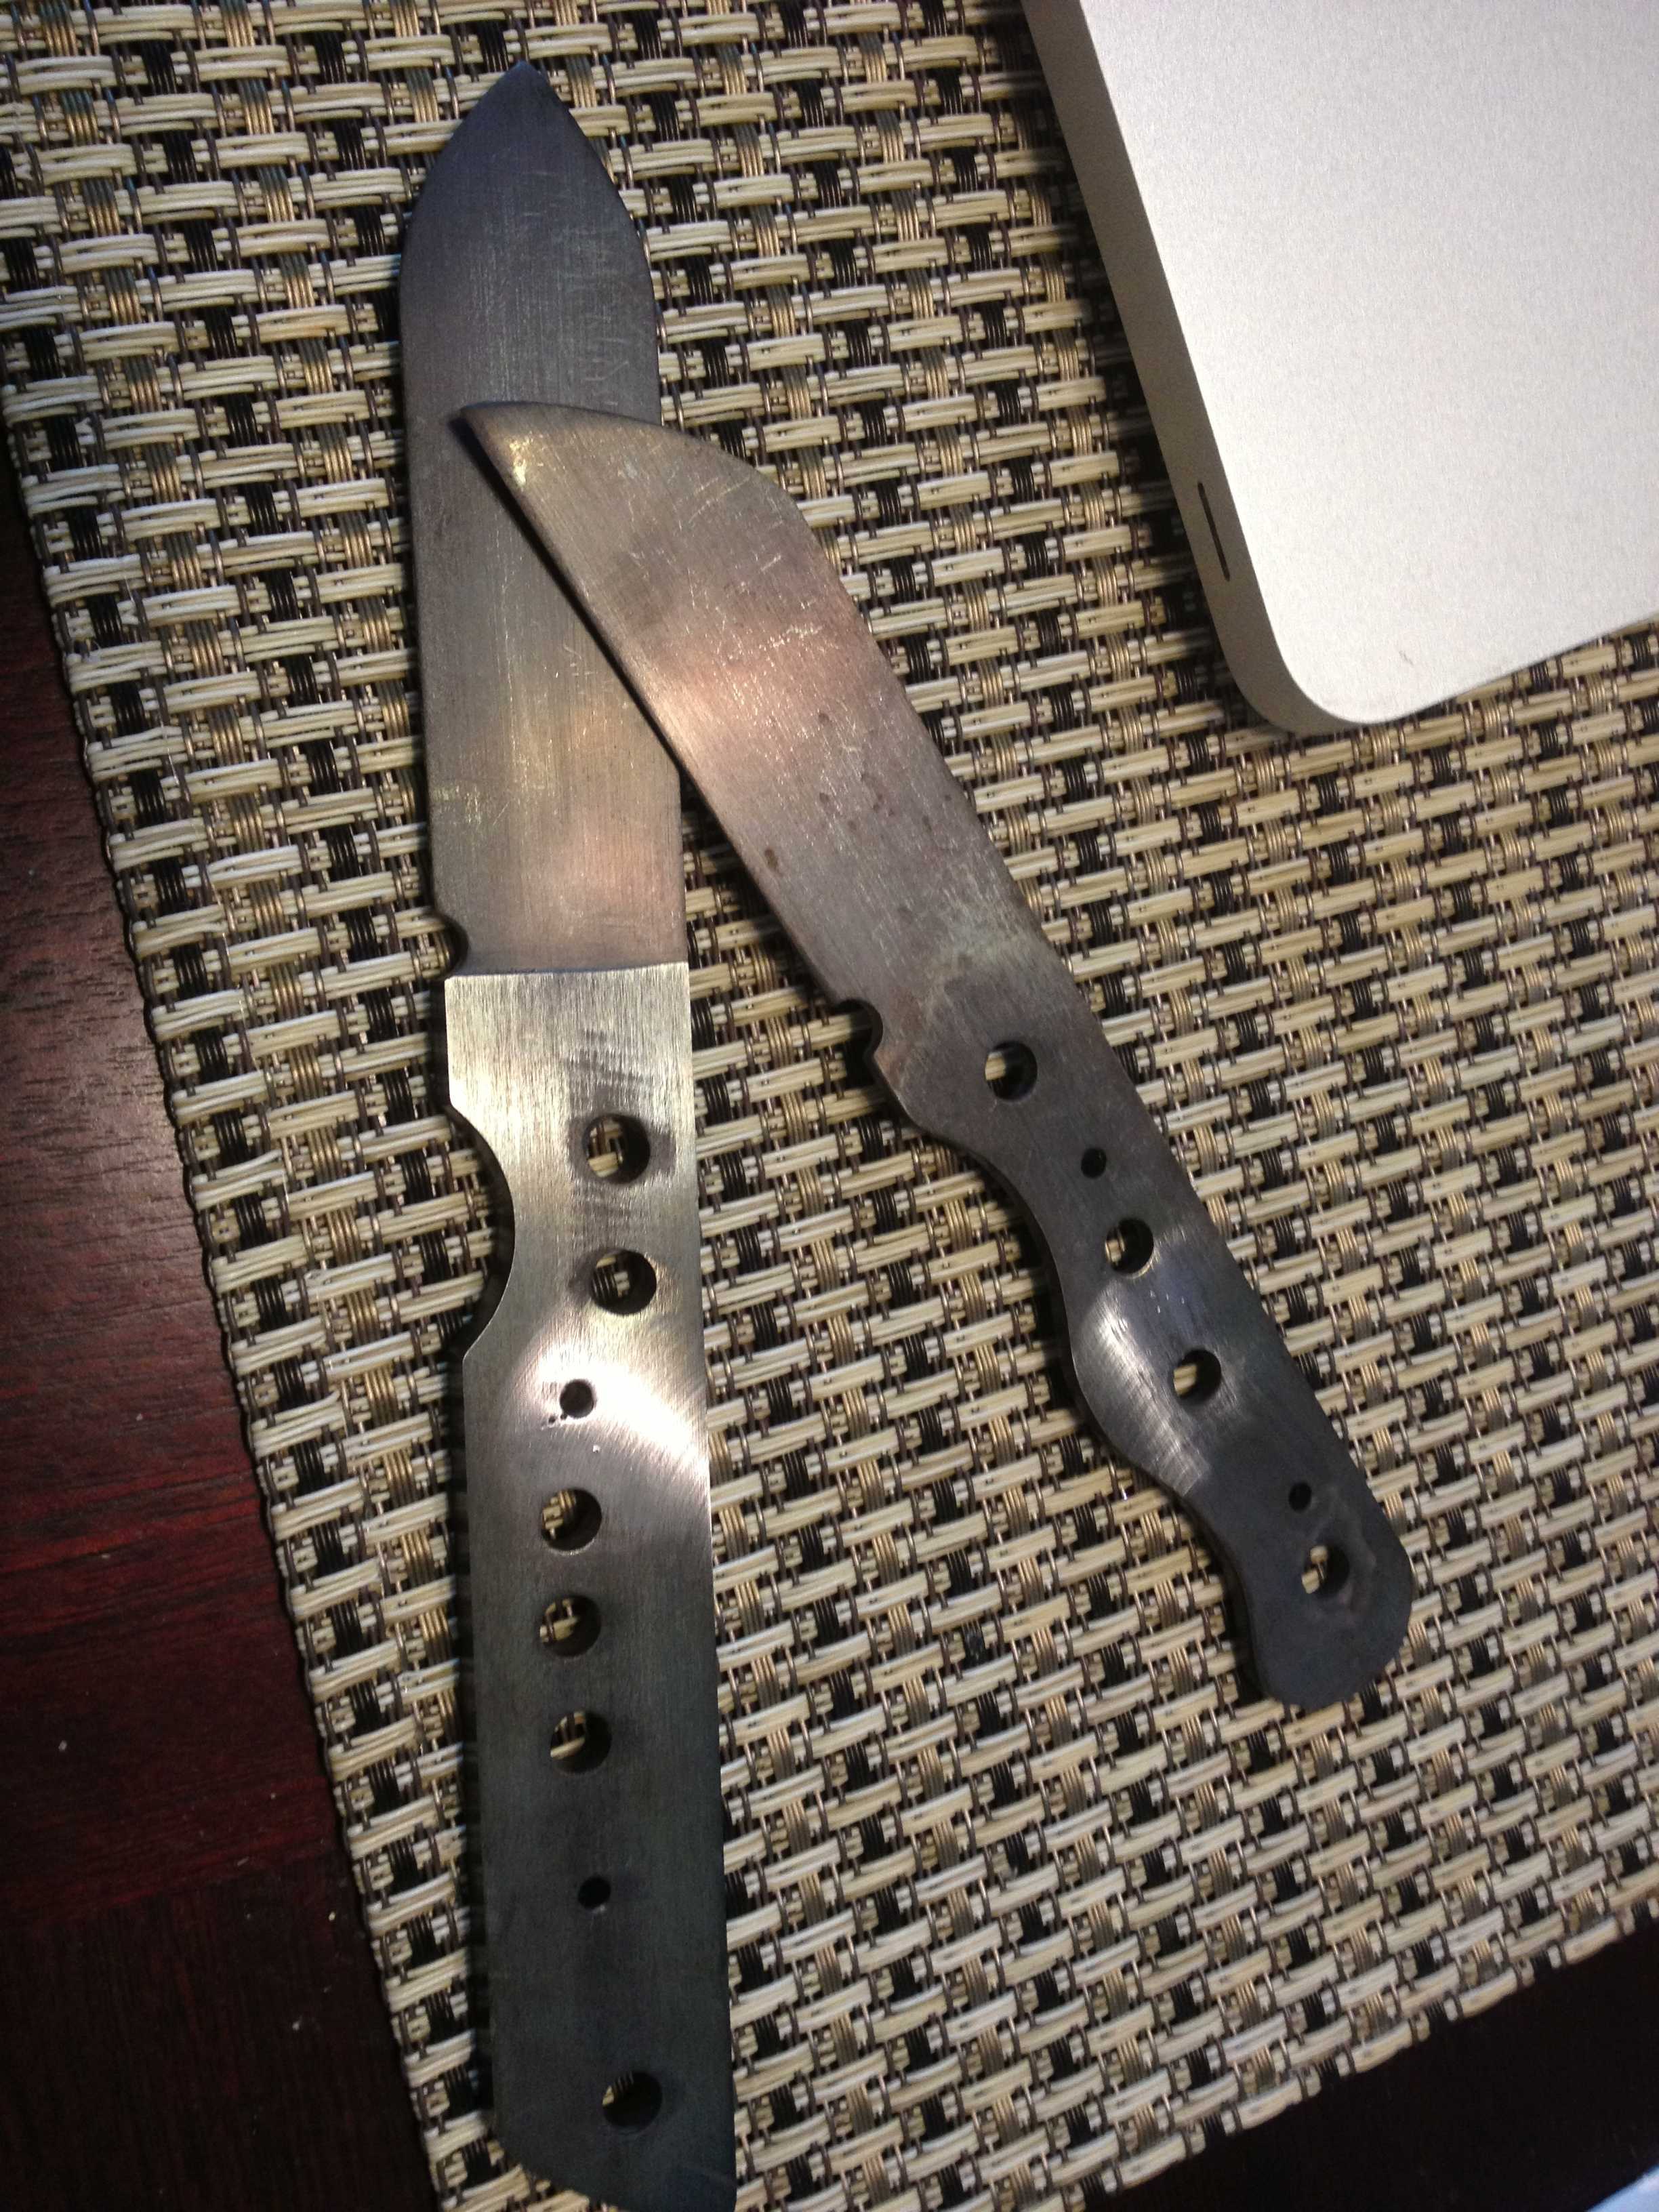
That thing is crazy. How long is it?
Enter your email address to join: