


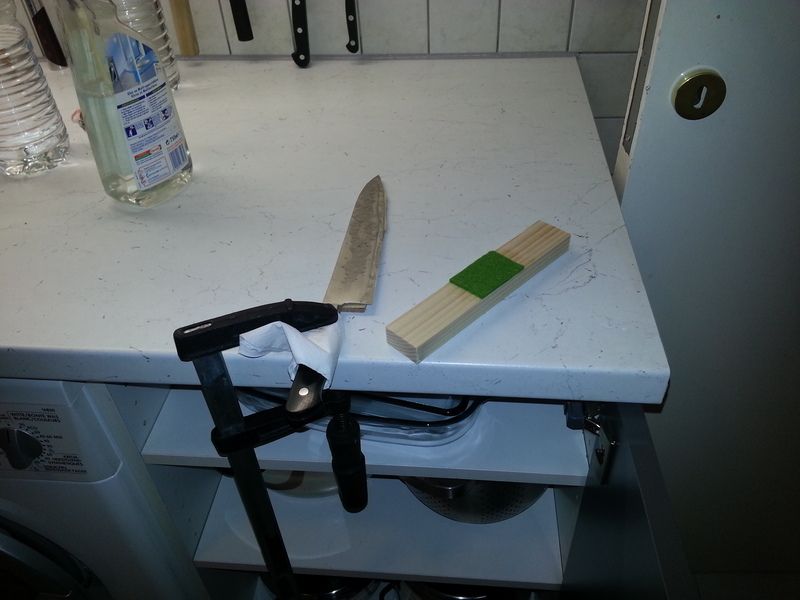
I use a piece of wooden stick on which I glued some felt. I cut the sand paper the same width as the felt and wrap it around. It works perfect - you can see it in the picture.
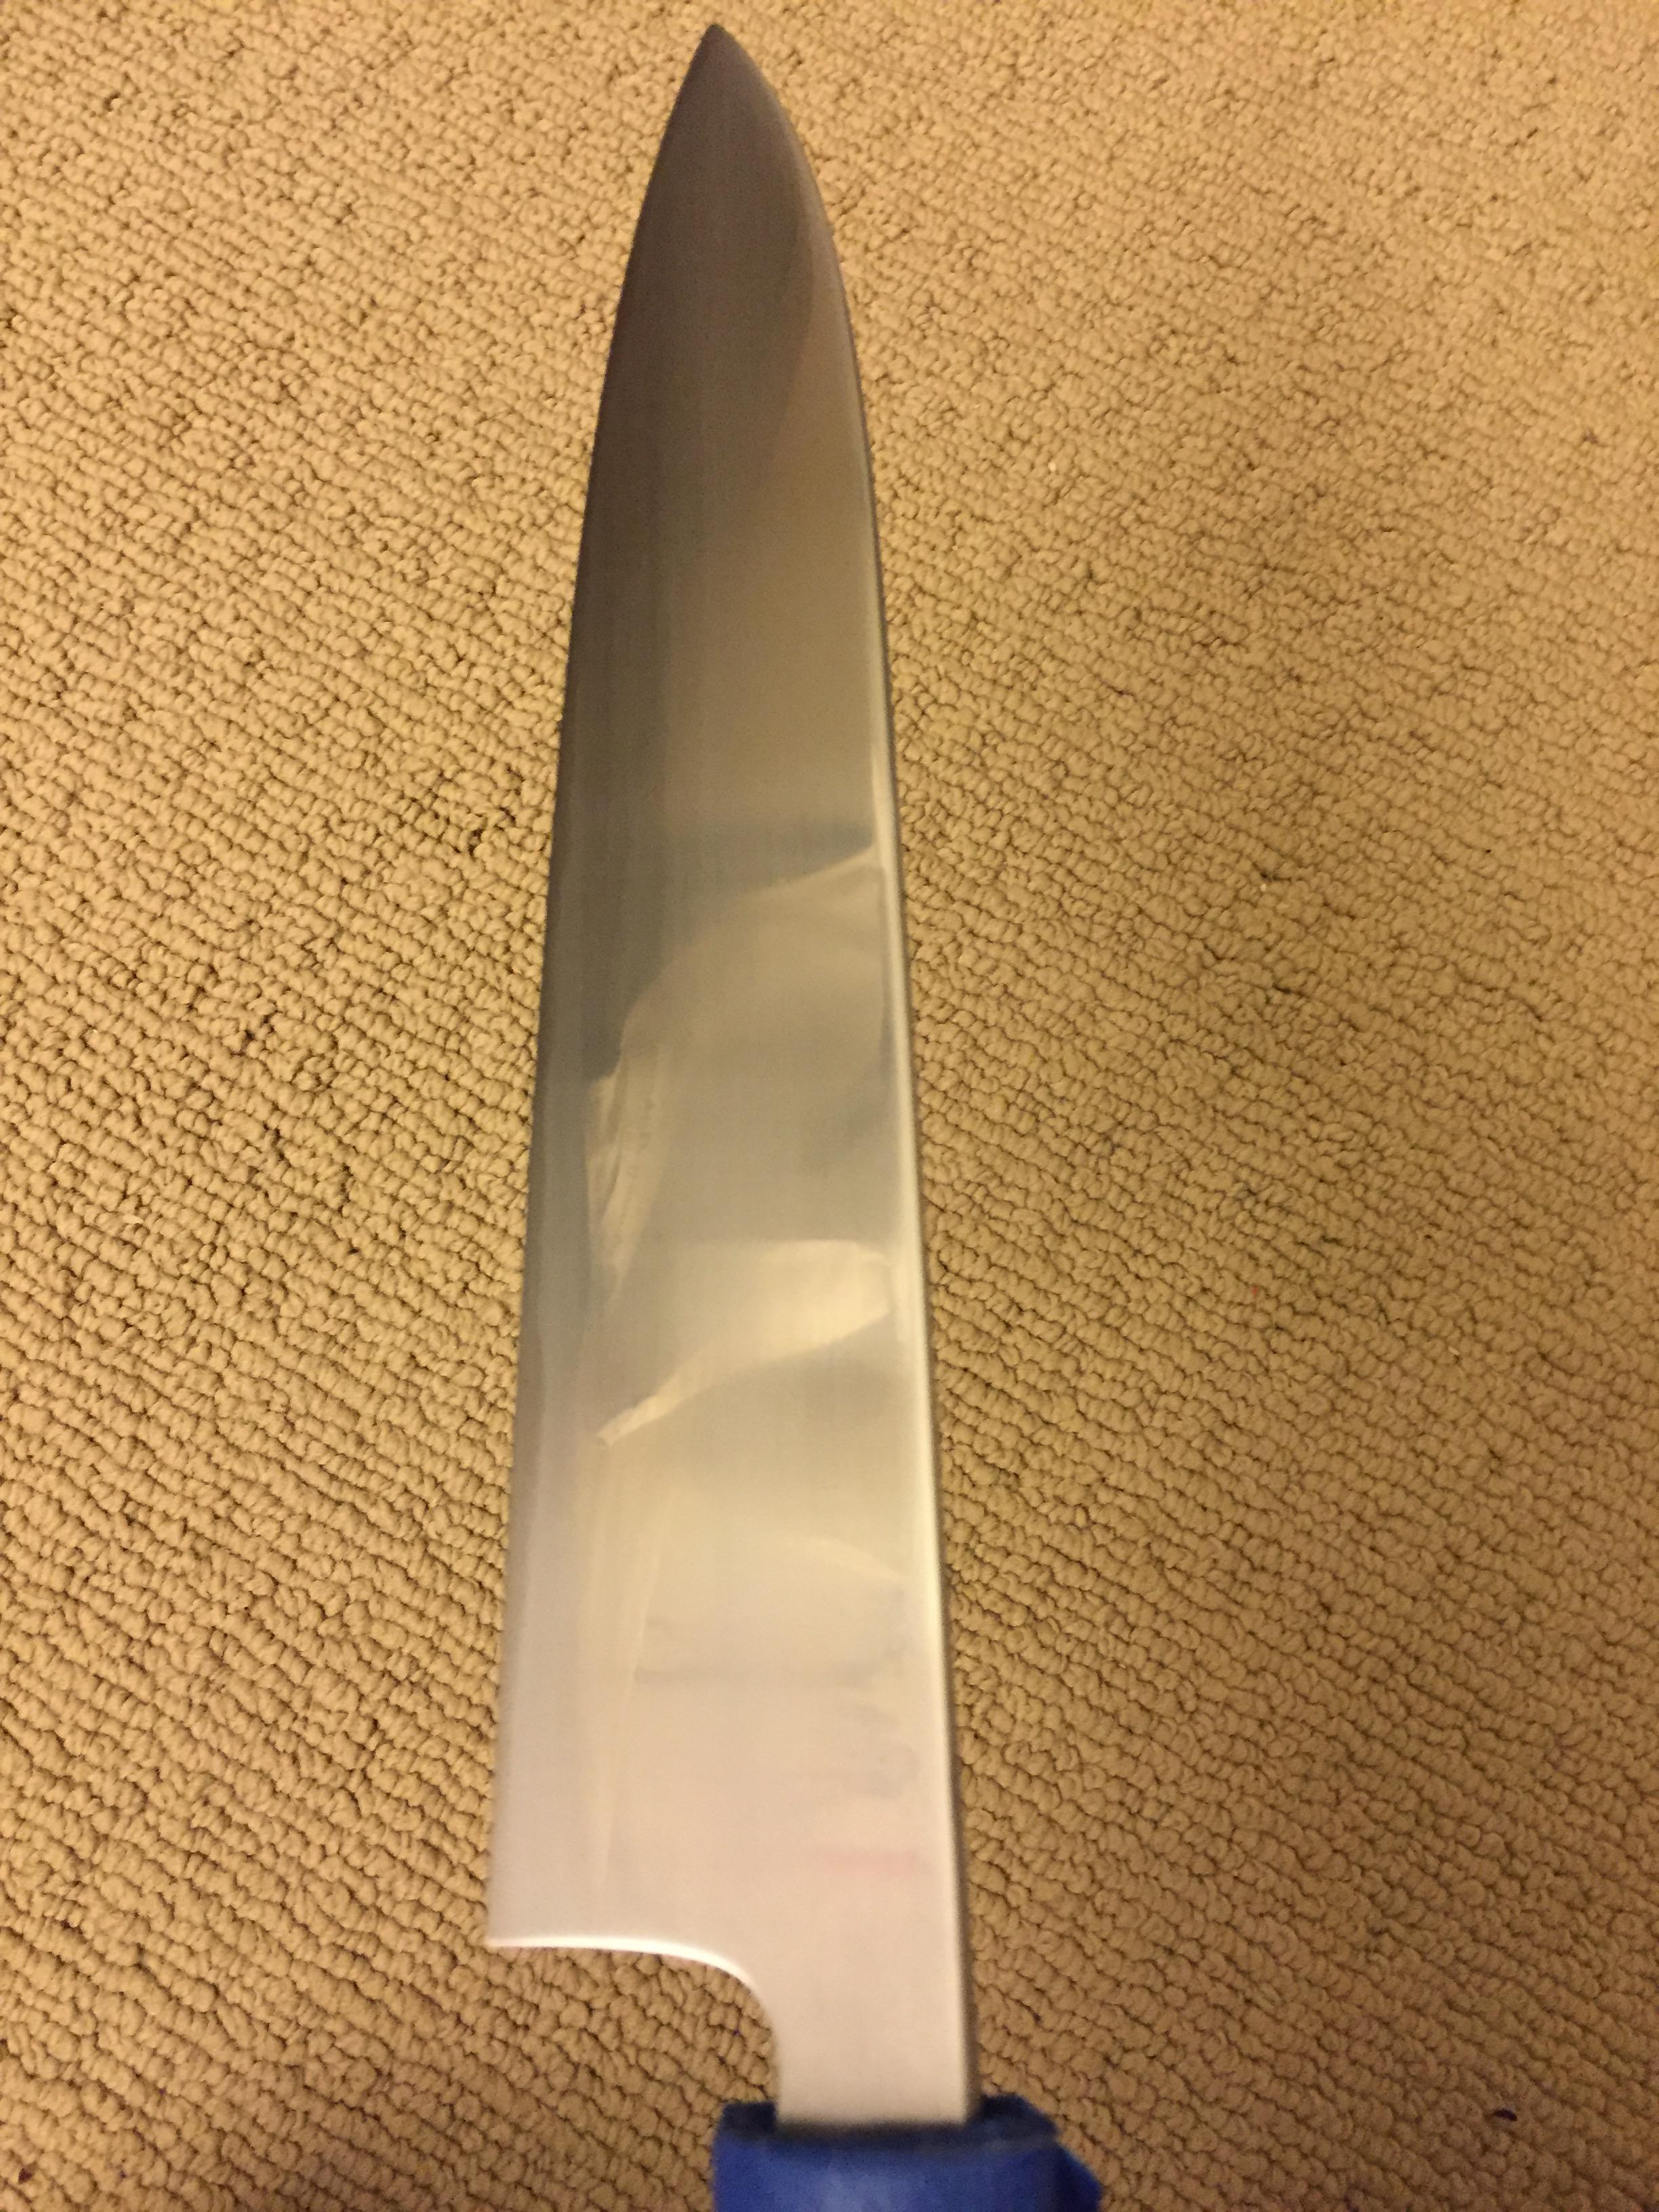
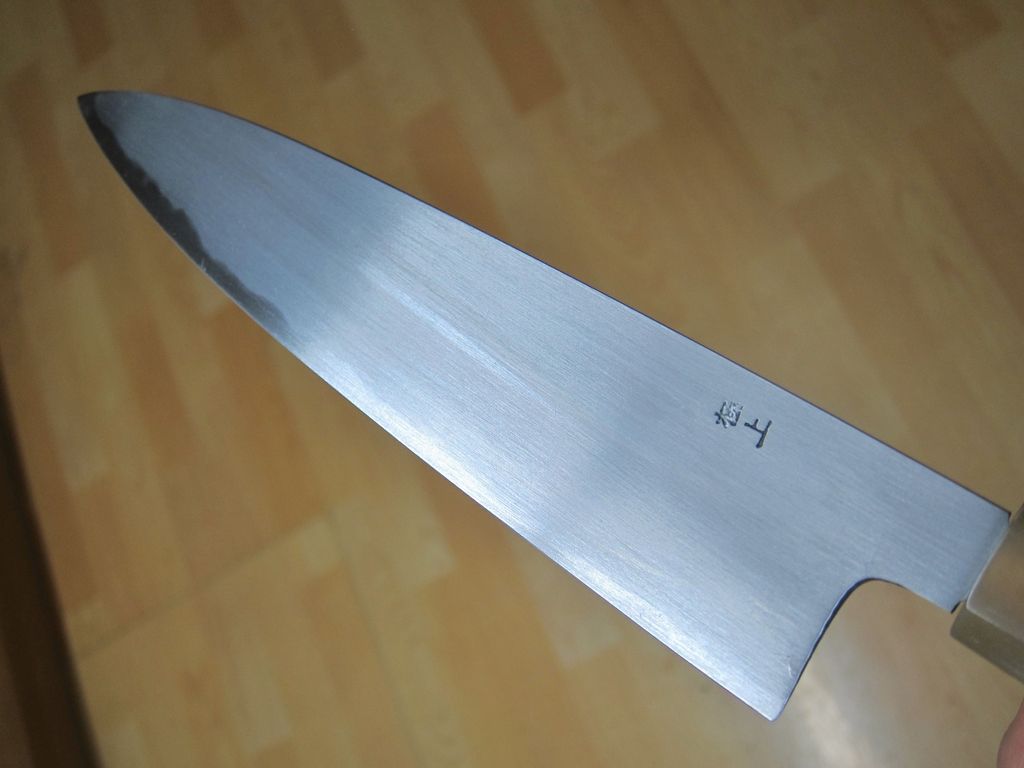
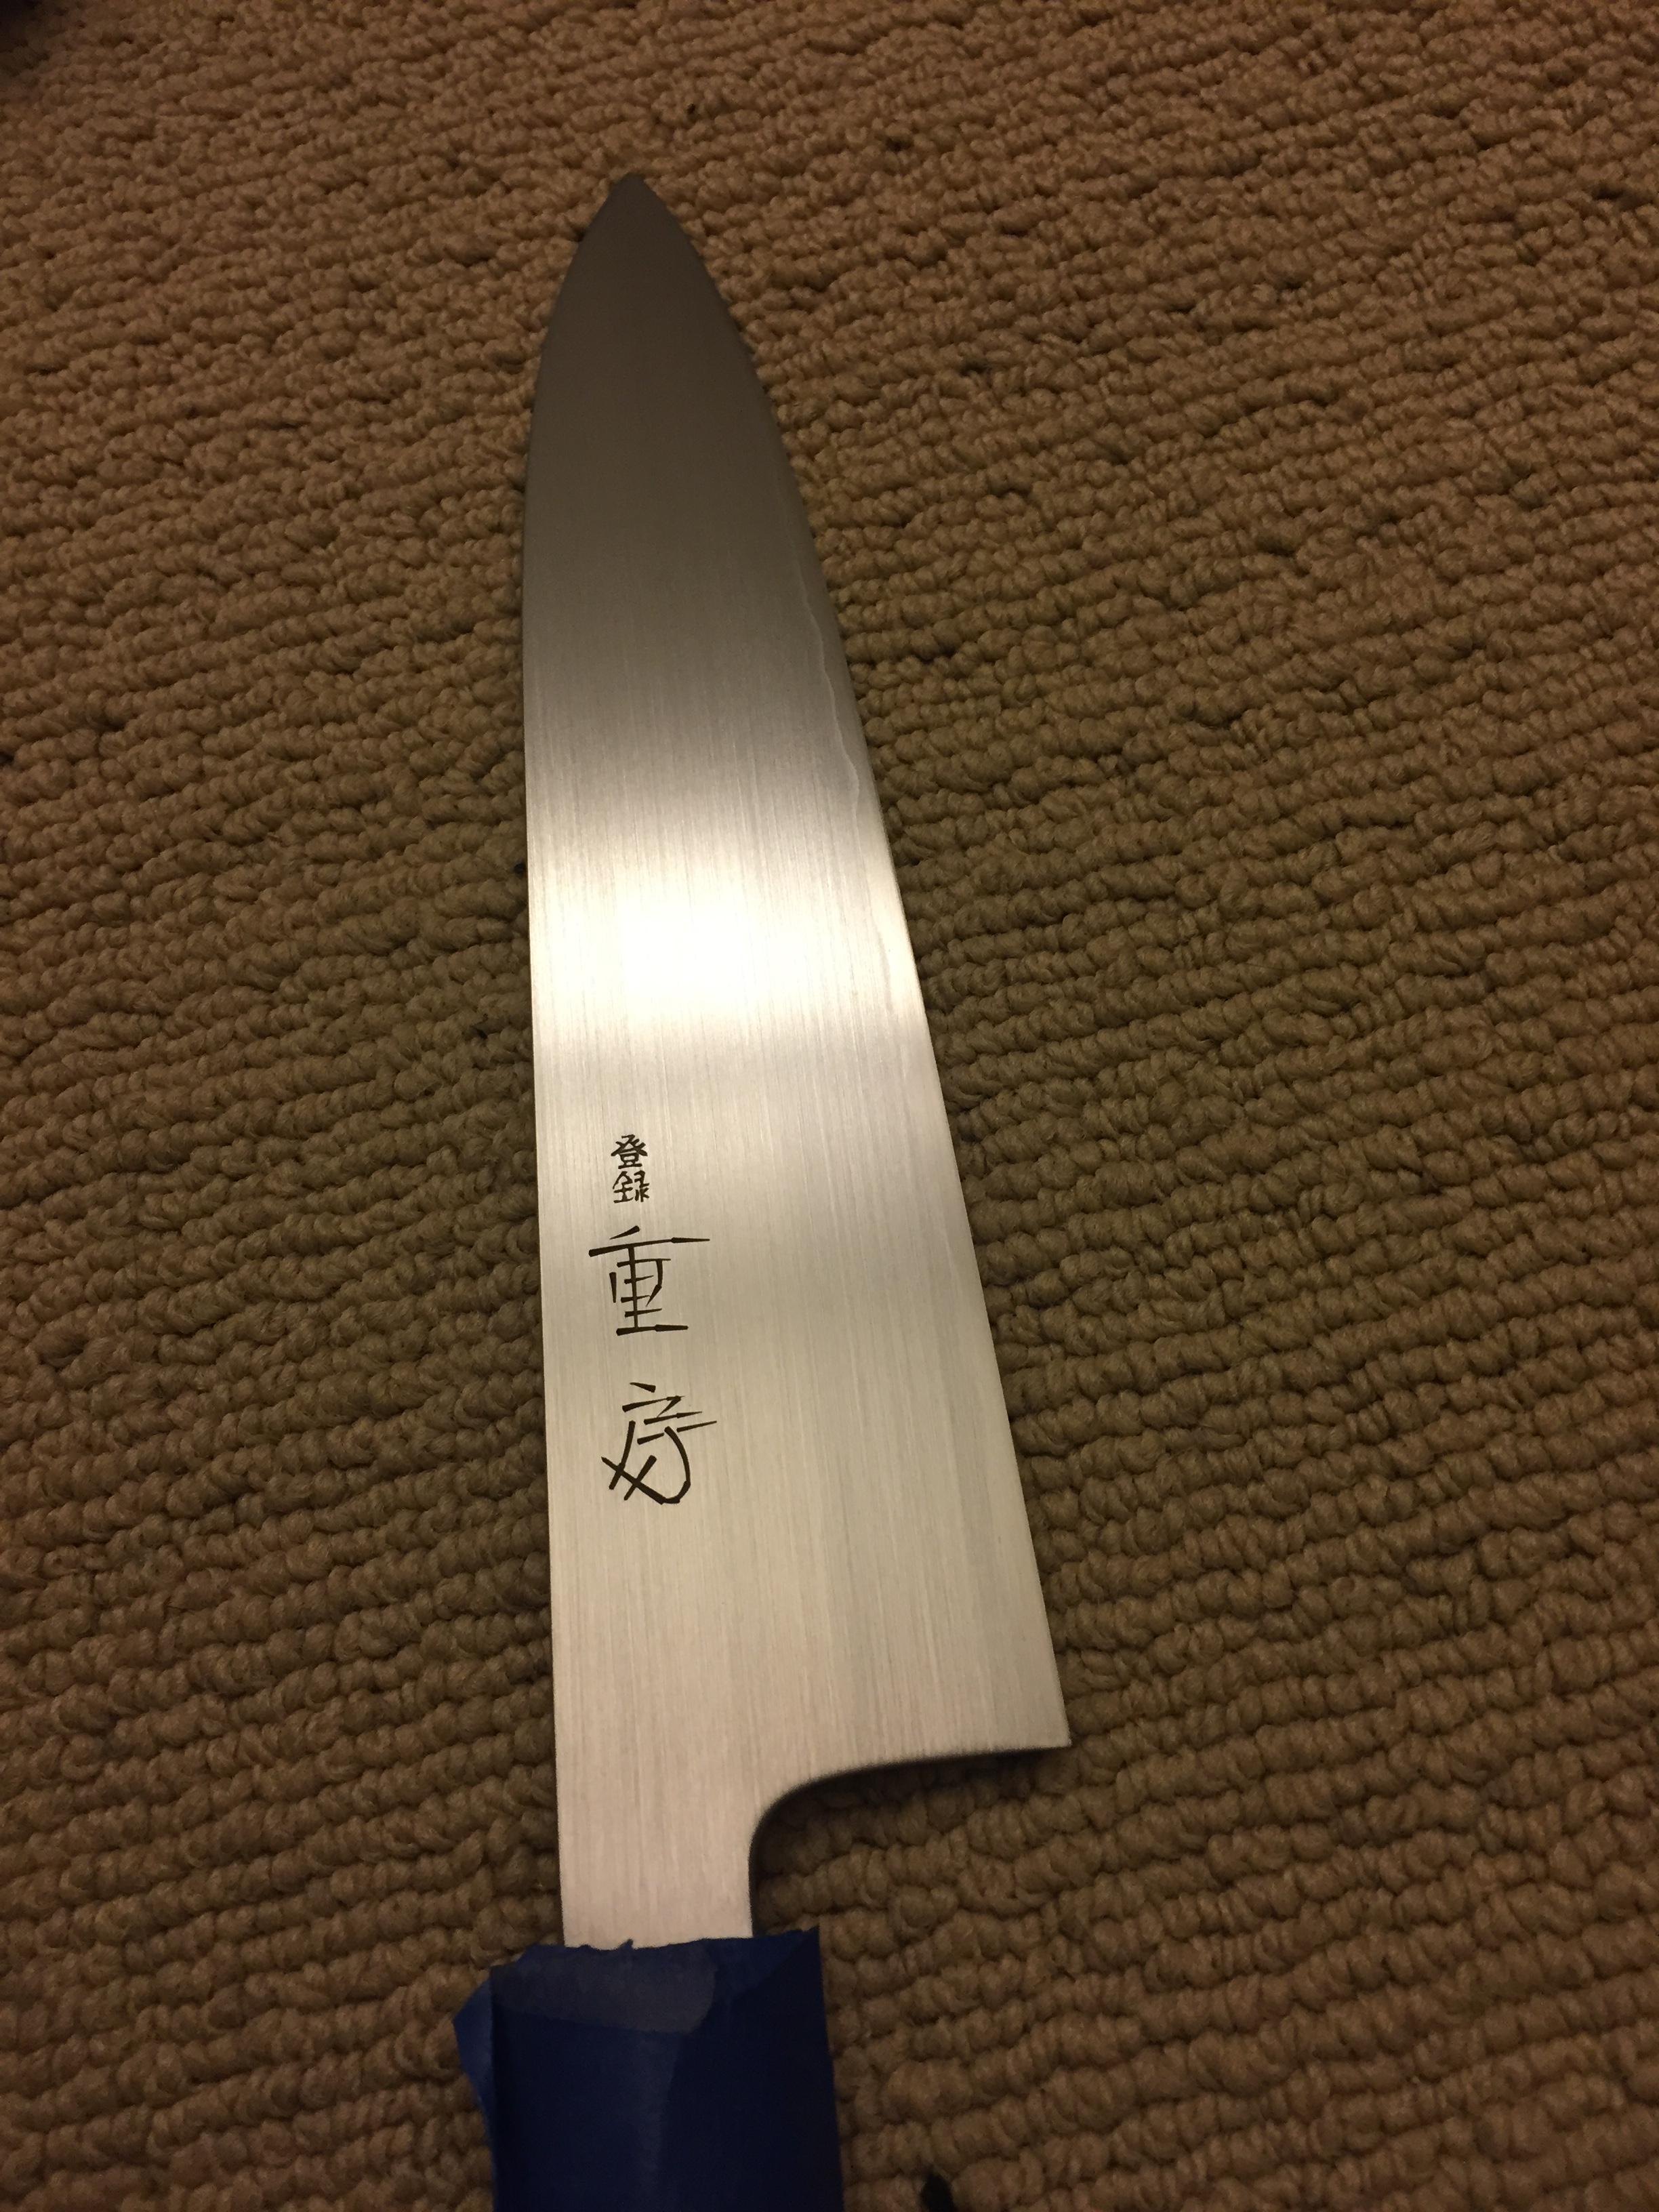
But nice tip for using old magnet rack for holding the knife. I was clamping it in (on the pic is western Akifusa). This works perfect for western handles and octagonal handles, but with D shaped it is a big problem -> you can not fix it good.
But nice tip for using old magnet rack for holding the knife. I was clamping it in (on the pic is western Akifusa). This works perfect for western handles and octagonal handles, but with D shaped it is a big problem -> you can not fix it good.


") Follow the polish pattern you want. Definitely, I'll get some loose bits too and when you've thinned down the stone it's pretty fragile and stuff breaks off, though if the stone's of regular quality there shouldn't be any deep scratches
Follow the polish pattern you want. Definitely, I'll get some loose bits too and when you've thinned down the stone it's pretty fragile and stuff breaks off, though if the stone's of regular quality there shouldn't be any deep scratches