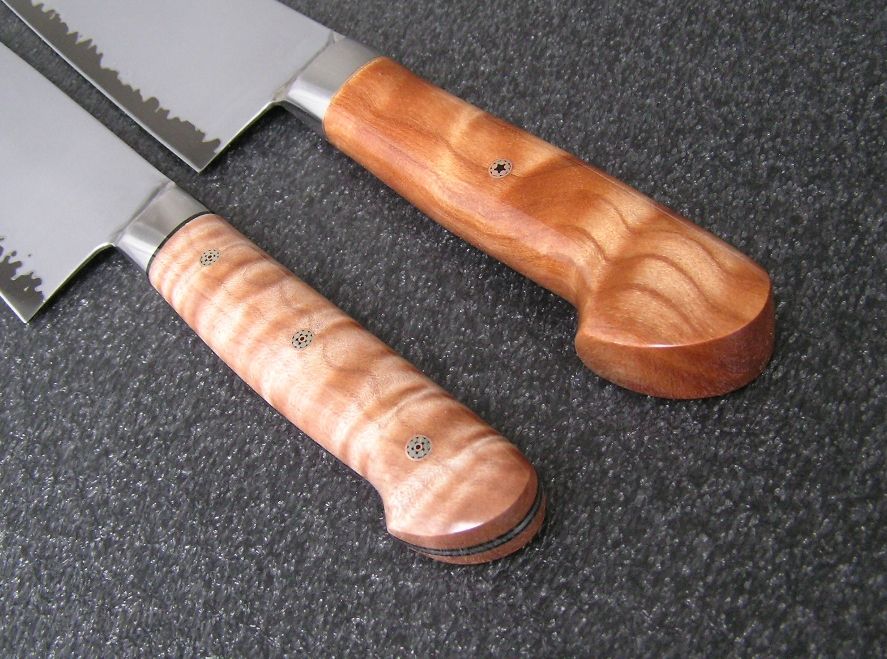
I'm going to show the process of how I rehandle western knives. The mules are Hiromoto AS knives - a gyuto & a santoku. The gyuto will be getting a hidden tang conversion, the santoku will receive full tang scales.
First we see the knives laid out along with all of the materials required. The wood has been cut down to size, squared up, and the scales (for the santoku) have been cut as well as have their G10 liners glued up.
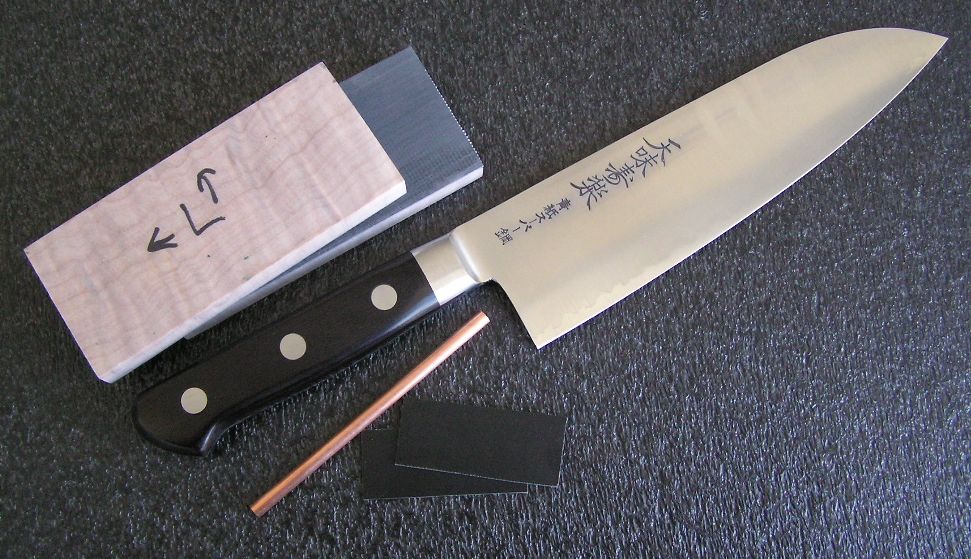
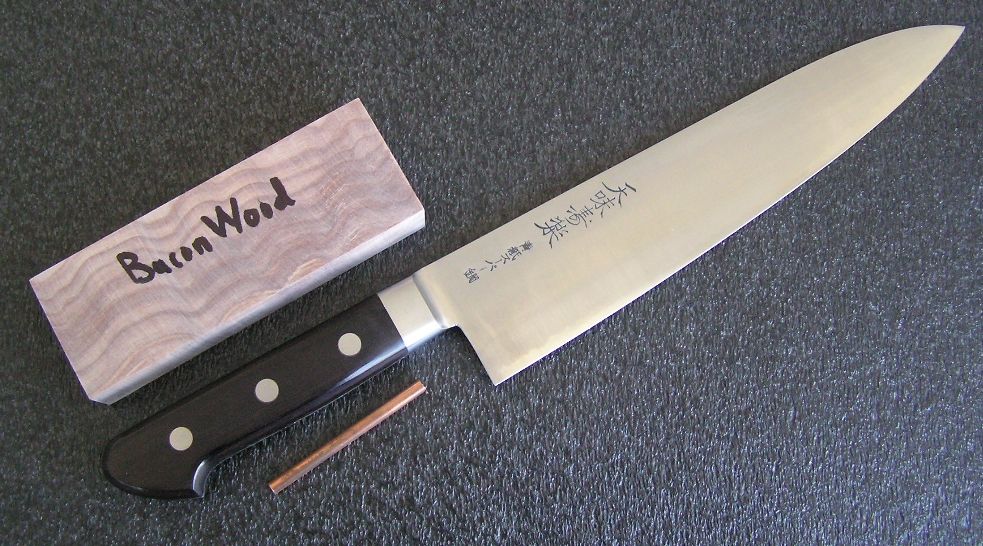
(The wood isn't really called "baconwood" - the owner dubbed it this name as it reminds her of bacon)

From here I took the knives to the grinder and thinned the blades. I didn't take pictures of this because they pretty much look the same, just shinier as they're all polished up ready for the etching tank.
The blades are then wrapped in protective tape and then the scales were removed from the handles. Again no pictures, I should have taken some here though. The procedure is to grind the heads of the rivets off and then punch them out - scales fall off.
The holes in the tangs were drilled out to a larger size to accommodate the pins I use. In case you're wondering why I need to drill the holes out, the Japanese use rivets with large heads yet tiny shafts so the factory pin holes are very small. The tangs are hardened and require a carbide drill bit to cut through them.
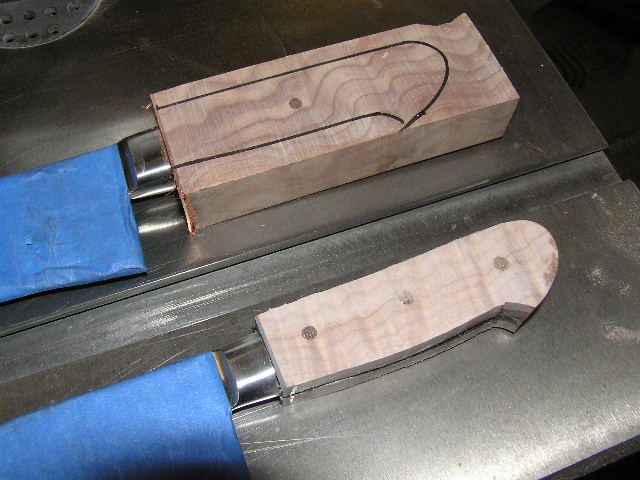
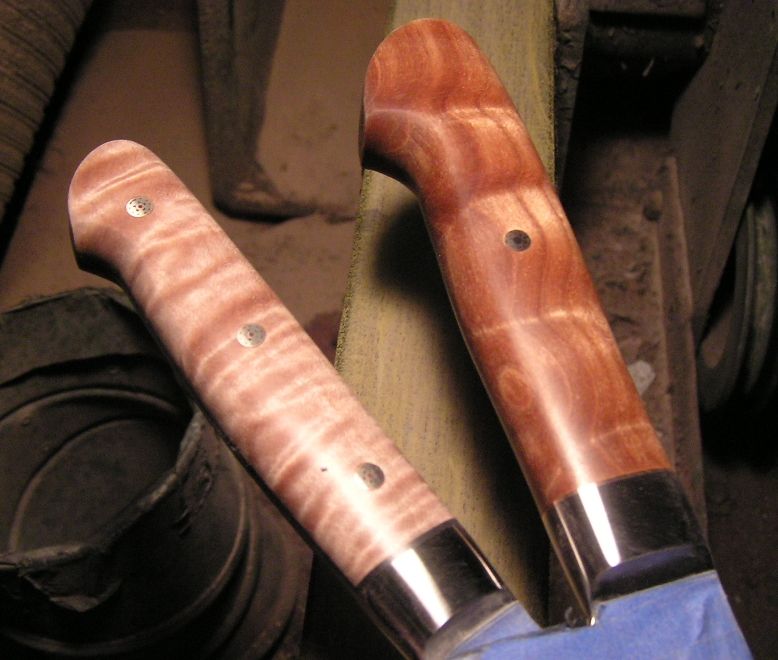
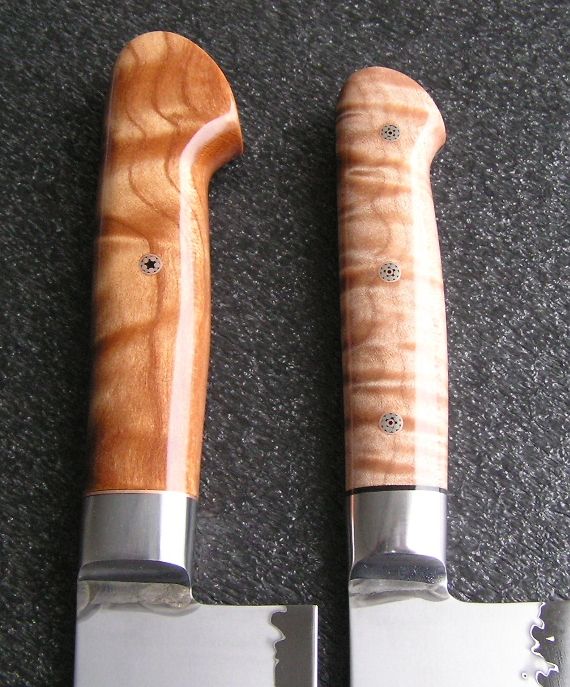
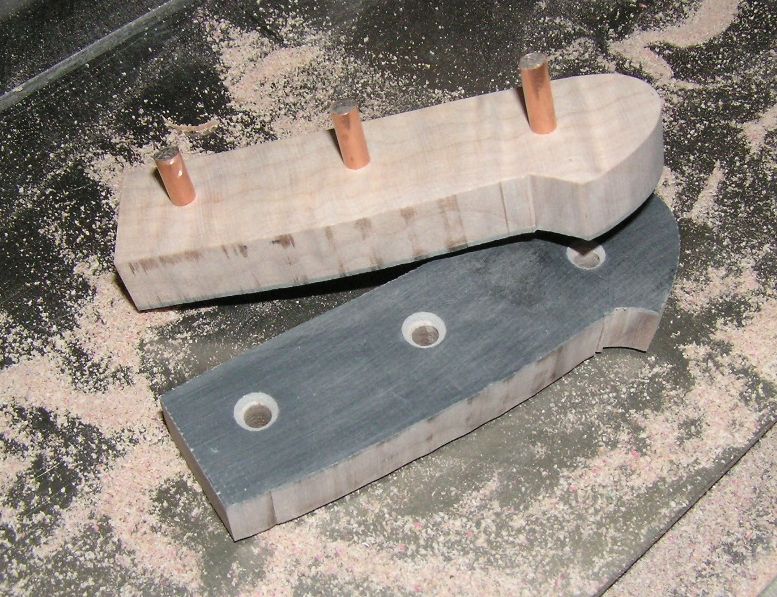
Here you'll see the knives laid out at the point ready to have the wood attached. I have some more fitting to still do to ensure a clean fit up but otherwise the next step will be mounting the wood.
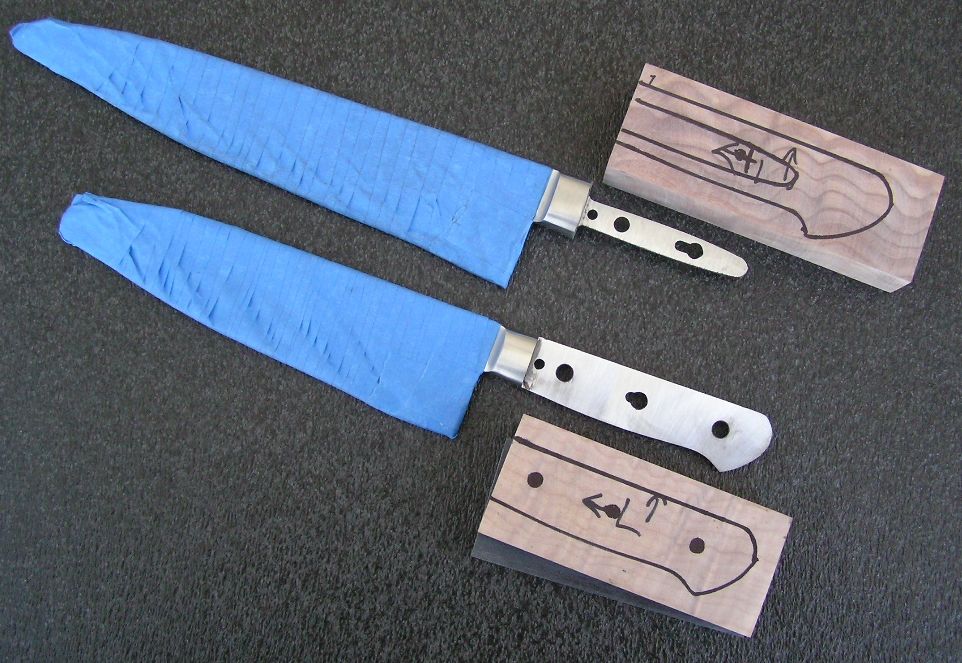
You'll notice that the gyuto's tang has been ground down to make the hidden tang conversion. The owner requested a hidden tang handle on this knife because she wants to show the maximum amount of "baconwood"as possible.

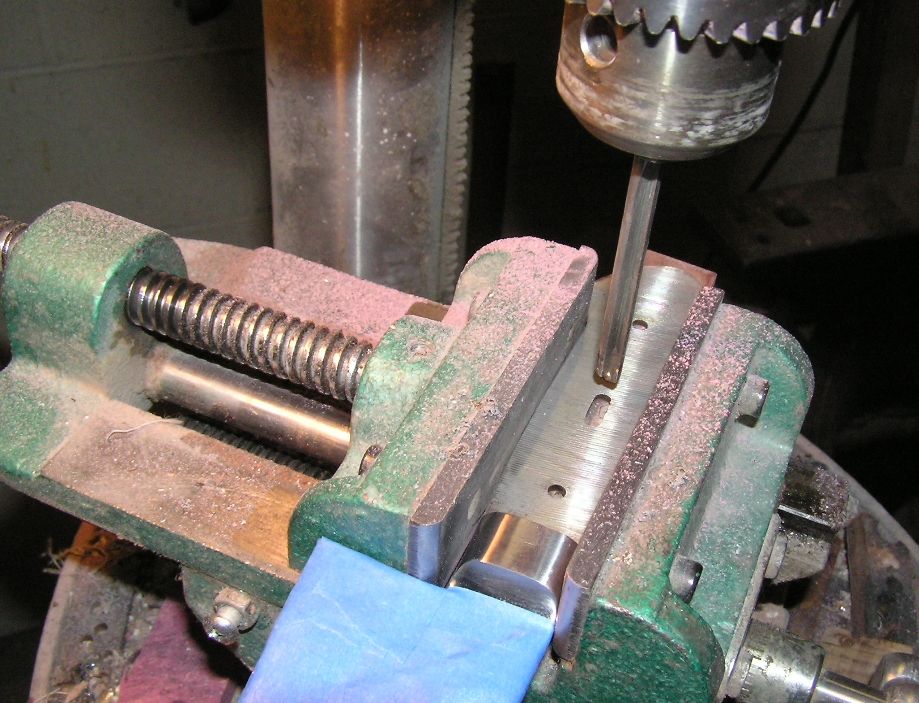
Here I'm drilling the pin holes for the santoku. I bring the whole assembly (knife included) to the drill press to drill my pin holes. I've found over time that if I do it this way I can make one pass through both scales and get perfect alignment without having to run the risk of over-sizing the holes from drilling the second scale as is more commonly done. *Note - Doing the drilling like this works great for tapered tangs - perfect fit every time.
I finish the holes by using a reamer (shown in the picture) to get the perfect size for a (hopefully) perfect fit.
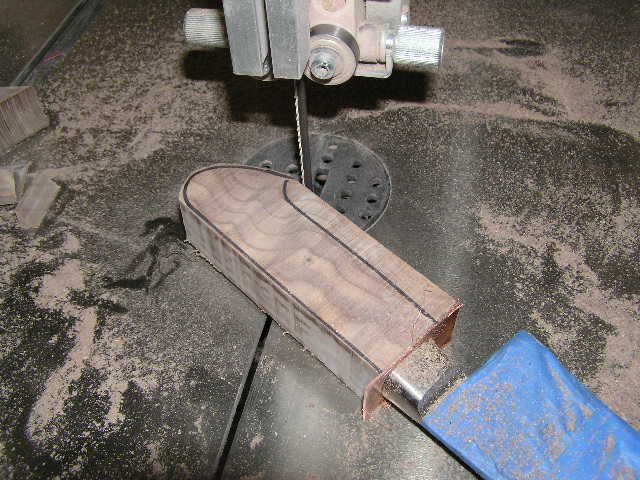
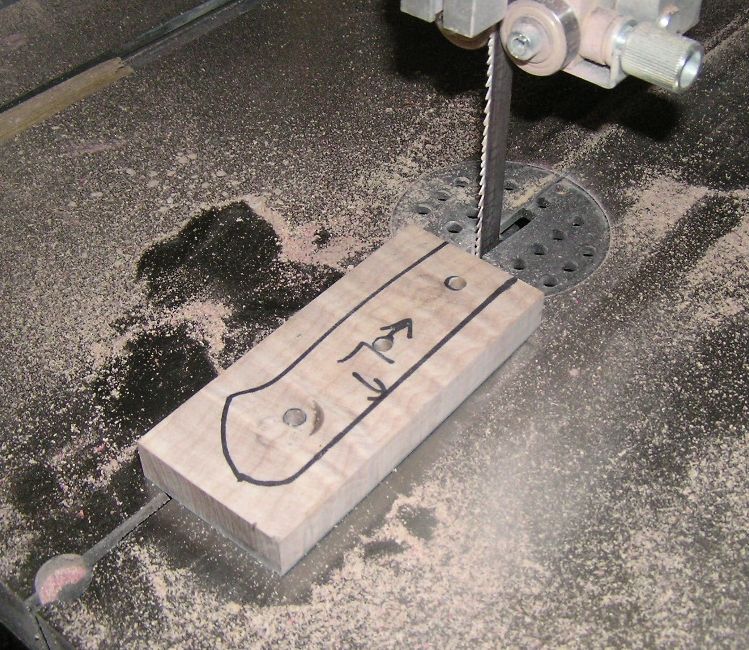
I then cut out the shape (pattern) for the scales.
Here are the santoku scales with pins inserted part way, ready for glue up.
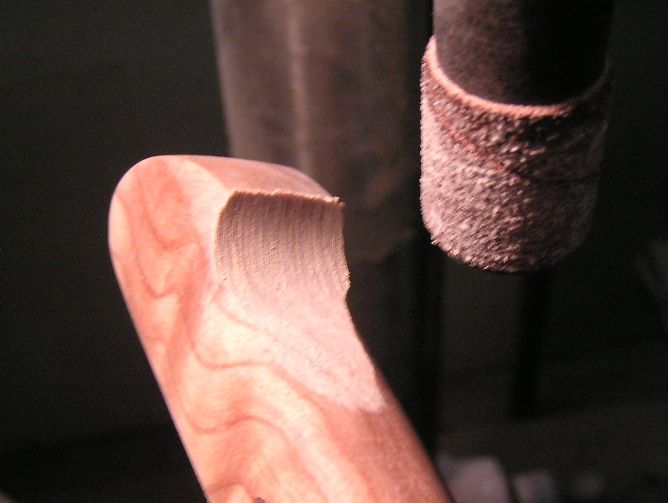
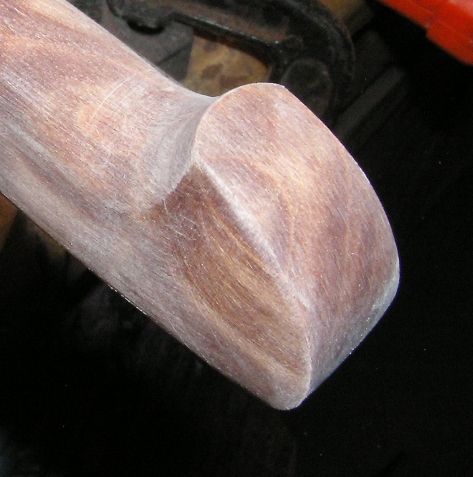
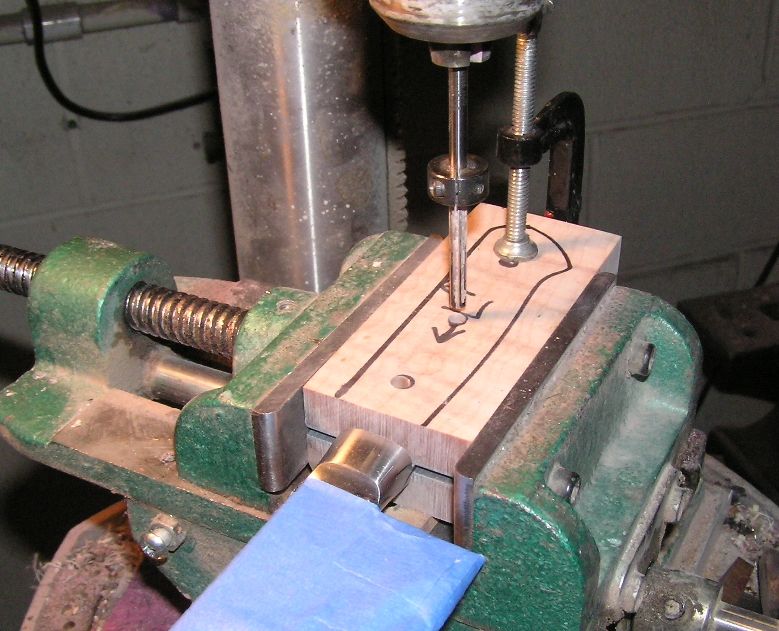
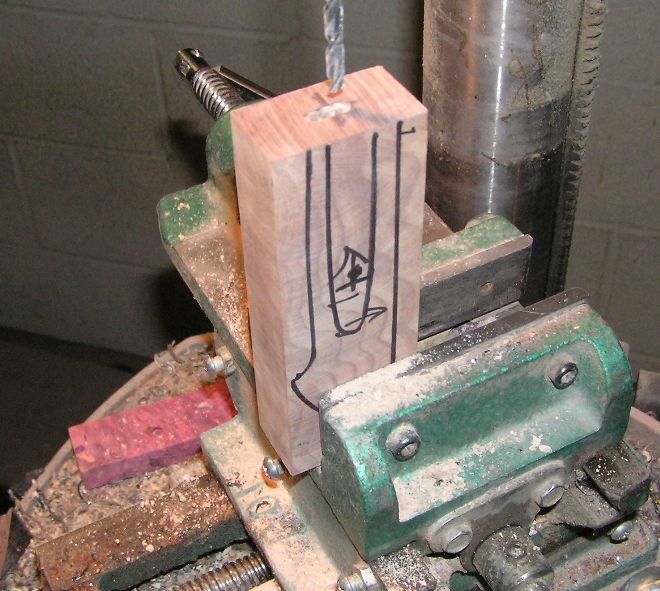
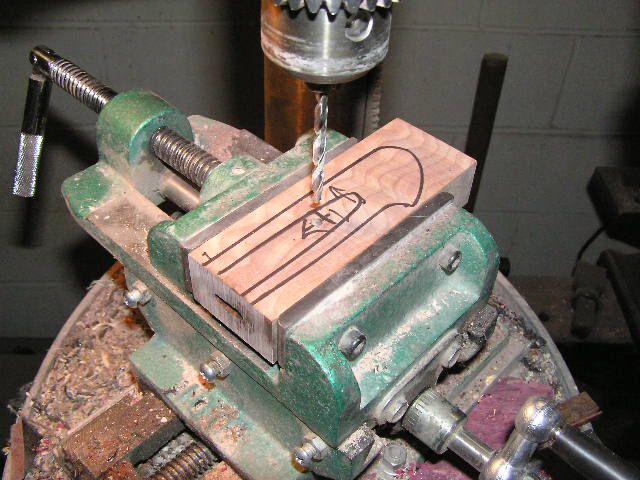
I then moved onto drilling out the tang hole in the "baconwood" block.
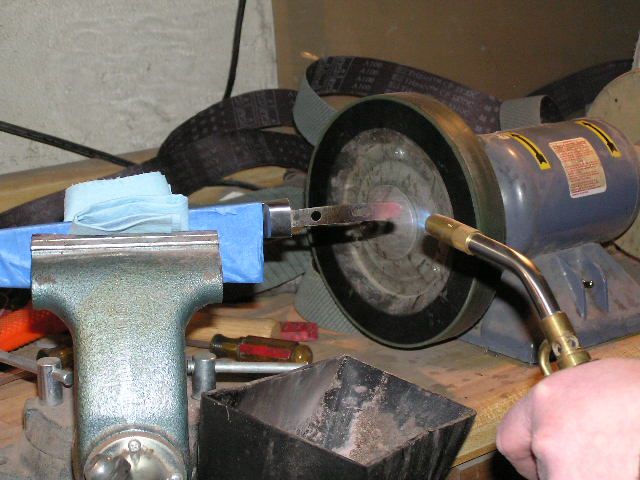
Then onto the fun part - burning in the tang!

The process starts out by heating the tang's tip to orange color (very hot).
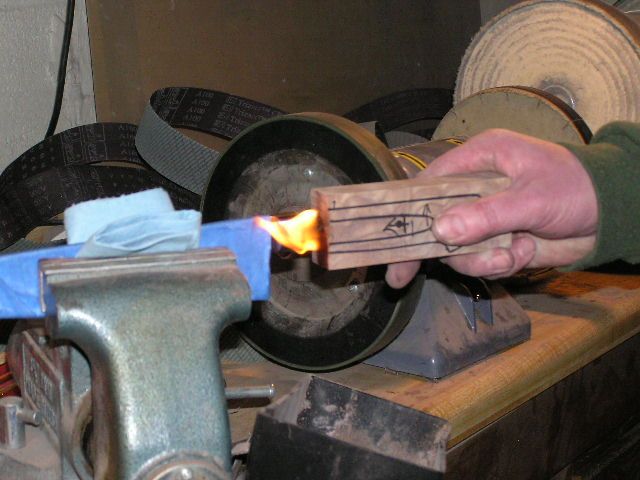
Then I push it on home, sometimes we get flames.
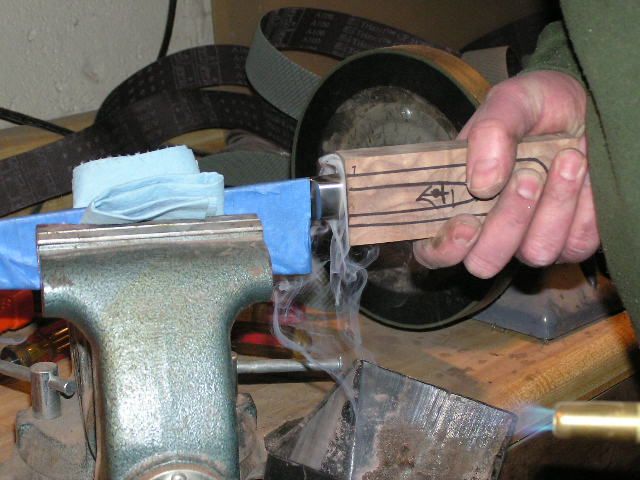
Also lots of smoke too. Good thing I have a dust collector set up below sucking the smoke out of the shop.
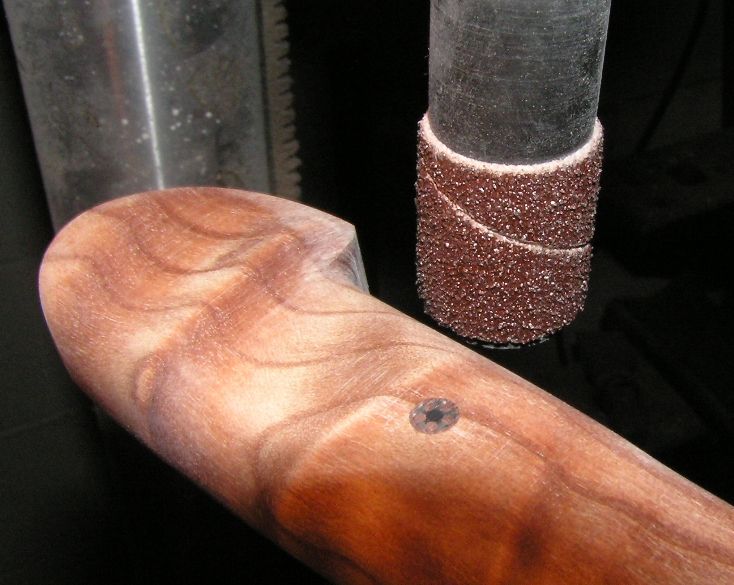
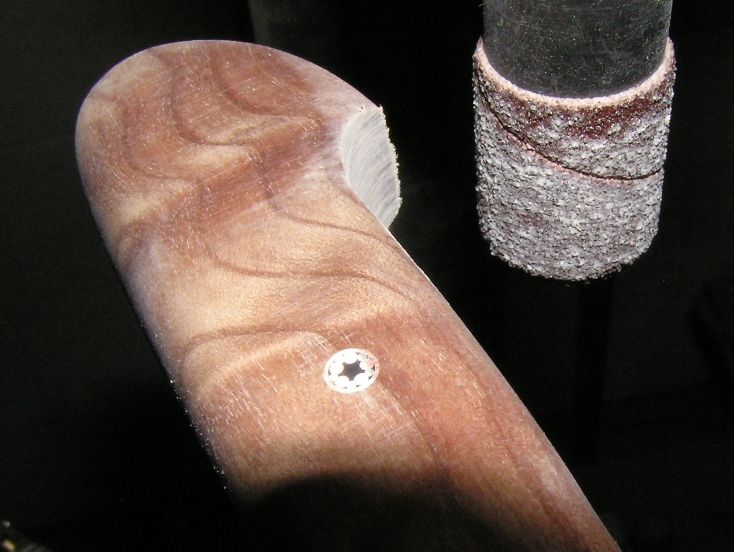
Then finally I drilled the single pin hole that this handle will have.
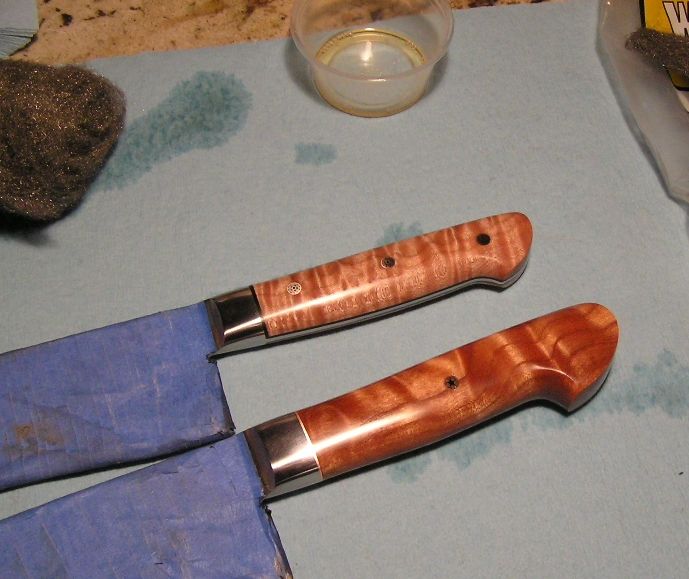
Now for mounting & gluing.....
First we see the knives laid out along with all of the materials required. The wood has been cut down to size, squared up, and the scales (for the santoku) have been cut as well as have their G10 liners glued up.
(The wood isn't really called "baconwood" - the owner dubbed it this name as it reminds her of bacon)
From here I took the knives to the grinder and thinned the blades. I didn't take pictures of this because they pretty much look the same, just shinier as they're all polished up ready for the etching tank.
The blades are then wrapped in protective tape and then the scales were removed from the handles. Again no pictures, I should have taken some here though. The procedure is to grind the heads of the rivets off and then punch them out - scales fall off.
The holes in the tangs were drilled out to a larger size to accommodate the pins I use. In case you're wondering why I need to drill the holes out, the Japanese use rivets with large heads yet tiny shafts so the factory pin holes are very small. The tangs are hardened and require a carbide drill bit to cut through them.
Here you'll see the knives laid out at the point ready to have the wood attached. I have some more fitting to still do to ensure a clean fit up but otherwise the next step will be mounting the wood.
You'll notice that the gyuto's tang has been ground down to make the hidden tang conversion. The owner requested a hidden tang handle on this knife because she wants to show the maximum amount of "baconwood"as possible.
Here I'm drilling the pin holes for the santoku. I bring the whole assembly (knife included) to the drill press to drill my pin holes. I've found over time that if I do it this way I can make one pass through both scales and get perfect alignment without having to run the risk of over-sizing the holes from drilling the second scale as is more commonly done. *Note - Doing the drilling like this works great for tapered tangs - perfect fit every time.
I finish the holes by using a reamer (shown in the picture) to get the perfect size for a (hopefully) perfect fit.
I then cut out the shape (pattern) for the scales.
Here are the santoku scales with pins inserted part way, ready for glue up.
I then moved onto drilling out the tang hole in the "baconwood" block.
Then onto the fun part - burning in the tang!
The process starts out by heating the tang's tip to orange color (very hot).
Then I push it on home, sometimes we get flames.
Also lots of smoke too. Good thing I have a dust collector set up below sucking the smoke out of the shop.
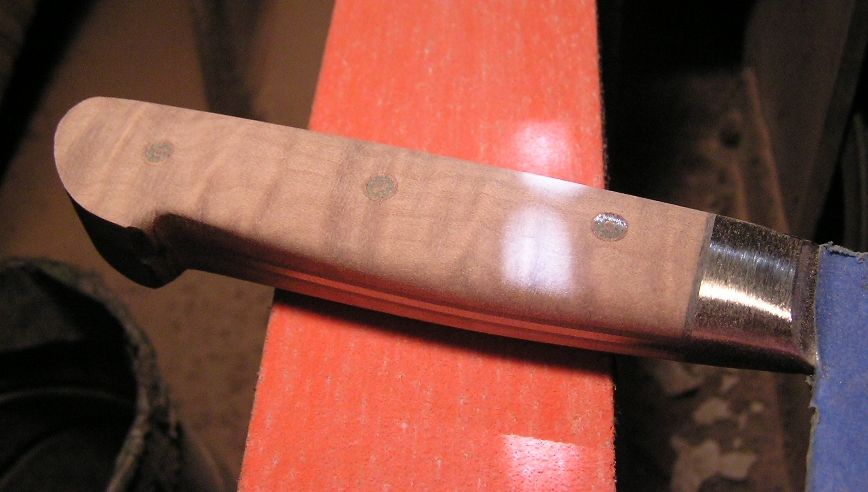
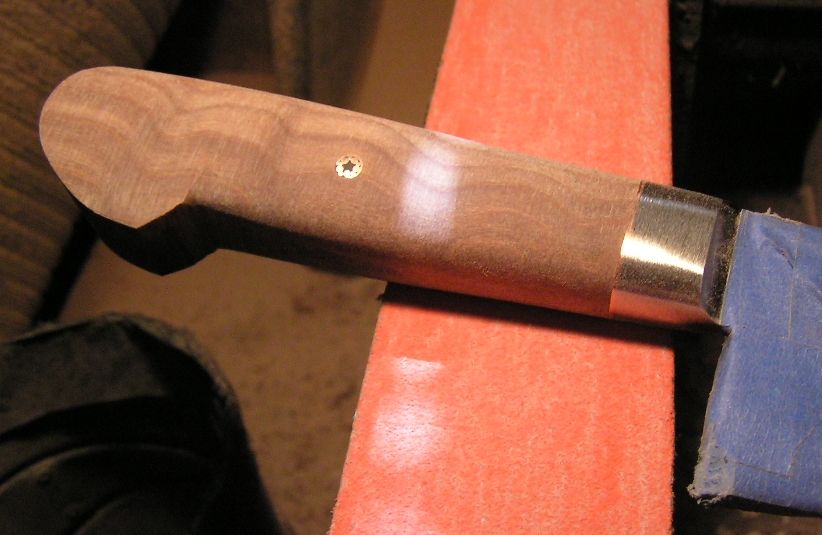
Then finally I drilled the single pin hole that this handle will have.
Now for mounting & gluing.....
")