HHH Knives
Senior Member
Its very cool! :cool2:
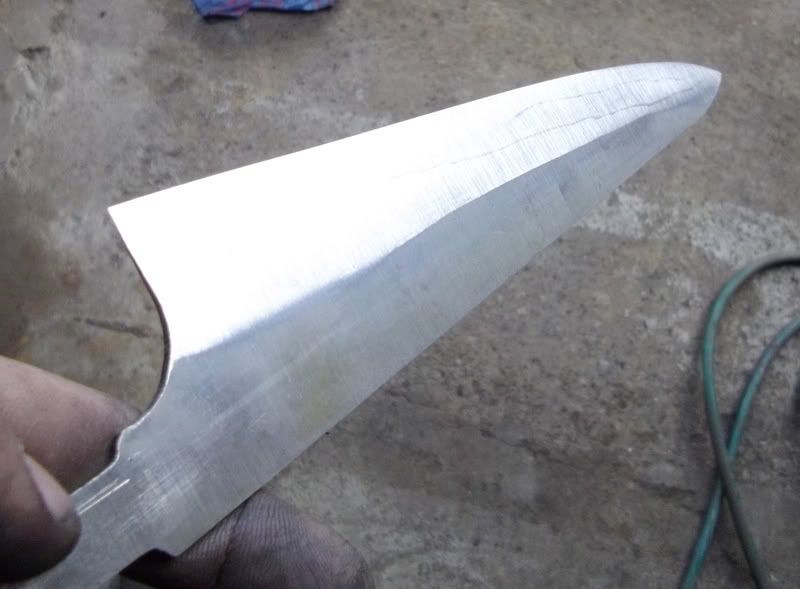
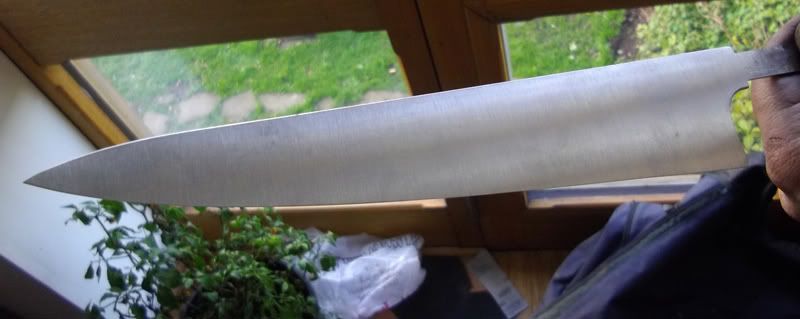
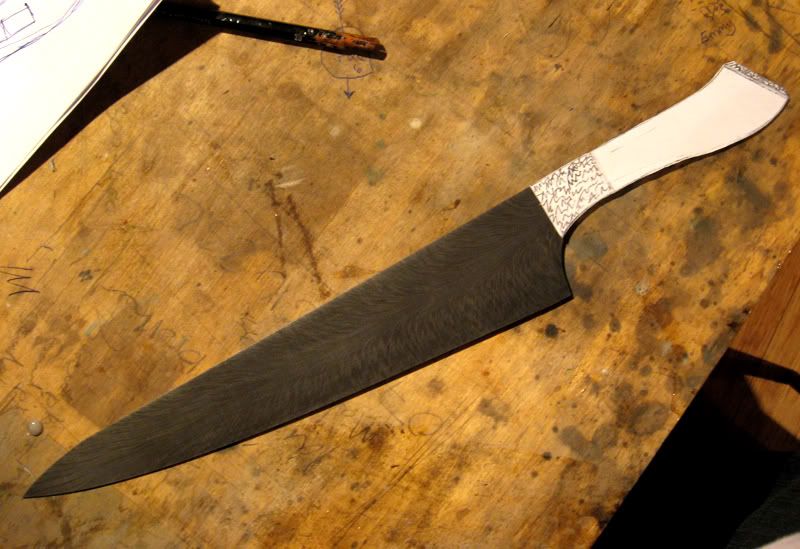
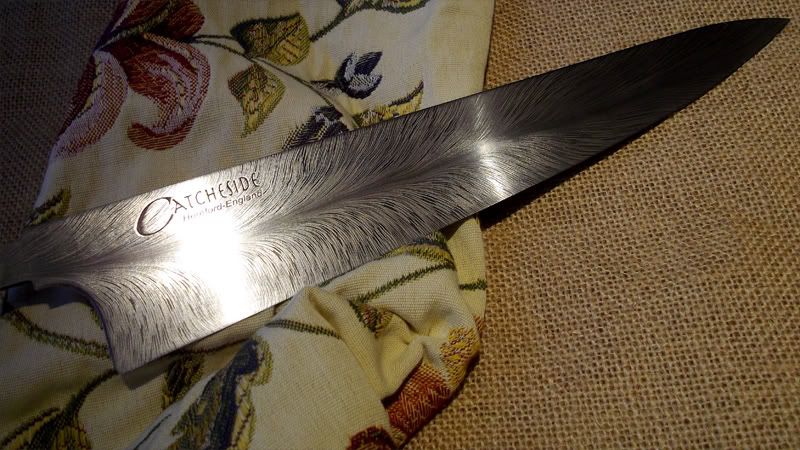
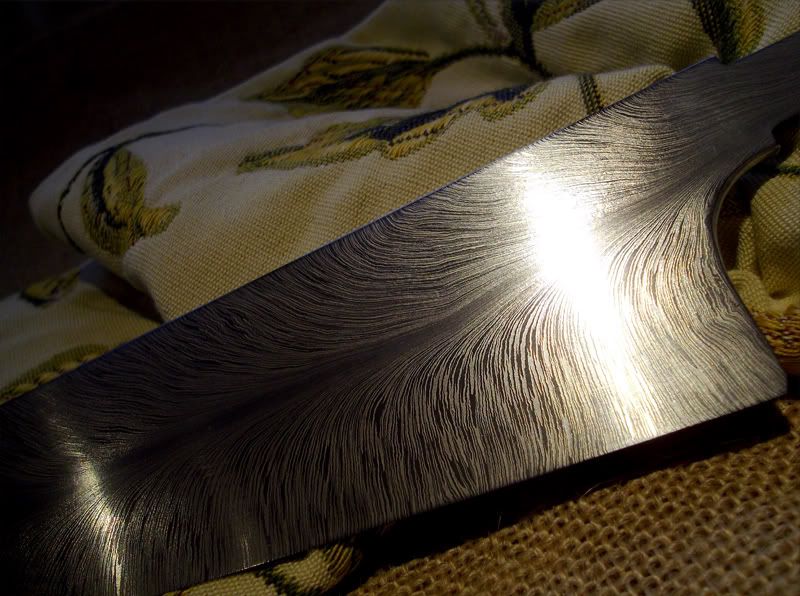
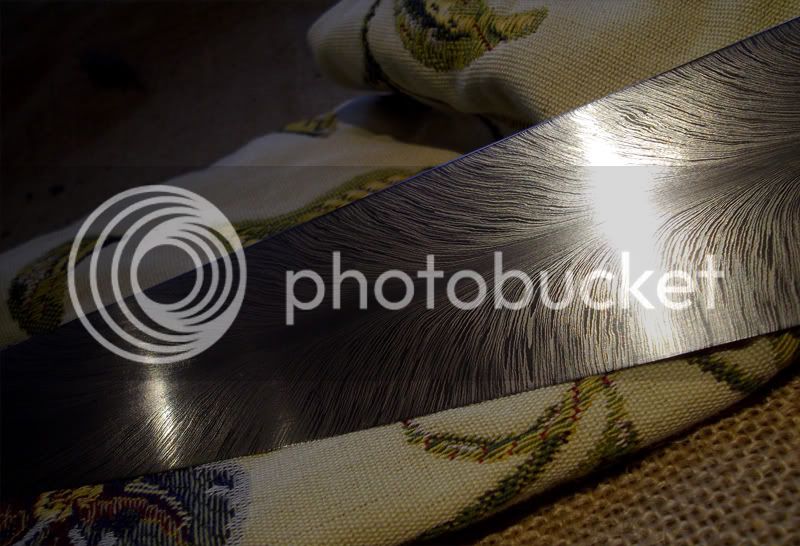
Great looking pattern. I like the profile and wouldnt change it much if any.
Great looking pattern. I like the profile and wouldnt change it much if any.


")
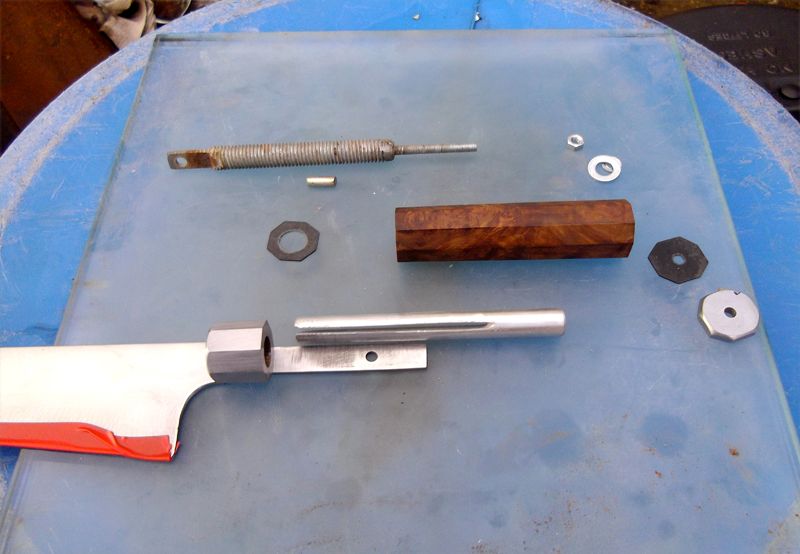
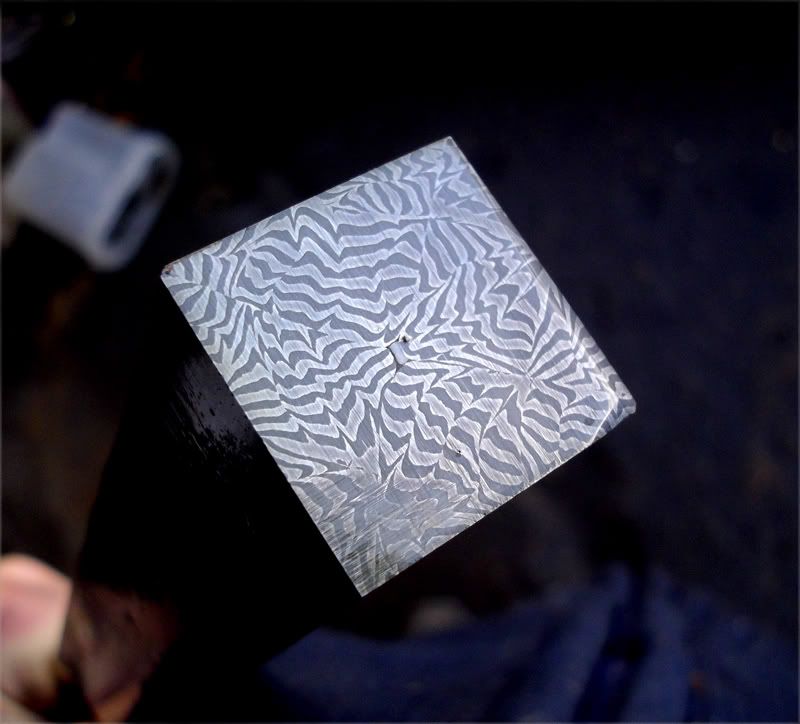
Thanks Joe, that sounds good, hope the twists did not get too stretched, have to see, either way be nice for ferrules. Clear some space in your inbox btw, just tryed to send you a message.:biggrin:
Enter your email address to join: