Show your work! Uchigumori and co...

Kitchen Knife Forums

Help Support Kitchen Knife Forums:

This site may earn a commission from merchant affiliate links, including eBay, Amazon, and others.
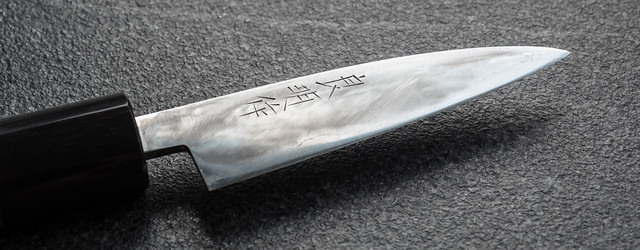
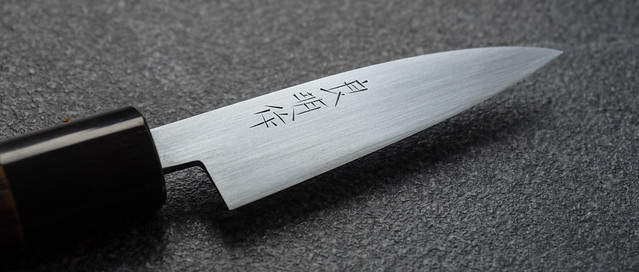
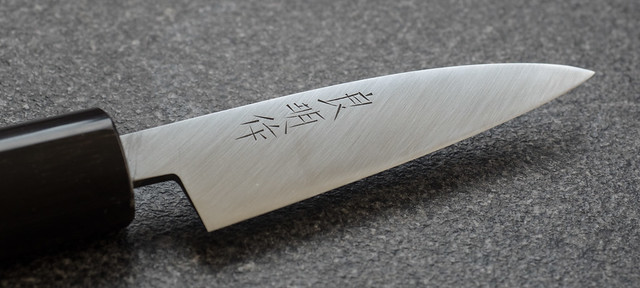
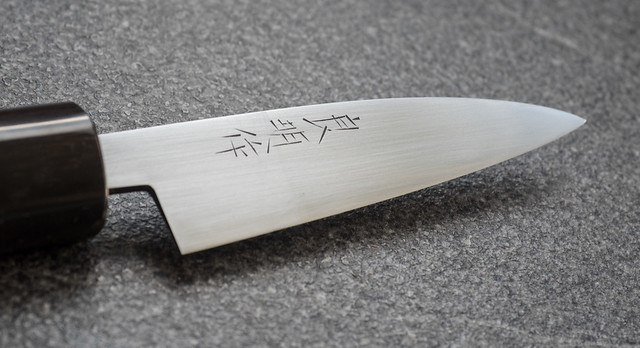
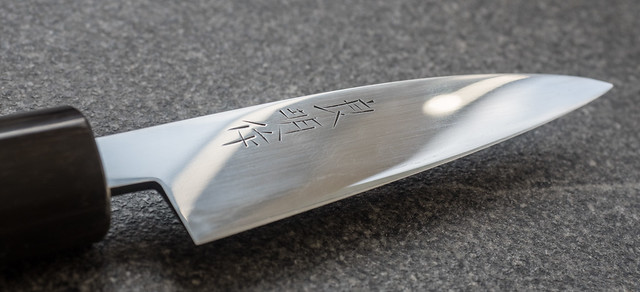
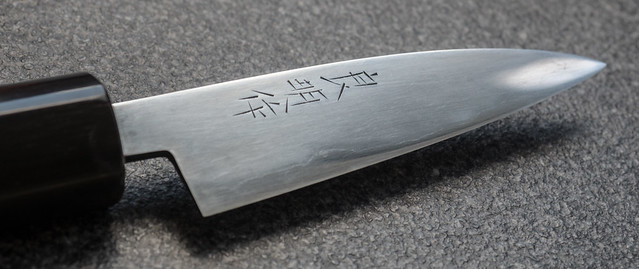
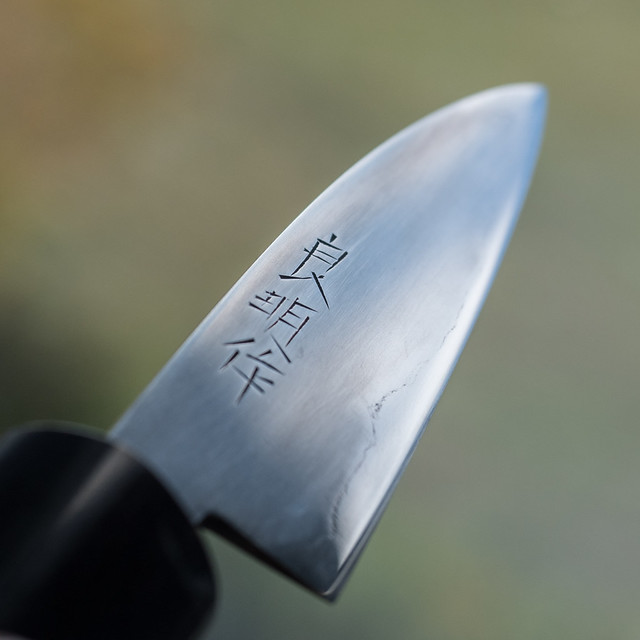
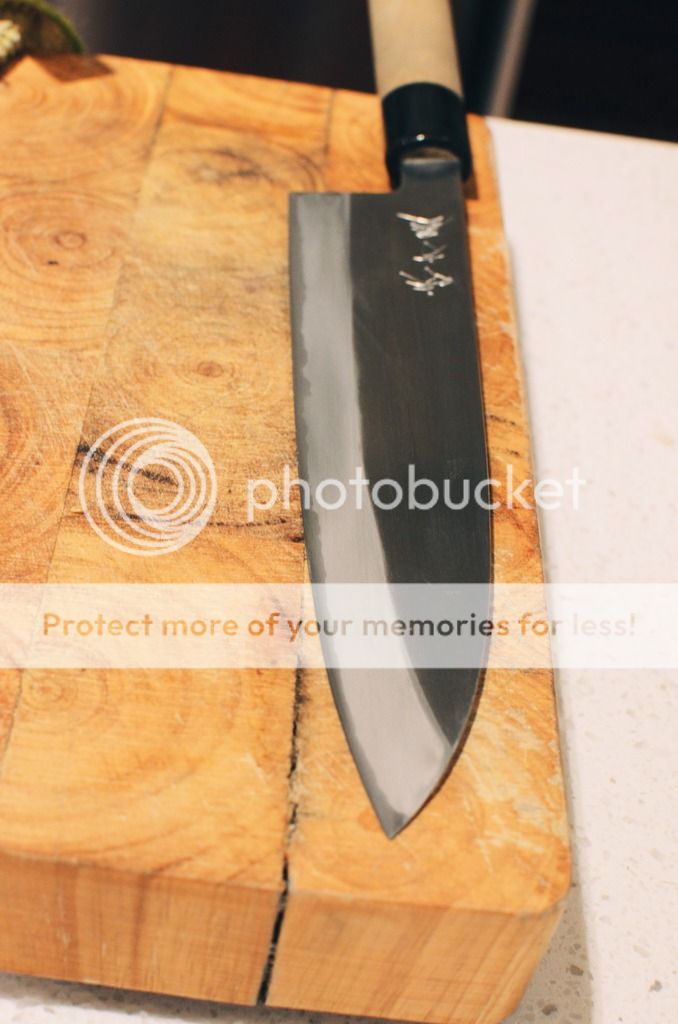
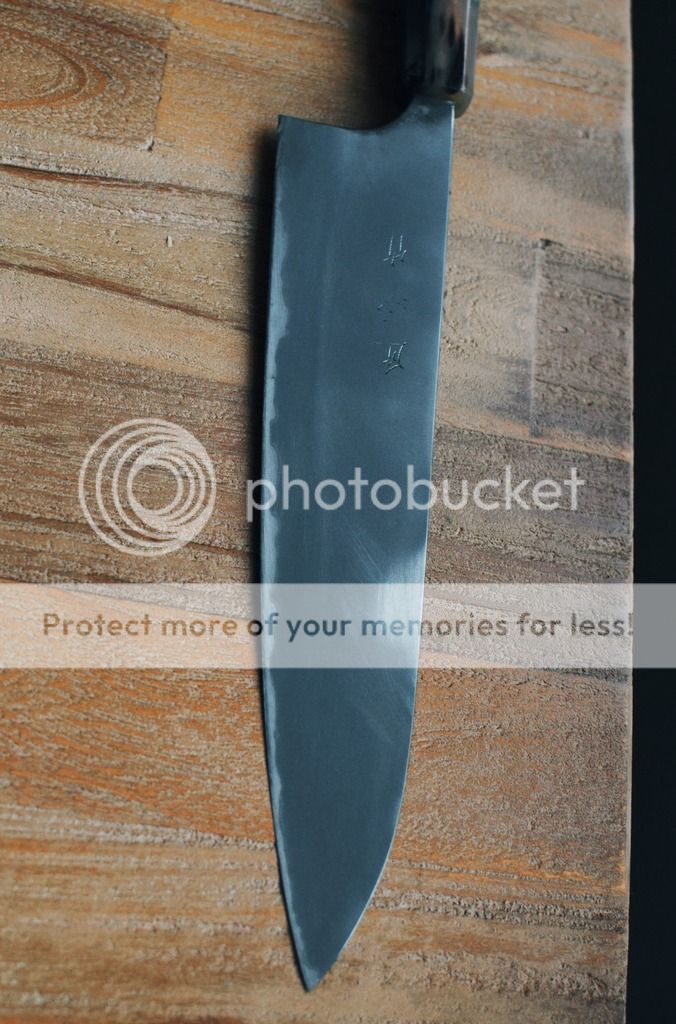
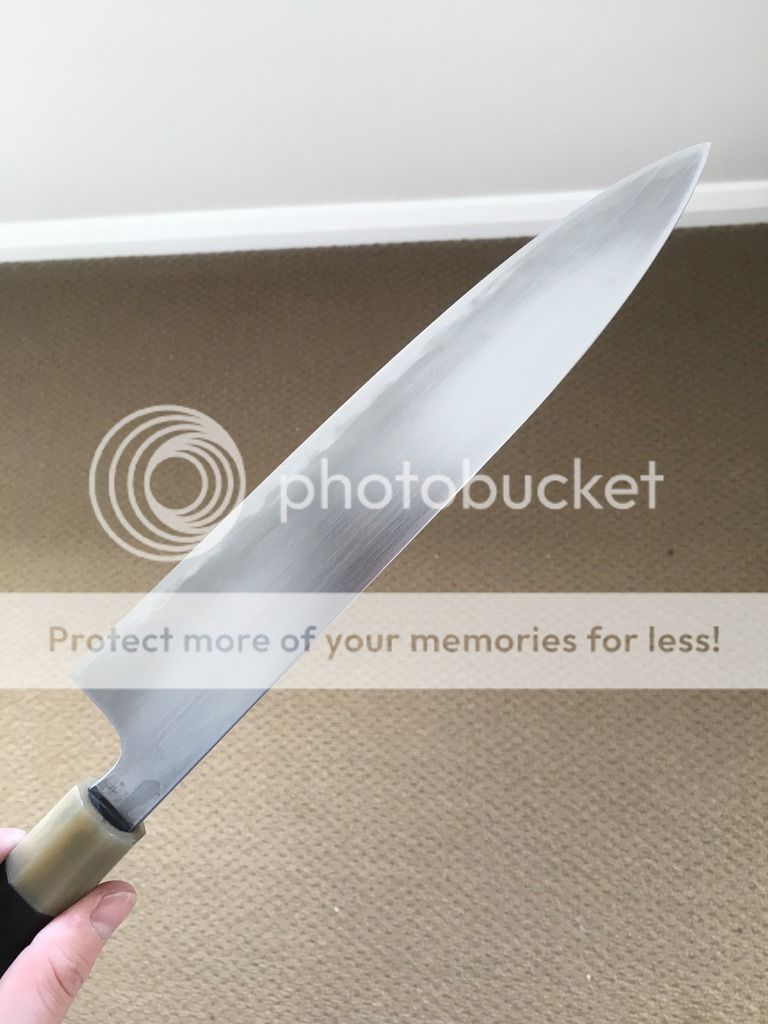
I have recently refinished a 80mm Kato petty:

Original condition after testing different stone 'finishes':


After #400 sanding paper


After #600 sanding paper


After #1000 sanding paper


After #2500 sanding paper


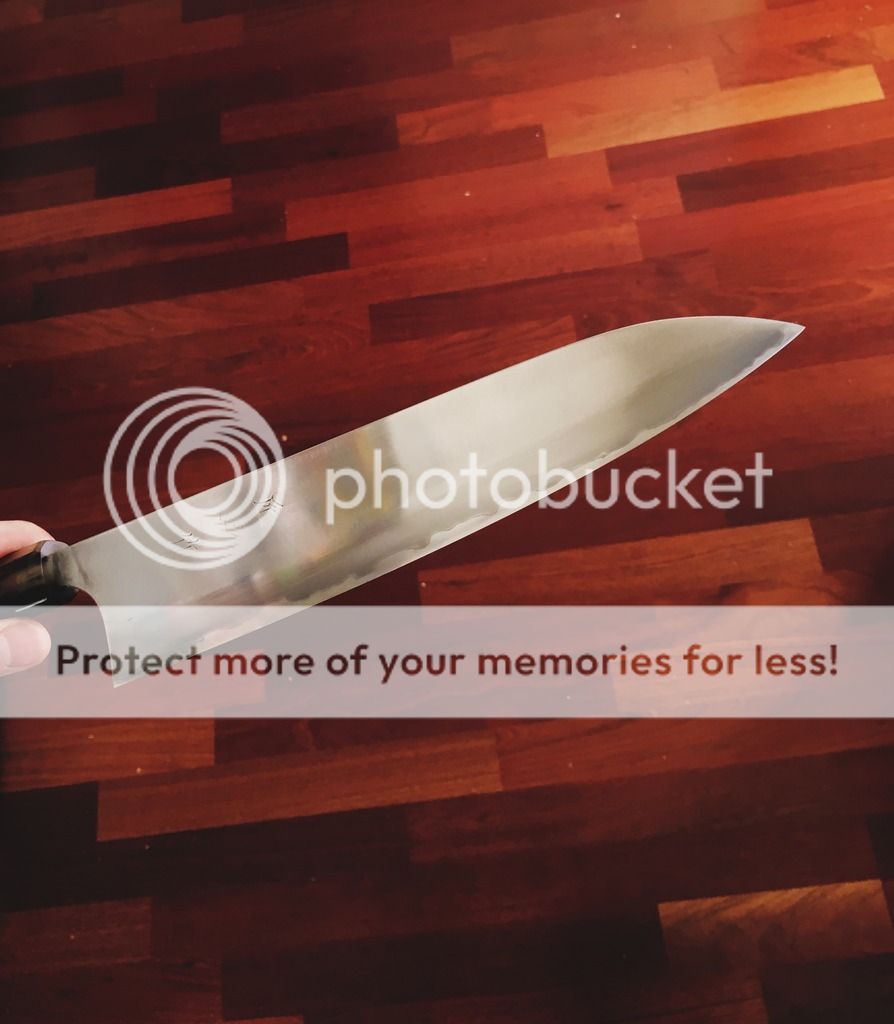
After soft fingerstones (in retrospect I should have probably done a little better job with sanding, but it is still nice)


A no finger stone finish on a knife i've been sharpening for a friend for awhile.
IMG_4659.jpg
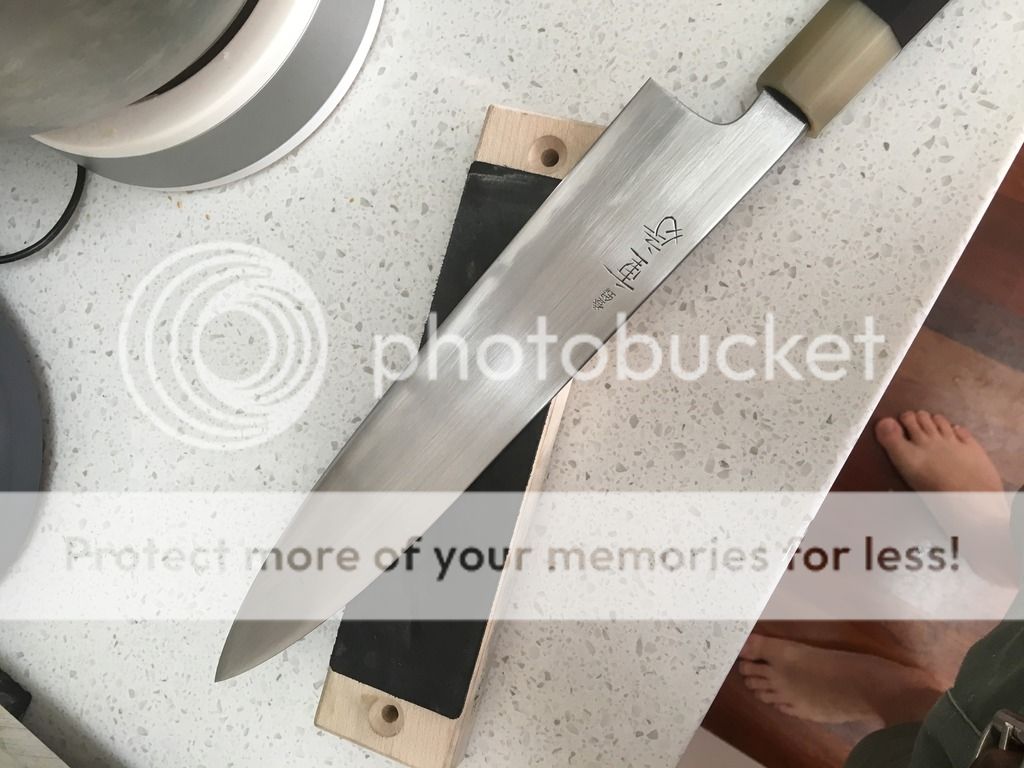
Aoto Finish on a friends takeda
IMG_4697.jpg
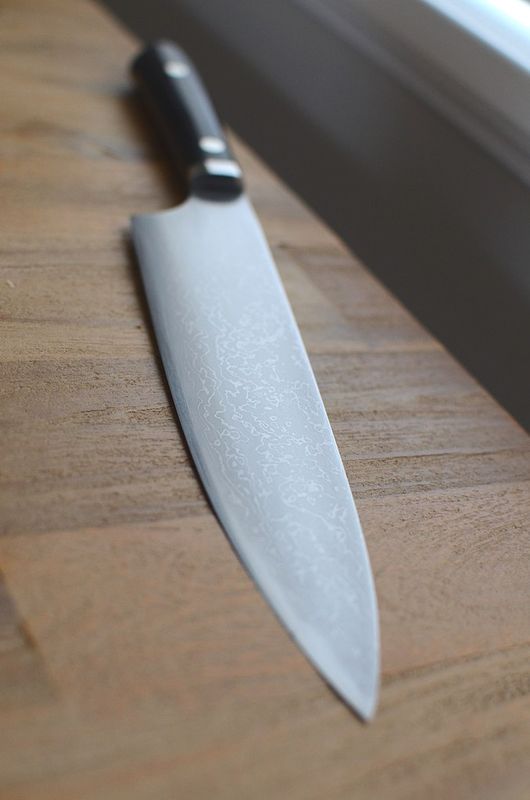
Re sand / etch / force patina / polish on my maumasi
IMG_4801.jpg
 
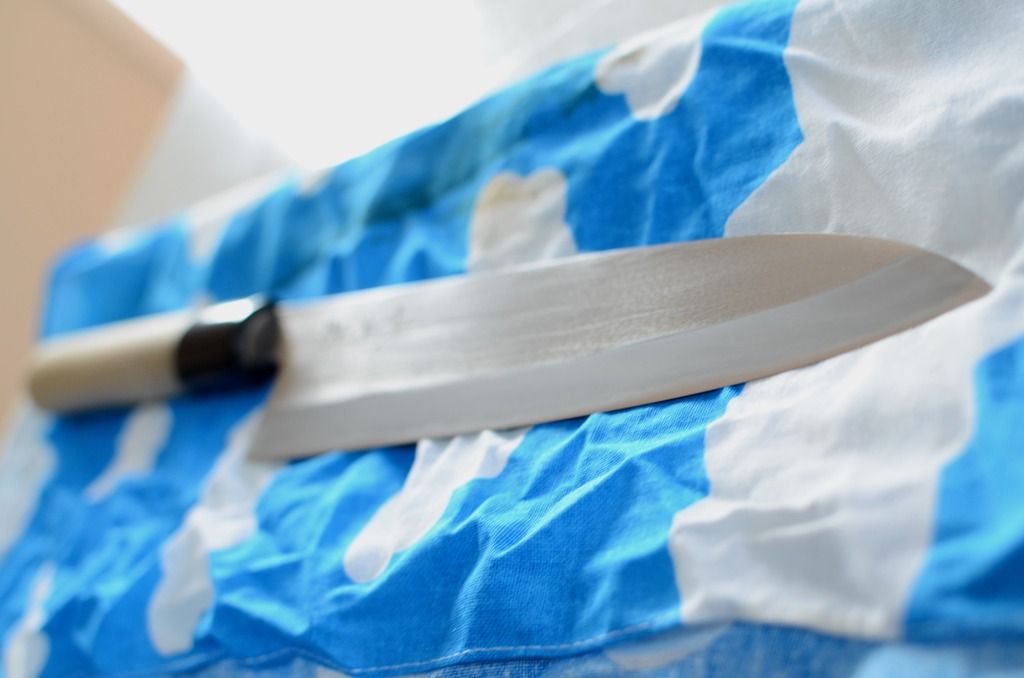
this one above is a 180 mm Sujihiki special in White #2 KU from Watanabe.
I first "removed" the black KU finish to mirror, a long job.
I worked a bit on the saya too.
Bilder hochladen
After this basis I polished with a big Uchigumori Hazuya from Ohira, then Hazuya fingerstones and Jizuya fingerstones.(both from Ohira)
I can't rmember wich kind of paste I applied on it at the end, maybe Jitteko.
Hard to see on the picture but the blade has contrast and is extremely glossy and this without mirror effect.
It was the glossiest result I got.

But more to come...
 
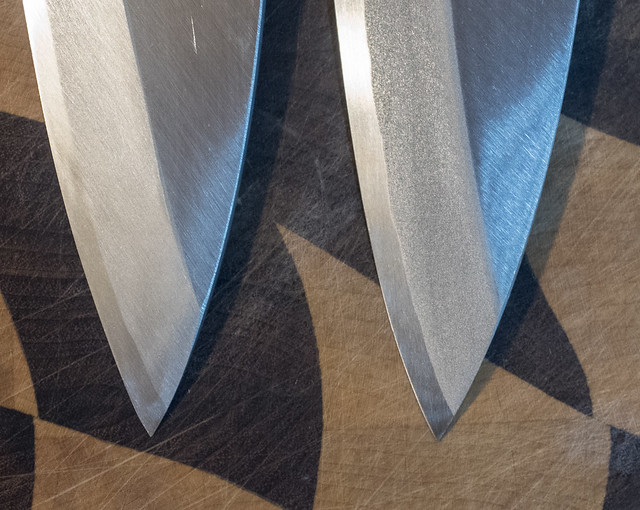
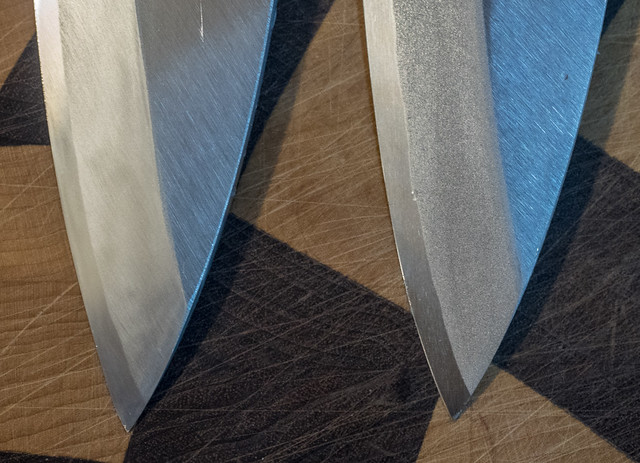
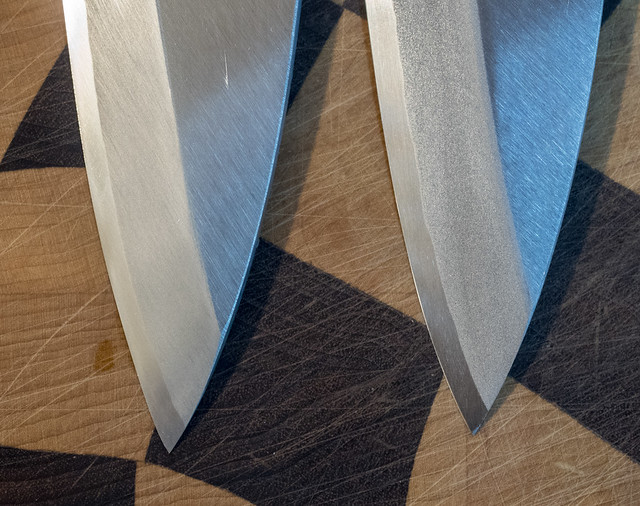
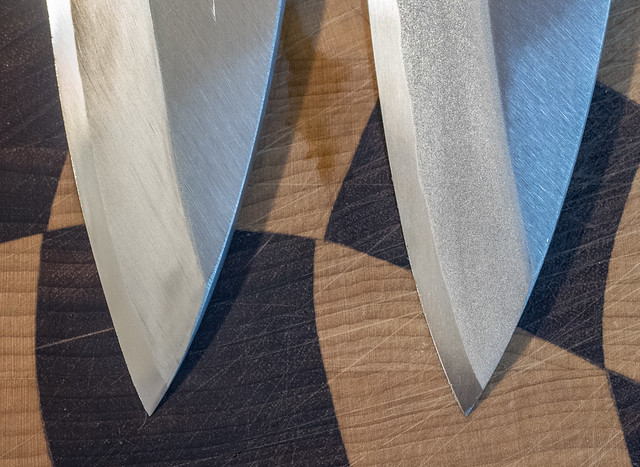
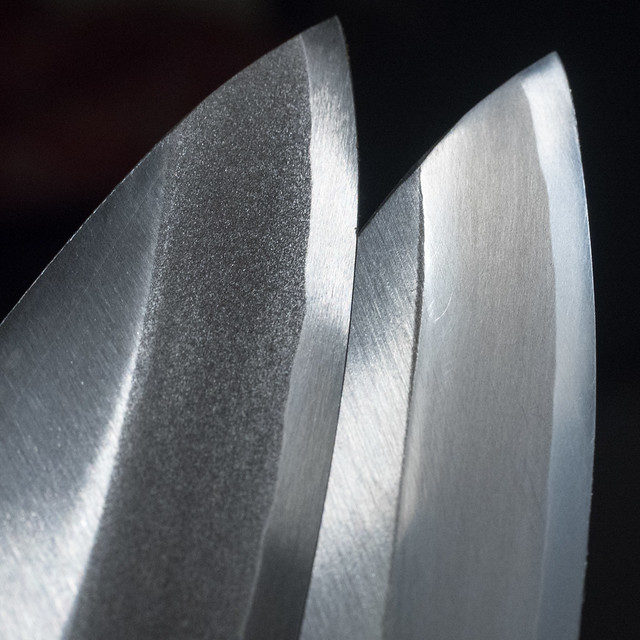
I bought recently to cheap single bevel funayuki for playing around. Since I had TWO I could keep one in the original state and compare to what kind of finish different stones would leave. The original finish looked a bit 'sand blasted' (and somewhat grippy) on the cladding between core steel and shinogi line. Since the grind was also completely flat, it was relatively easy to to give it a try (I have very little experience with kasumi finish so far)

Left: JNS300
Right: original


Left: Gesshin Synthetic Natural (yes, directly from JNS 300, I did not have any 'in between stone at that moment)
Right: original


Left: Soft (and not too fine - about 1k - 2k based on feel) Blue Aoto which seems to have a few hard particles that cause fine lines
Right: original


Left: Lv 2.0 Hakka (very soft and muddy with tendency to sticking which apparently is normal, but make it hard to leave smooth finish)
Right: original


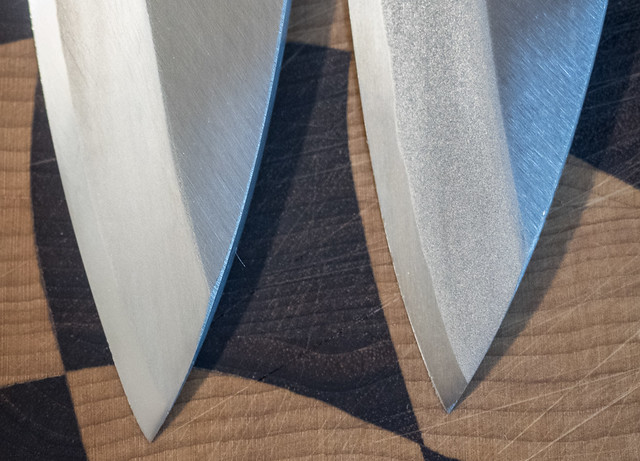
Left: After finger stones made from soft Tomo Nagura (according to Maxim from Takashima or Ohira)
Right: original


The same as above under different (better) angle:


Summary:
- I was surprised how even the finish the JNS300 left
- Gesshin Synthetic Natural is not a stone for Kasumi finish (exactly as described, it is an excellent edge finisher). I used it because I did not have my Gesshin 2000 at hand. Still - it was fast enough to remove the scratches from JNS300 what is an achievement by itself
- The Aoto could be finer, but it was the easiest to put an even finish on the stone (save for the few fine scratches)
- Hakka would really stick a lot and in spite of the amount of mud it produces I did not manage to get even finish.
- Fingerstones allowed me to put even finish after previous steps with ease.
 
Jakob - sorry - I got confused, that is not your Kato. The blade on yours is still covered in tape :)
 
XooMG - fantastic work on that Carter. What stones did you use?
Not sure. It was around the time I got my white suita from Shinichi, so that may have been my last stone, but it might have been hakka juice on a burnished binsui base.

Thanks for the compliment.
 
this one above is a 180 mm Sujihiki special in White #2 KU from Watanabe.
I first "removed" the black KU finish to mirror, a long job.
I worked a bit on the saya too.
Bilder hochladen
After this basis I polished with a big Uchigumori Hazuya from Ohira, then Hazuya fingerstones and Jizuya fingerstones.(both from Ohira)
I can't rmember wich kind of paste I applied on it at the end, maybe Jitteko.
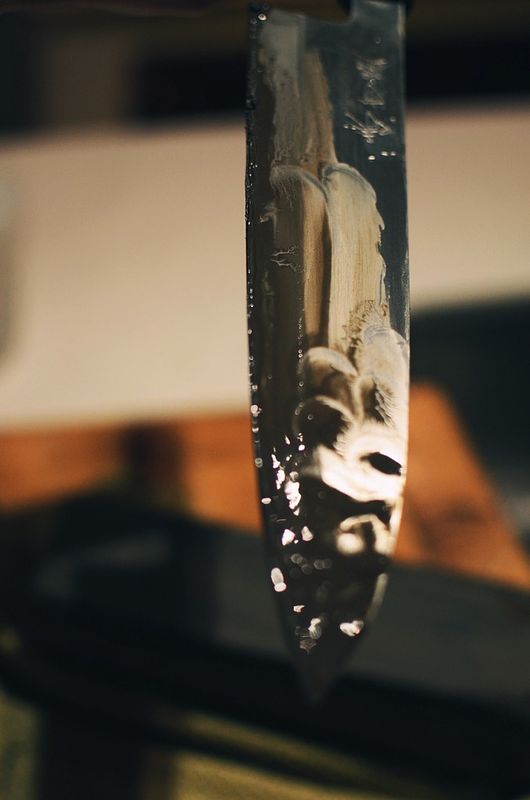
Hard to see on the picture but the blade has contrast and is extremely glossy and this without mirror effect.
It was the glossiest result I got.
Fine edge sharpened on an Ao Renge from Ohira. Very beautiful and useful sujihiki.

But more to come with Kintarou Ame, Damascus, Kitaeji and probably a better camera ;-)
 
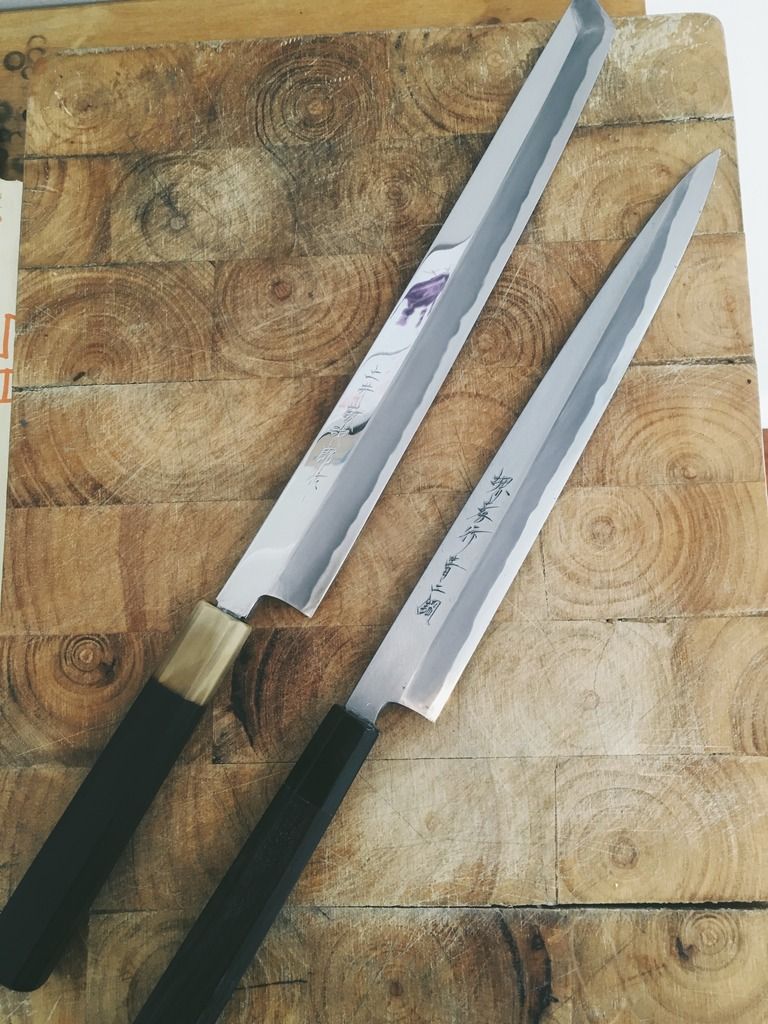
Sabaki special with engraving and inserted diamond, and Yanagi special, both from Watanabe. The yanagi has been polished with Uchigumori from Watanabe himself.

already beautiful but I'm about to polish them again. Still with fingerstones but mat/mirror glossy.


gratis bilder
 
Nutmeg, that looks awesome - in particular the Sabaki and Yanagiba. I have a long way to go to make that kind of finish. But now I have no excuse more with the new stones from Shinichi :)
 
EDIT: I assumed, that the stated budget is for one knife. If you mean it for both, then just use it only for the gyuto and get a nakiri later. The reason is - you can get a really great knife within your budget, but if you try to get two, you will be really pushing it and may need to compromise too much on quality or finish.
 
Nutmeg, that looks awesome - in particular the Sabaki and Yanagiba. I have a long way to go to make that kind of finish. But now I have no excuse more with the new stones from Shinichi :)
Thanks Matus, in fact if you take more time than I with a slowly progression and concentrated moves, your results will be much better than mine and this at the first time!
I don't believe that technique plays the biggest role for polishing.
 
Great thread nutmeg!! These have variously been posted under different threads but here goes.

Hinoura on Monzento


Same Hinoura with a King 800 > Monzento > Maruoyama shiro suita > fingerstone finish on the blade road
And a micromesh finish on the blade flat


Red Orca gyuto with a horrible machined on finish that I ground off with coarse stones (I don't recommend it) and refinished up to 1200 grit sandpaper


Syousin chiku migaki thinned and refinished sanjo style


Dois on naturals after king 800


Shig given pre BST spa


I was playing with Takamura R2 Mikagi. The main problem was that the spine was really sharp and I needed to round it a bit. So first I did the spine but later noticed that also the bolster is way too sharp for comfortable use. Unfortunately I do not have pics of the part when I was rounding the spine&bolster.

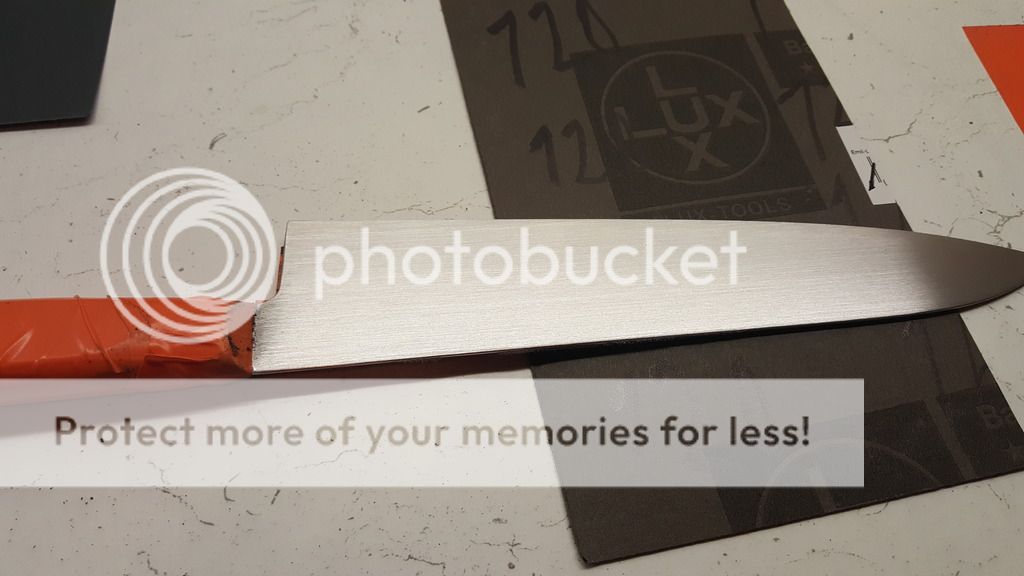
I just documented the polishing that I did yesterday:

I needed to start with very coarse sand paper as the vertical scratches from buffer wheel were really deep:

01%20120%2020161120_210637_zpsbcx1uyl9.jpg


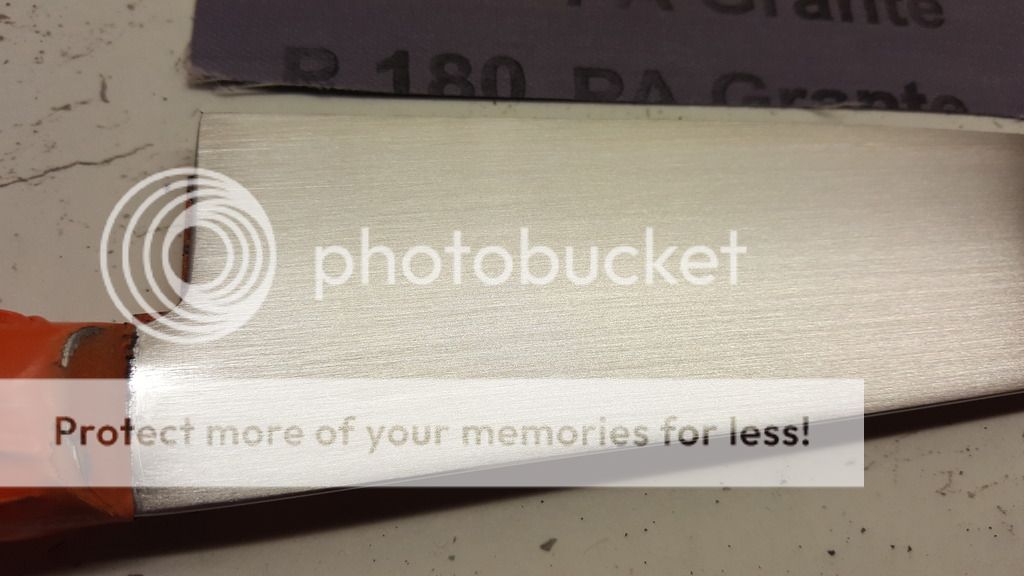
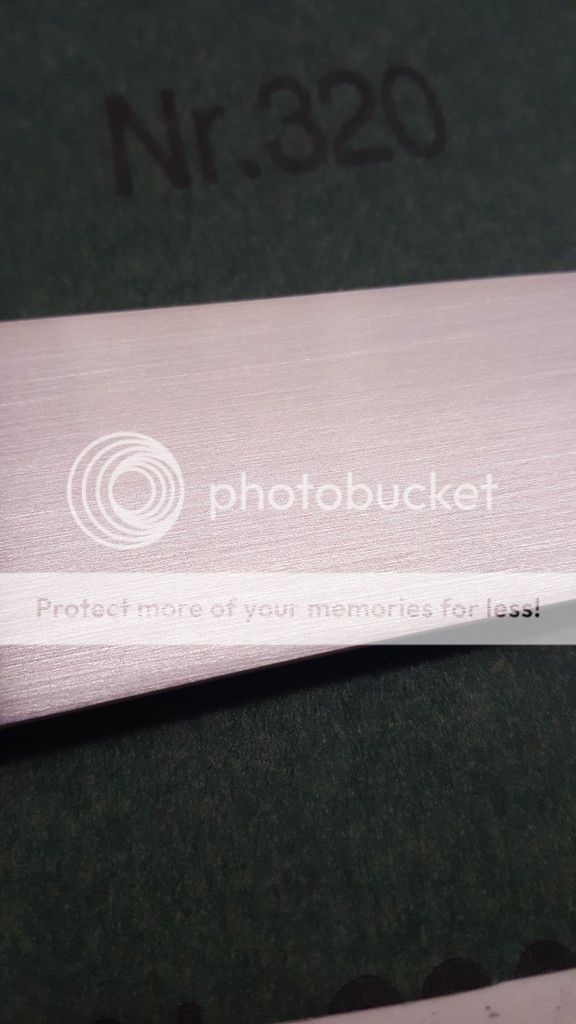
followed by (BTW 180 is where Heiji stops finishing his blades):

02%20180%2020161120_211300_zpsyhsgwbfl.jpg


03%20320%2020161120_211824_zps0eokxjq7.jpg


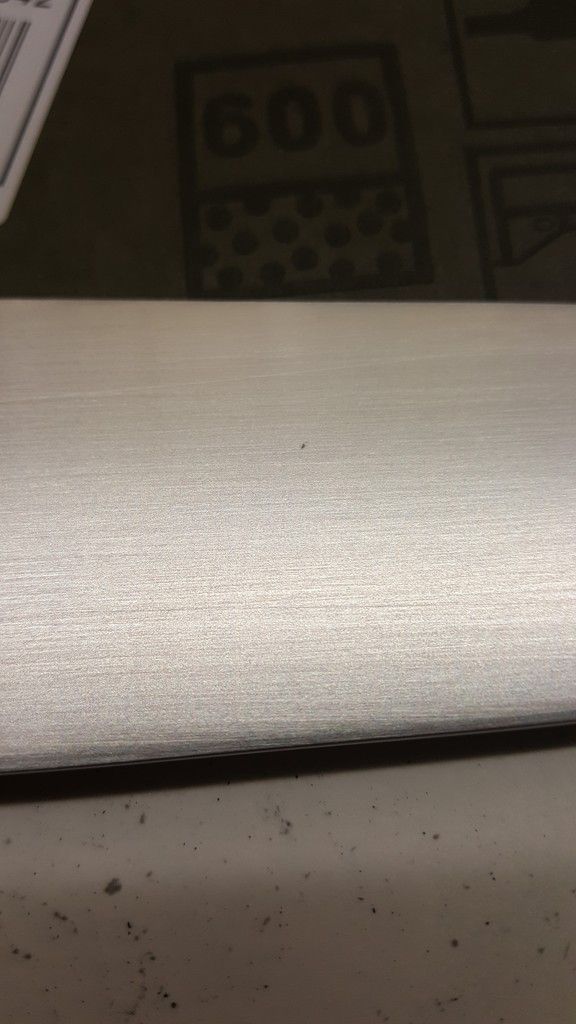
04%20600%2020161120_212215_zpswsgl29bt.jpg


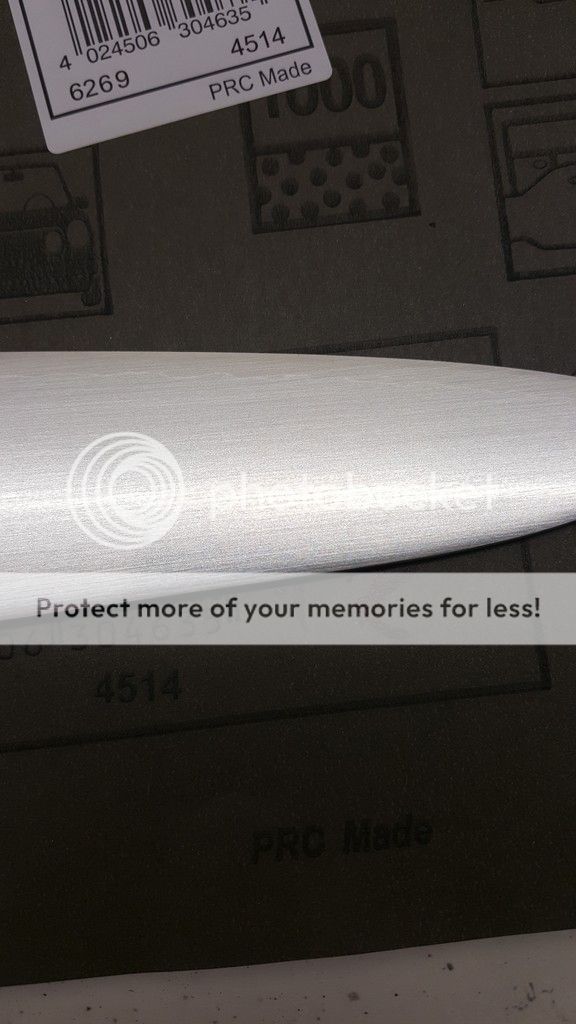
05%201000%2020161120_212806_zpsteitelzb.jpg


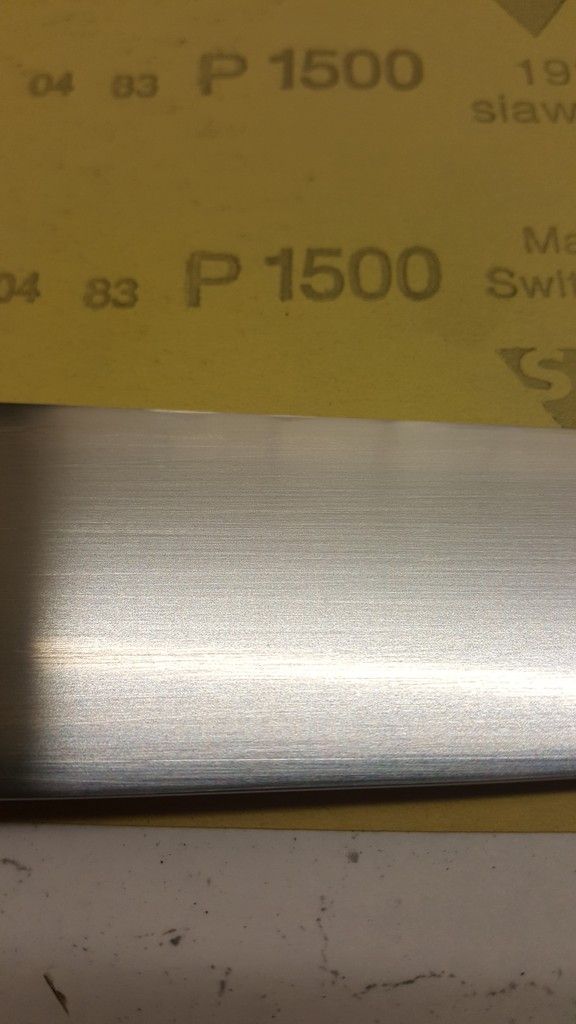
06%201500%20%2020161120_213145_zpsrgx9actk.jpg


Missing picture for 2000 grit

Later it was time for polishing:
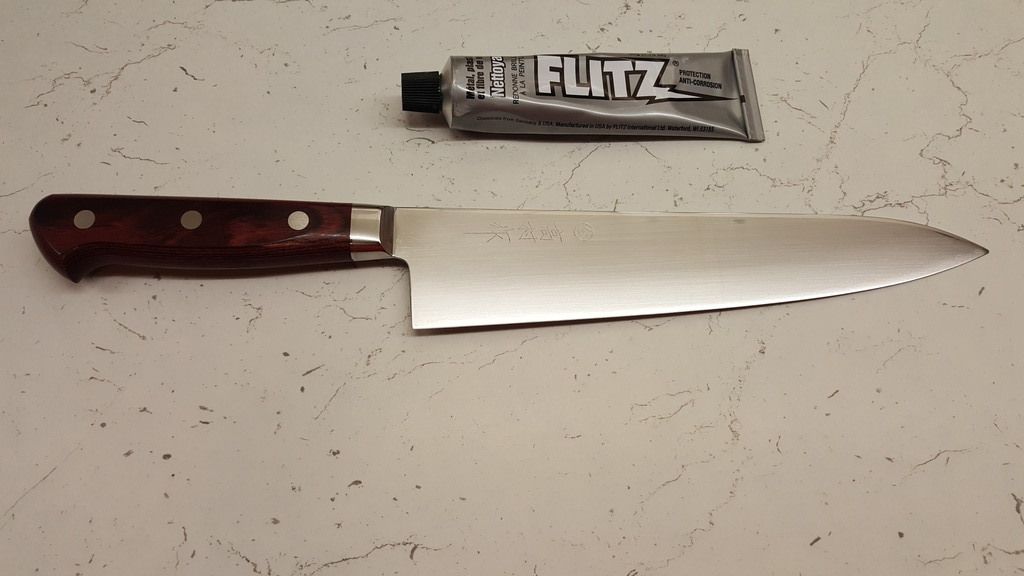
07%20flitz%2020161120_220548_zpsgruiiglu.jpg


A bit more detail:

08%20flitz%202%20%2020161120_220628_zpsyeb1s1wf.jpg


Then it was time for finger stones (courtesy of Matus ;))

11%20finger%20stone%20result20161120_224842_zpskdic8ynk.jpg


Some more detail:

13%20fingerstone%20detail%202%2020161120_224915_001_zpsbbsepawa.jpg


Somehow the tip got lost in the whole process:

12%20finger%20stone%20details%201%2020161120_224848_zps6lickale.jpg


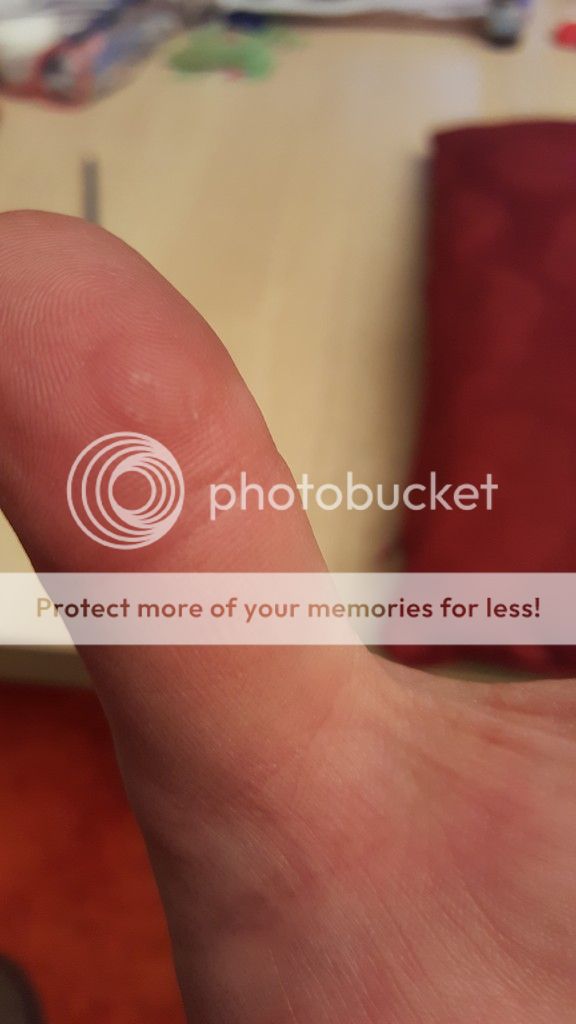
The whole process (without rounding spine): rounding of bolster & polishing took me 3 hours. One of the results was also this (on both thumbs):

14%20poor%20hands_zpsncgzkqtf.jpg


Now the knife is much, much more pleasant to use. It makes huge difference. In the next days I just need to restore the tip and give it a good sharpening job.
 
You did very nice job there, krx927. The fingerstones did not have too much effect - I guess it is because the cladding is stainless.

I would only not that it is very easy to 'loose' the tip when refinishing the blade - in particular if one starts on coarser grit. One possibility to mitigate that is to have some sort of mechanical stop few mm in front of the tip so that the sanding pad can not slip over the tip as at that point the whole force is concentrated over very small area and over time the tip gets simply ground away. I used such a stop when I was draw-filing a blade (prior to HT, of course), because slipping off with a file had quite a drastic effect on the not yet hardened tip.

It was my first time using finger stones and honestly I was a bit disappointed by the result. Most likely you are right about stainless steel.

I was thinking the same about loosing tip. Indeed the only explanation is the it was gone when I was going over it with coarse grit. Nice suggestion about the stop, I would even think that it would be enough to make the stop a little over the edge, so that the middle of the sanding paper would stop at the tip. I will try next time.
But funnily enough until now I never lost the tip when refinishing the knife. I did that with 3 gyutos: Miyabi, Akifusa (2 of them) and 1 Heiji petty and they were all fine. Perhaps the fact that I really used 120 grit paper to start (with others I started with 240) and the fact that it is extremely thin behind the edge.

Man that makes me miss my Takamura.

Great knife, especially now that I fixed the flaws that were making it pretty uncomfortable to use. The only other issue that still exist is unfortunately non fixable = handle. If they would at least come with WA handles. This western handle is a bit too small and you cannot do anything about it.
As we saw some time ago not even WA conversion helps as there is that nasty whole in the tang.
 
It was my first time using finger stones and honestly I was a bit disappointed by the result.

Stainless is a point but I think the blade was a bit scratchy for fingerstones.
Some could say fingerstones show the caracter of the blade. It looks more metallic and shows the scratches too as versus to mirror polish.
180 is very rough and removes a lot of steel. You should try starting at higher grain.
Also you were polishing all way parallel to the lengthwise axis of the edge.
Try to start at 45°, then 30°, 15° and after 1000 parallel to he lengthwise axis of the edge. That way you can better control the scratches.
 
to see the scrathes on the blade I take the blade in the direction of a light .


the most difficult is not to polish but to patience until the smallest scratch is gone..!
(I never managed to be patient that long ;-) )
 
Stainless is a point but I think the blade was a bit scratchy for fingerstones.
Some could say fingerstones show the caracter of the blade. It looks more metallic and shows the scratches too as versus to mirror polish.
180 is very rough and removes a lot of steel. You should try starting at higher grain.
Also you were polishing all way parallel to the lengthwise axis of the edge.
Try to start at 45°, then 30°, 15° and after 1000 parallel to he lengthwise axis of the edge. That way you can better control the scratches.

Yes indeed I scratched the blade after I used finger stones..

I reallhy needed to start with very coarse paper as the original vertical scratched were very deep. With 320 they would not go out.

I will try next doing an angle with every grit, but this for sure is more difficult and will take more time. I must say that I was pretty happy with my result despite doing all sanding in the same direction.
 
Back
Top