I just wanted to make this post showing how I did the initial sharpening on this knife. I’ve been hand sharpening for about 5 years, and only recently bought Japanese knives. This is my second full sharpening to include thinning. I hope someone else sees this and realizes they can do this work if they decide to, without an insane amount of skill, belt sanders, JNats, or expecting perfect results. Here was my process and the results. I made a few different decisions on this knife than the last time I did it, and next time I will apply lessons learned to the next.
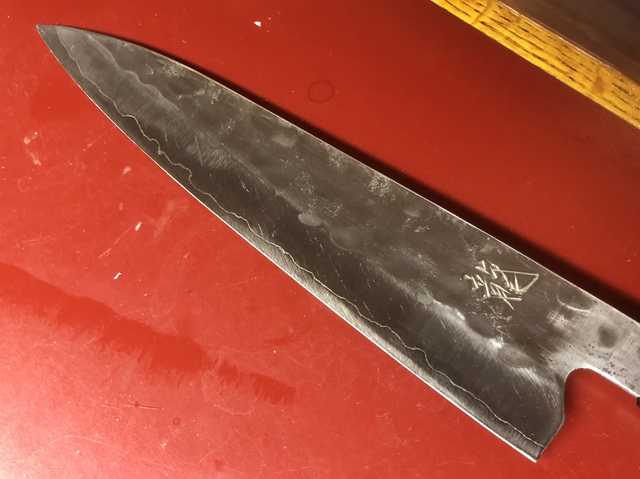
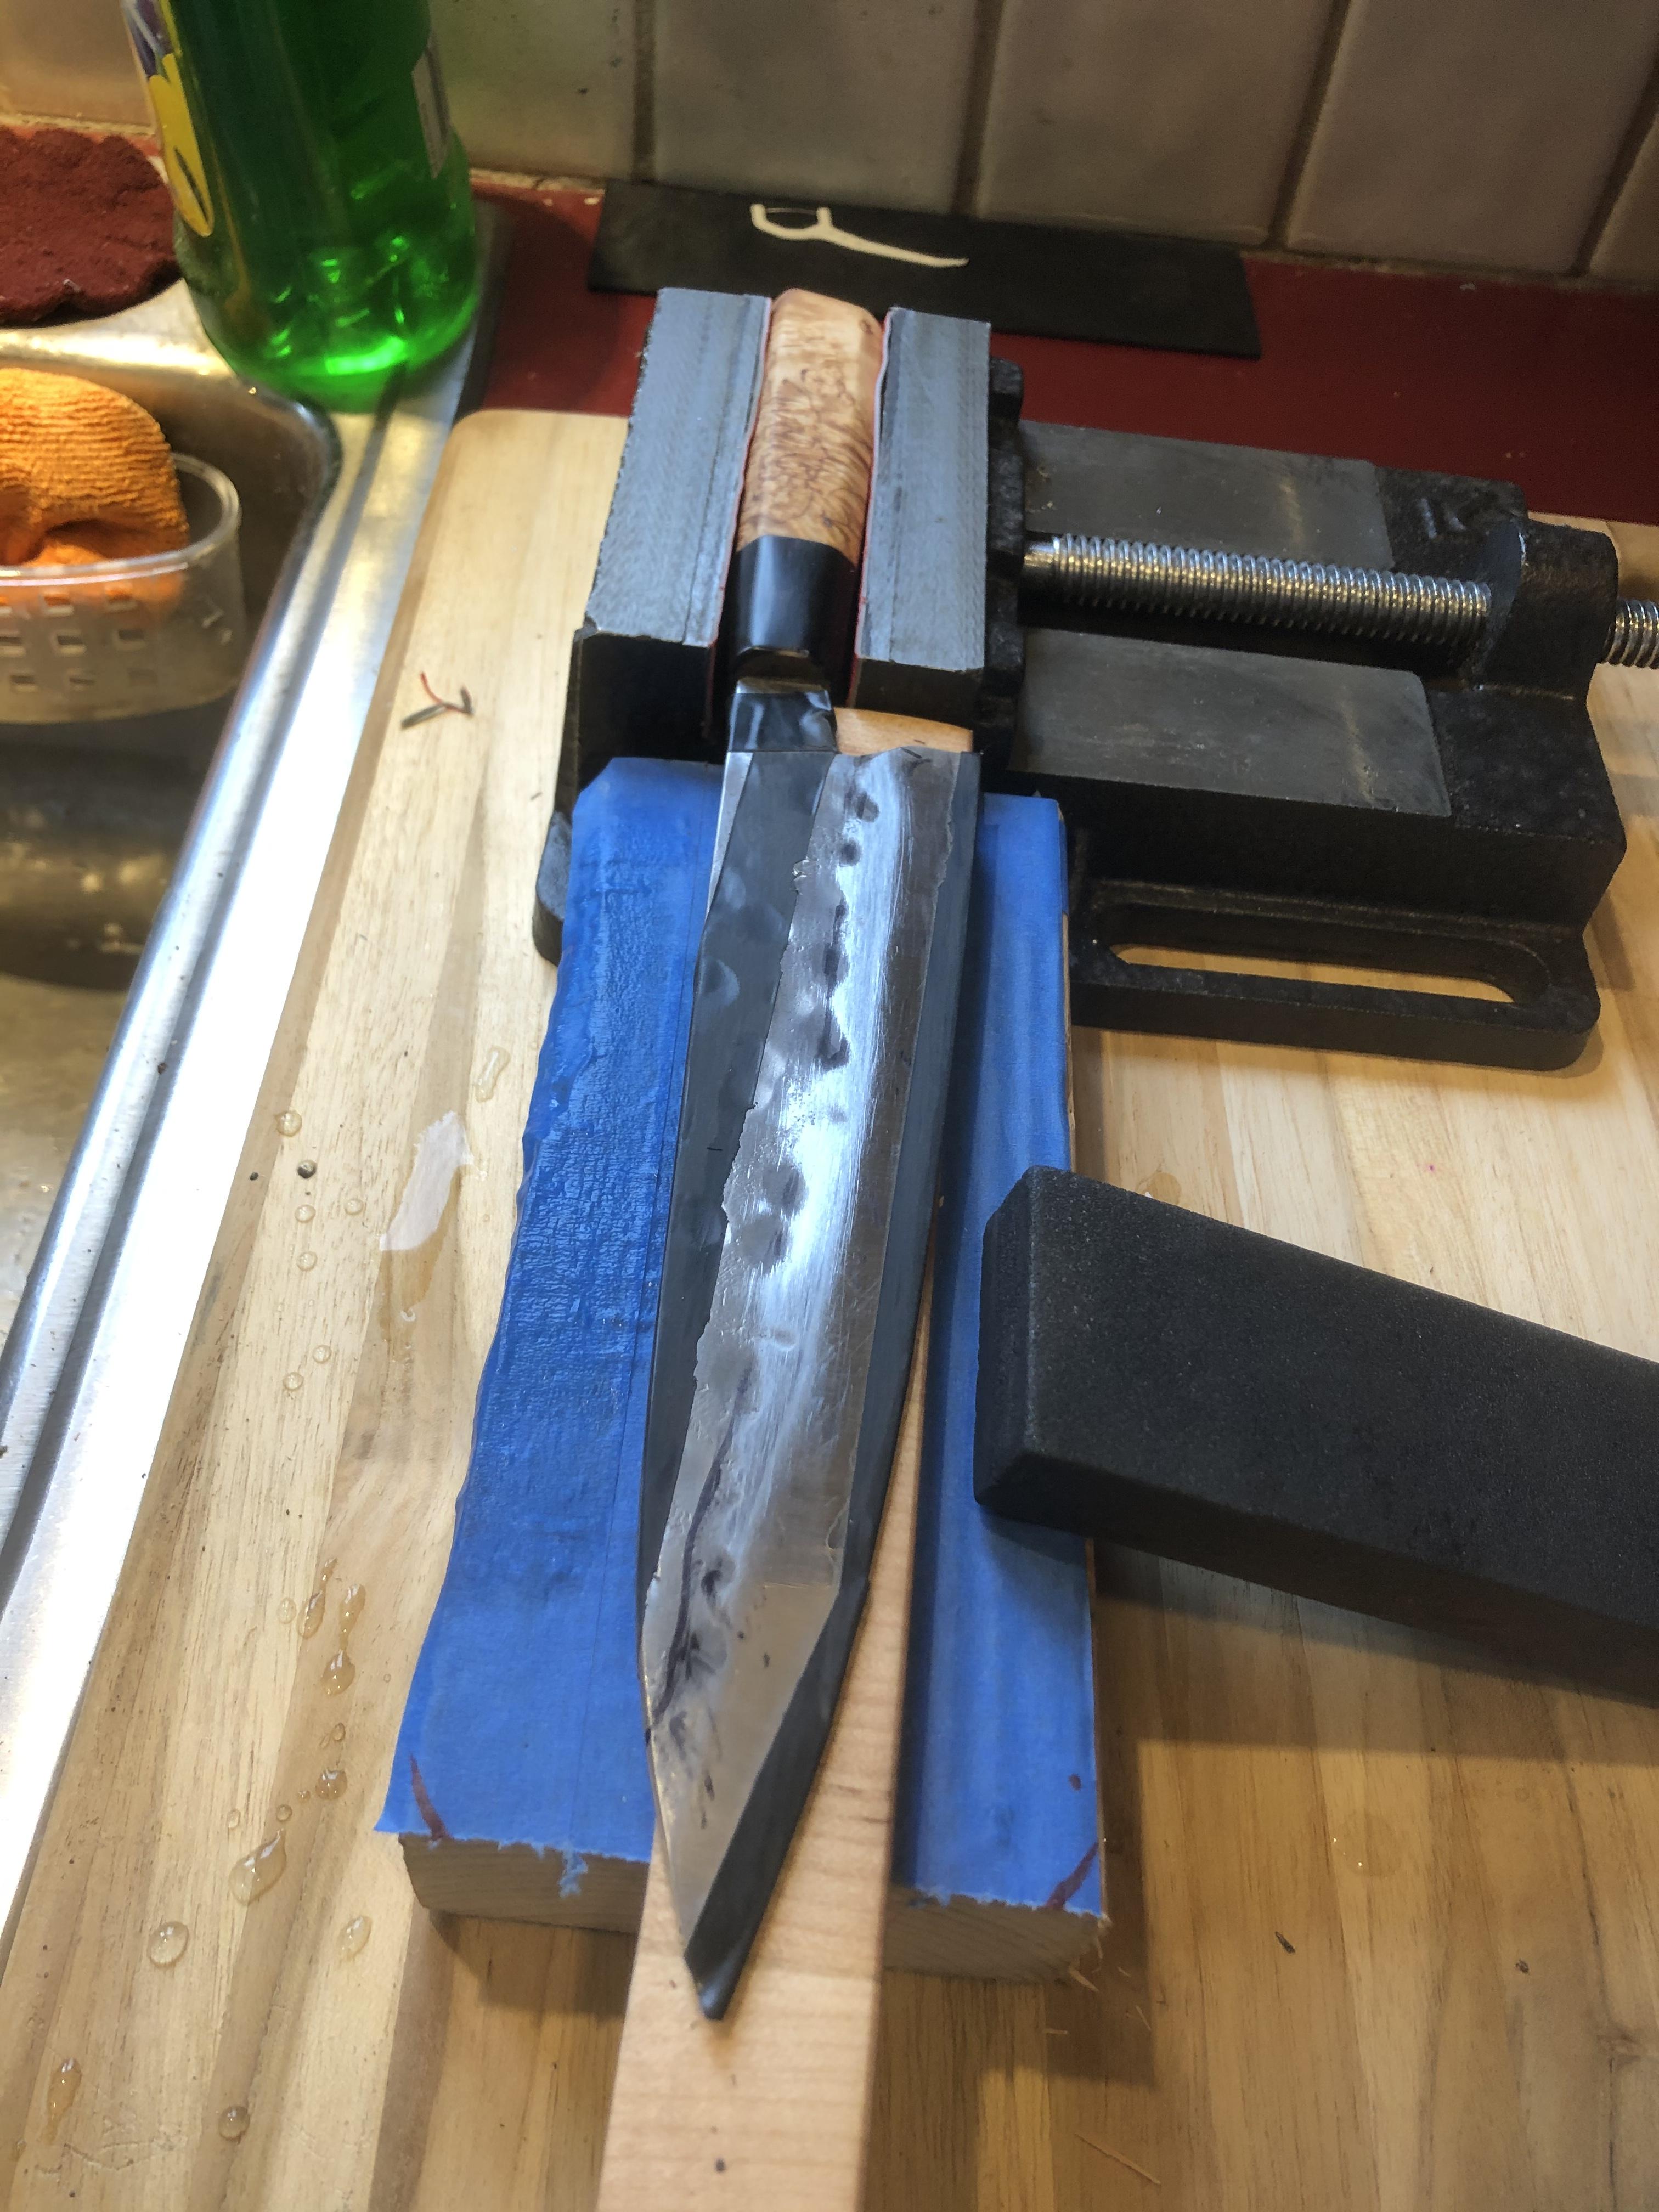
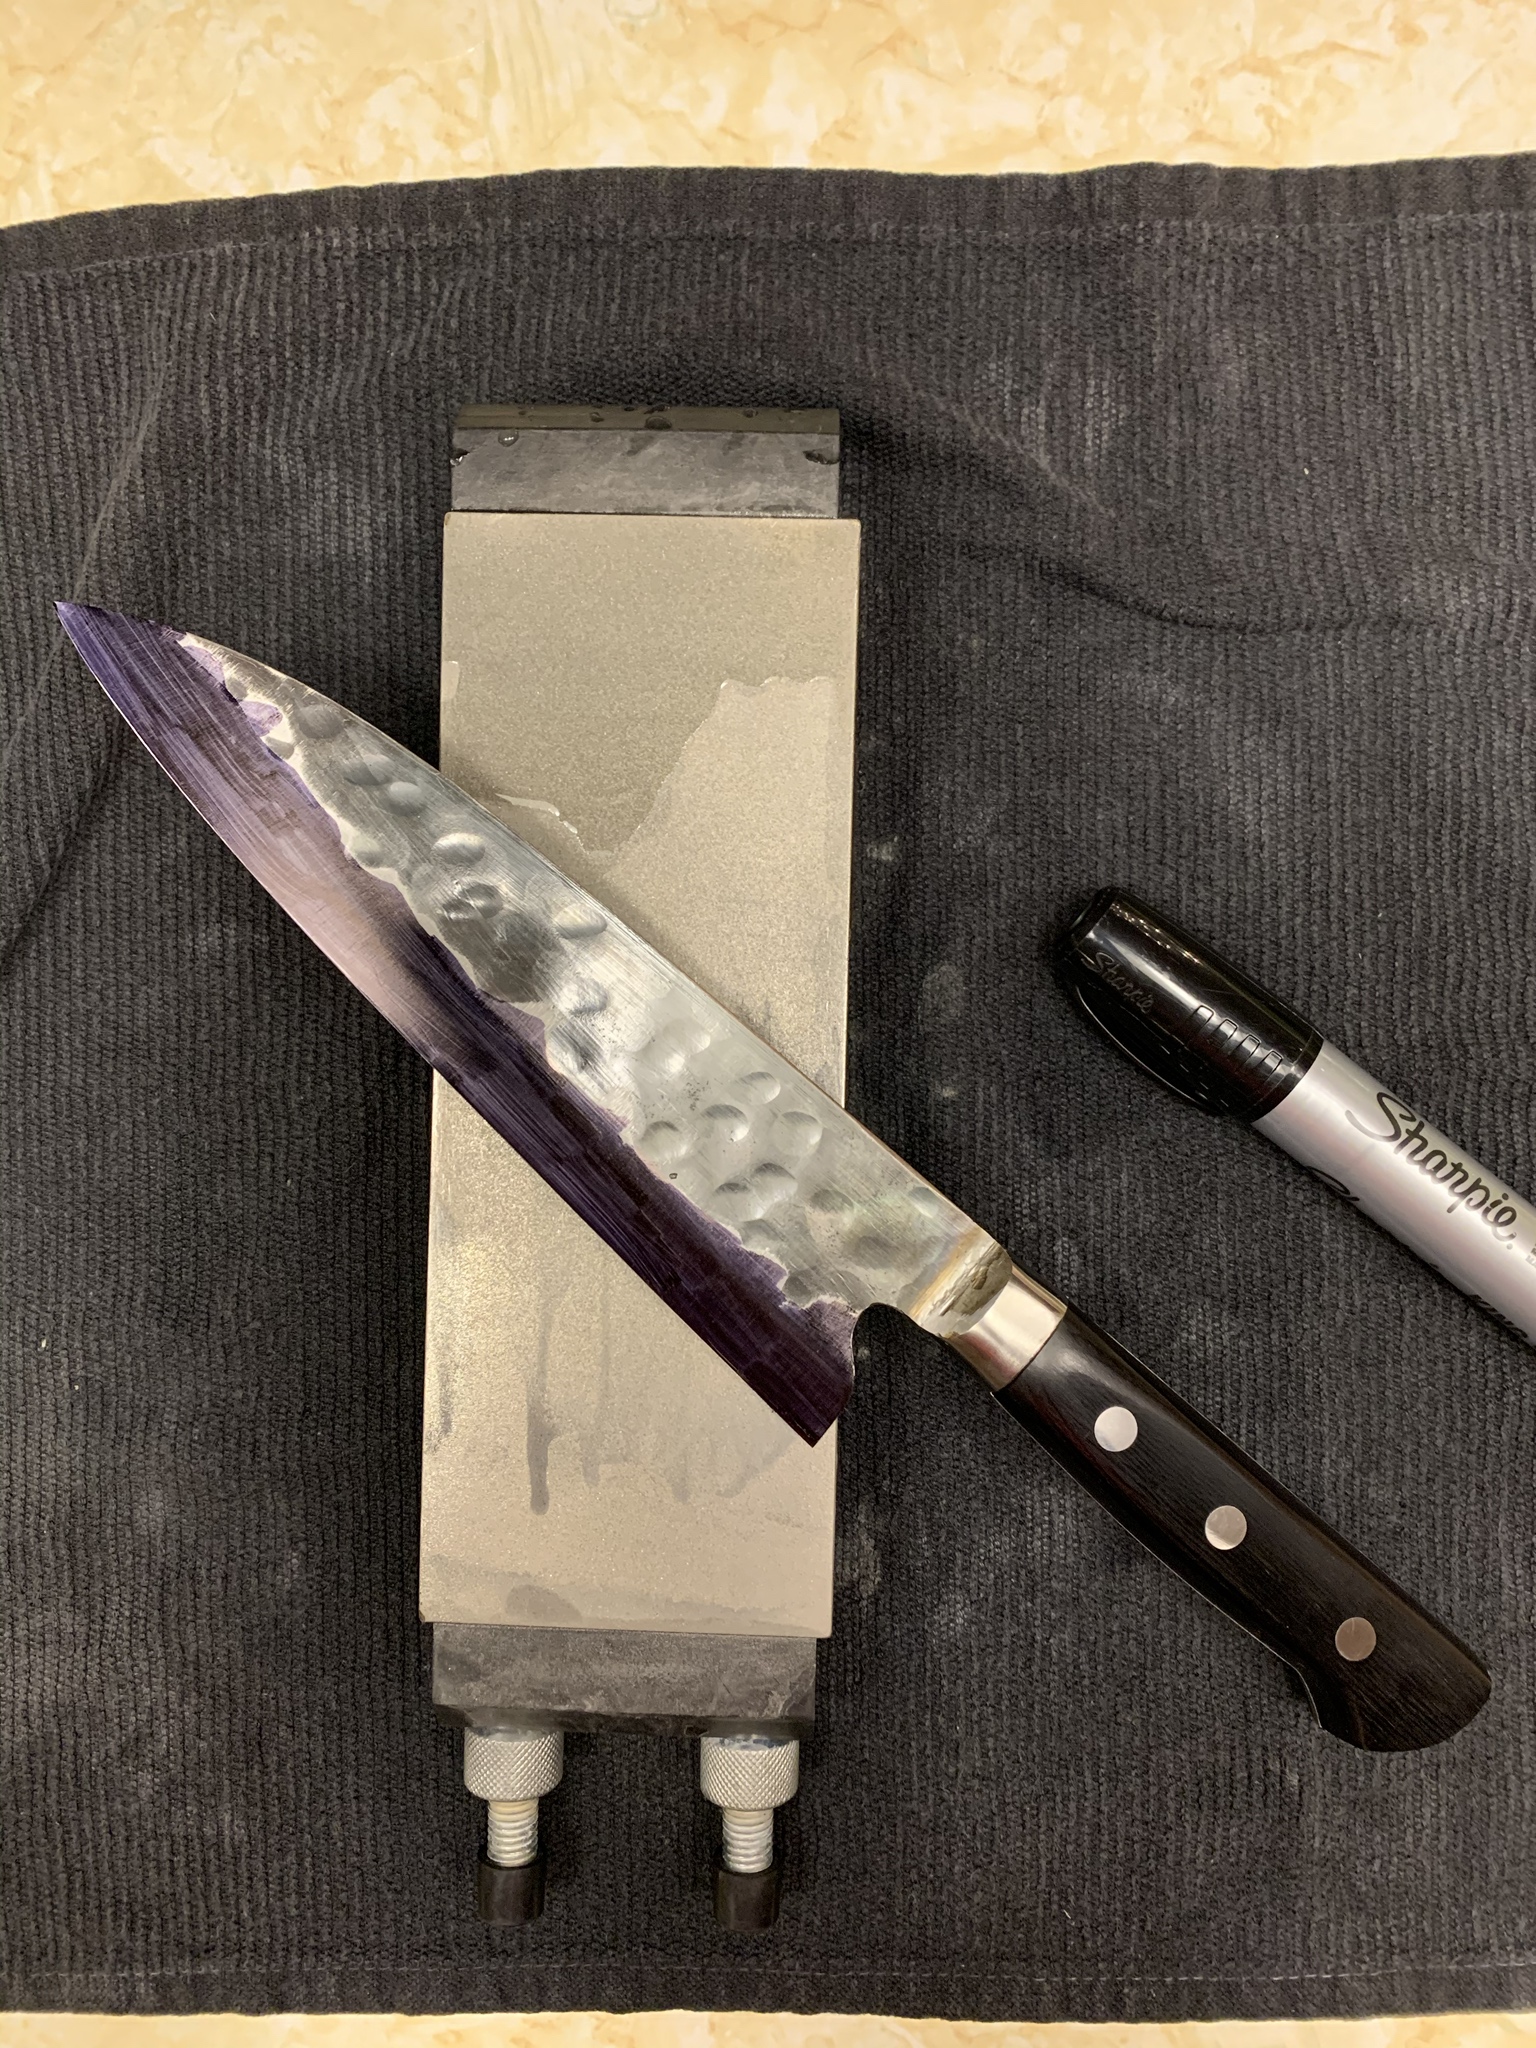
Here is the knife as I received it. Very nice looking knife. The grind was good, just a little uneven in some spots, nothing major at all. The finish on the exposed Jigane was probably 220 grit or so, pretty rough. The lacquer finish was ok. I scrubbed the knife with a worn out green scrubby and the lacquer smoothed out a lot. The handle is rough as others have reported. Doesn’t bother me very much. I might smooth it out, but I’m not sure I care enough to bother with the effort. The finger notch means you really choke up on it in a pinch grip, it makes the knife feel 10mm smaller in your hand. The aesthetic pushes my buttons for sure.
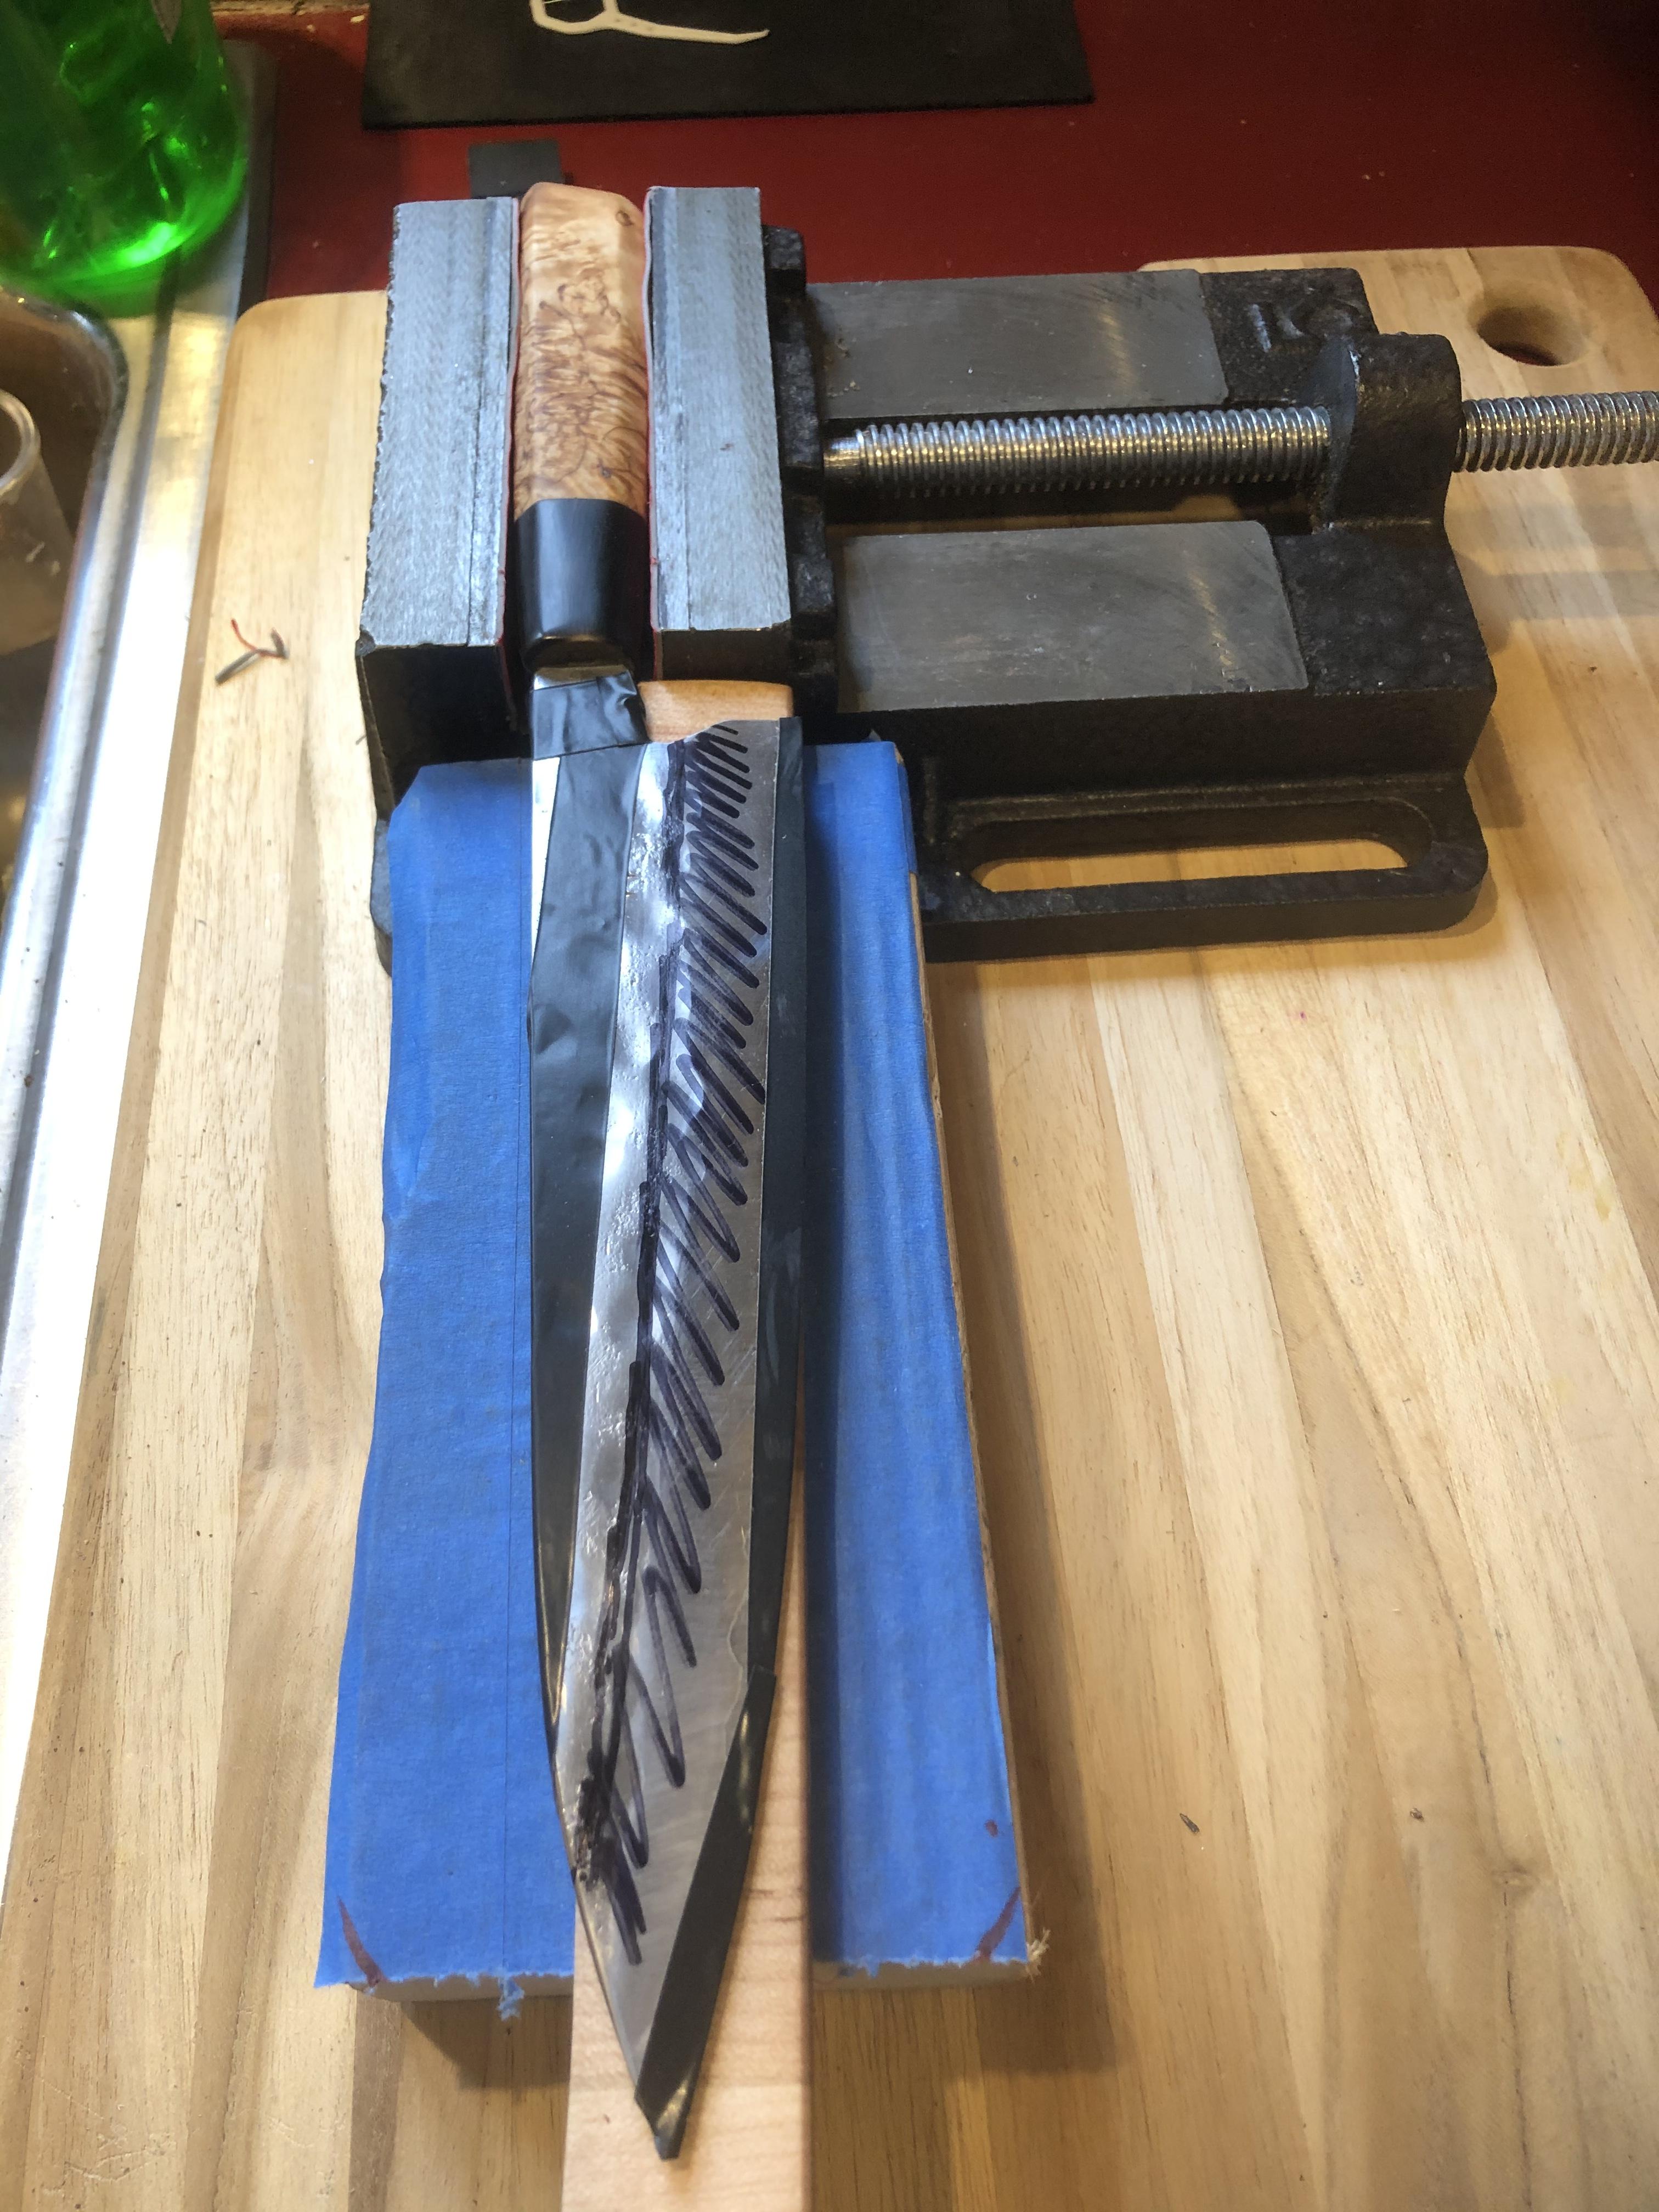
Here I’m thinning a little bit, and evening up the grind. I’m using an extra course diamond plate for this, and checking my work with a sharpie.
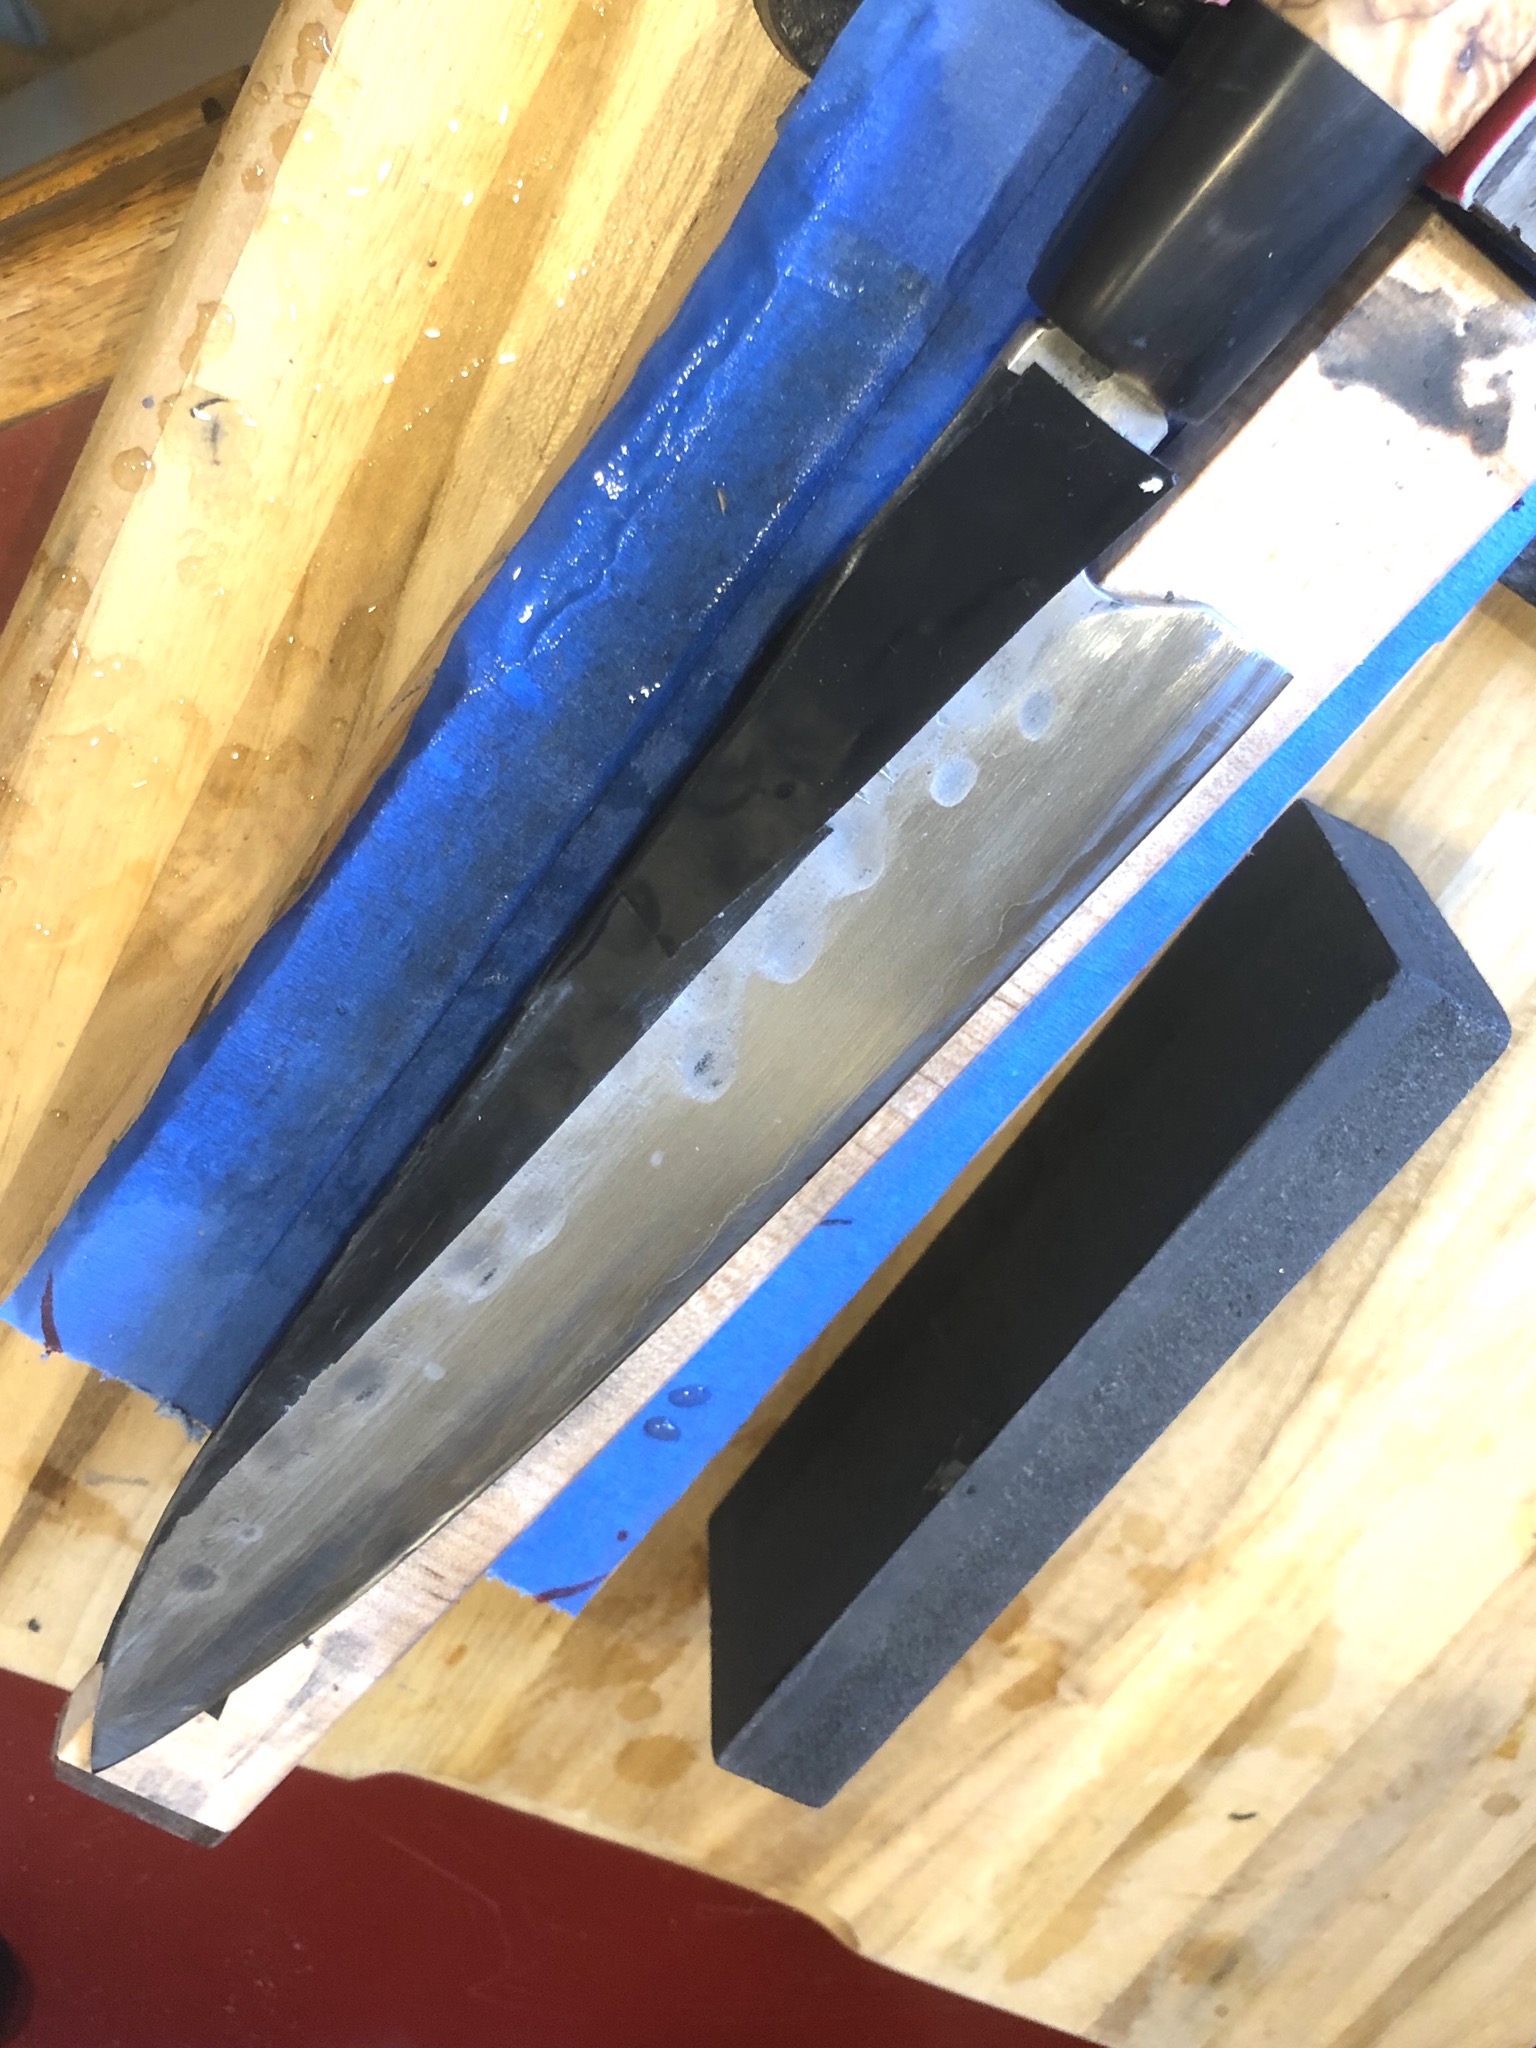
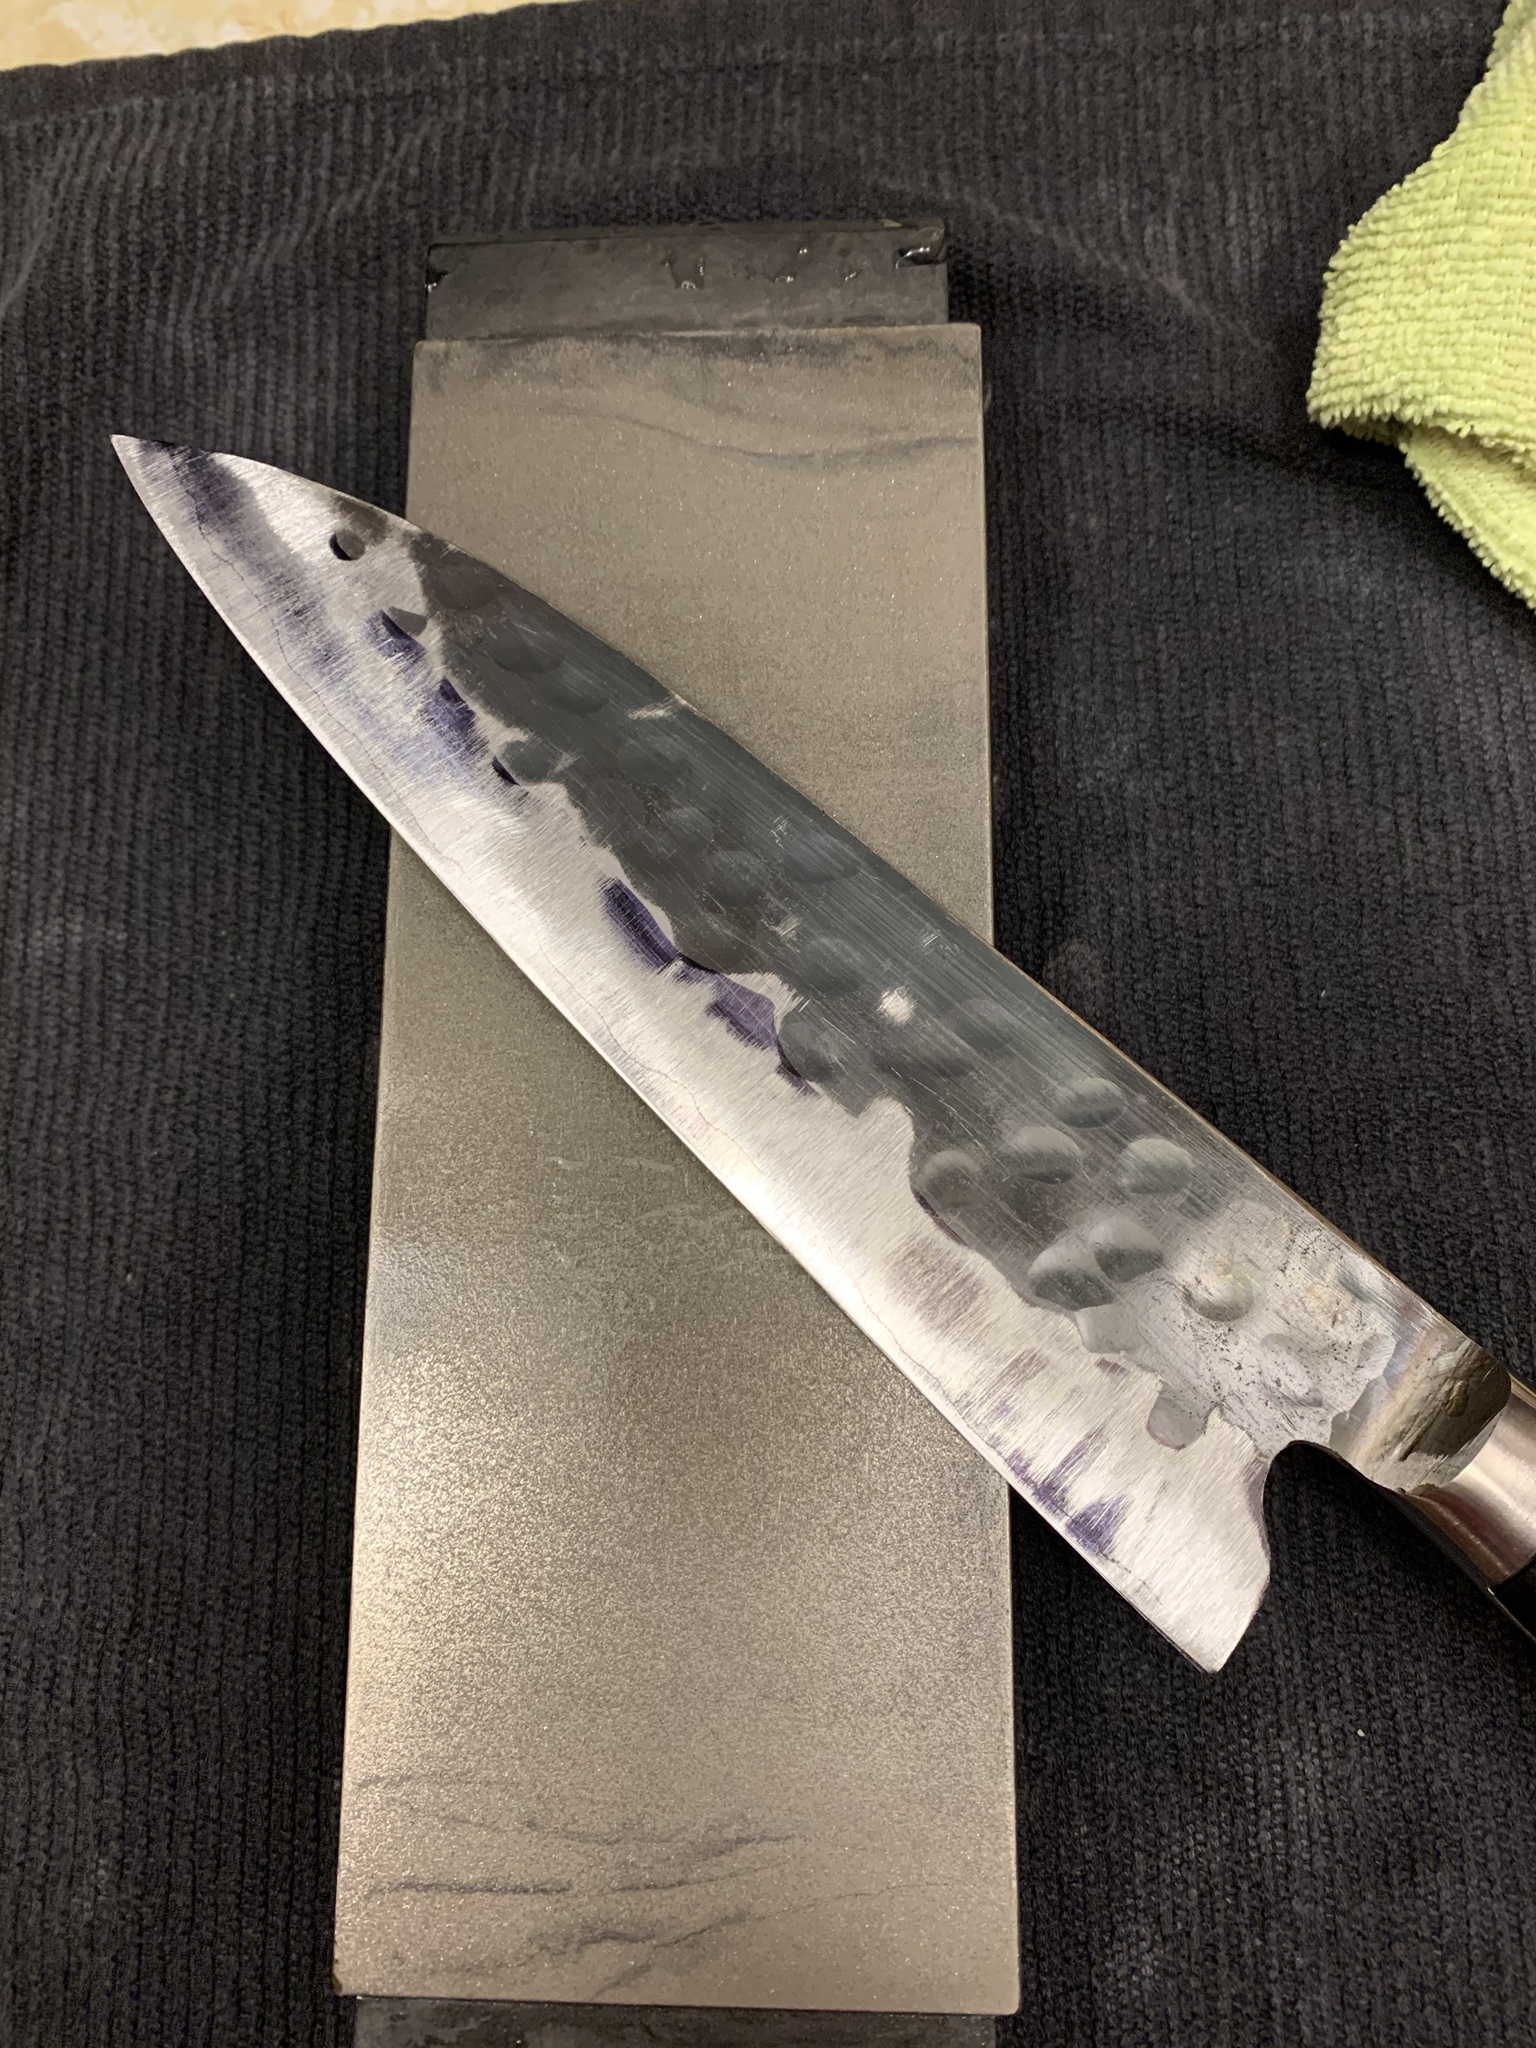
This was probably after 3 passes. It wasn’t an insane amount of work as the grind was quite good, I was doing this to make the knife feel like it was mine and just to know it was even throughout. I genuinely don’t think this work needs to be done to this knife out of the box, but I enjoyed the process.
The next two pictures show my progress after about 3 hours, working on the extra course and course diamond stones, and then up to the 500 grit Shapton Glass. I decided to stop here and finish with sand paper. Getting every scratch out with stones is a massive time investment and I’m doing this for fun, not internet points.
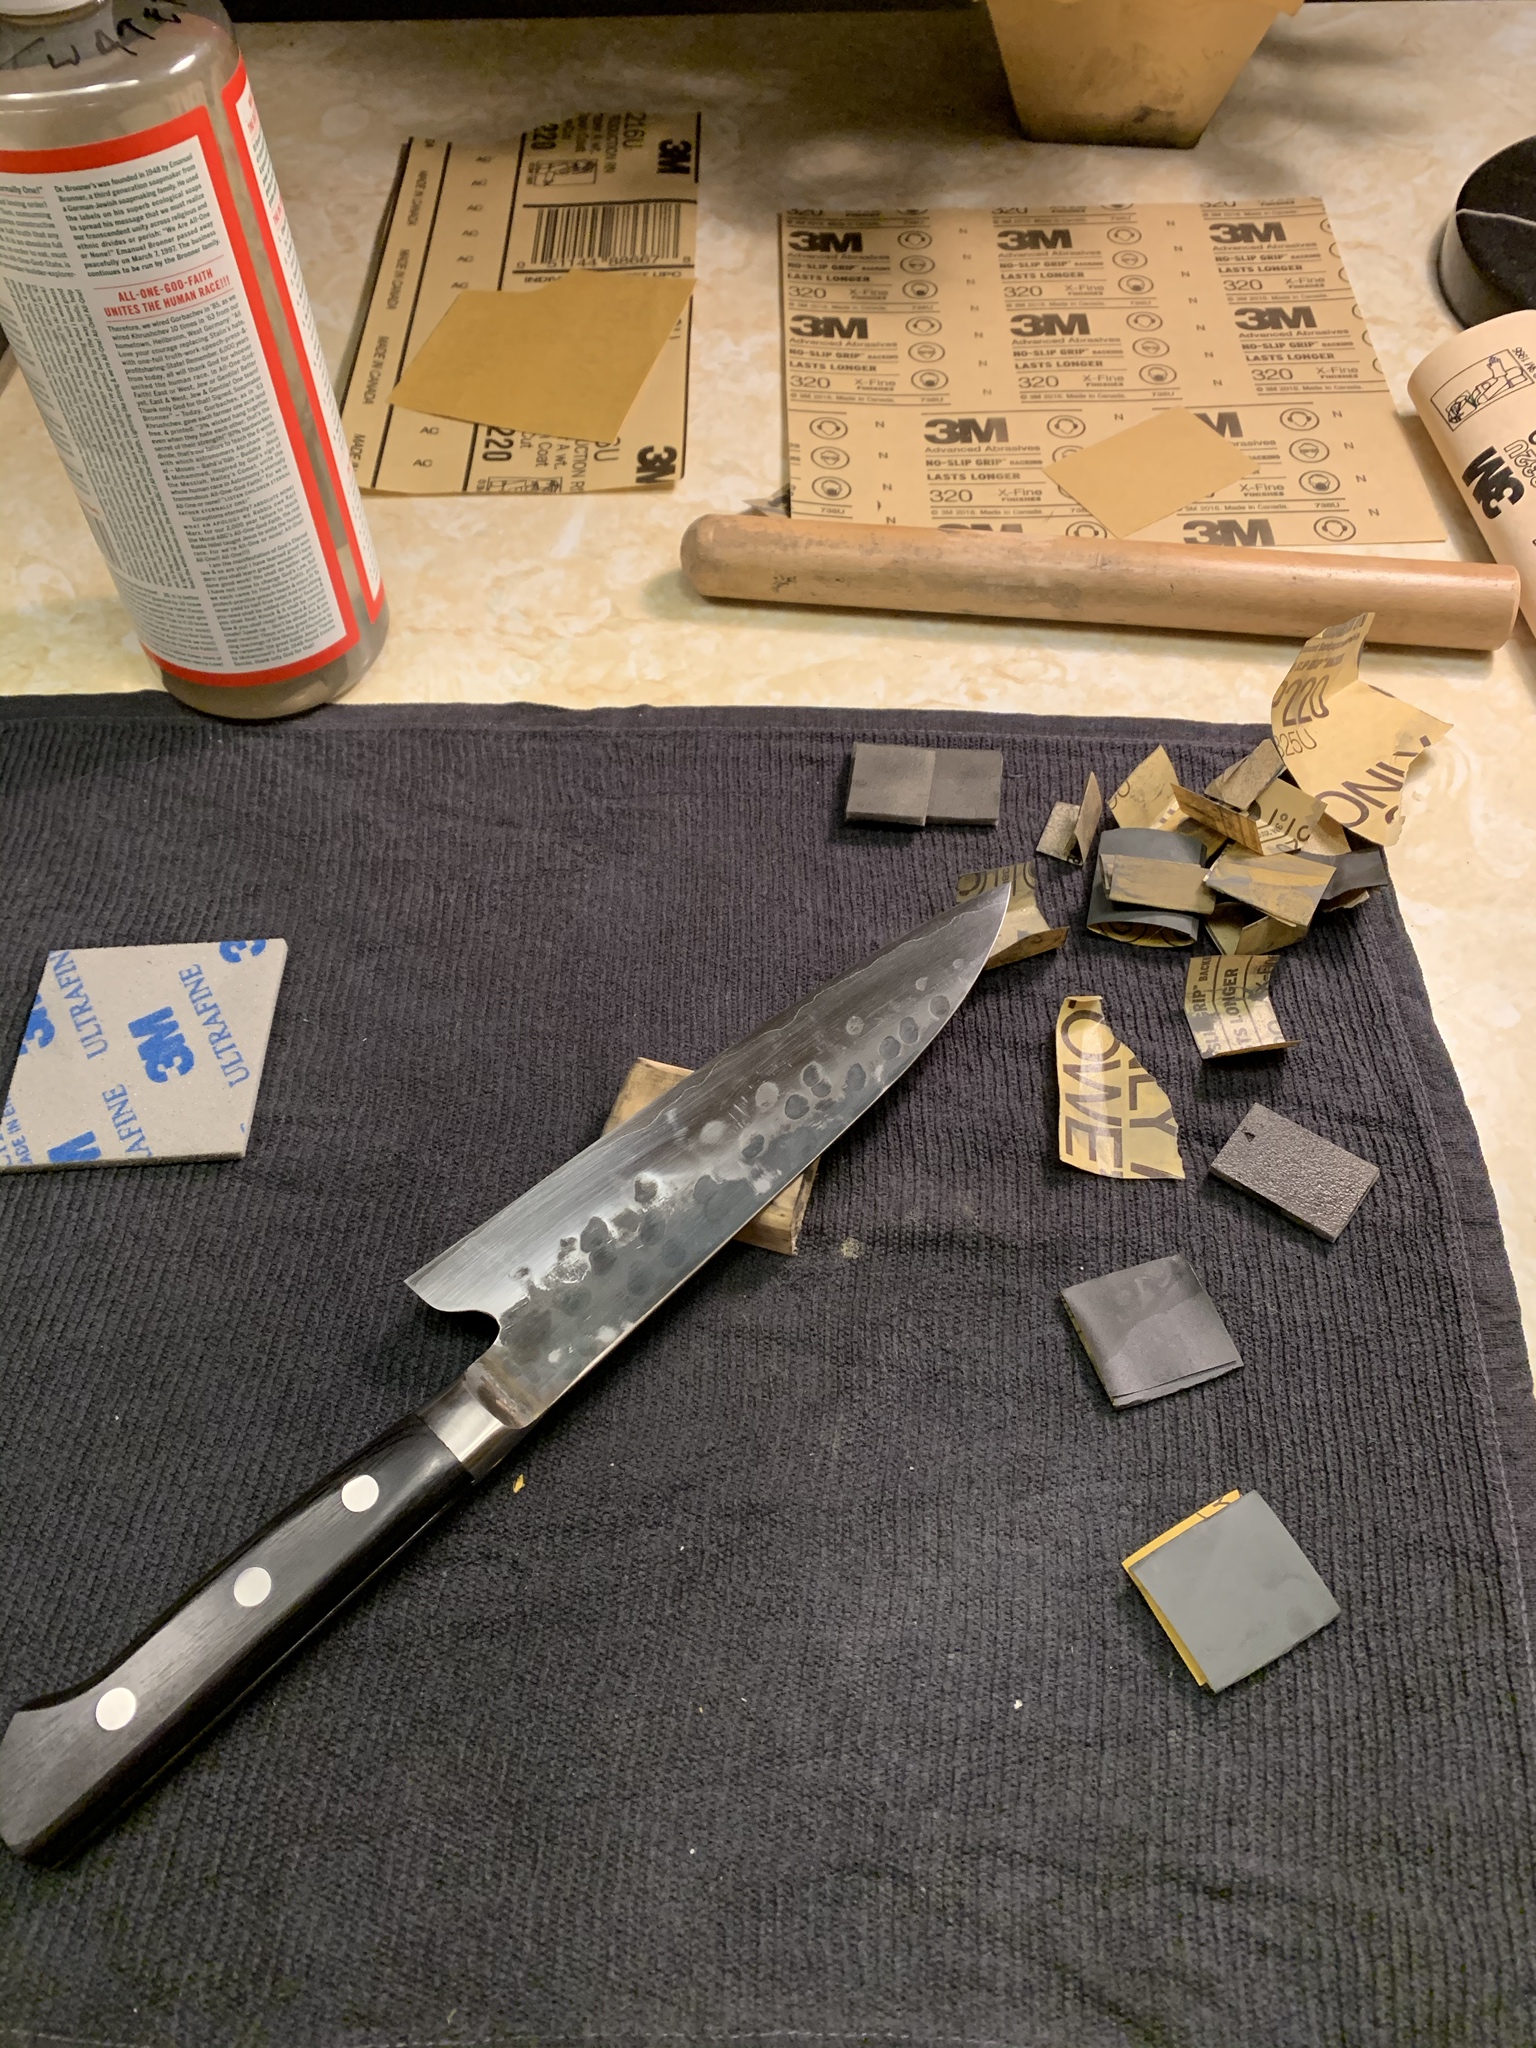
Here’s the sandpaper working the finish after thinning. I just cut little strips, folded in thirds, and used my finger. I have done it stones only, once, and I can’t say I see the point, for me. Especially since one sharpening session is all it takes to scuff it up if any grit touches your polished work. I would like to try some finger stones for this work one day.
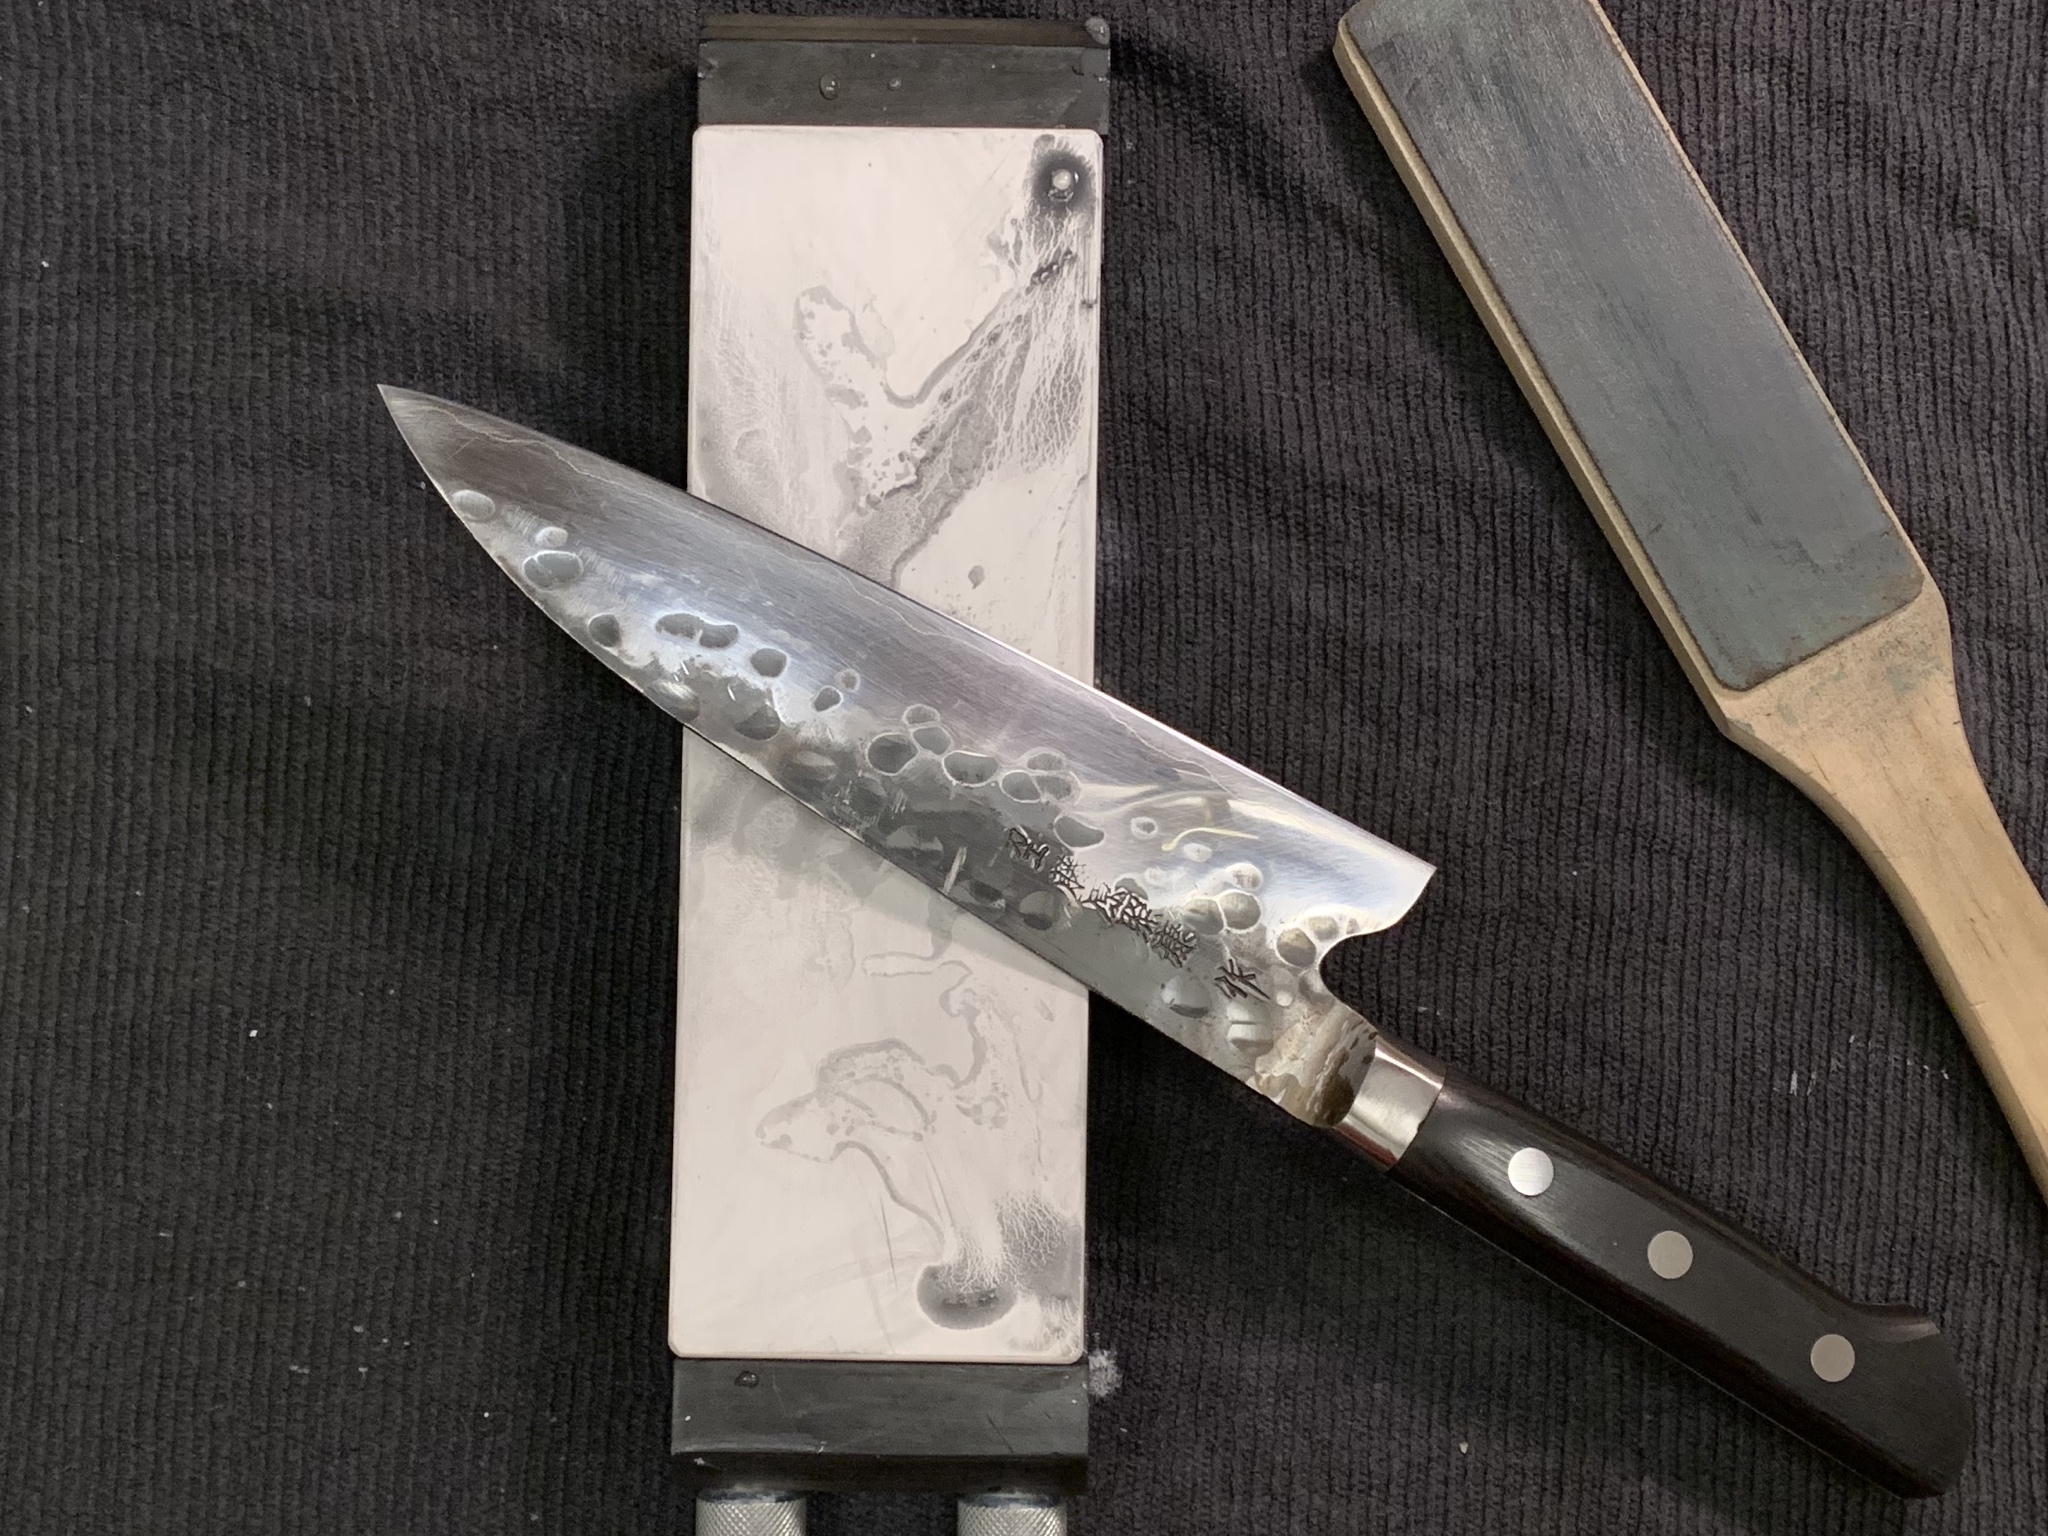
Back to the stones to put an edge on it. Shapton 500, 1000, 2000, and a strop loaded with green compound.
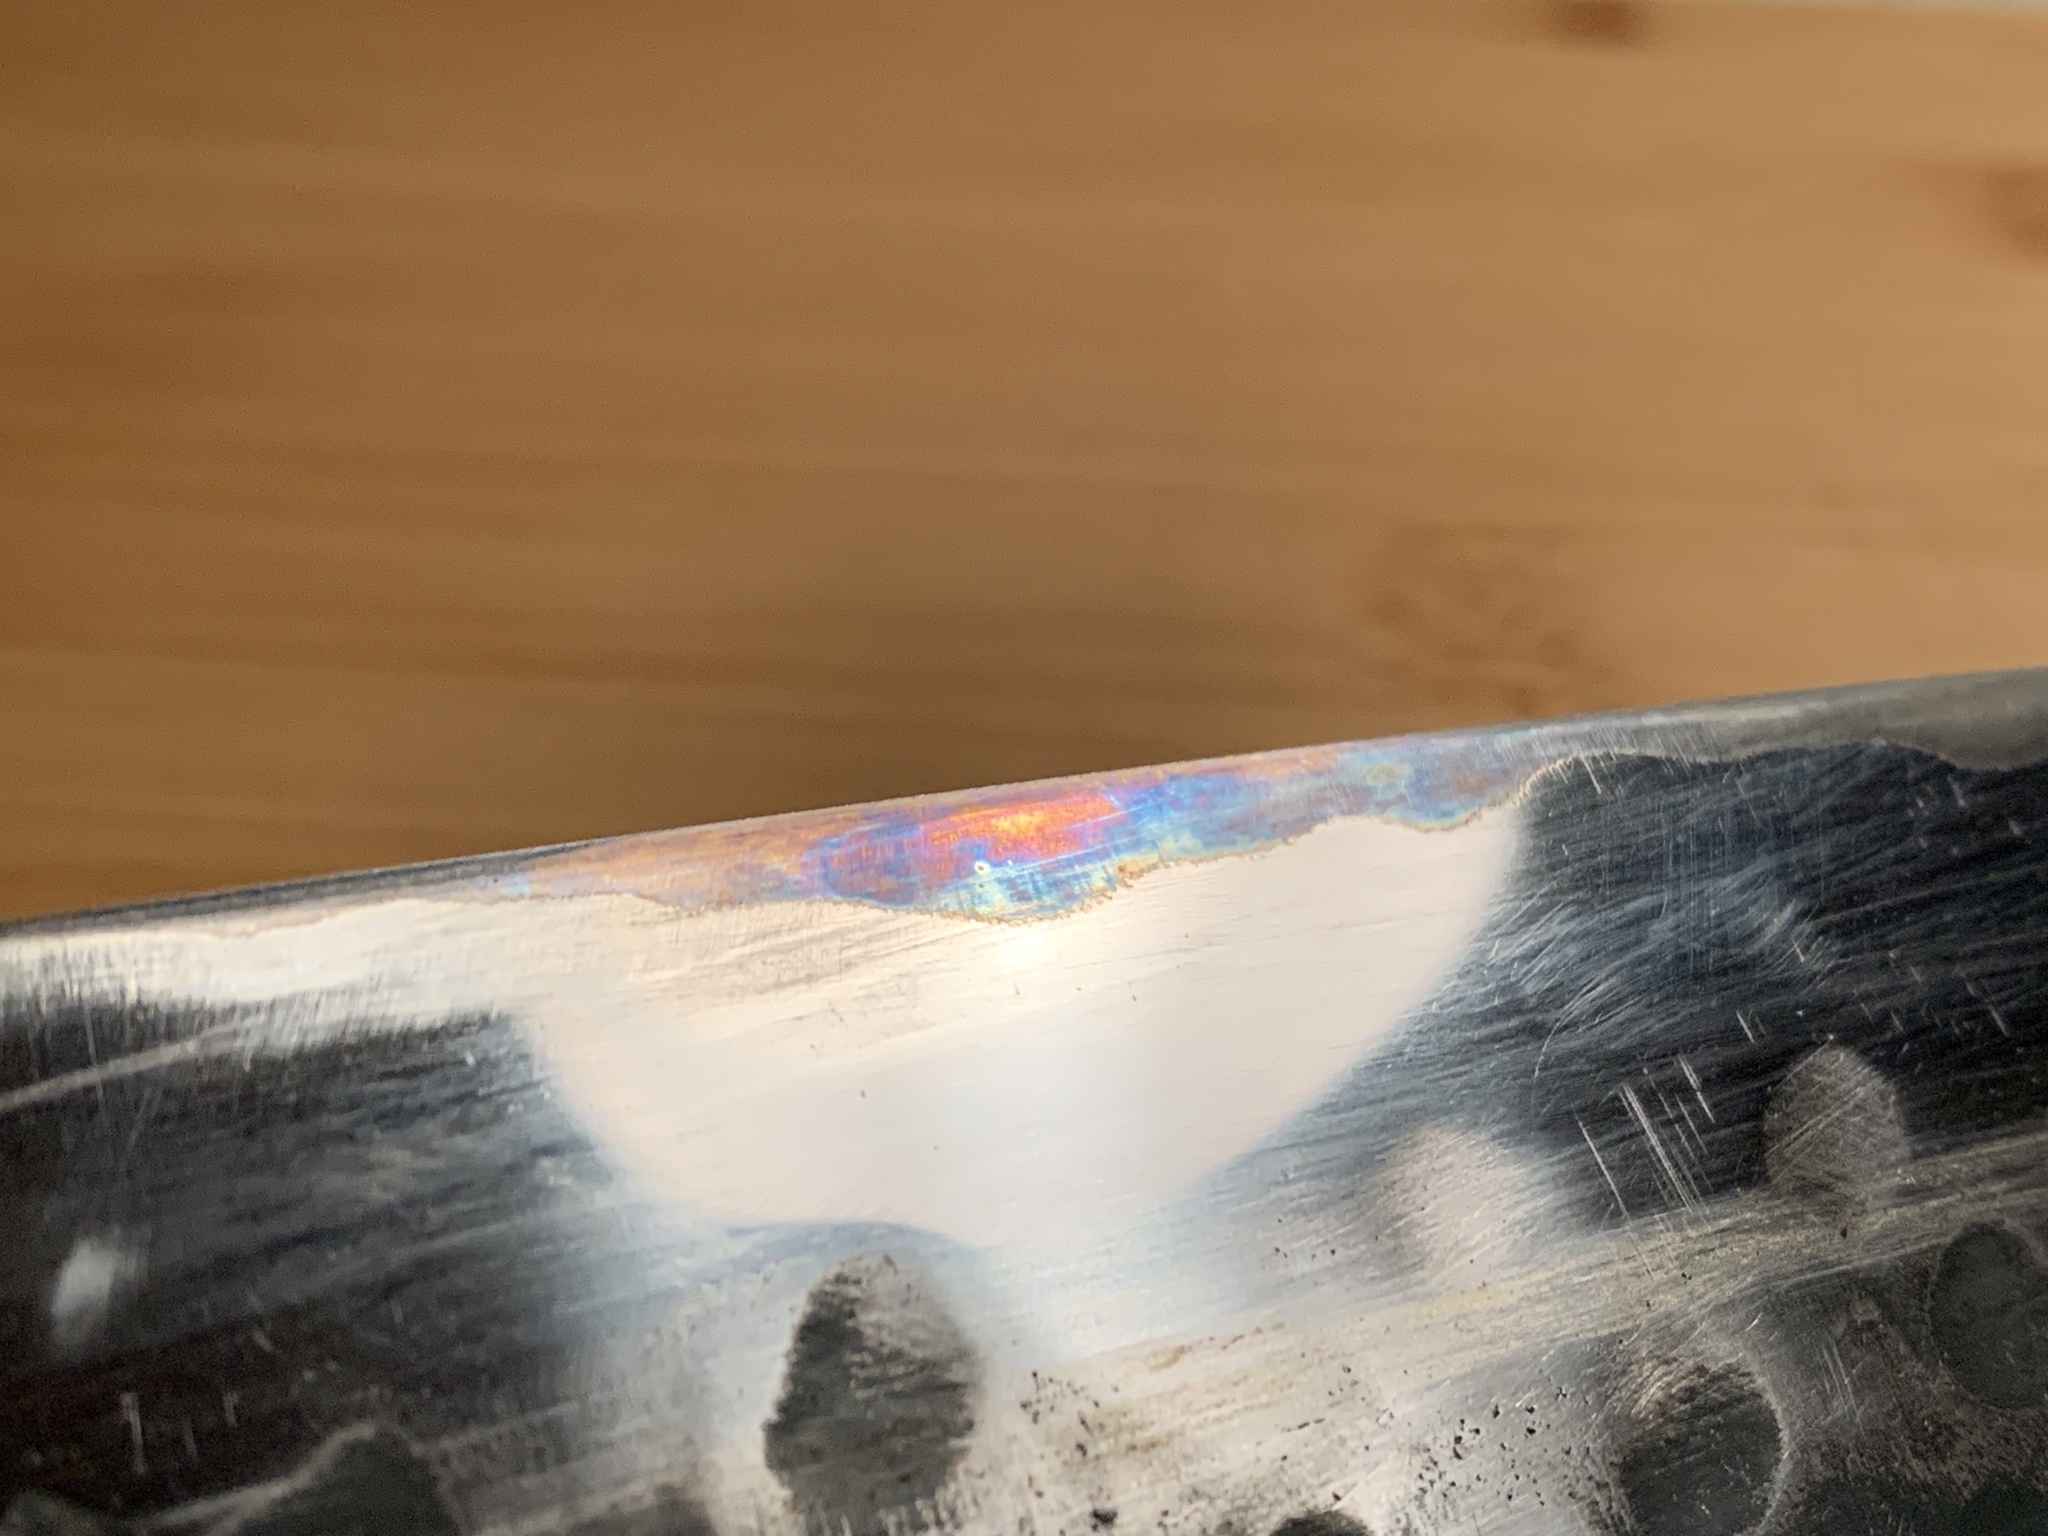
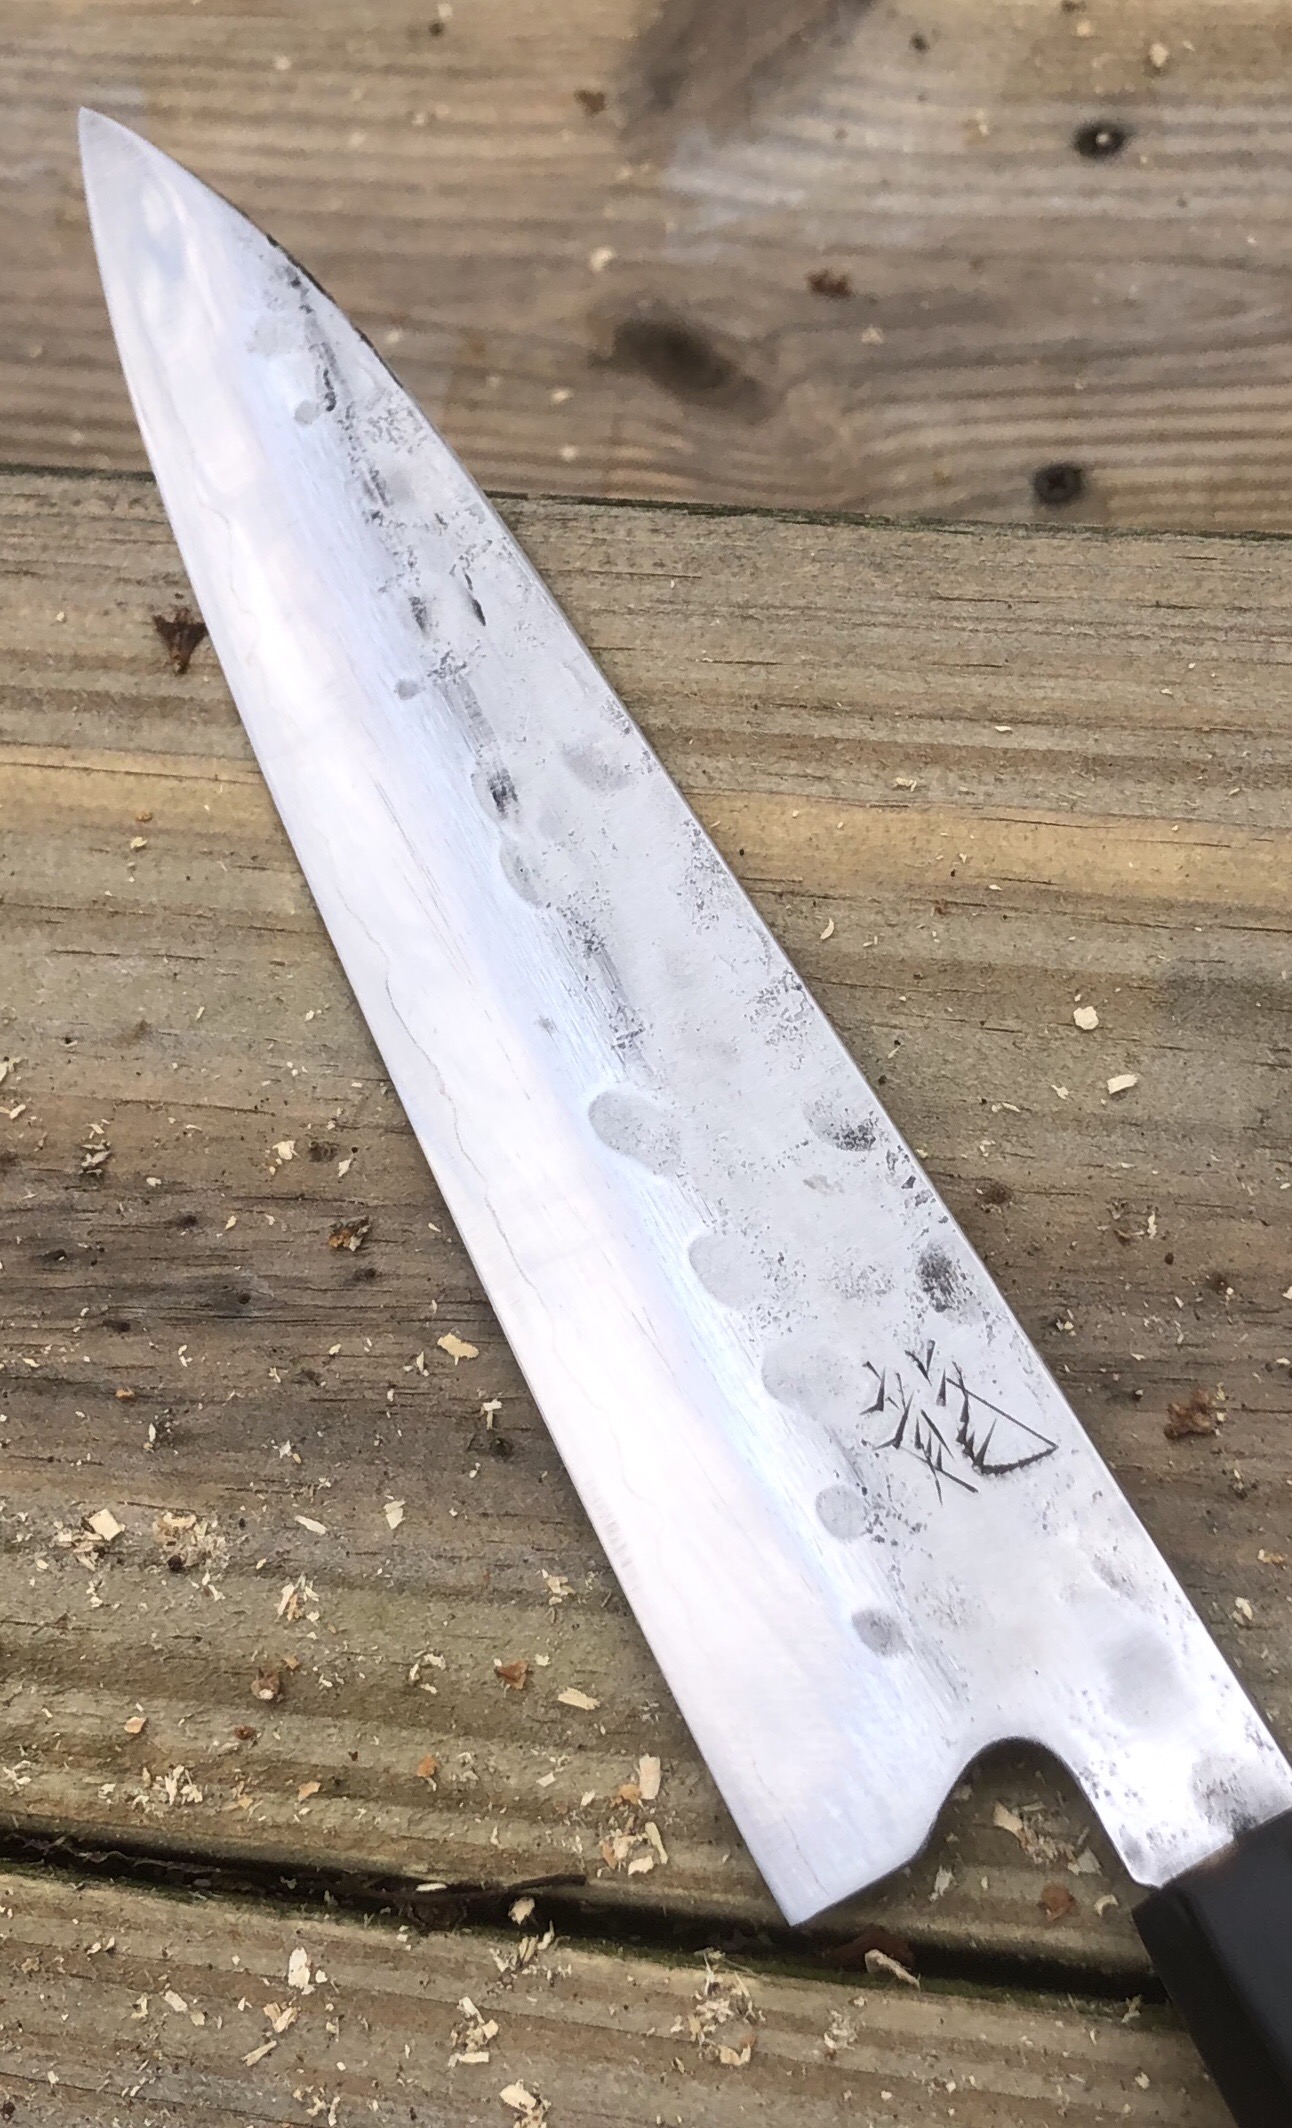
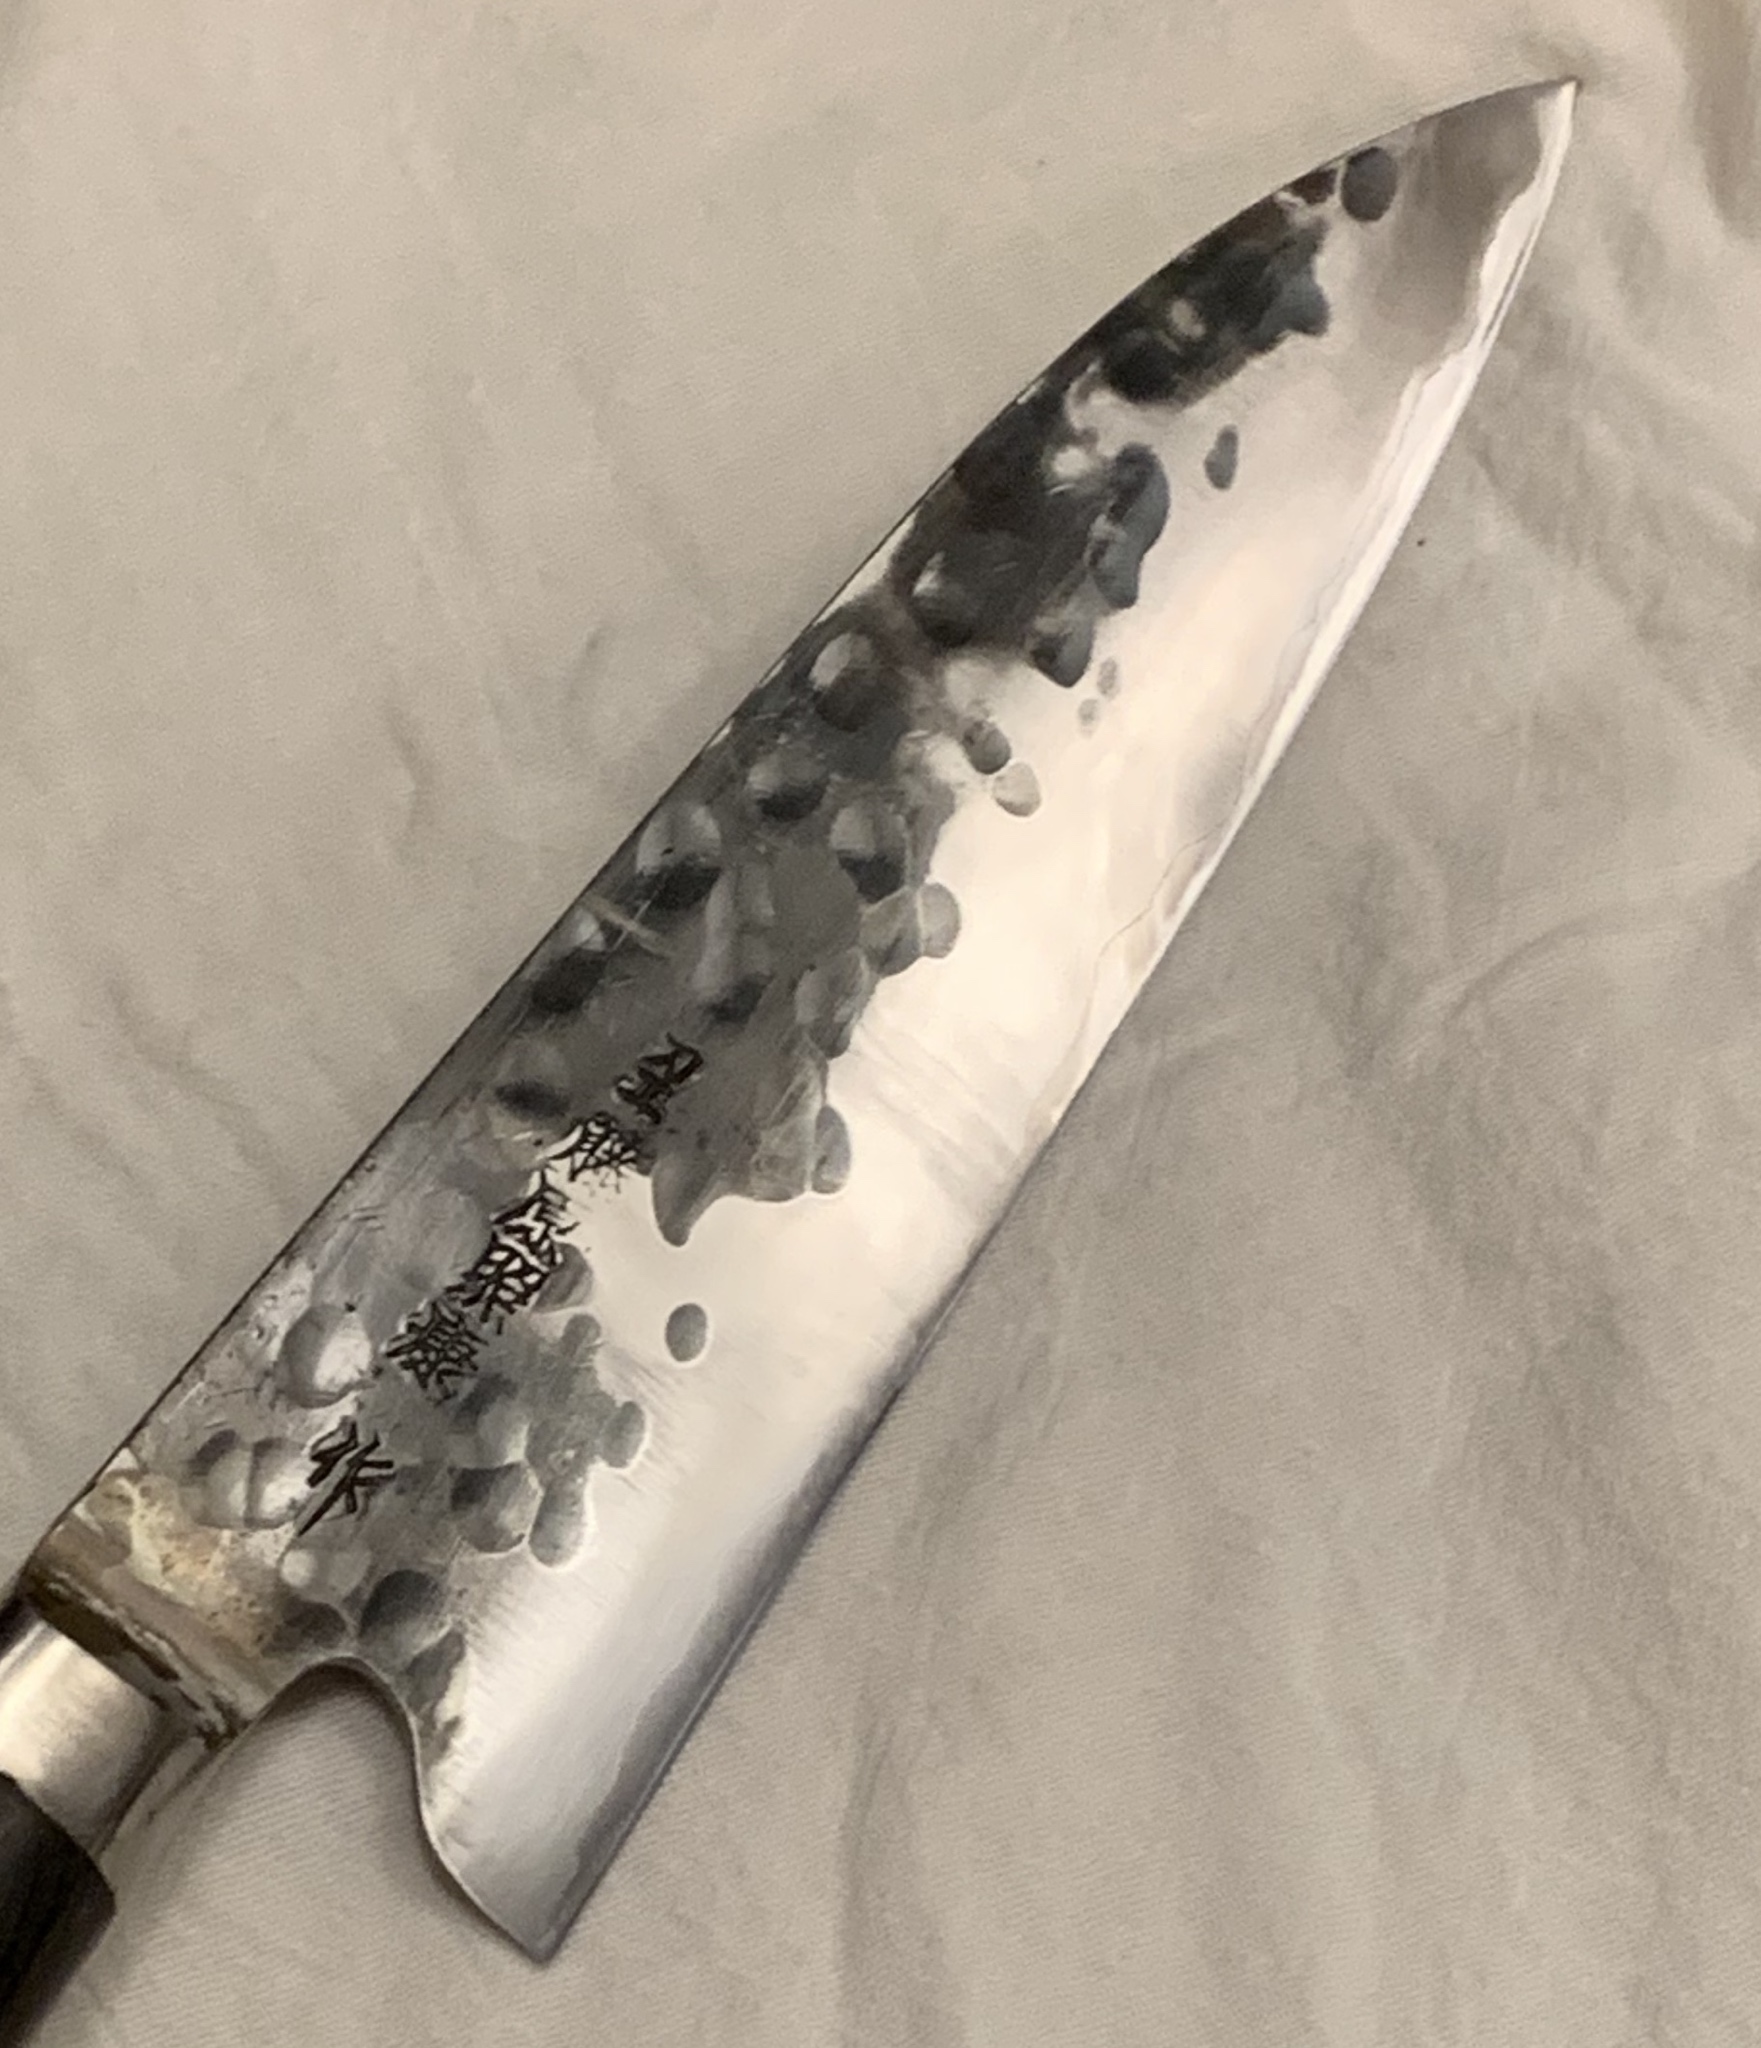
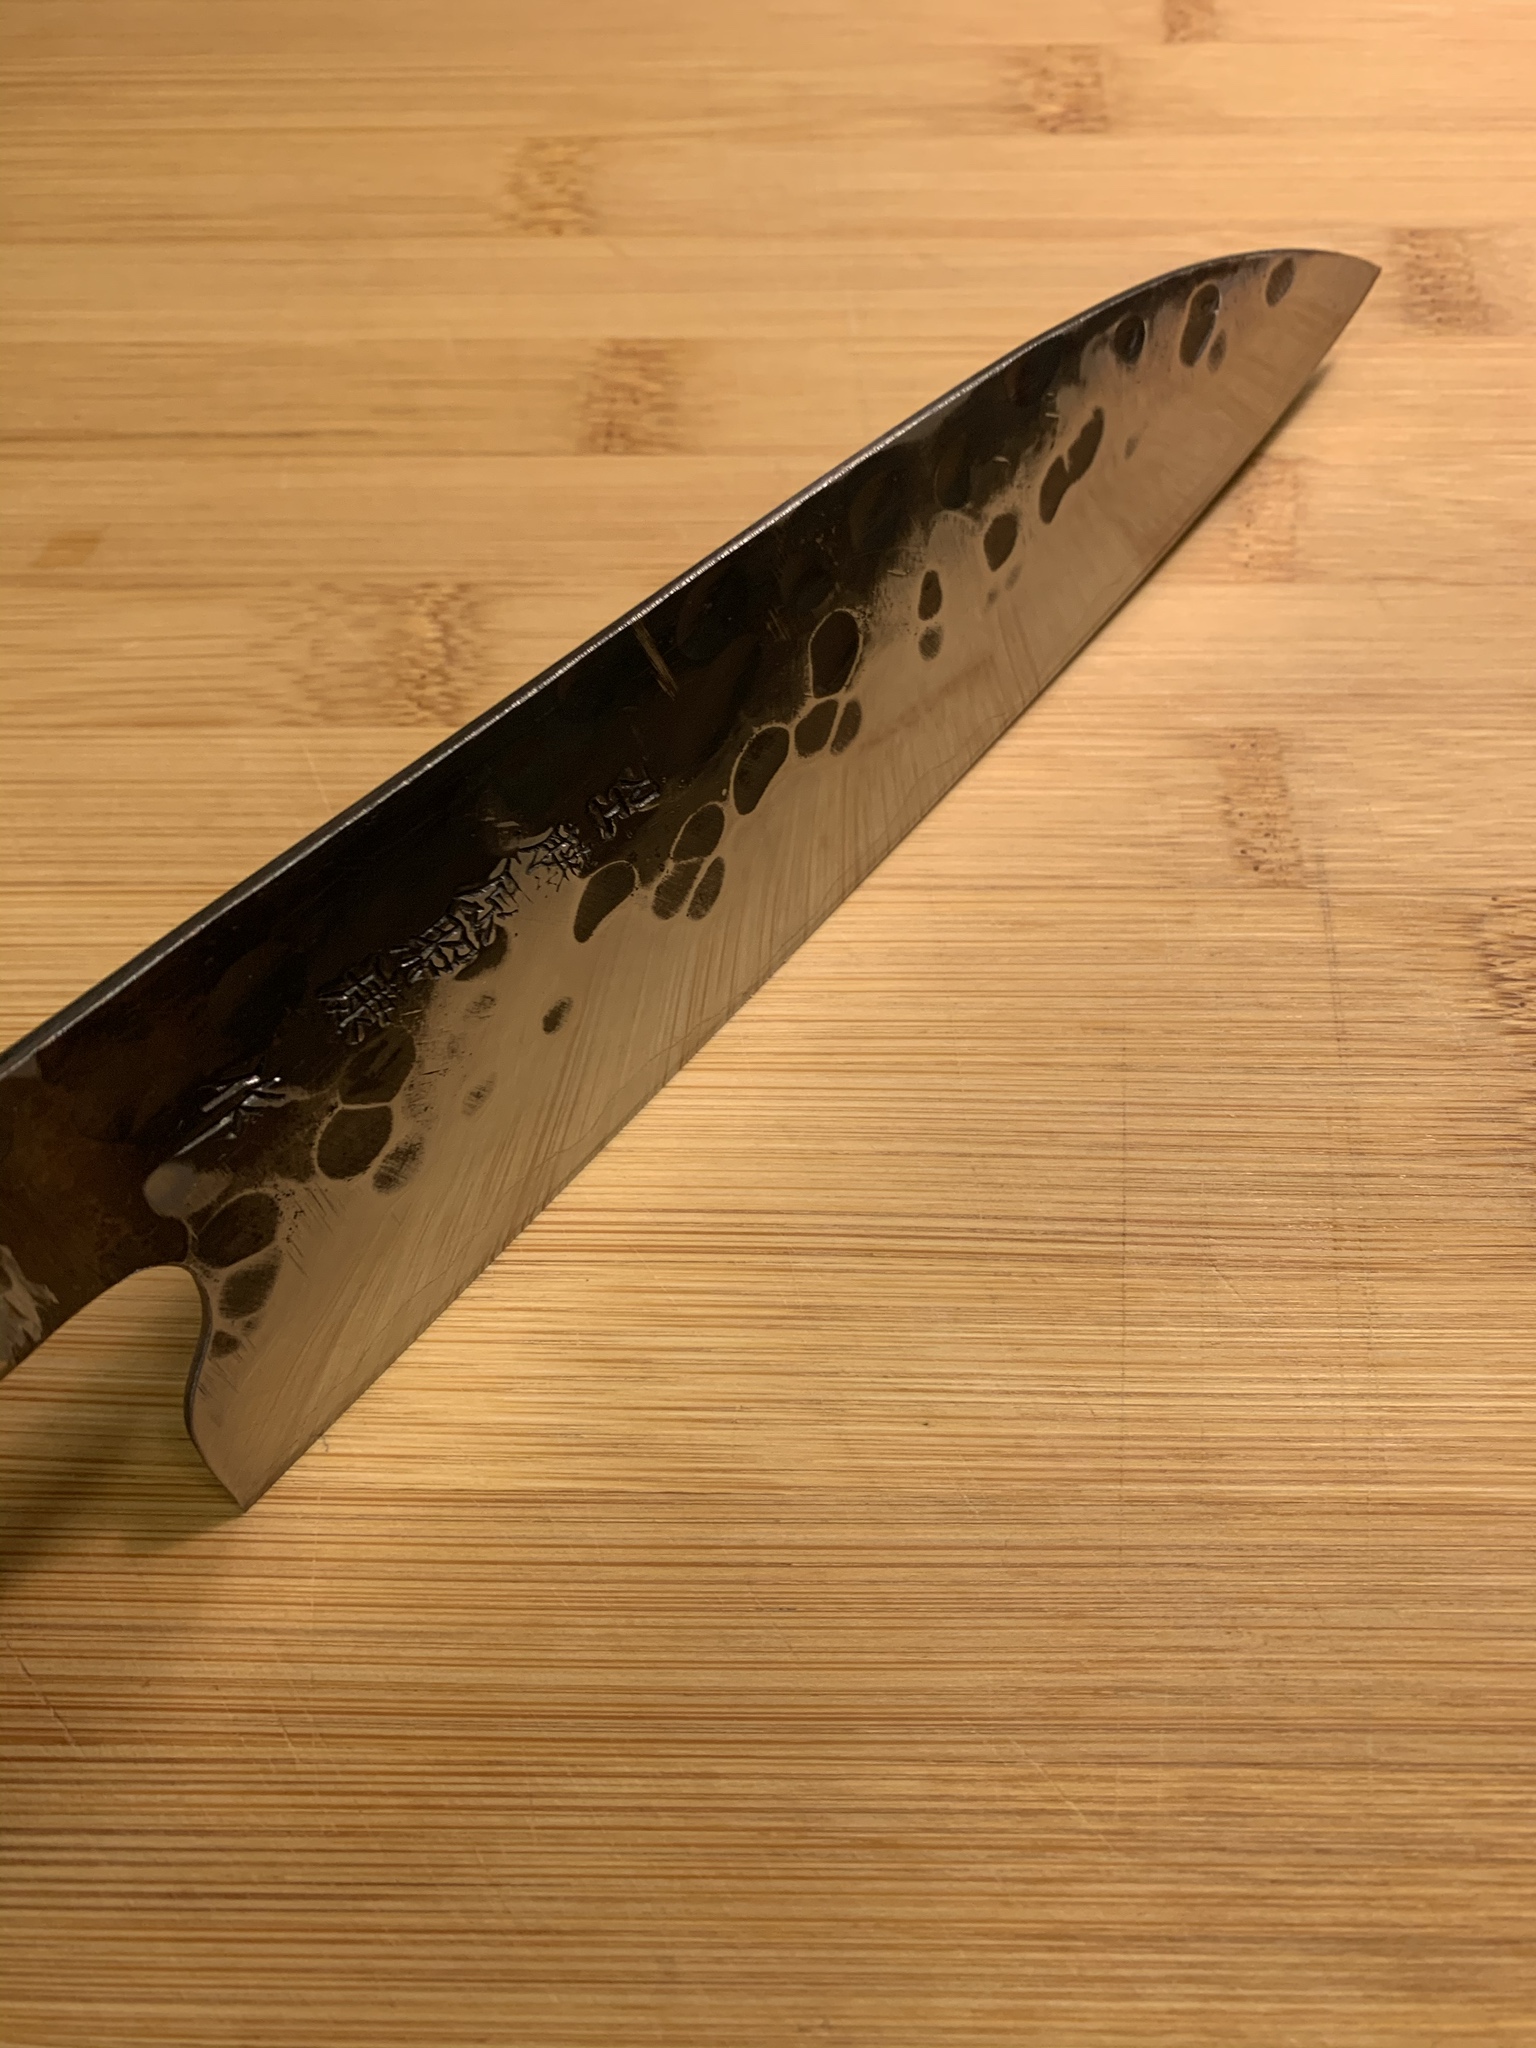
The finished result. I blew through a fair amount of the kurouchi when I used the sandpaper. It was a trade off between scratch removal and kurouchi preservation. I chose to err on the side of scratch removal. I’m sure it would have been more intact if I had done all of this on the stones, but again, I enjoy this process but 8+ hours of grinding is not my idea of a good time. The finish is by no means perfect, but it works. I will use this knife and really anything more would just get damaged in use. In fact I already scuffed it while I was putting the edge. This is up to 2k sandpaper, then back to 1k. Next time I want to clean up the finish I probably would stop at 800, I liked the matte satin look at that grit.

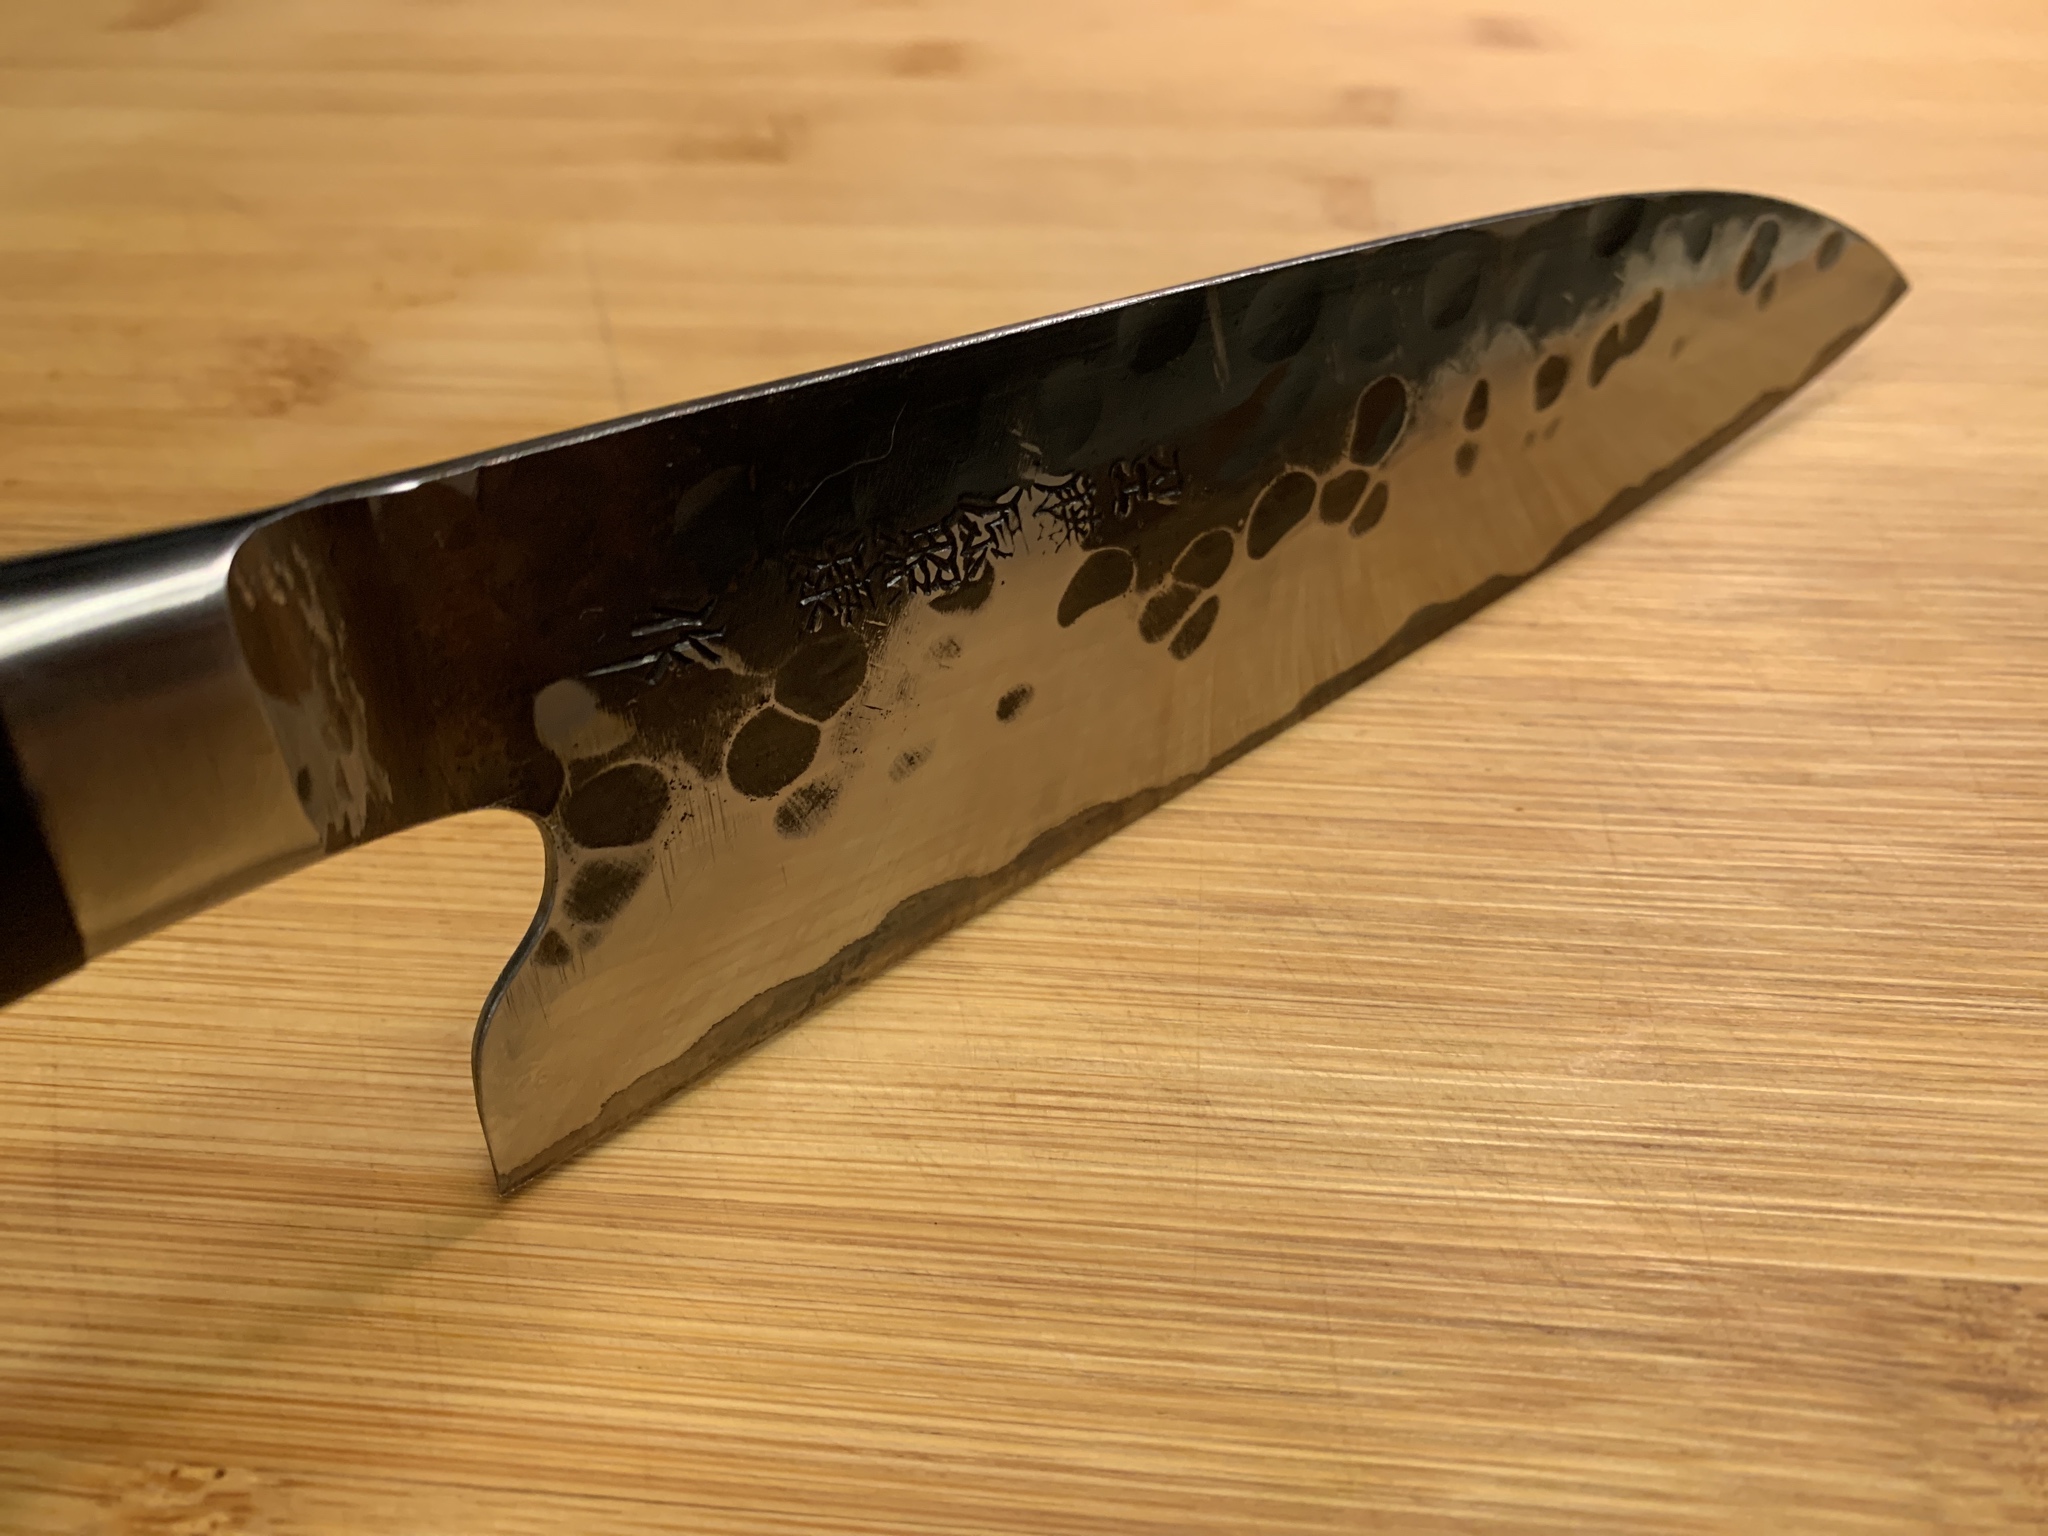
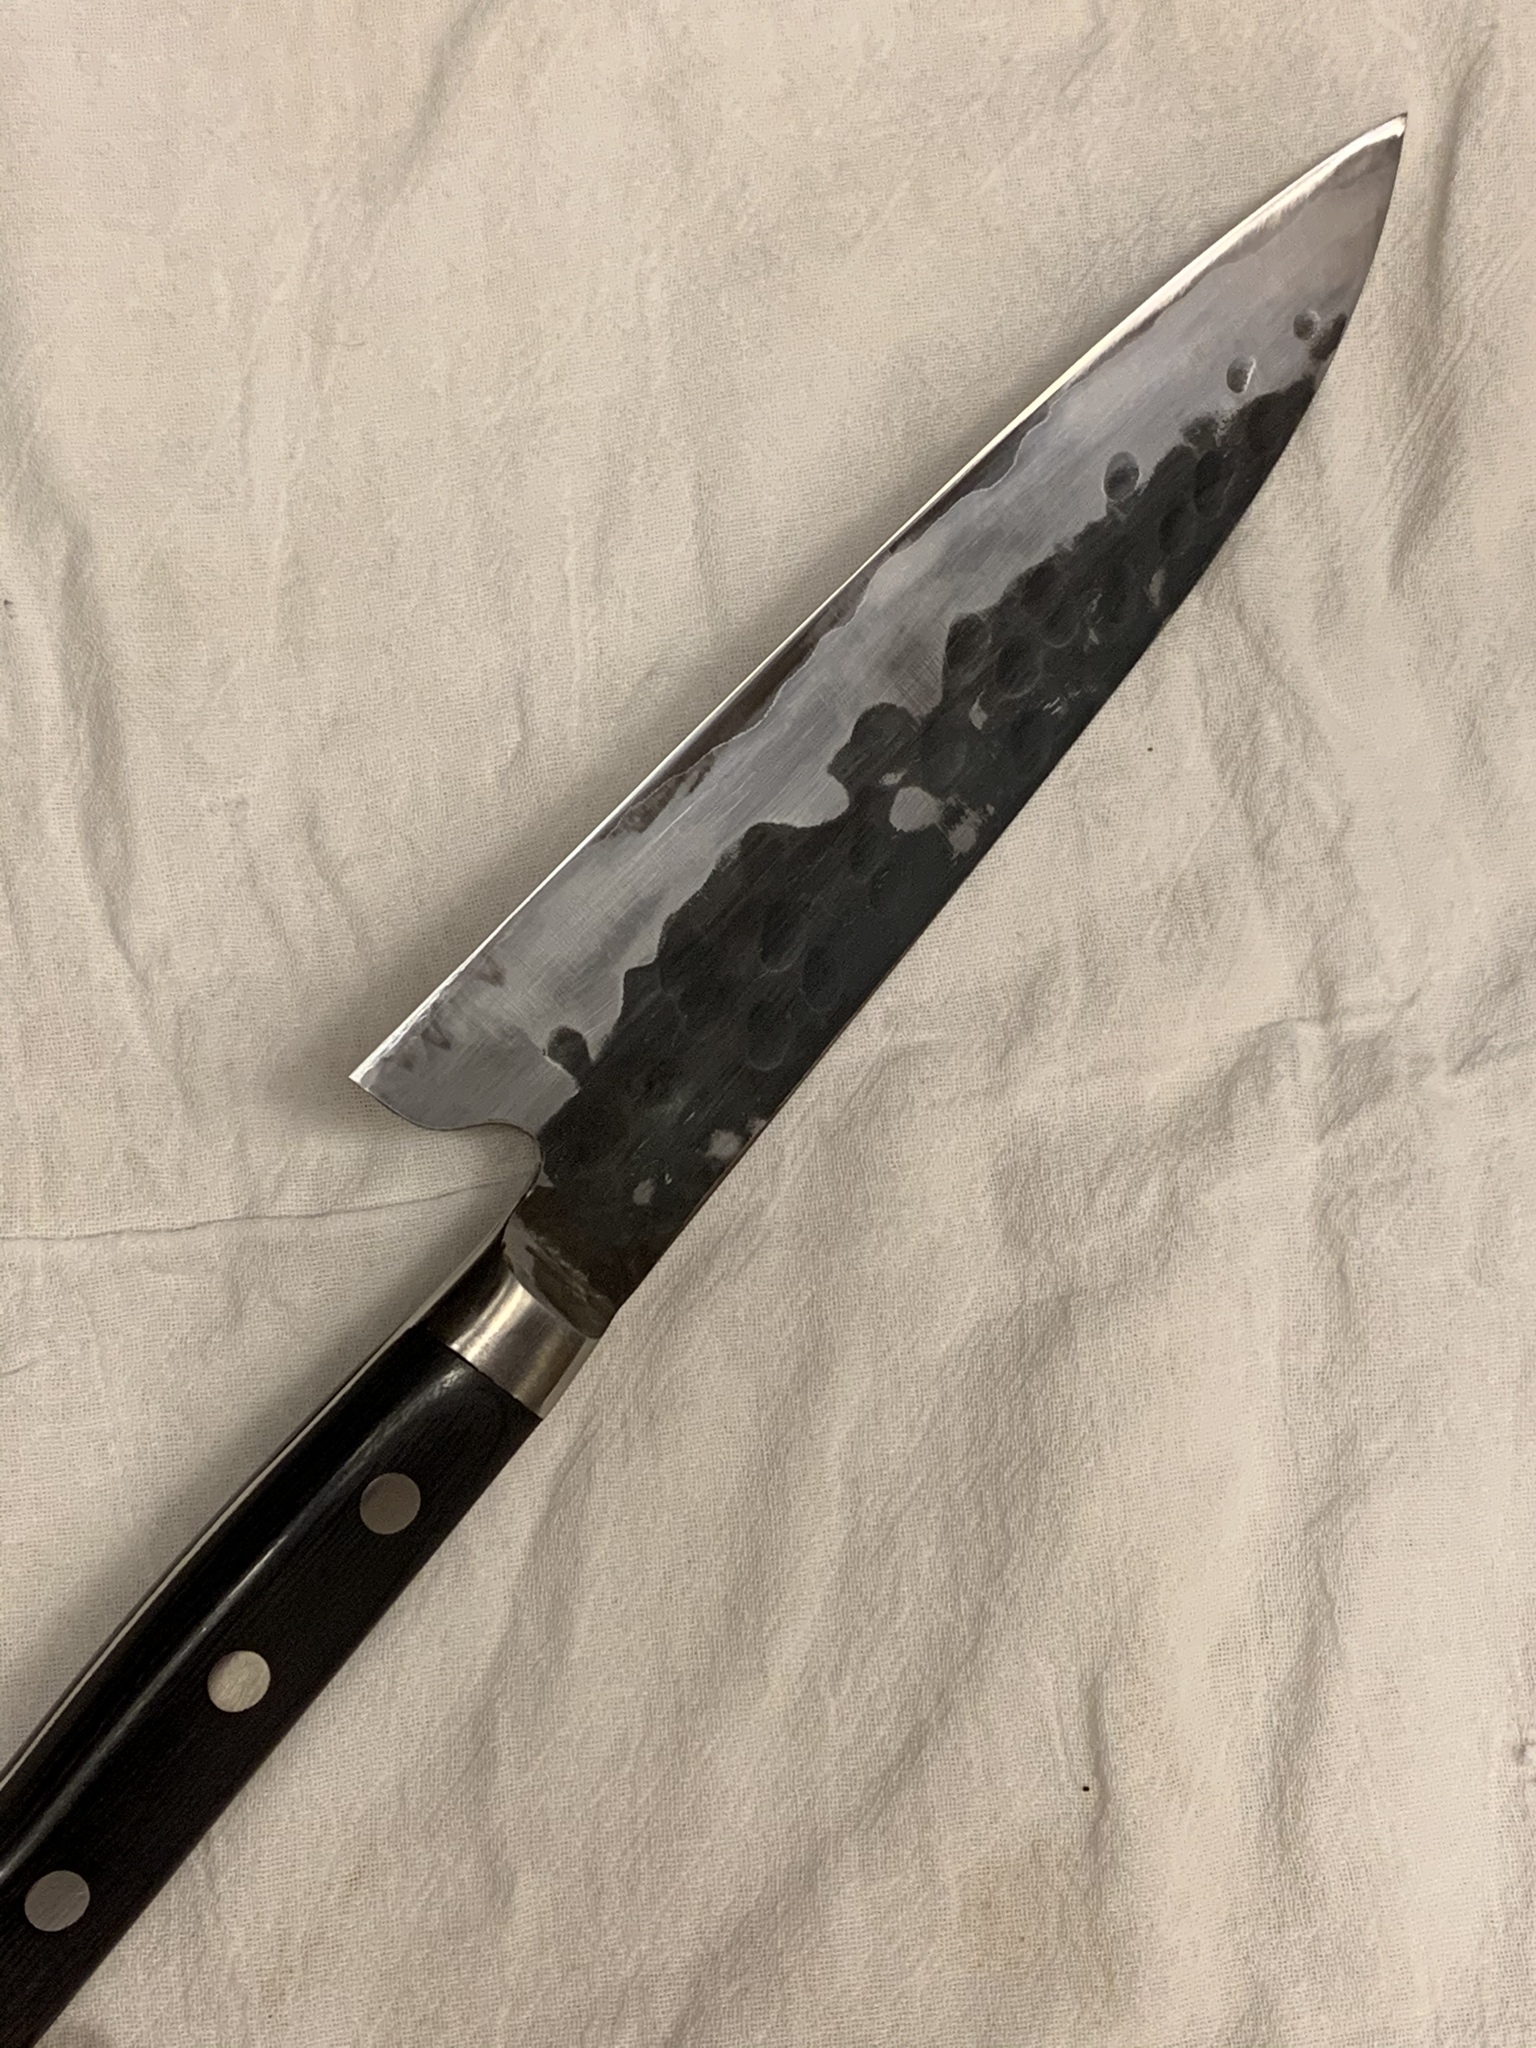
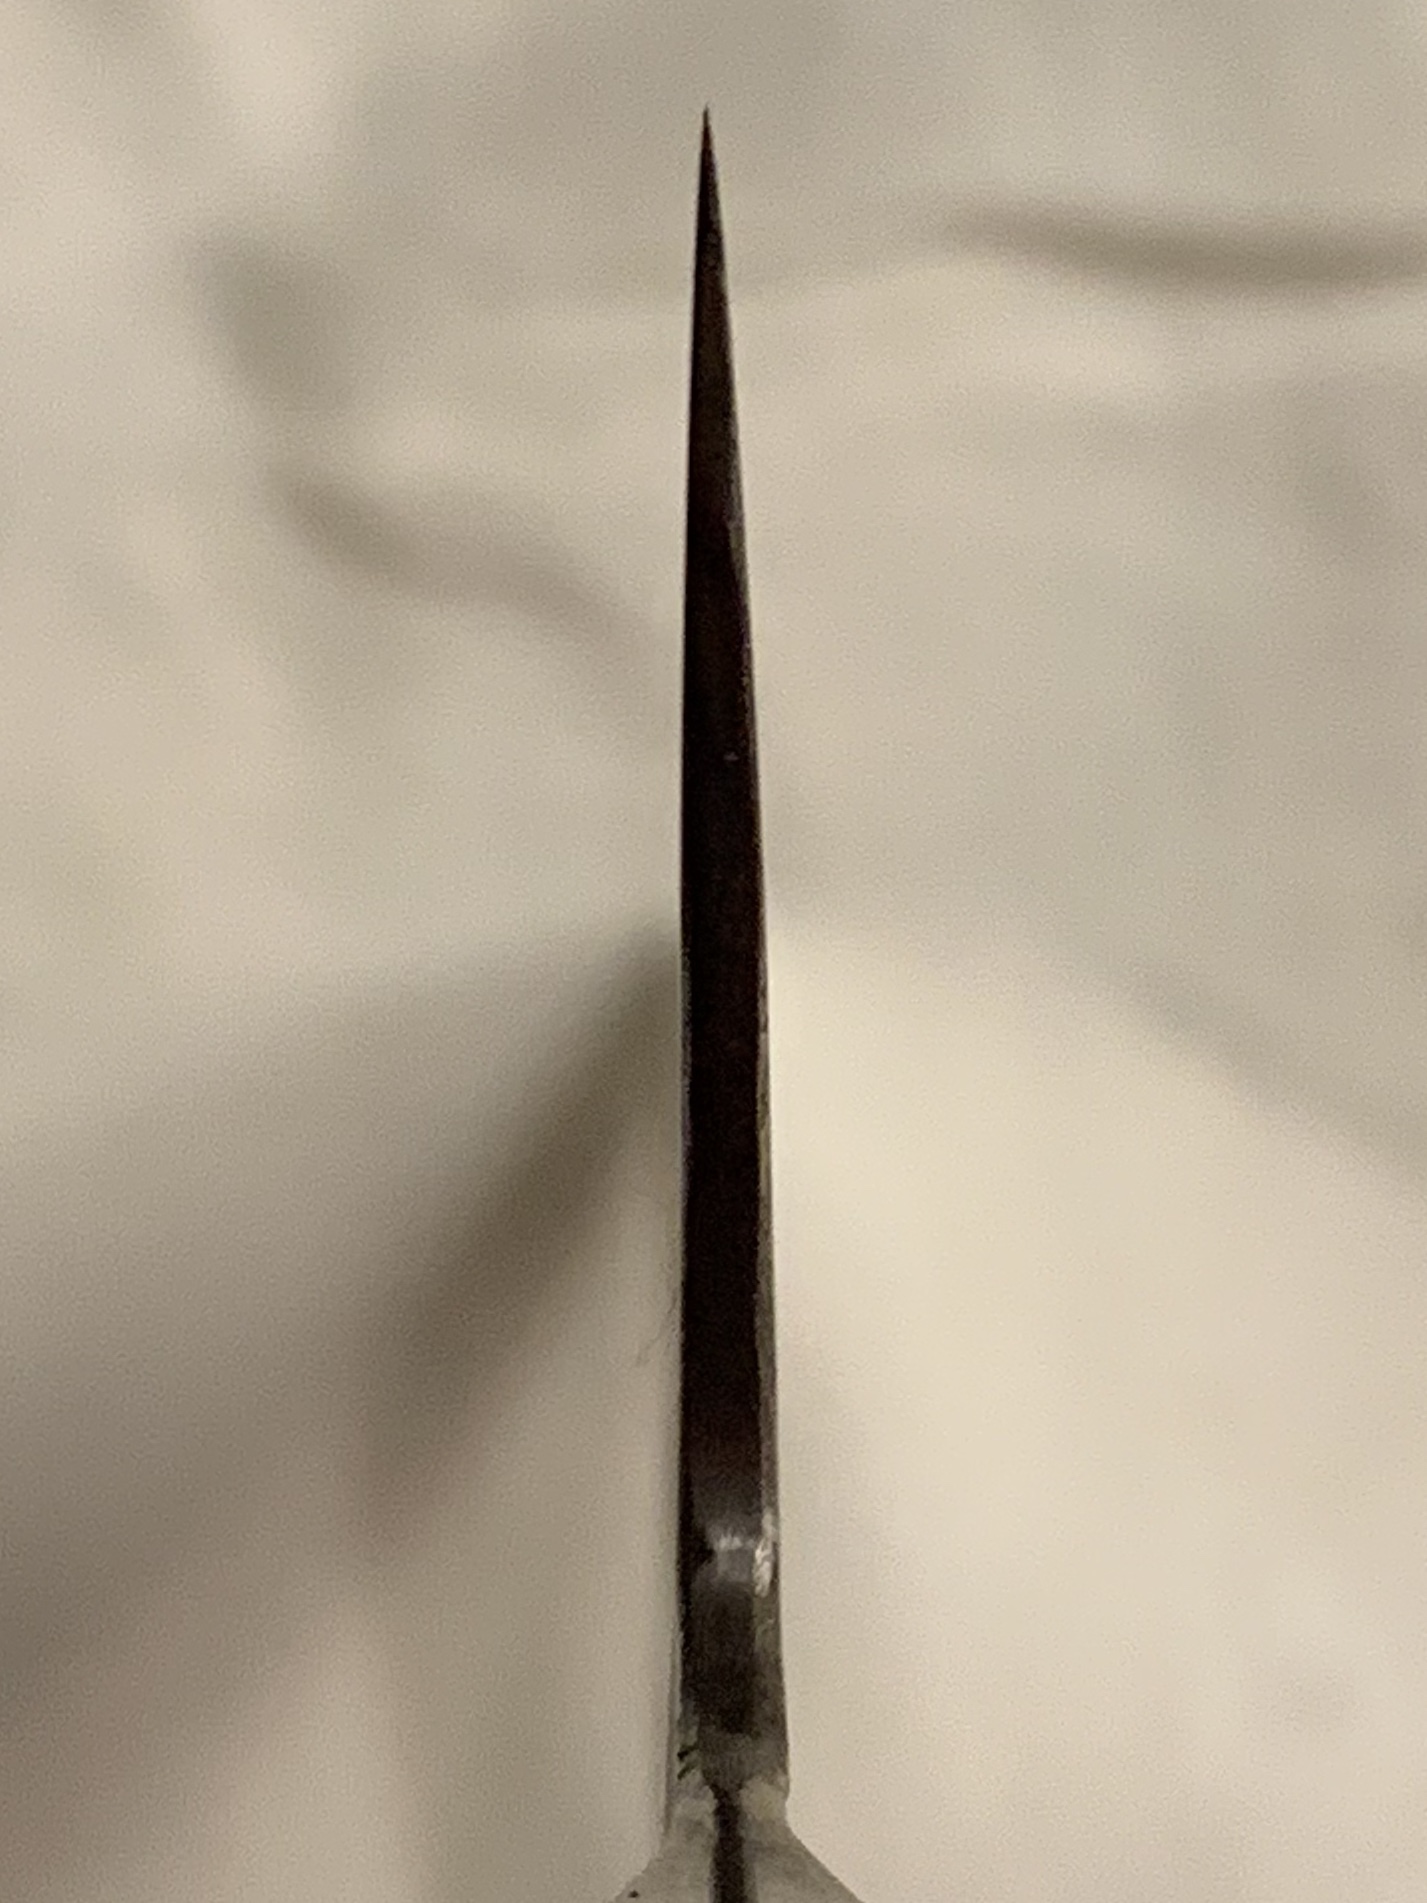
Here is the choil. The convex is apparent. The grind gets thinner at the tip. I think the overall geometry is very good.
Here is the knife as I received it. Very nice looking knife. The grind was good, just a little uneven in some spots, nothing major at all. The finish on the exposed Jigane was probably 220 grit or so, pretty rough. The lacquer finish was ok. I scrubbed the knife with a worn out green scrubby and the lacquer smoothed out a lot. The handle is rough as others have reported. Doesn’t bother me very much. I might smooth it out, but I’m not sure I care enough to bother with the effort. The finger notch means you really choke up on it in a pinch grip, it makes the knife feel 10mm smaller in your hand. The aesthetic pushes my buttons for sure.
Here I’m thinning a little bit, and evening up the grind. I’m using an extra course diamond plate for this, and checking my work with a sharpie.
This was probably after 3 passes. It wasn’t an insane amount of work as the grind was quite good, I was doing this to make the knife feel like it was mine and just to know it was even throughout. I genuinely don’t think this work needs to be done to this knife out of the box, but I enjoyed the process.
The next two pictures show my progress after about 3 hours, working on the extra course and course diamond stones, and then up to the 500 grit Shapton Glass. I decided to stop here and finish with sand paper. Getting every scratch out with stones is a massive time investment and I’m doing this for fun, not internet points.
Here’s the sandpaper working the finish after thinning. I just cut little strips, folded in thirds, and used my finger. I have done it stones only, once, and I can’t say I see the point, for me. Especially since one sharpening session is all it takes to scuff it up if any grit touches your polished work. I would like to try some finger stones for this work one day.
Back to the stones to put an edge on it. Shapton 500, 1000, 2000, and a strop loaded with green compound.
The finished result. I blew through a fair amount of the kurouchi when I used the sandpaper. It was a trade off between scratch removal and kurouchi preservation. I chose to err on the side of scratch removal. I’m sure it would have been more intact if I had done all of this on the stones, but again, I enjoy this process but 8+ hours of grinding is not my idea of a good time. The finish is by no means perfect, but it works. I will use this knife and really anything more would just get damaged in use. In fact I already scuffed it while I was putting the edge. This is up to 2k sandpaper, then back to 1k. Next time I want to clean up the finish I probably would stop at 800, I liked the matte satin look at that grit.
Here is the choil. The convex is apparent. The grind gets thinner at the tip. I think the overall geometry is very good.
Last edited: