Thanks for the PM tjangula, I've messaged you back.
-------------------------------
So at the moment I'm most of the way through repairs on the knife, and as promised I'll share it here for anyone that's interested.
Before I got started I had some serious thinking to do about how I would approach the problem of removing the chip. One option was to thin the knife from either side until I removed the chip, and the other option was to 'bread knife' the cutting edge into the shape that I wanted and then thin the knife from there. I decided on the bread-knife option as I felt I would have the most control over the overall shape that way.
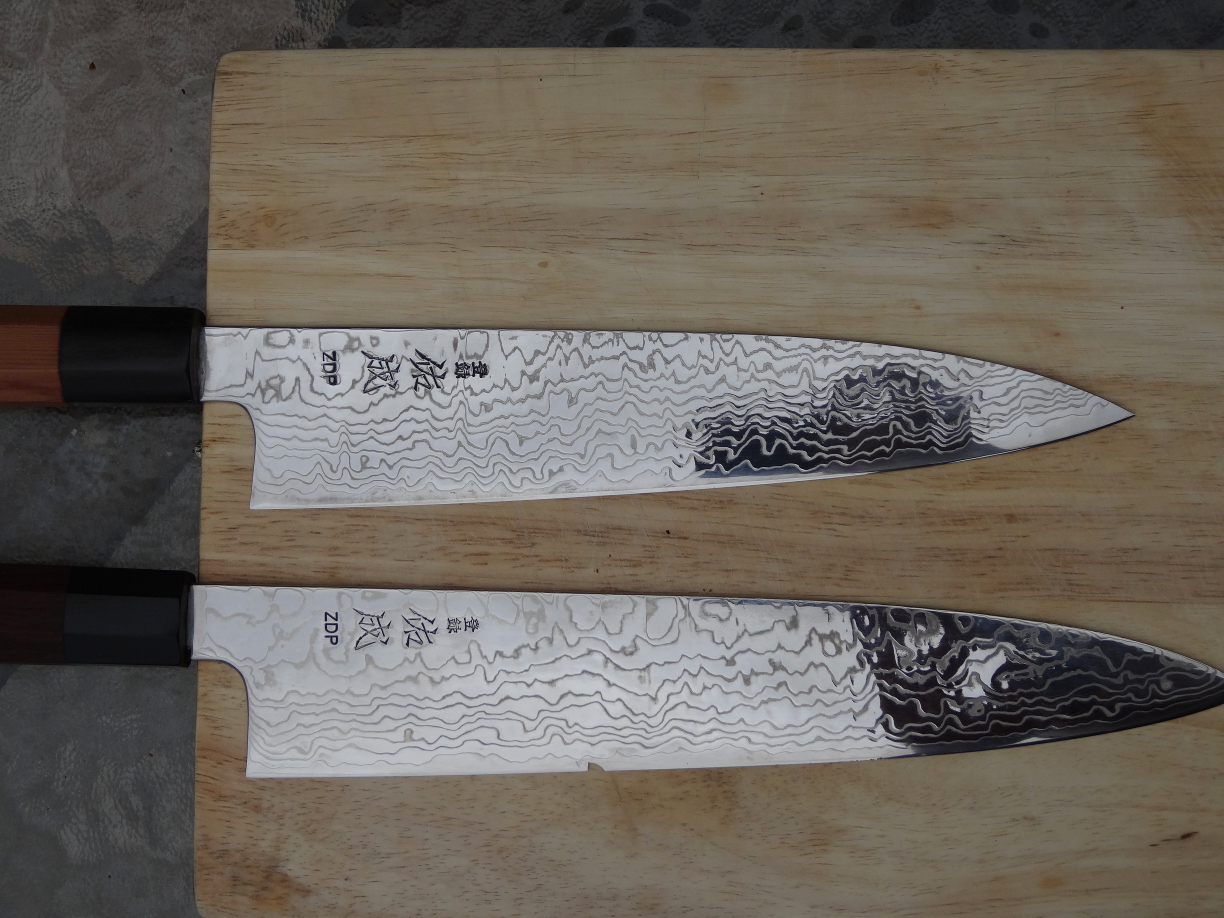
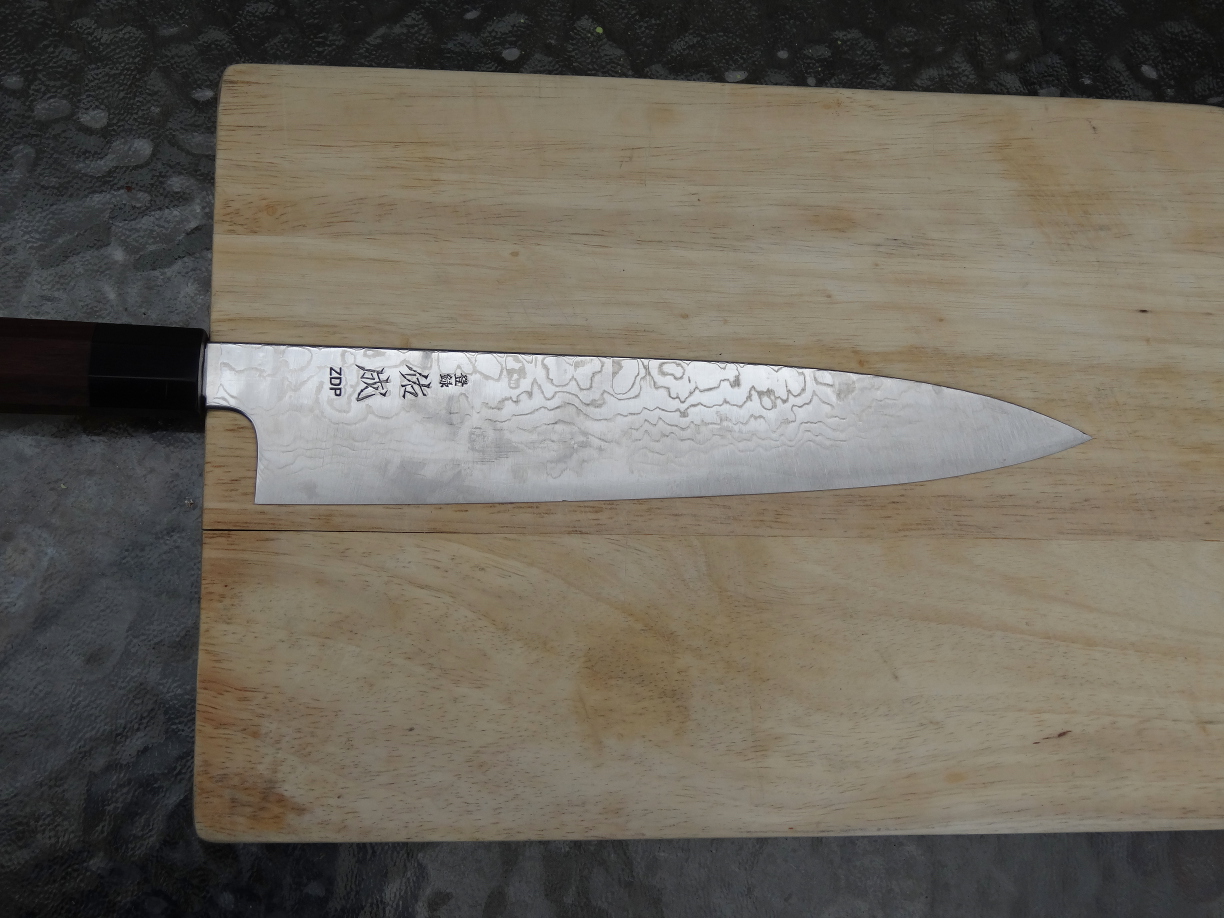
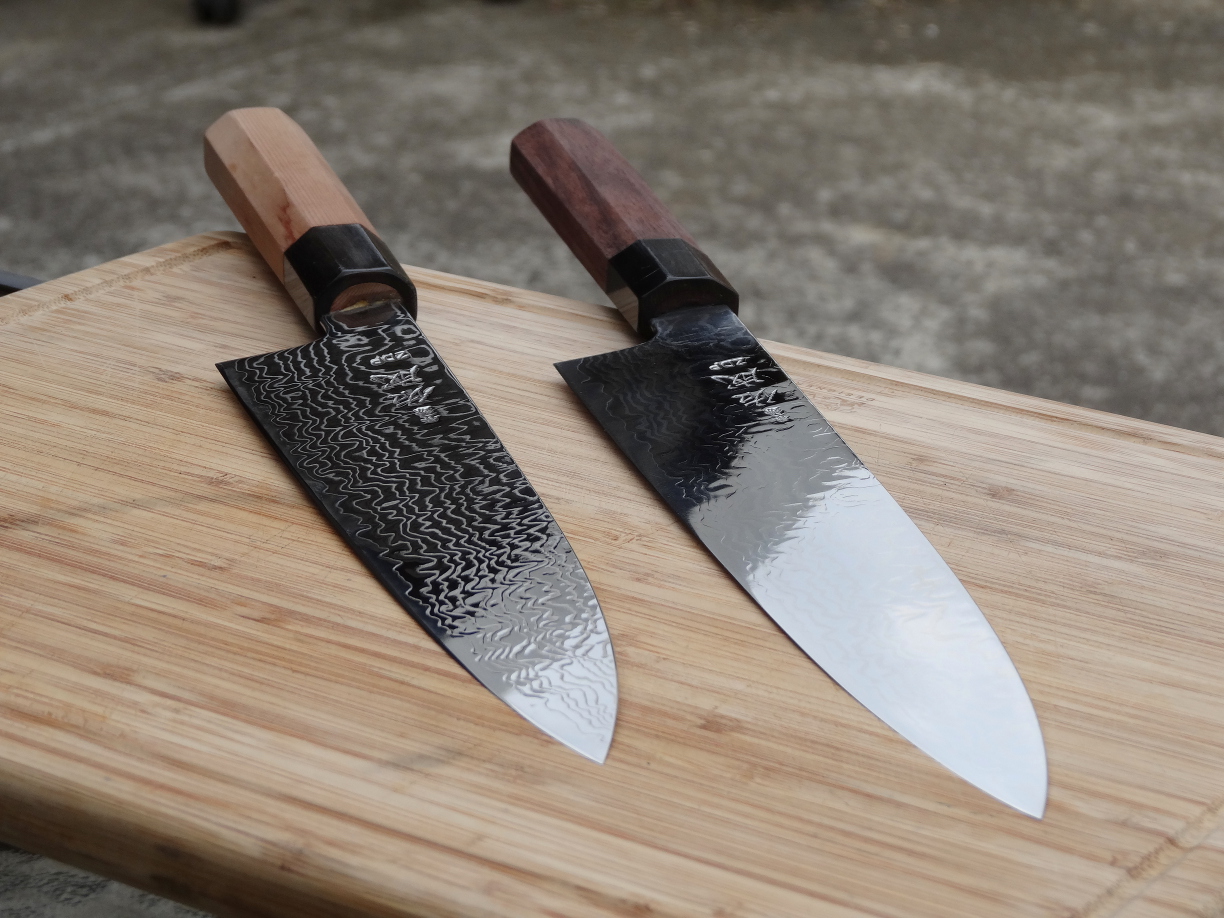
So I started by comparing the two knives I have; the 240mm who's belly I adore and the 270mm which has more of a flat spot (which I wanted to get rid of).
I took a thin marker and drew the new edge onto the 270mm in a way that it would have less of a flat spot. It's not so obvious in this picture, but later you can see the flat spot will become less pronounced.
I also made sure to draw this line below the level of the chip because I wanted an allowance for mistakes and to help make thinning the knife easier later on.
-------------------------------
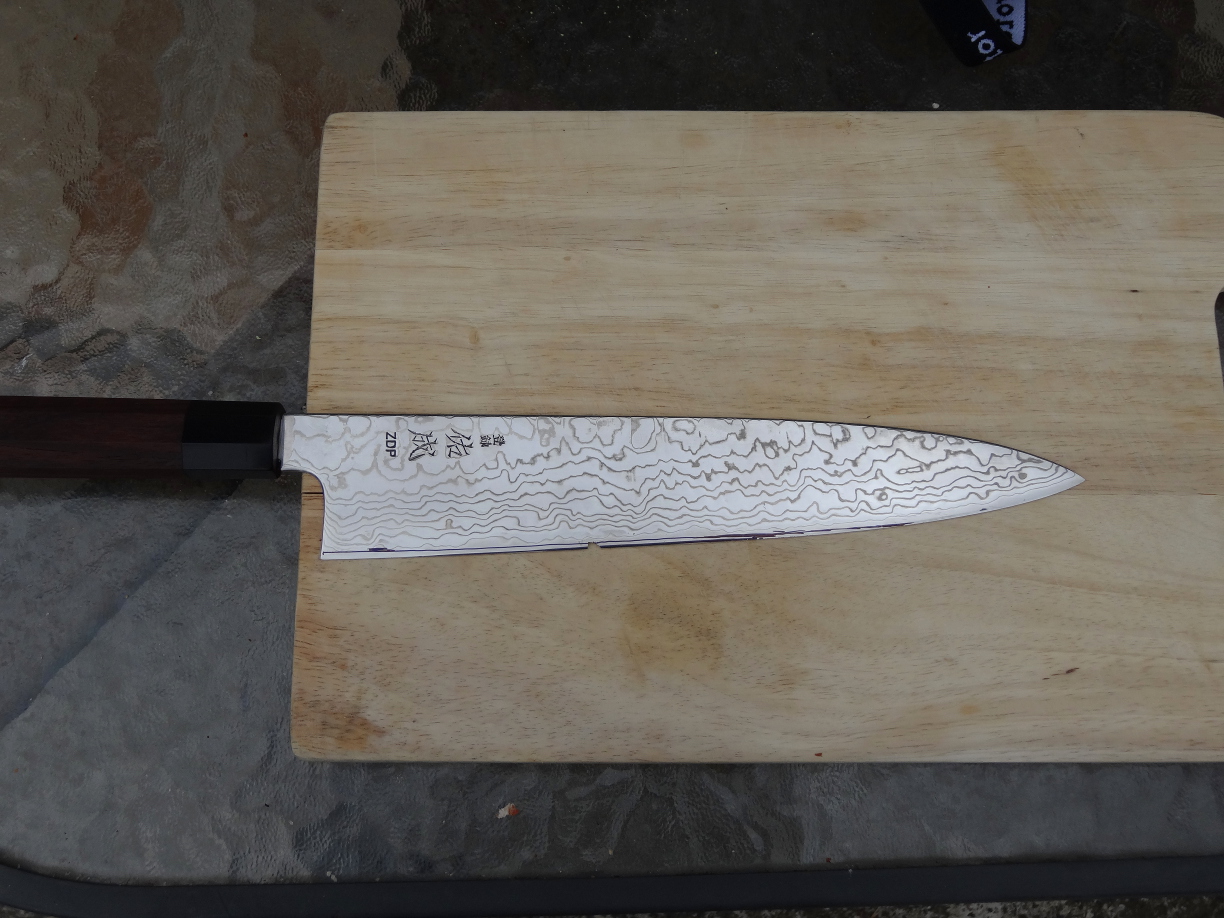
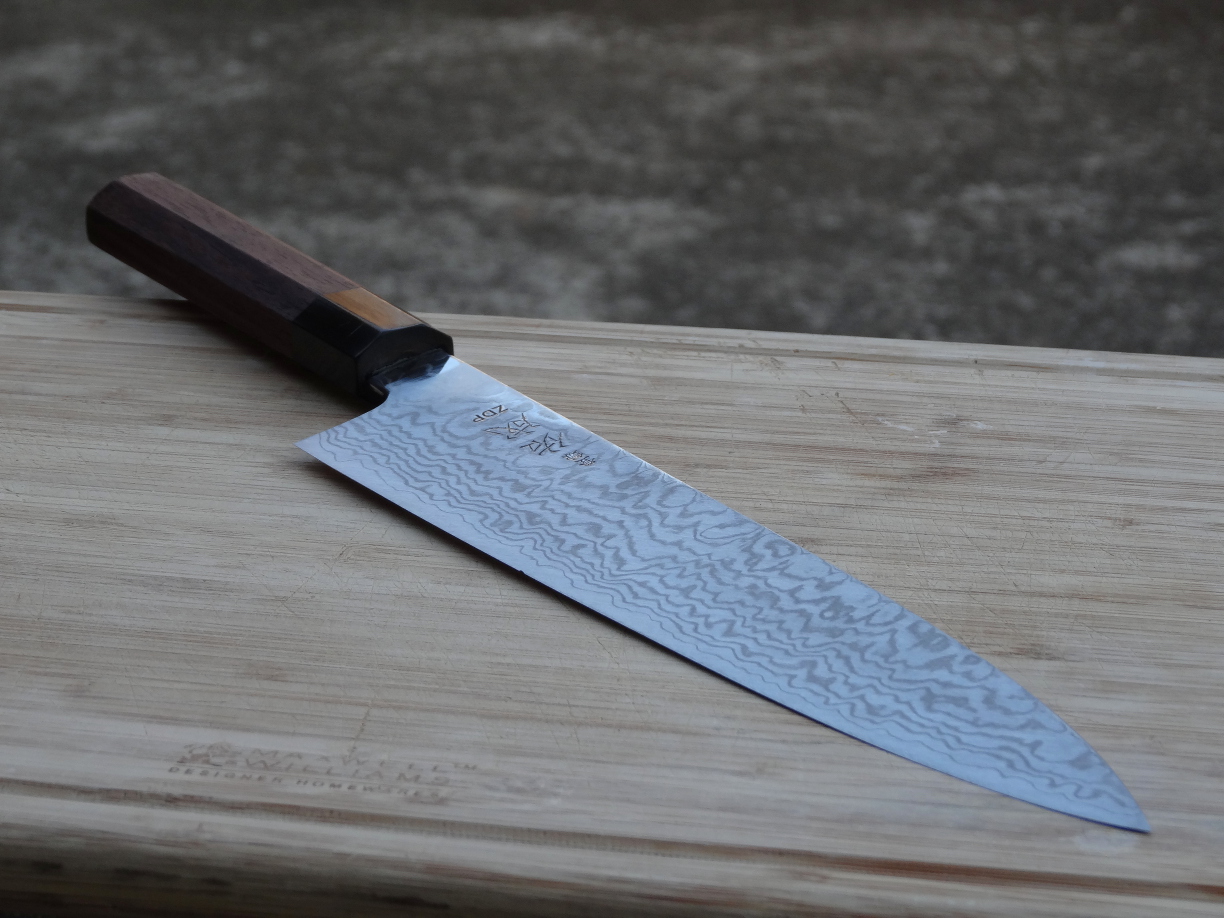
So here is the knife after using a belt grinder to bread-knife the edge away. Notice the chip is still slightly visible (and will be for the rest of this post). Also the tip of the knife has been modified by bringing the drop point up a little and have the tip higher up on the knife then it was before. This is because the knife started to look a bit weird and misshaped after I had removed a few millimeters off the entire cutting edge.
Notice that the core layer is now covered by the cladding in some spots.
-------------------------------
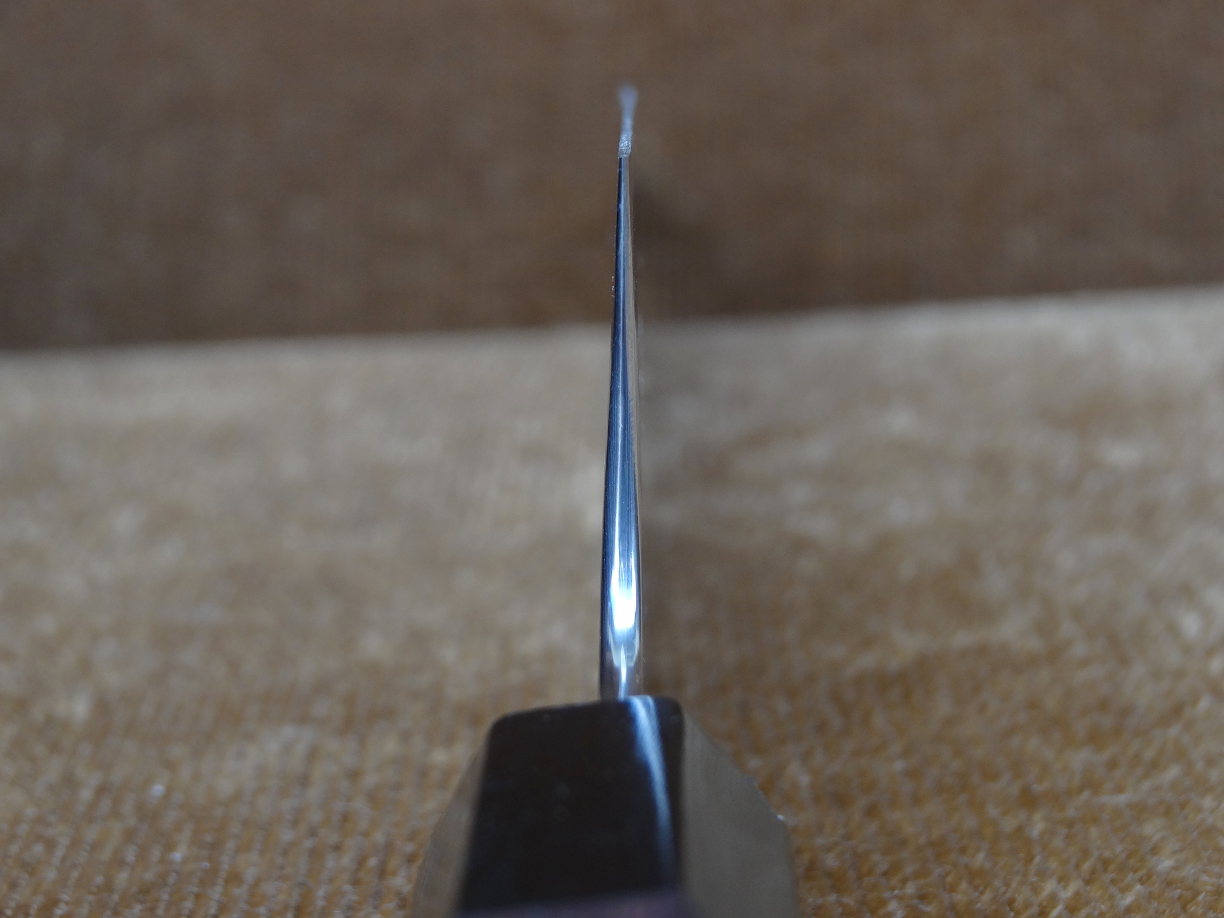
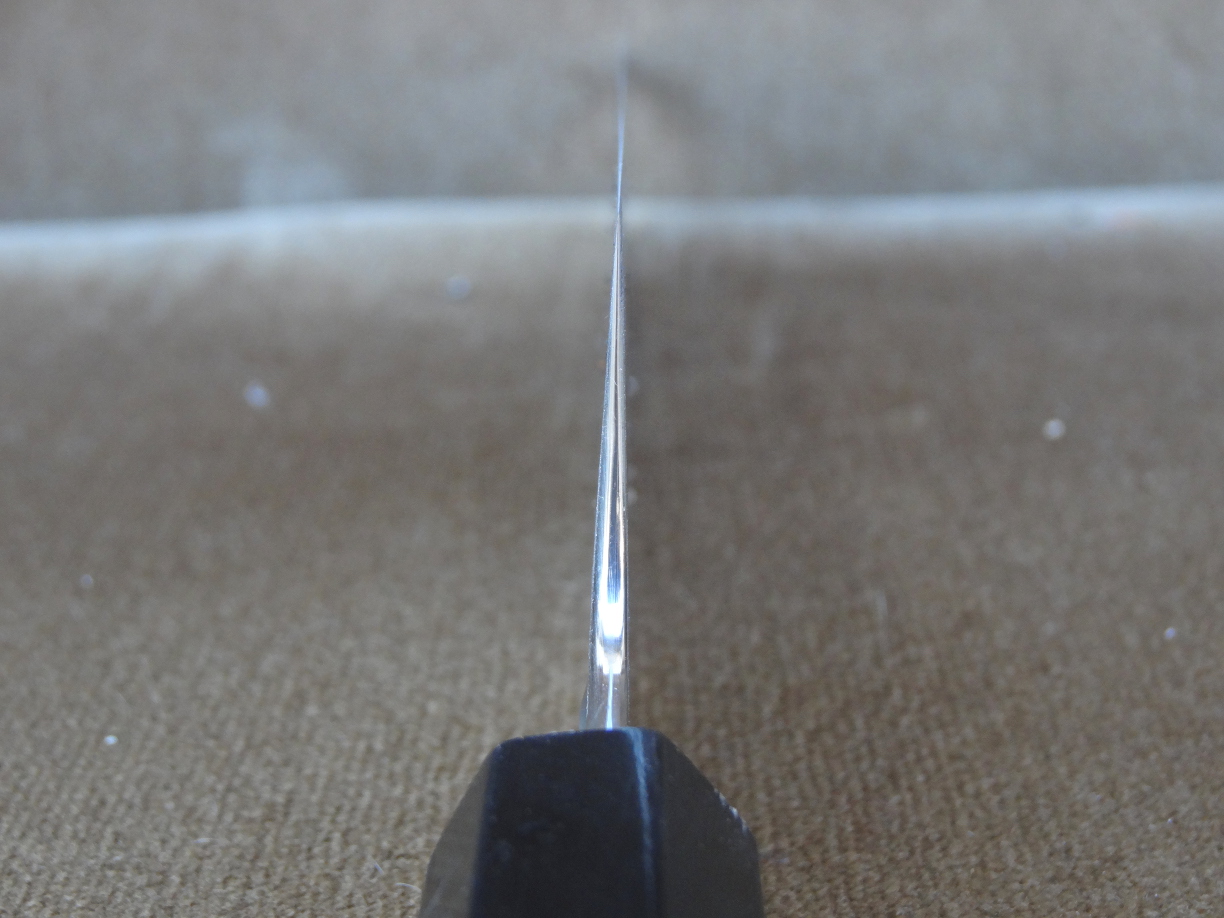
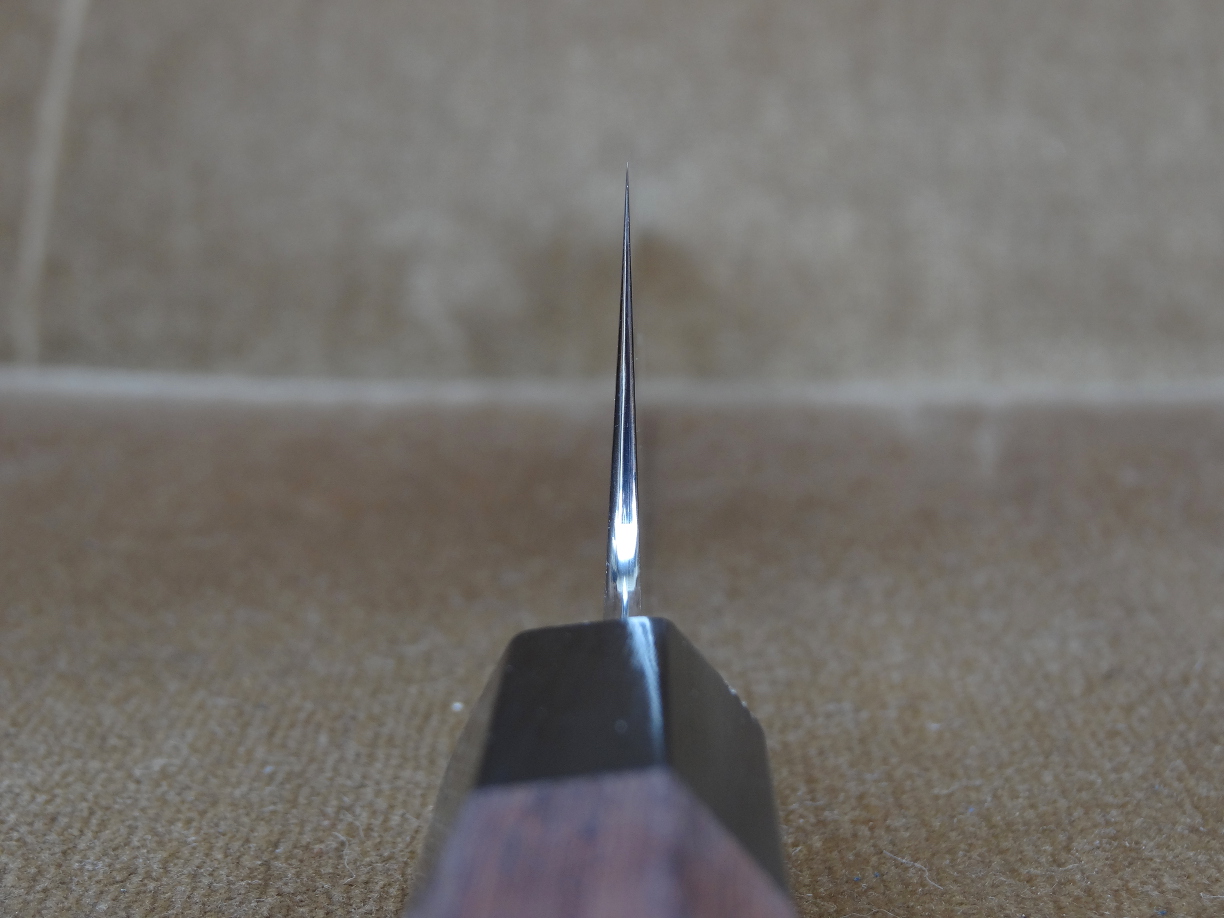
Choil shot after bread-knifing. At this point I noticed that the blade is slightly warped down its length, and I spent a few minutes trying my best to bend it back into a straight line (see choil shot a few pictures below for comparison).
-------------------------------
Here is the knife after using a 80 grit high speed belt. I'm very grateful that I have this cheap grinder because it got days of potential elbow grease done in a few short hours. I over-heated some minor areas on the edge :shocked3: The thinner the edge gets, the faster it overheats!
I used the grinder to do as much work as I could safely manage before switching to the trusty stones.
-------------------------------
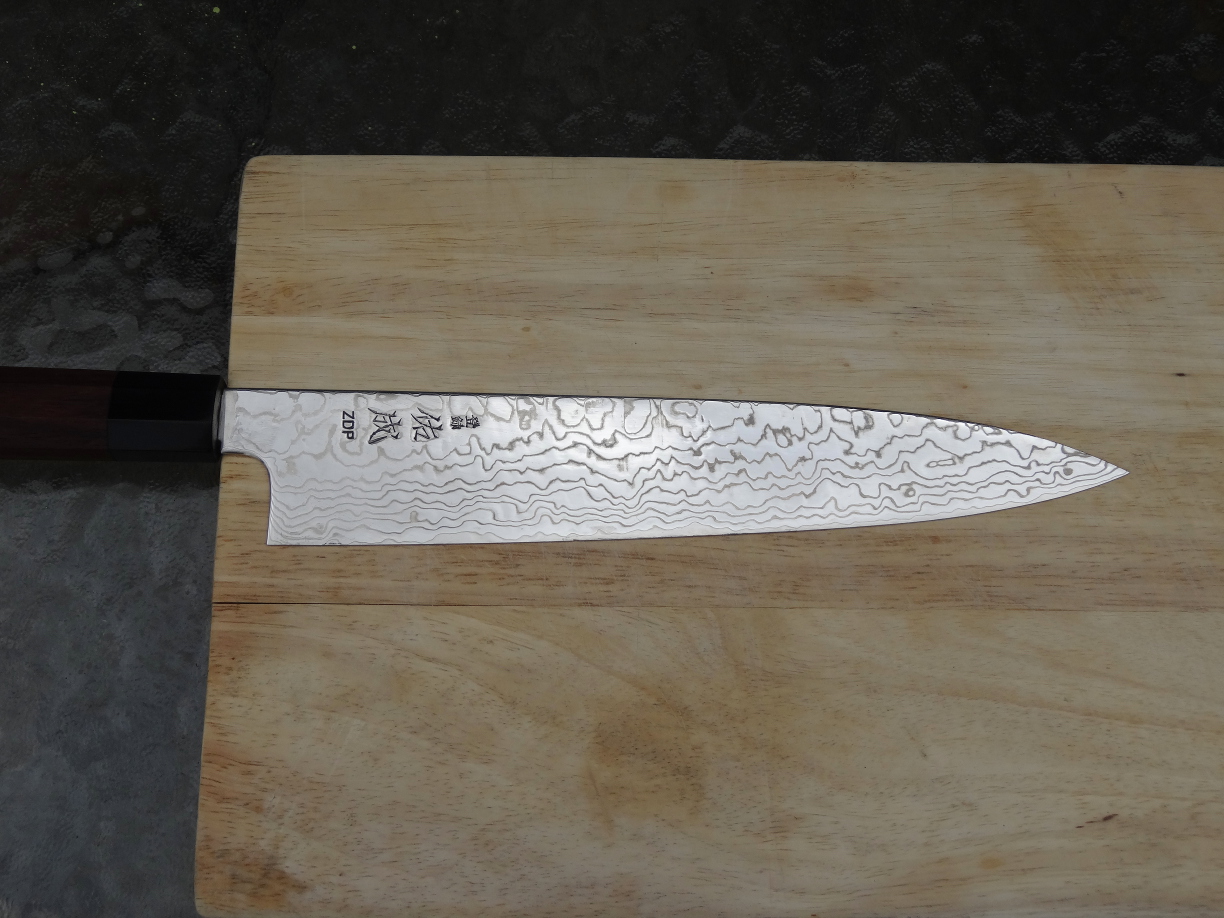
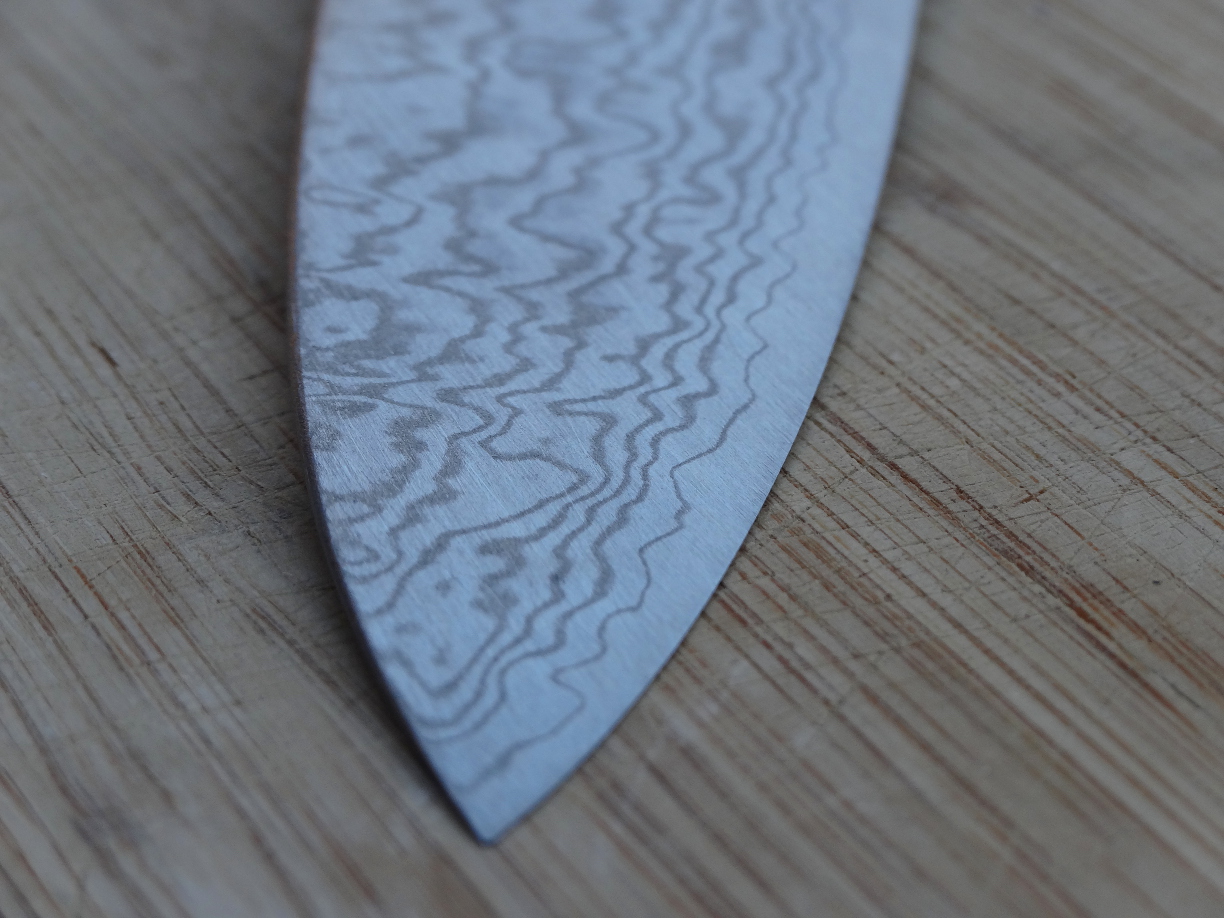
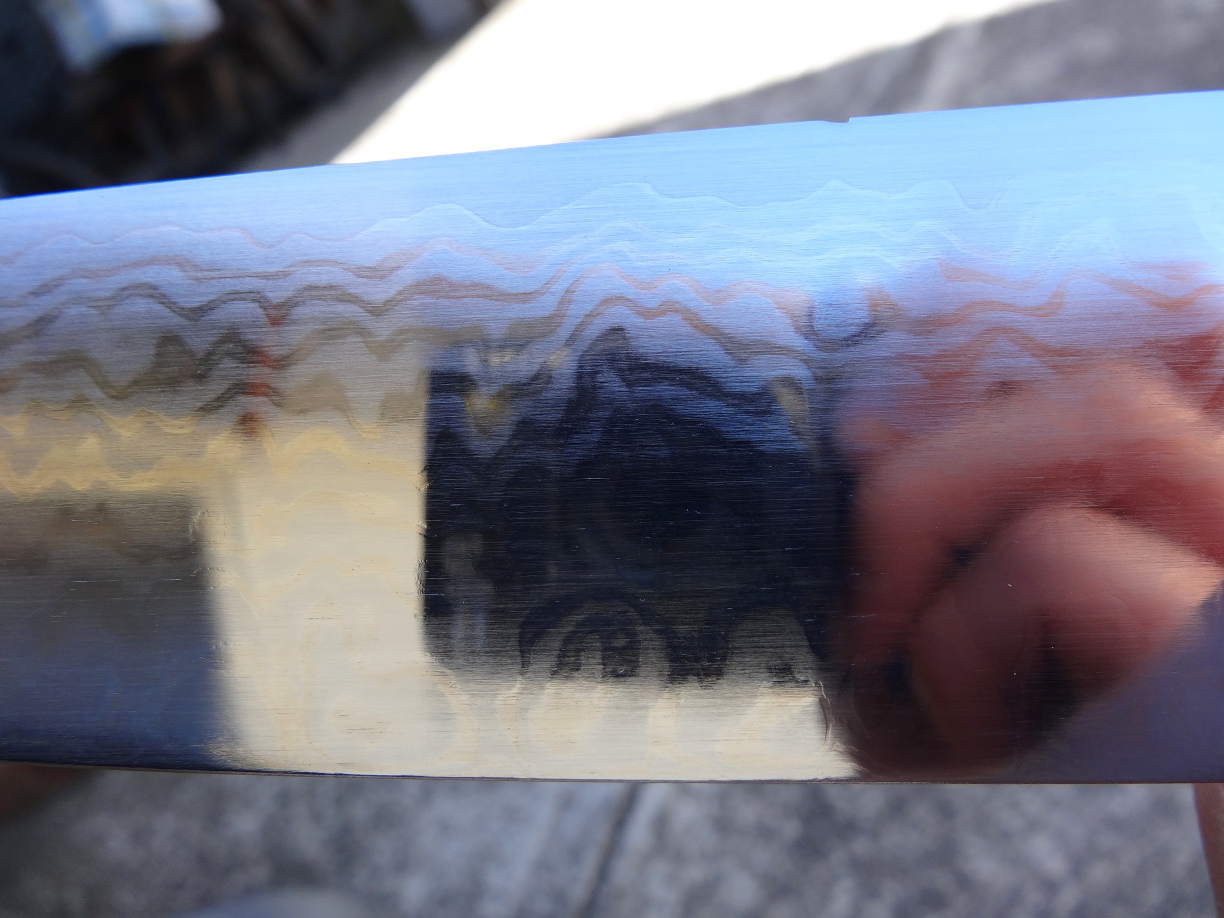
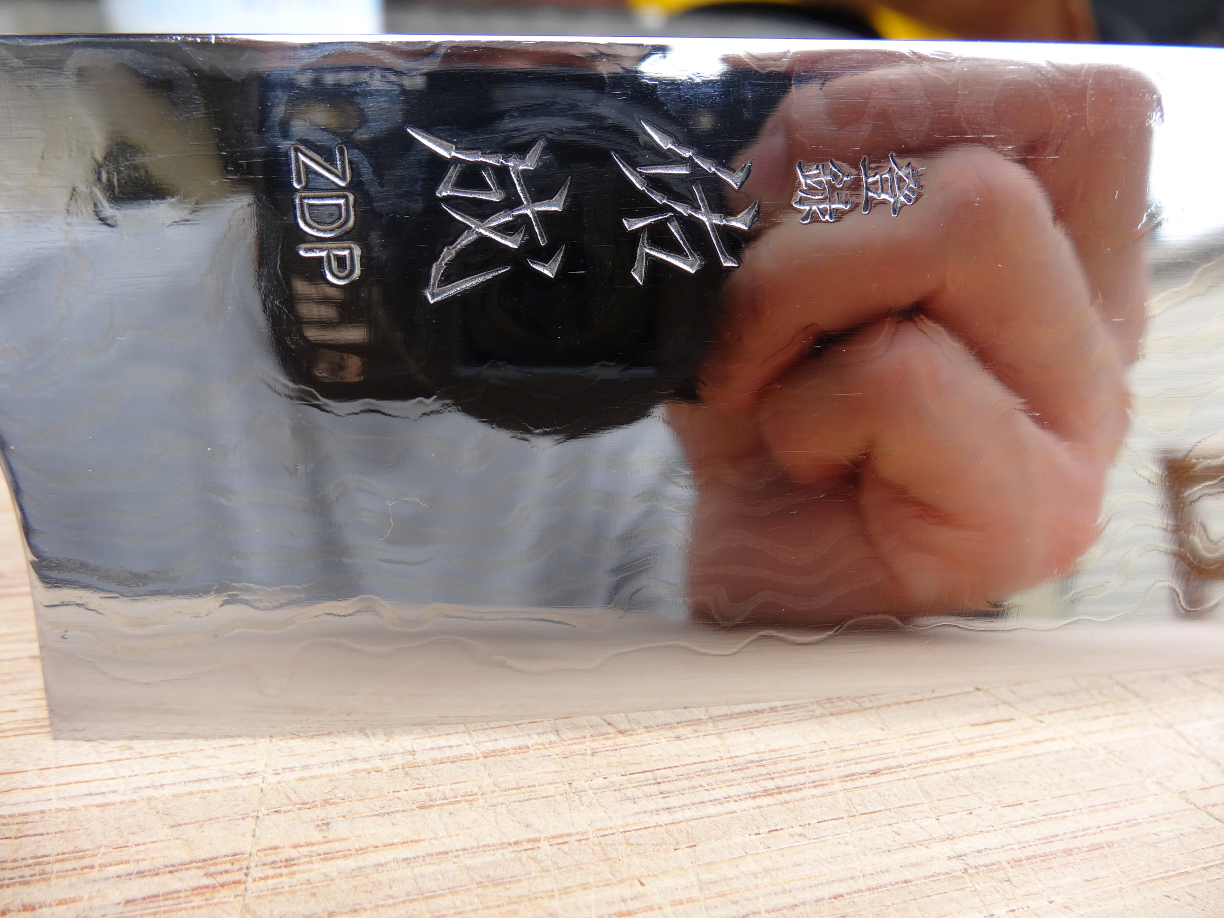
So this is how the knife currently looks... for now. This is straight off the belt and onto a cheap silicon carbide stone for half an hour or so. I'm very pleased with how the cladding has moved up the blade and exposed a good amount of the ZDP core: There was always a small chance that the core wasn't centered in the middle of the san-mai construction, and the end result could come out looking a bit off... but no such issues!
It hasn't been sharpened yet so it's completely blunt, however I've removed most of the bread knifing and it's very close to a zero grind, so sharpening will be easy when the time comes. But before then...
-------------------------------
I think the tip and the heel need a bit more work. They are notoriously difficult to finish accurately on a high speed belt without screwing something up. Maybe I need to learn/practice it as an advanced skill, but for now I'd rather use the slower hand method, especially on such an expensive knife.
Also the knife in it's current state is completely unpolished. That will come next when I'm happy with the tip and heel. Lastly will be the sharpening, which should get rid of any overheated spots as well as the last remaining part of the chip that I left there.
So far I'm very happy with how it's turning out. Let me know what you guys think and feel free to ask me any questions!
")