Okubo Cleaver Refinishing Project Pics

Kitchen Knife Forums

Help Support Kitchen Knife Forums:

This site may earn a commission from merchant affiliate links, including eBay, Amazon, and others.

tostadas

Hobbyist / Craftsman
Joined
Jan 27, 2020
Messages
5,037
Reaction score
16,117
Location
California
It’s been a while since my last project thread. Cleaver time baby!

The Knife
Okubo nakiri/cleaver in aogami #2 and iron clad from Michael at Knife Japan. He actually listed a gigantic 250mm long “nakiri” on the site, which looks absolutely insane. I asked for a shorter one in my favorite size, 210x90 with no other requests, and Michael made it happen.
a1.jpg


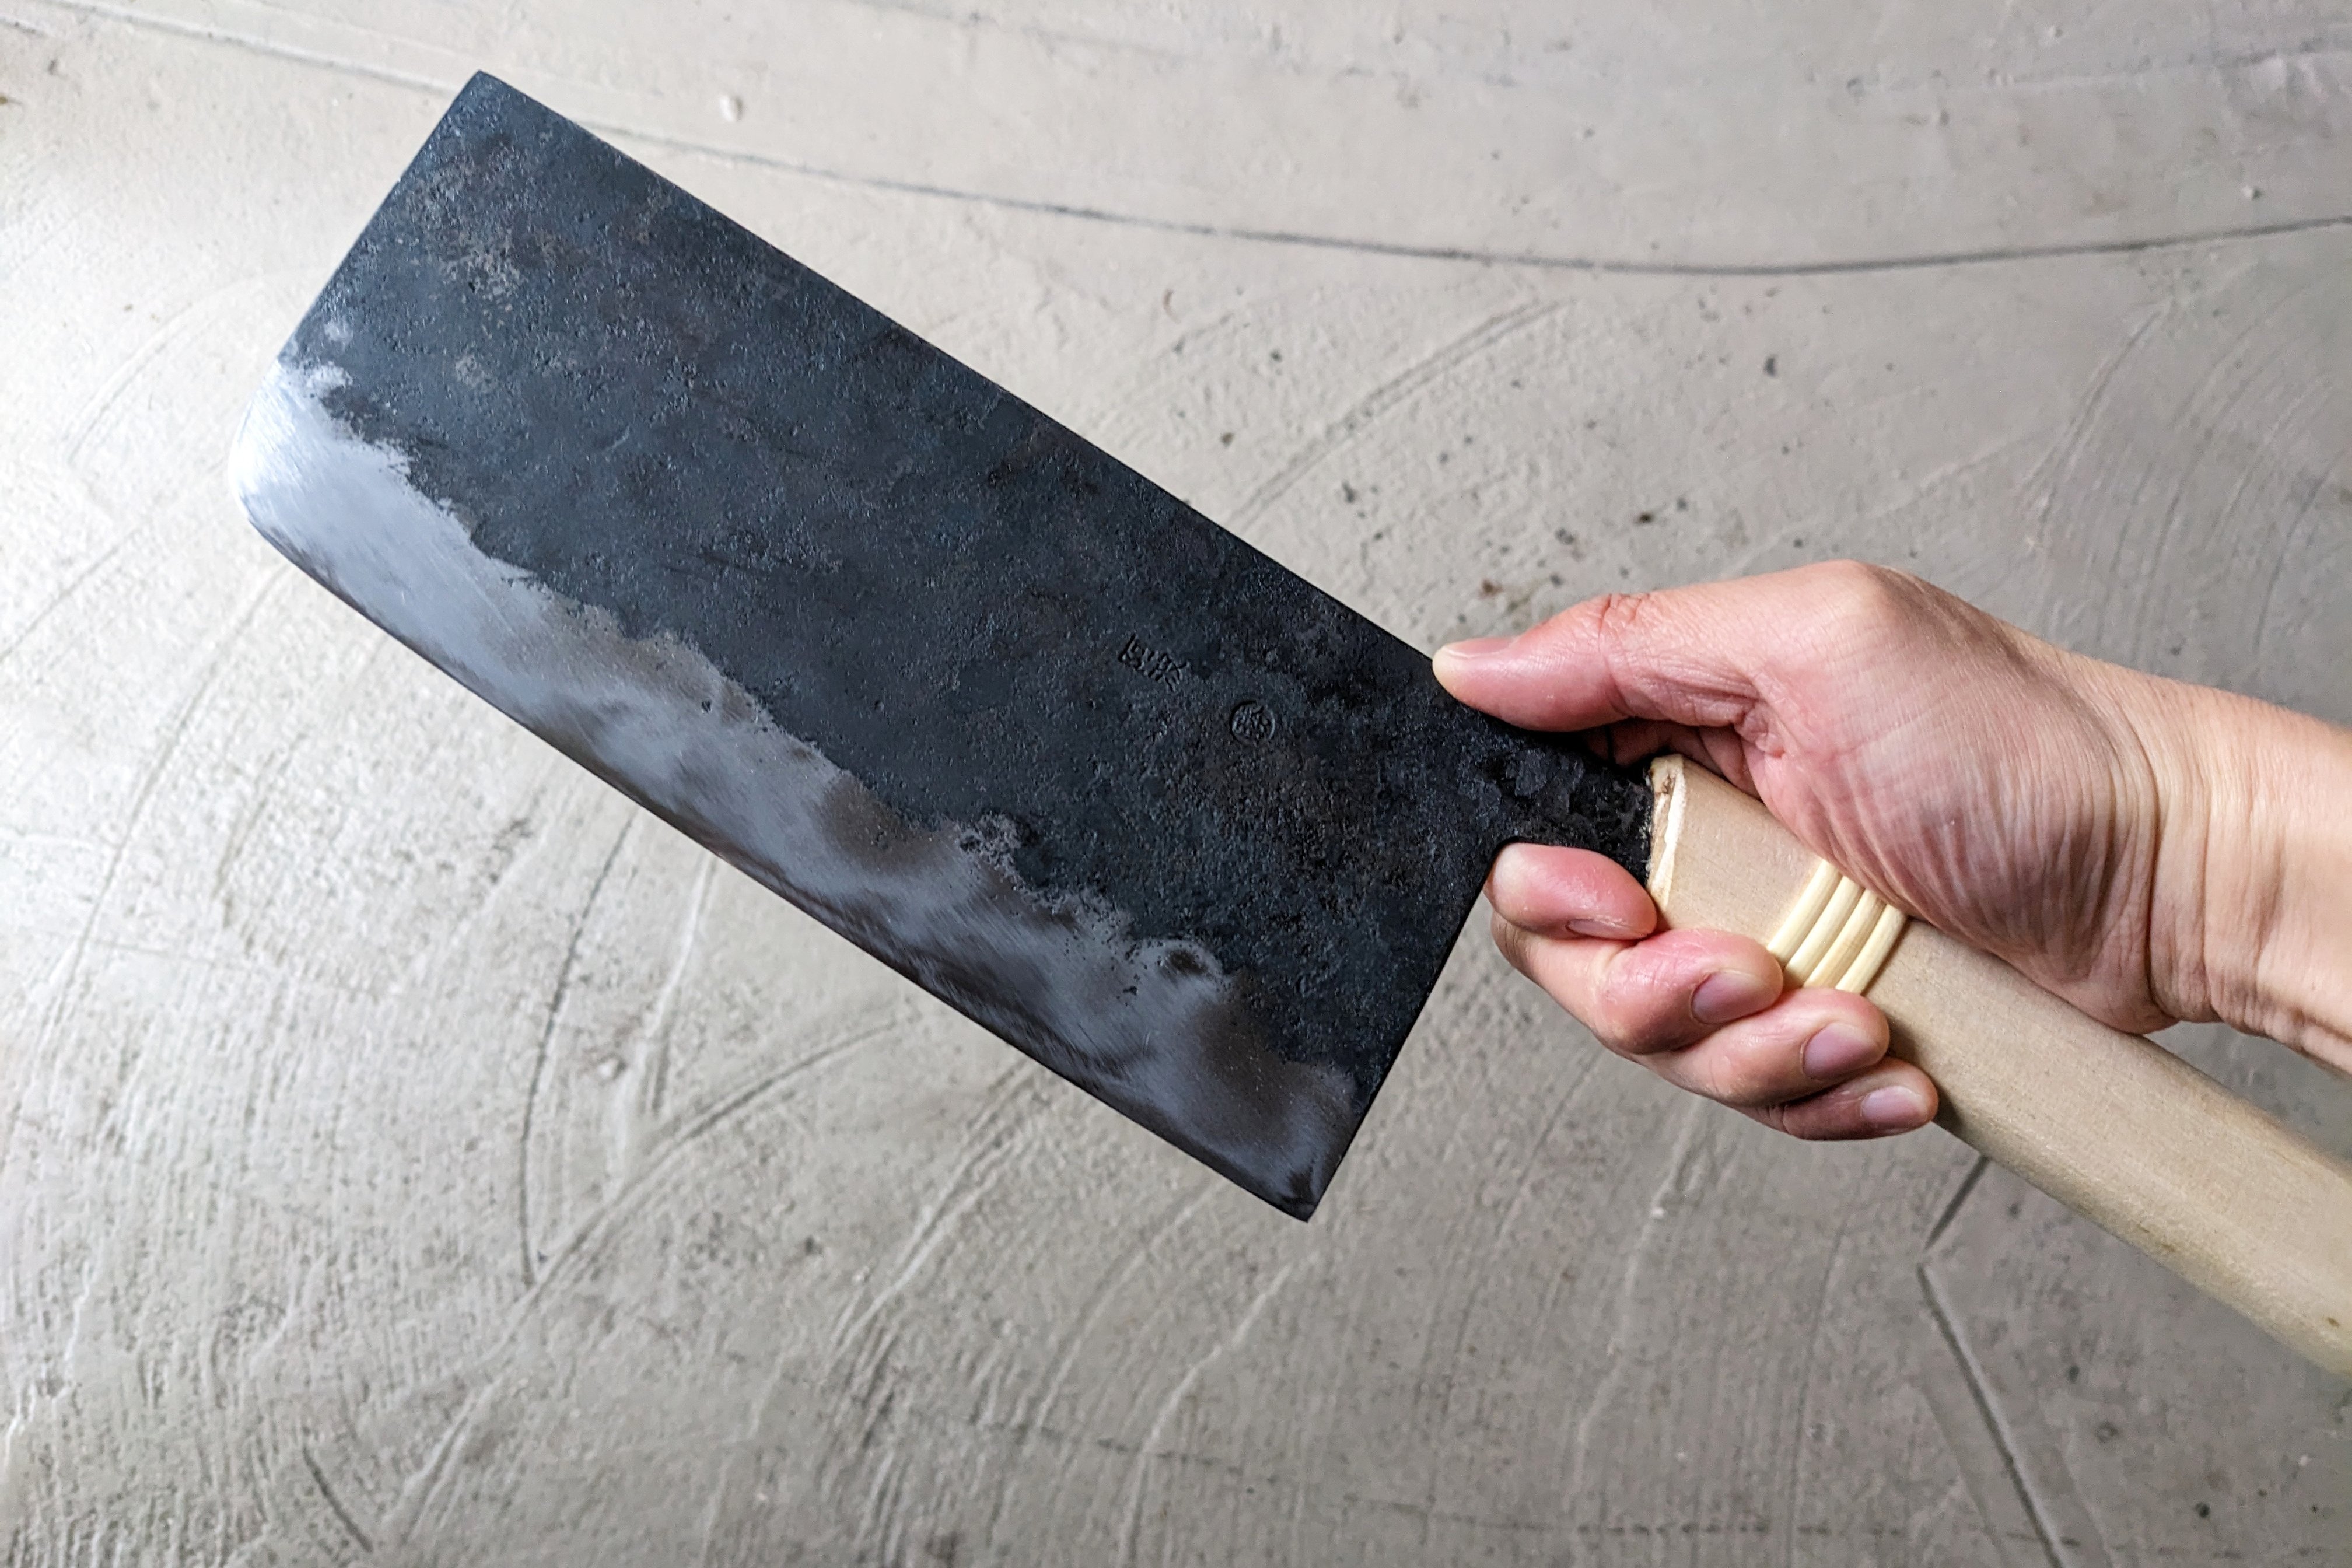
The knife was a giant rustic beast. Fat spine, thick forge scale, coarse convex grind, and with what looked like a half tree branch shoved onto the tang for a handle.
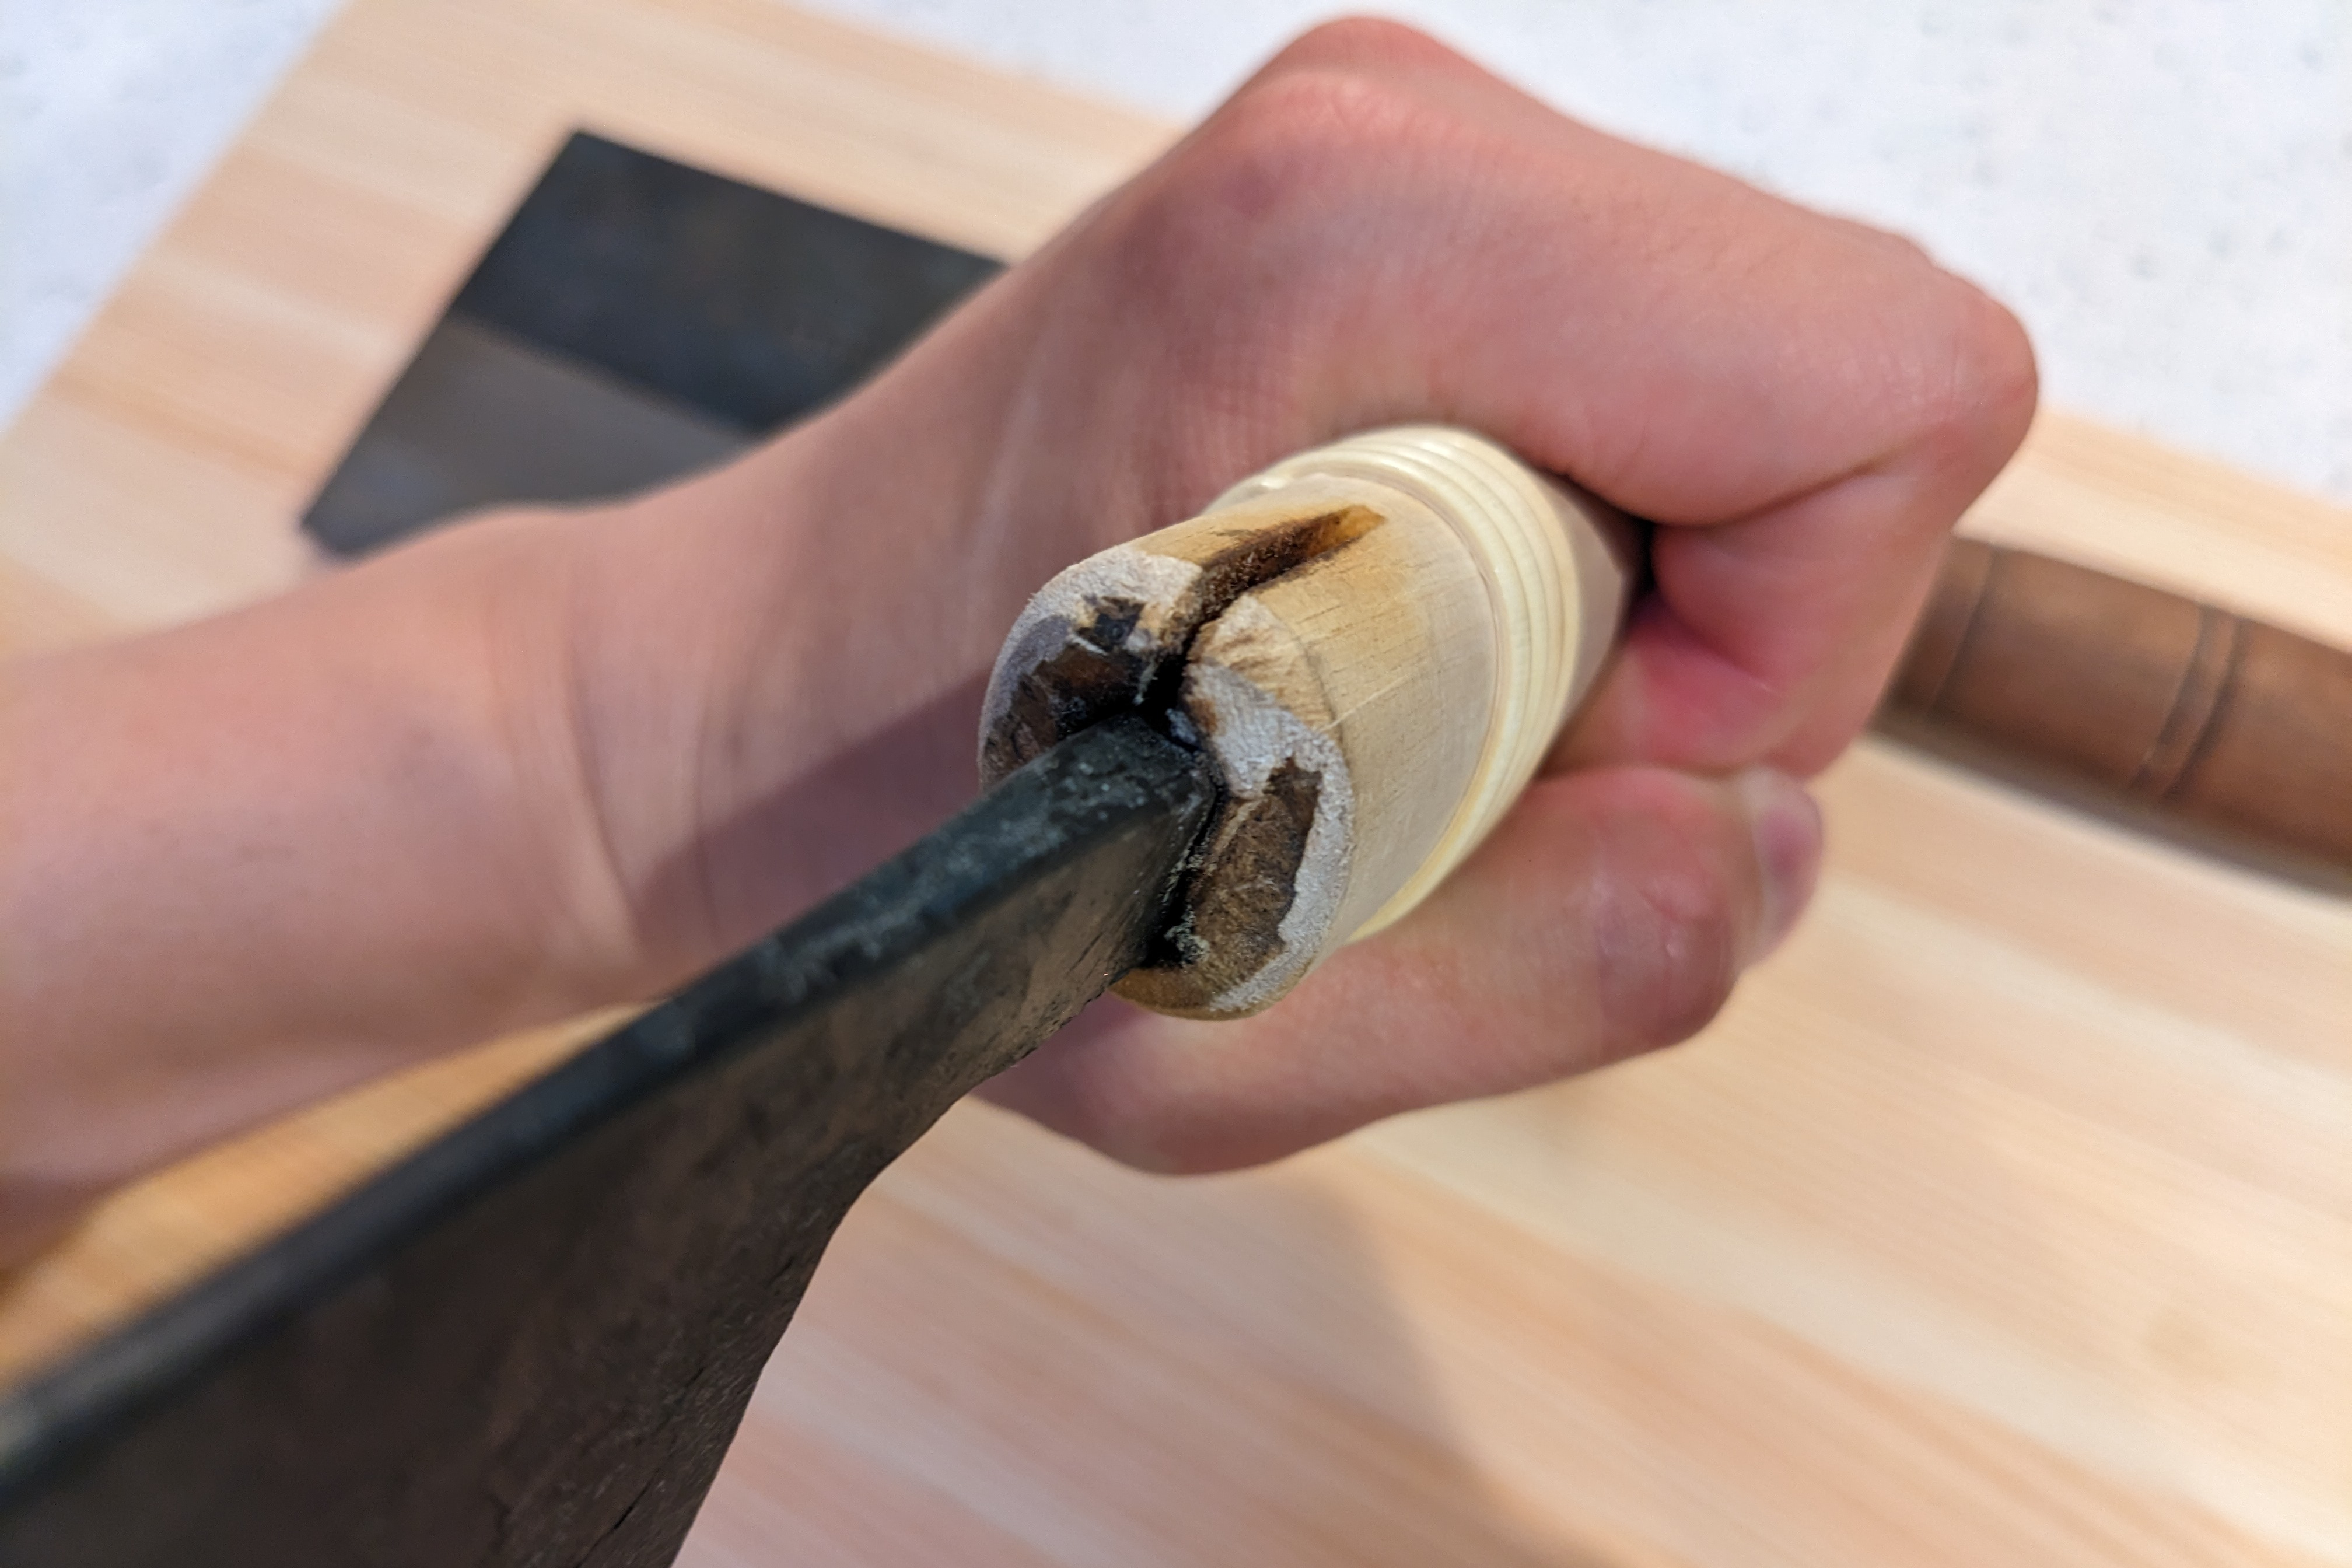
a2.jpg


Out of the box was actually a decent performer, but that’s beside the point. That’s not why I bought this knife. I had bigger plans in store.
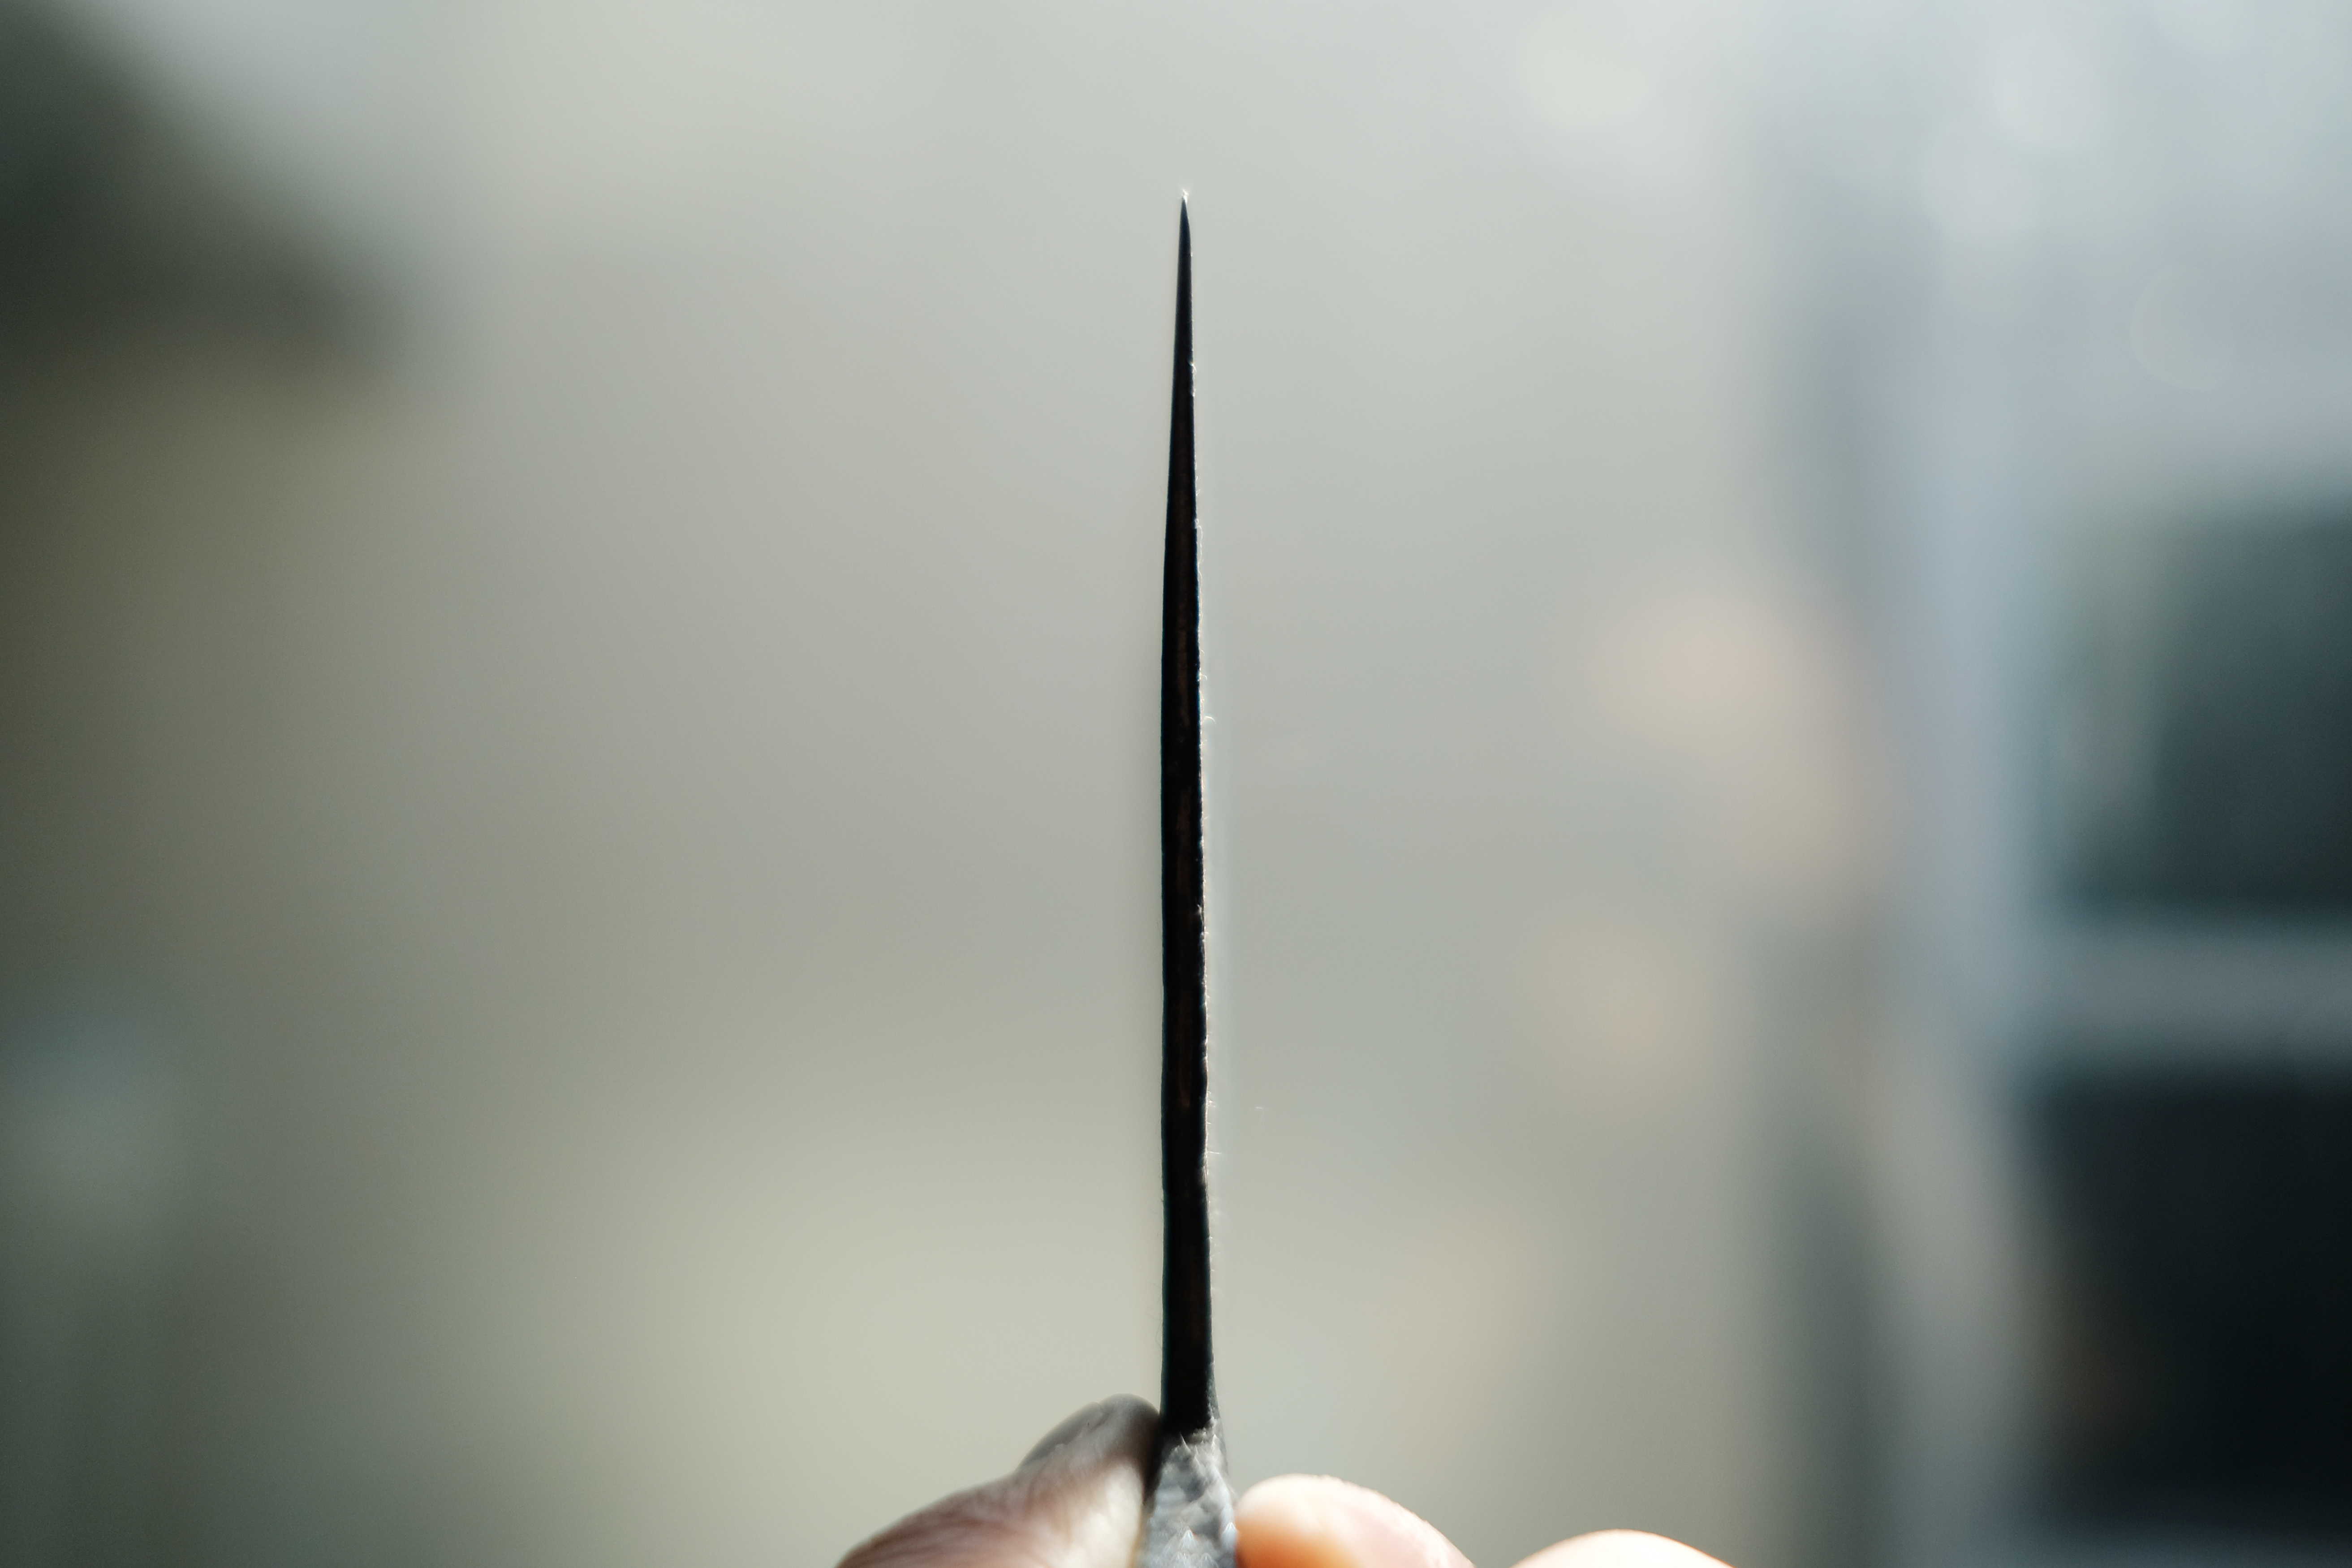
a2a.jpg


The Plan
The goal was to have a blend of original gritty character of the cleaver, while also giving it some refinement with a polish and a new handle that would actually allow it to fit in my knife drawer.

Tang Work
To fit the new handle, I had to adjust the tang a bit.

The stock tang had a bulge partway down. The spine thickness near the choil was about 5mm, while the thickest part of the tang was around 7-8mm. And it was offset by a bit.
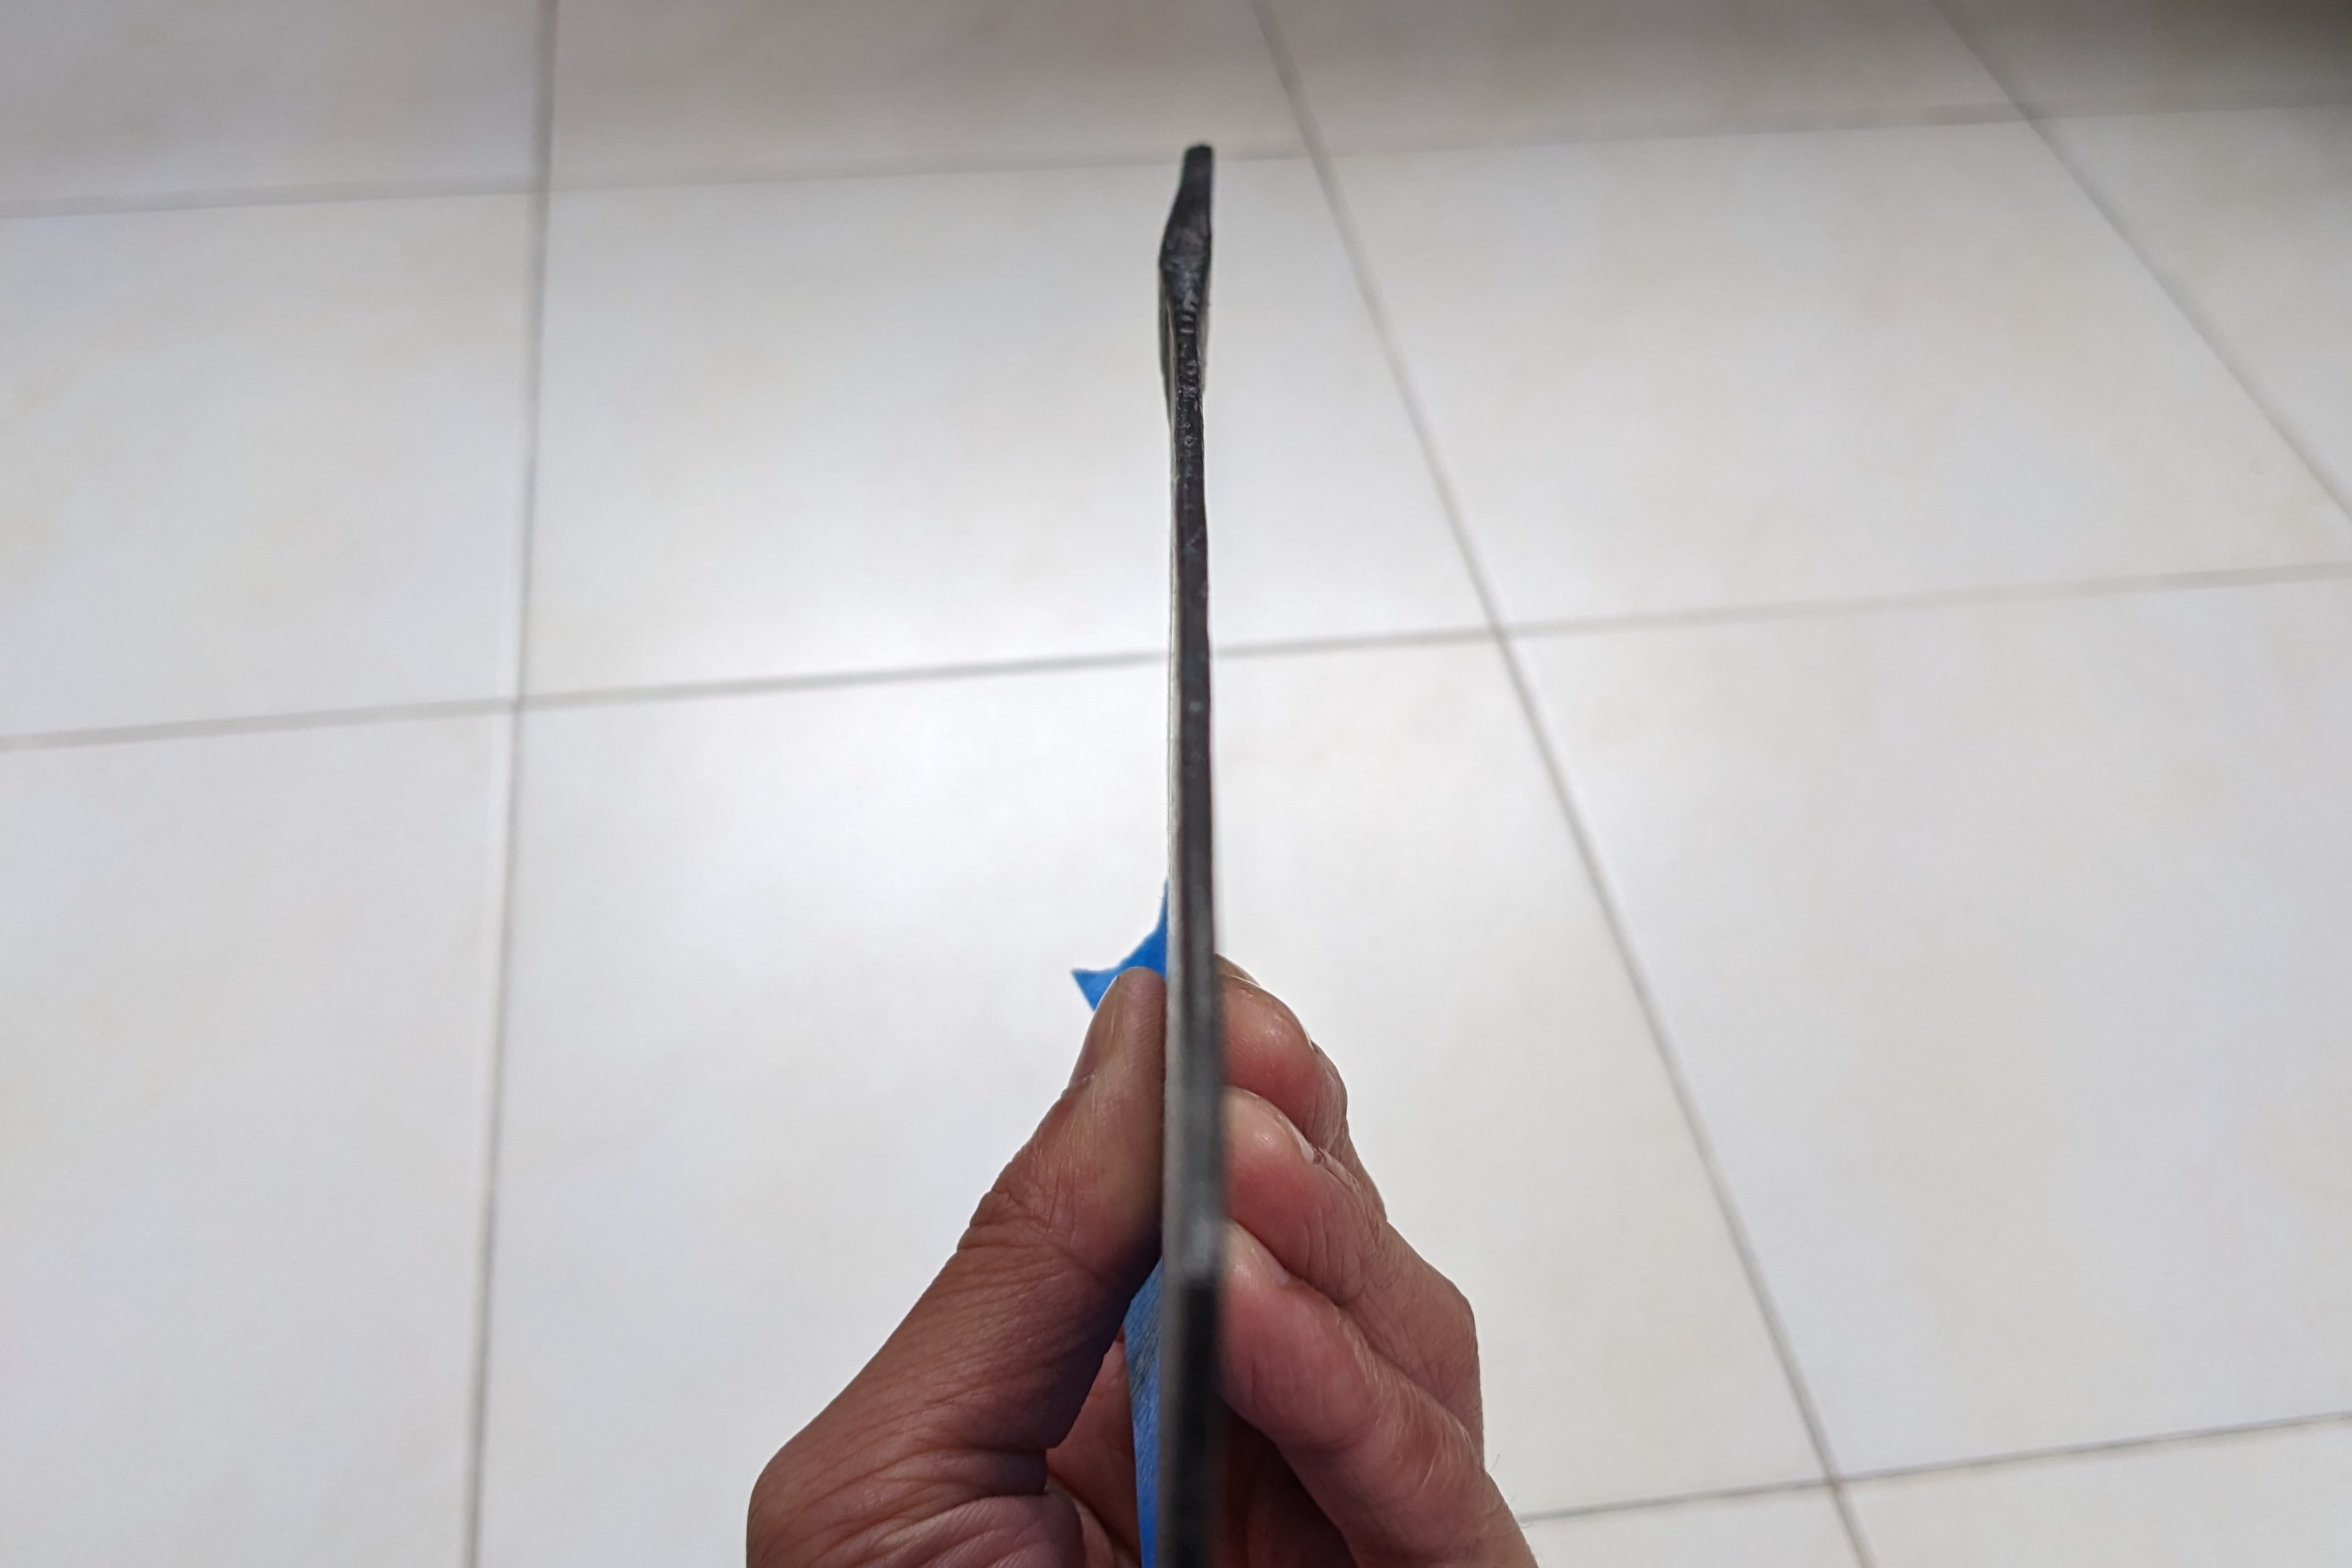
a3.jpg


Straightened out the tang.
b1.jpg


Ground down the excess, while trying to retain as much metal as possible. Enough so that I could allow for a decent fit up of the handle later down the line without needing an oversized tang slot. Also shortened it to fit a stubby handle.
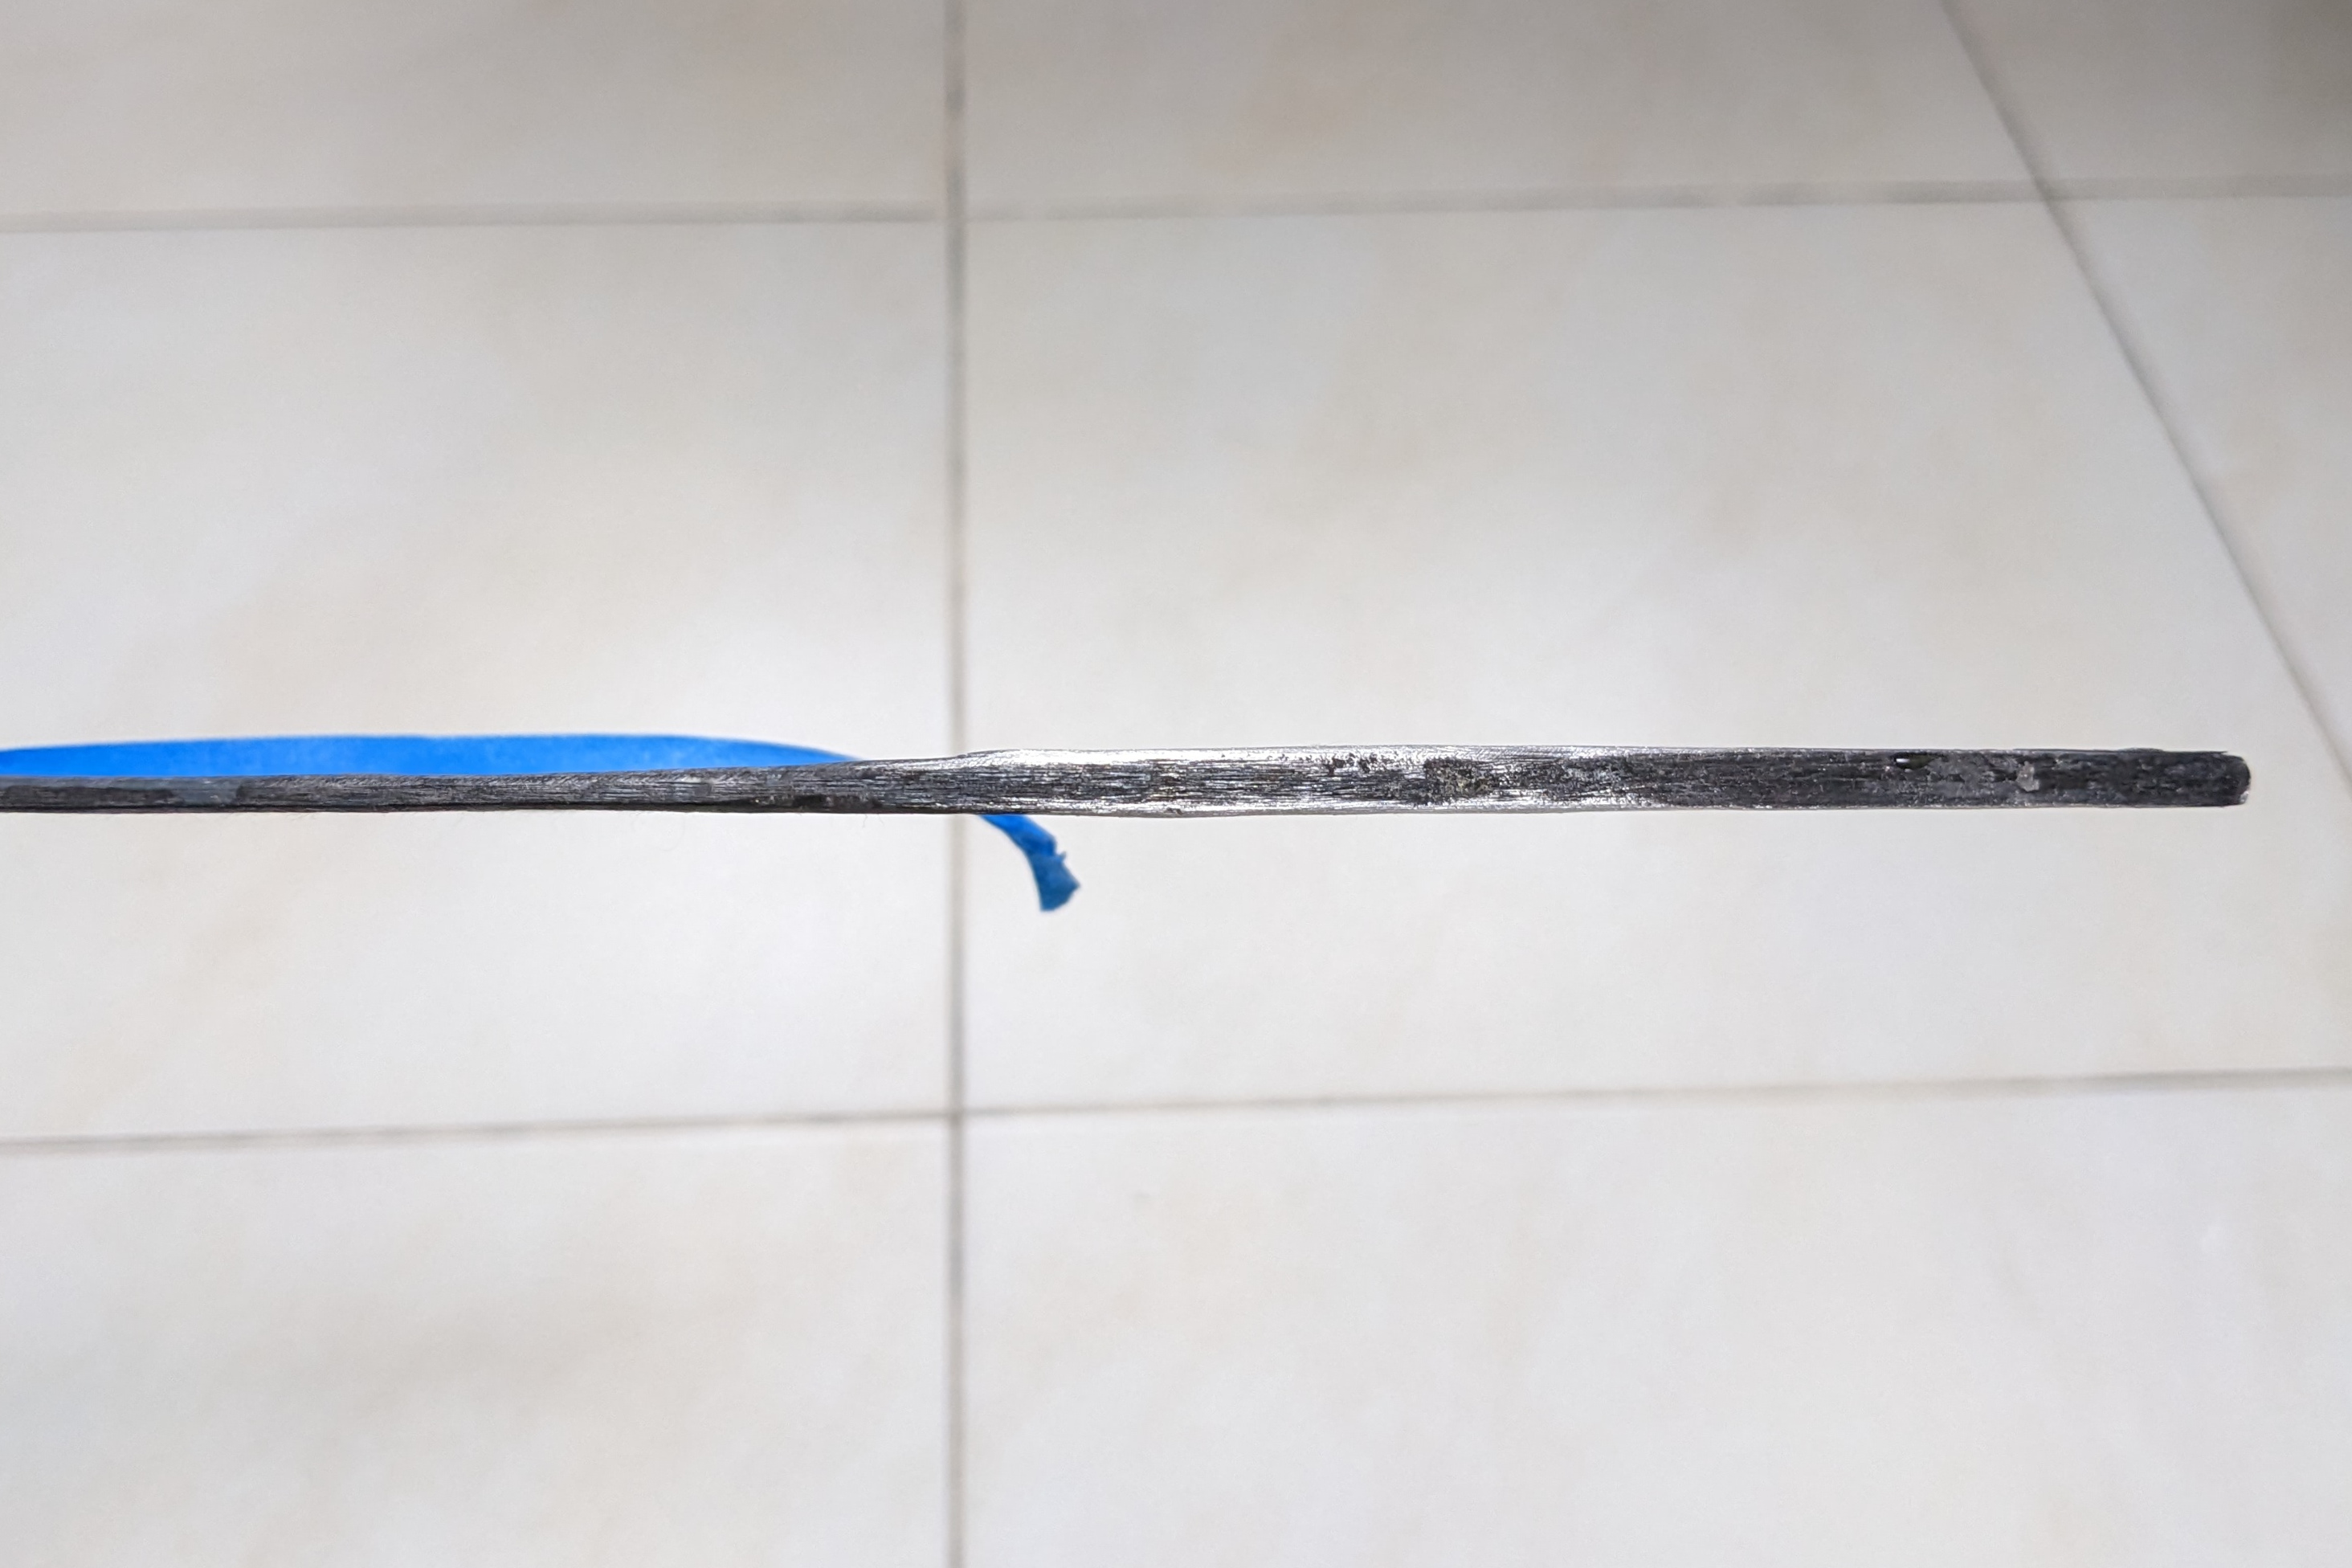
b2.jpg


Thinning and Polishing

Stock grind was coarse.
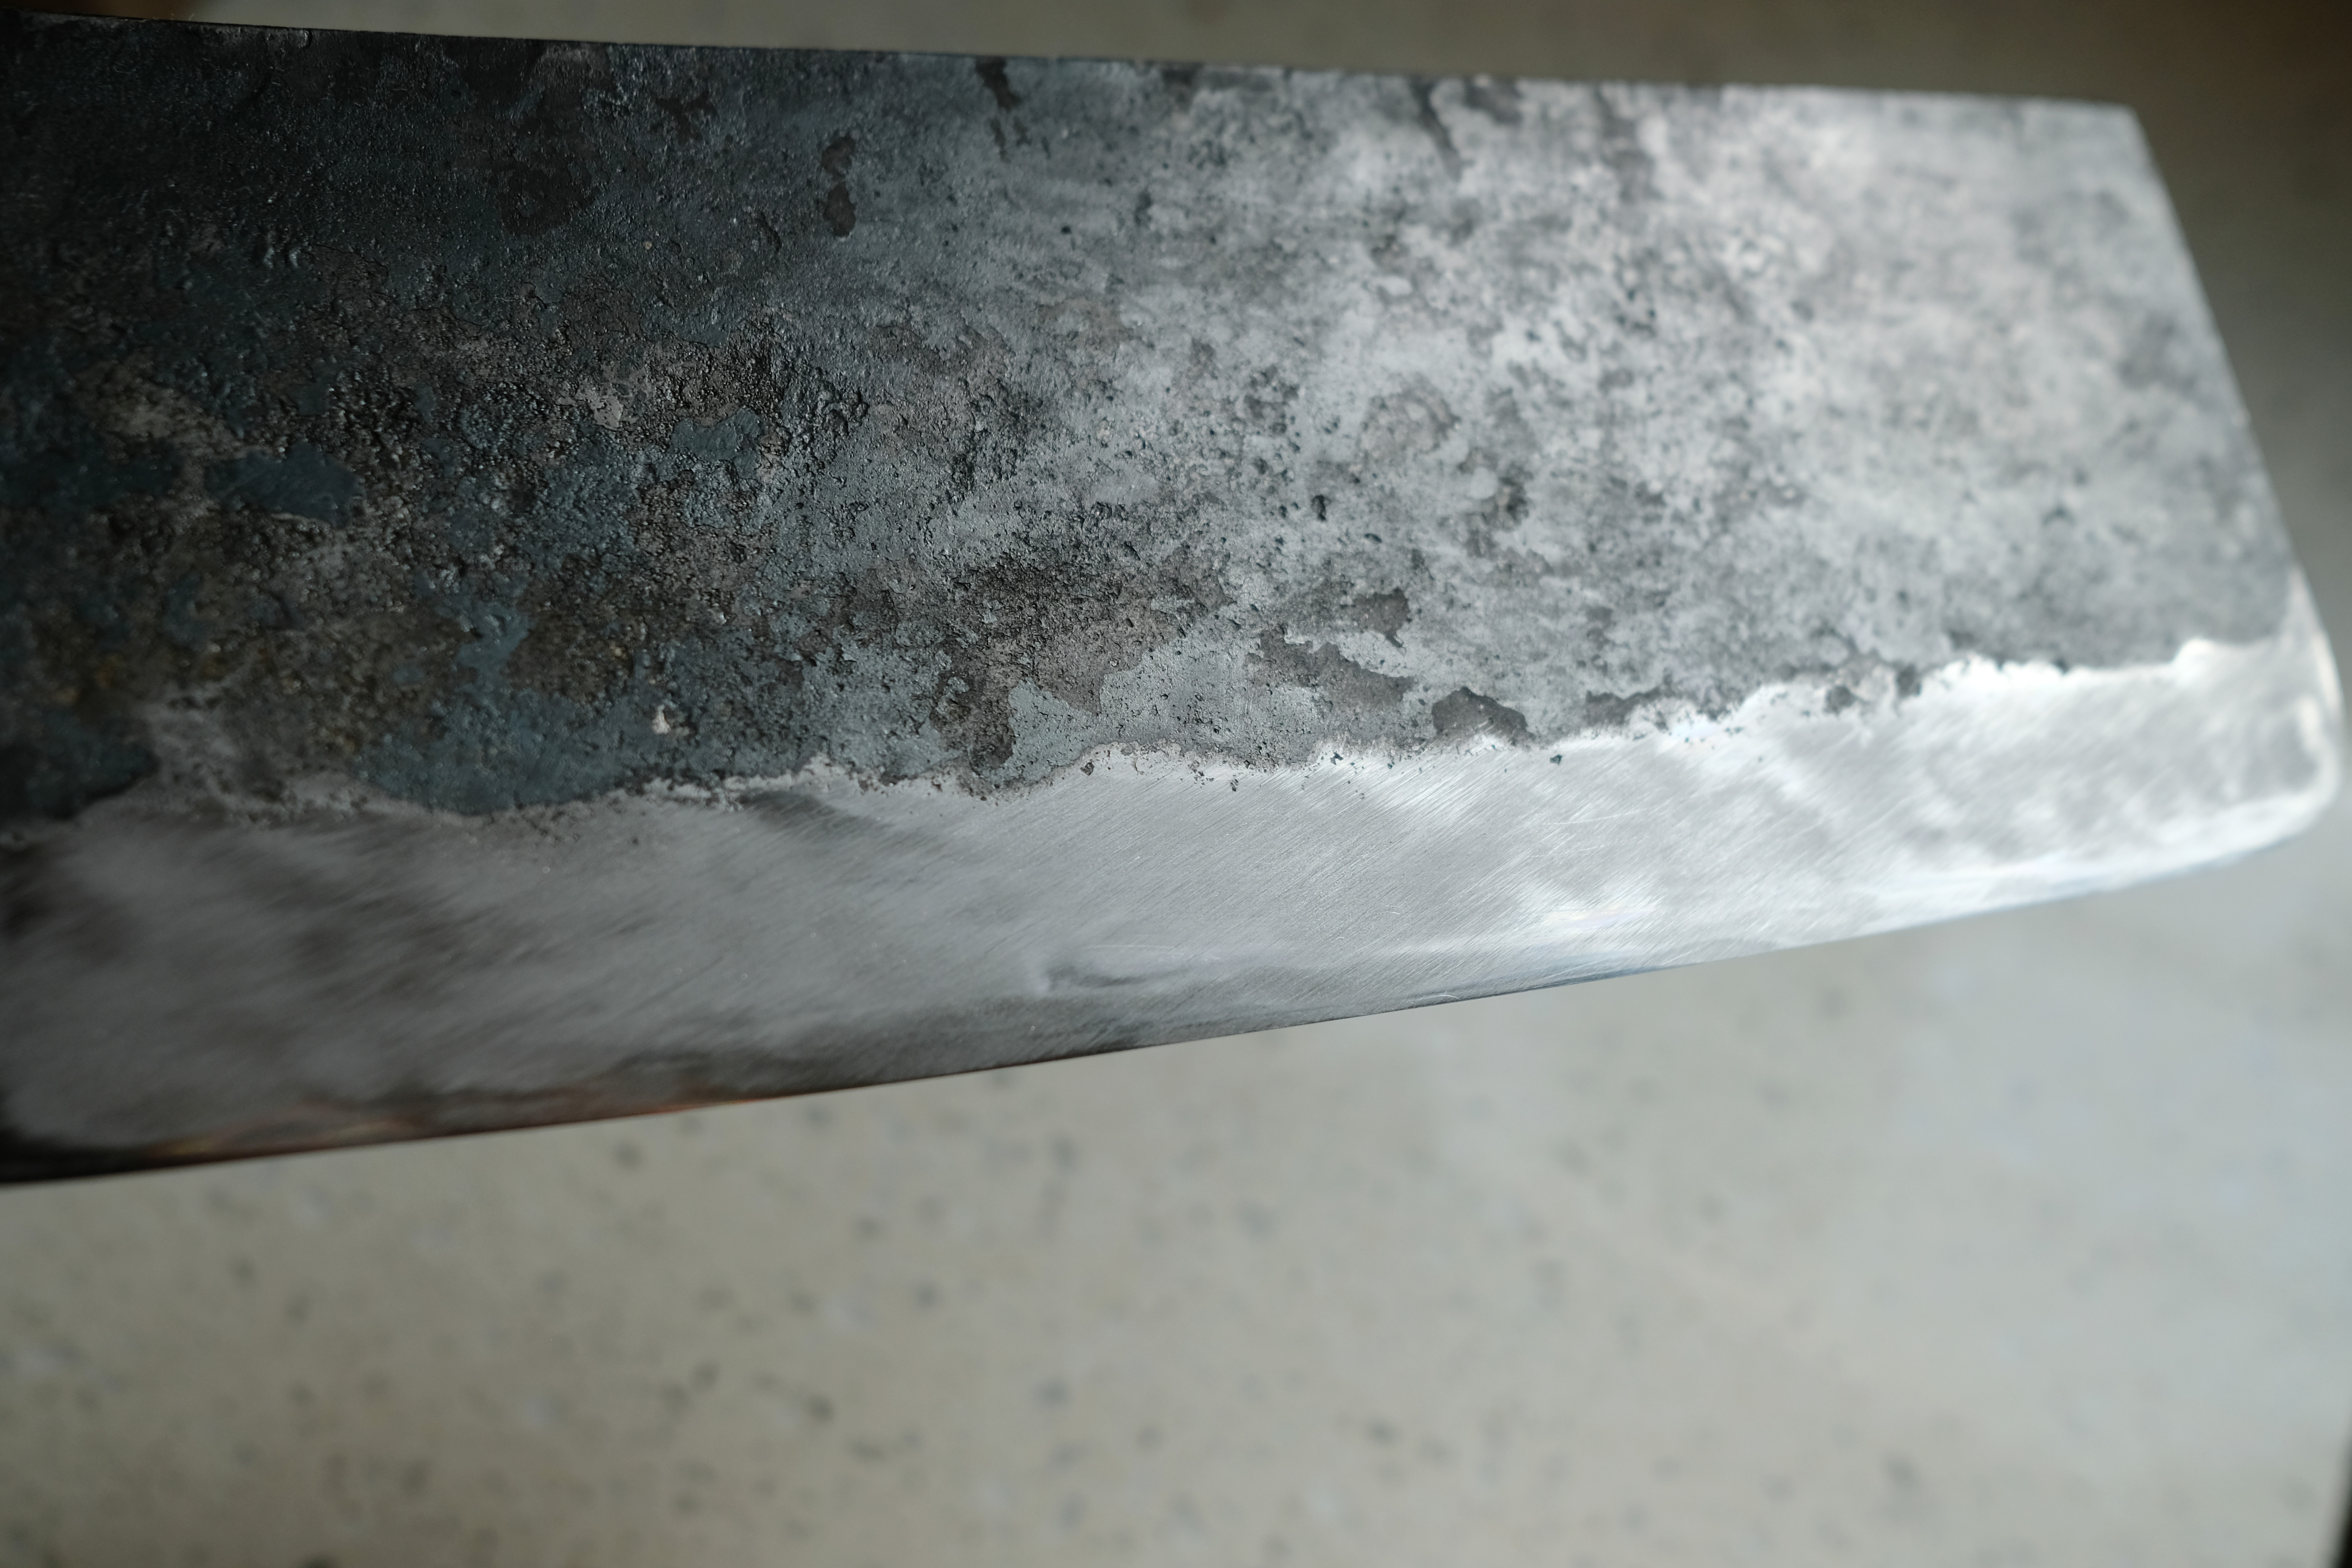
c0.jpg


Some low spots that needed to get worked out.
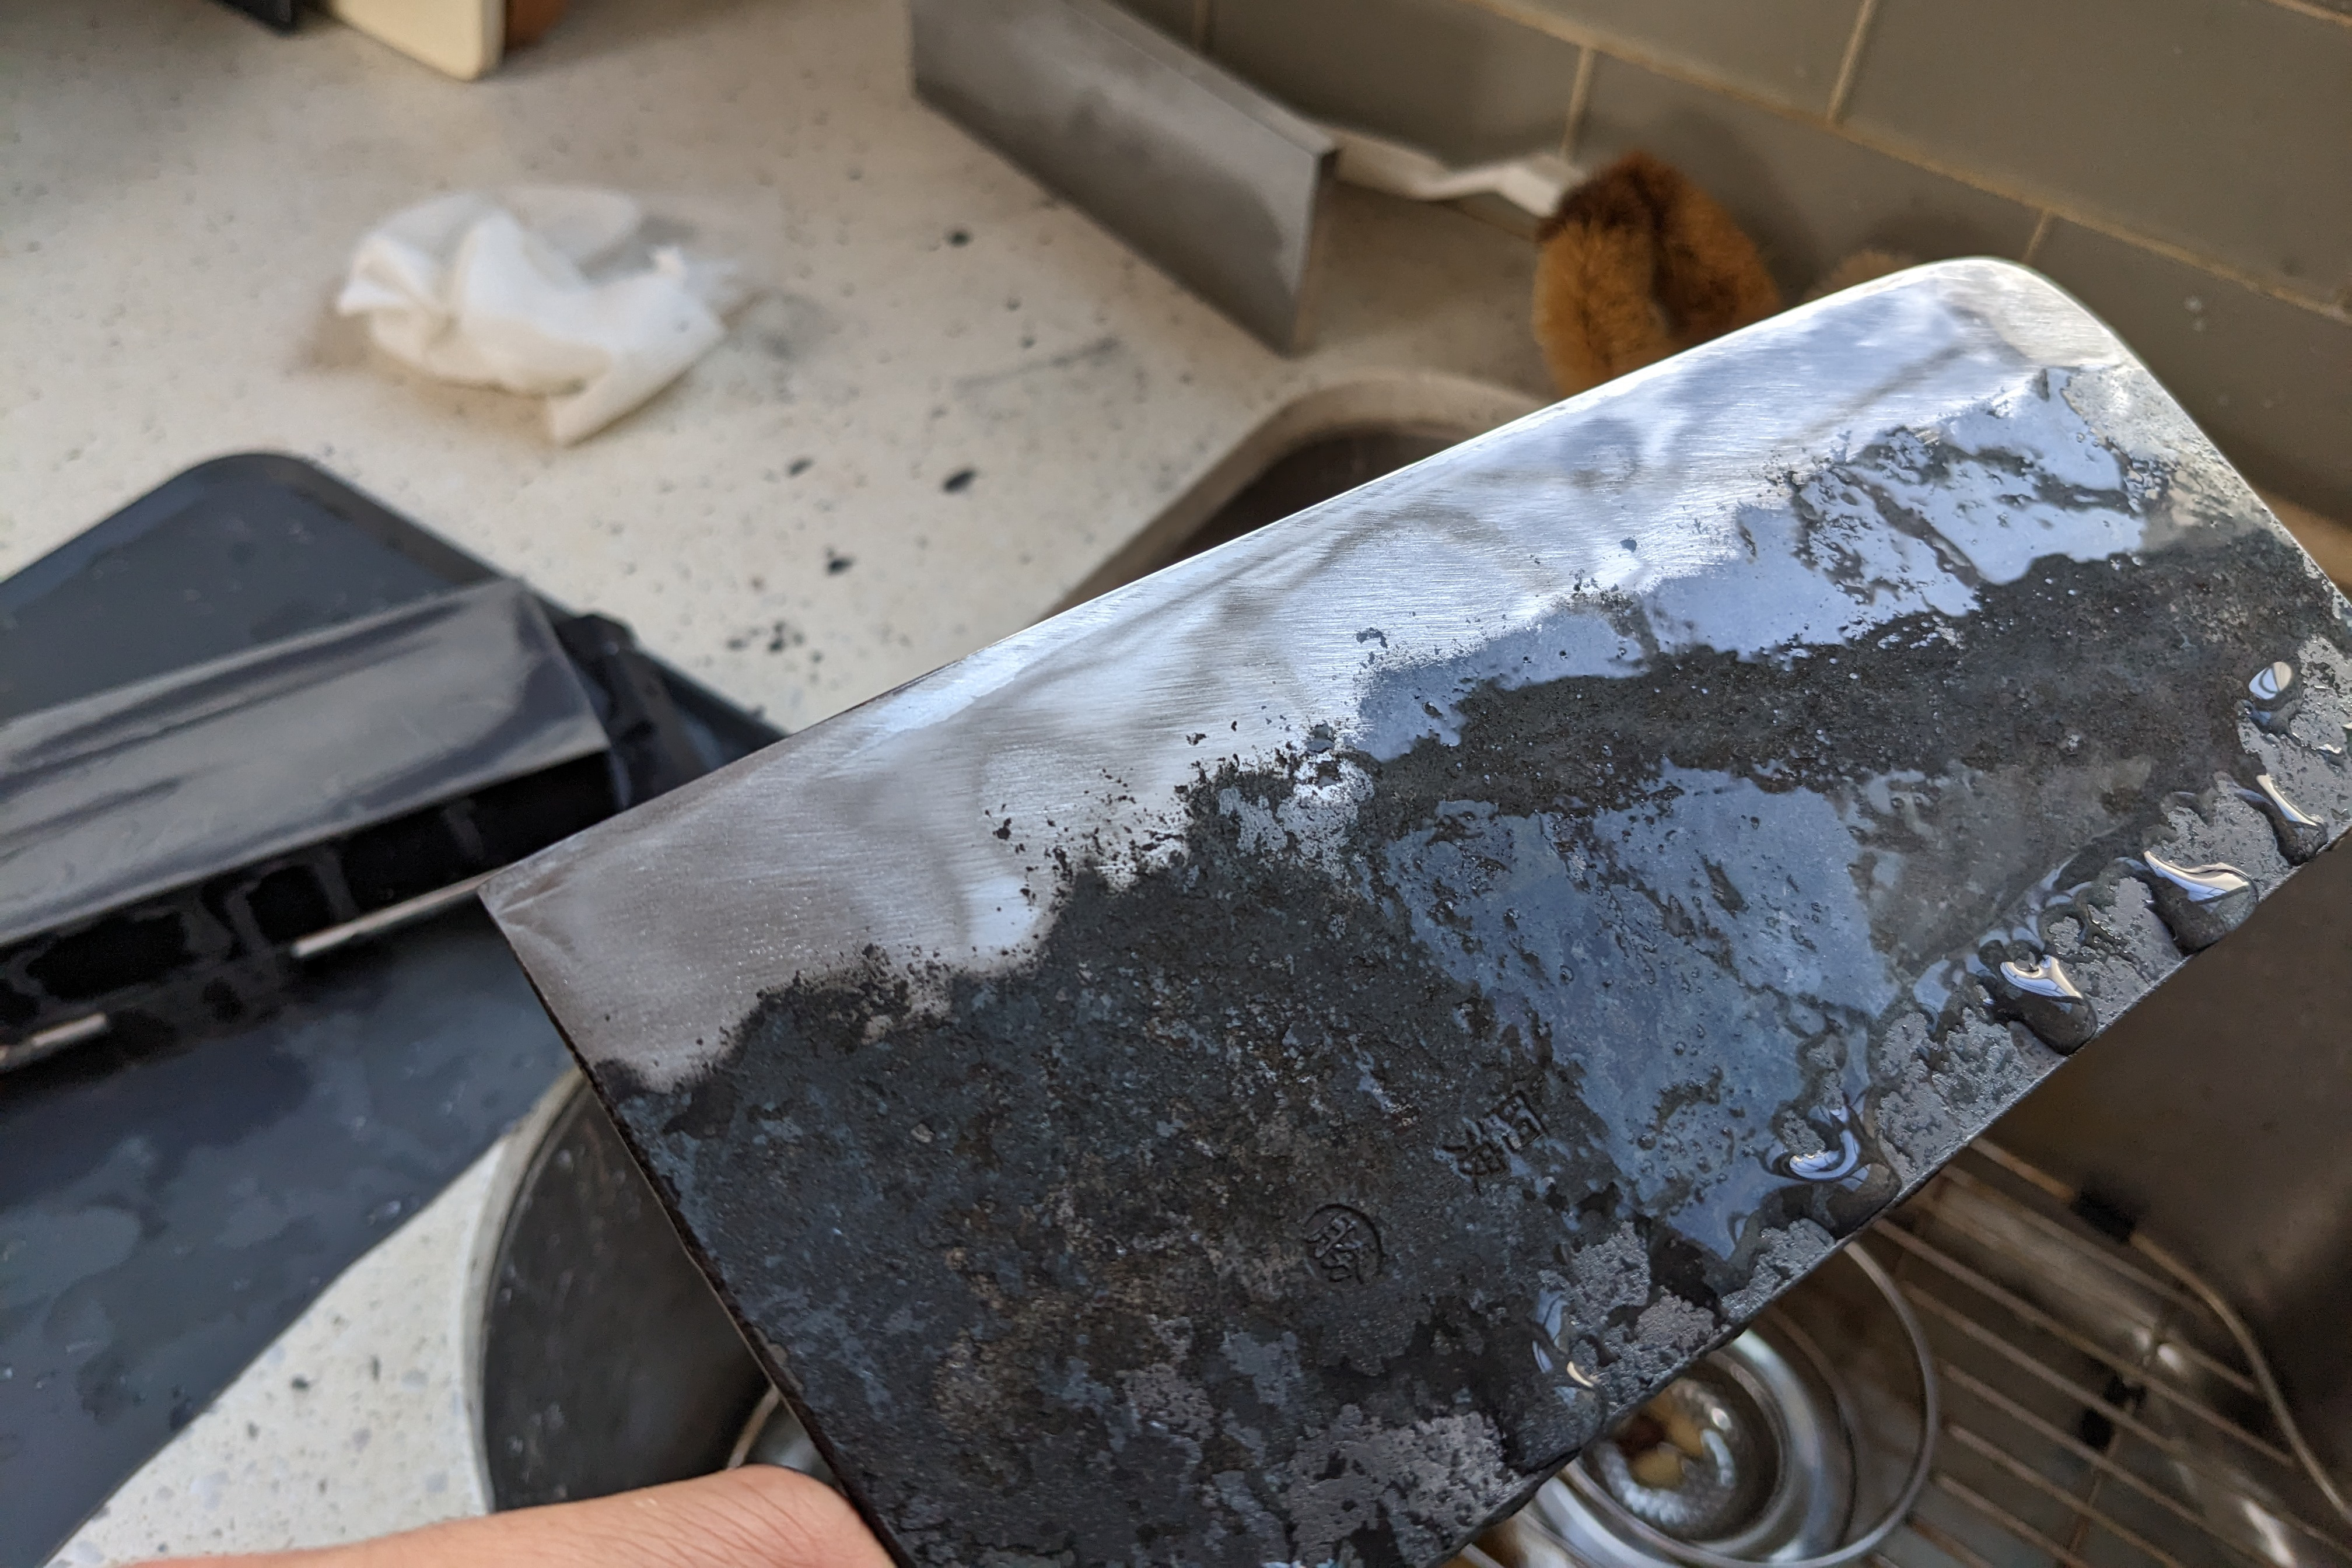
c1.jpg
 
Last edited:
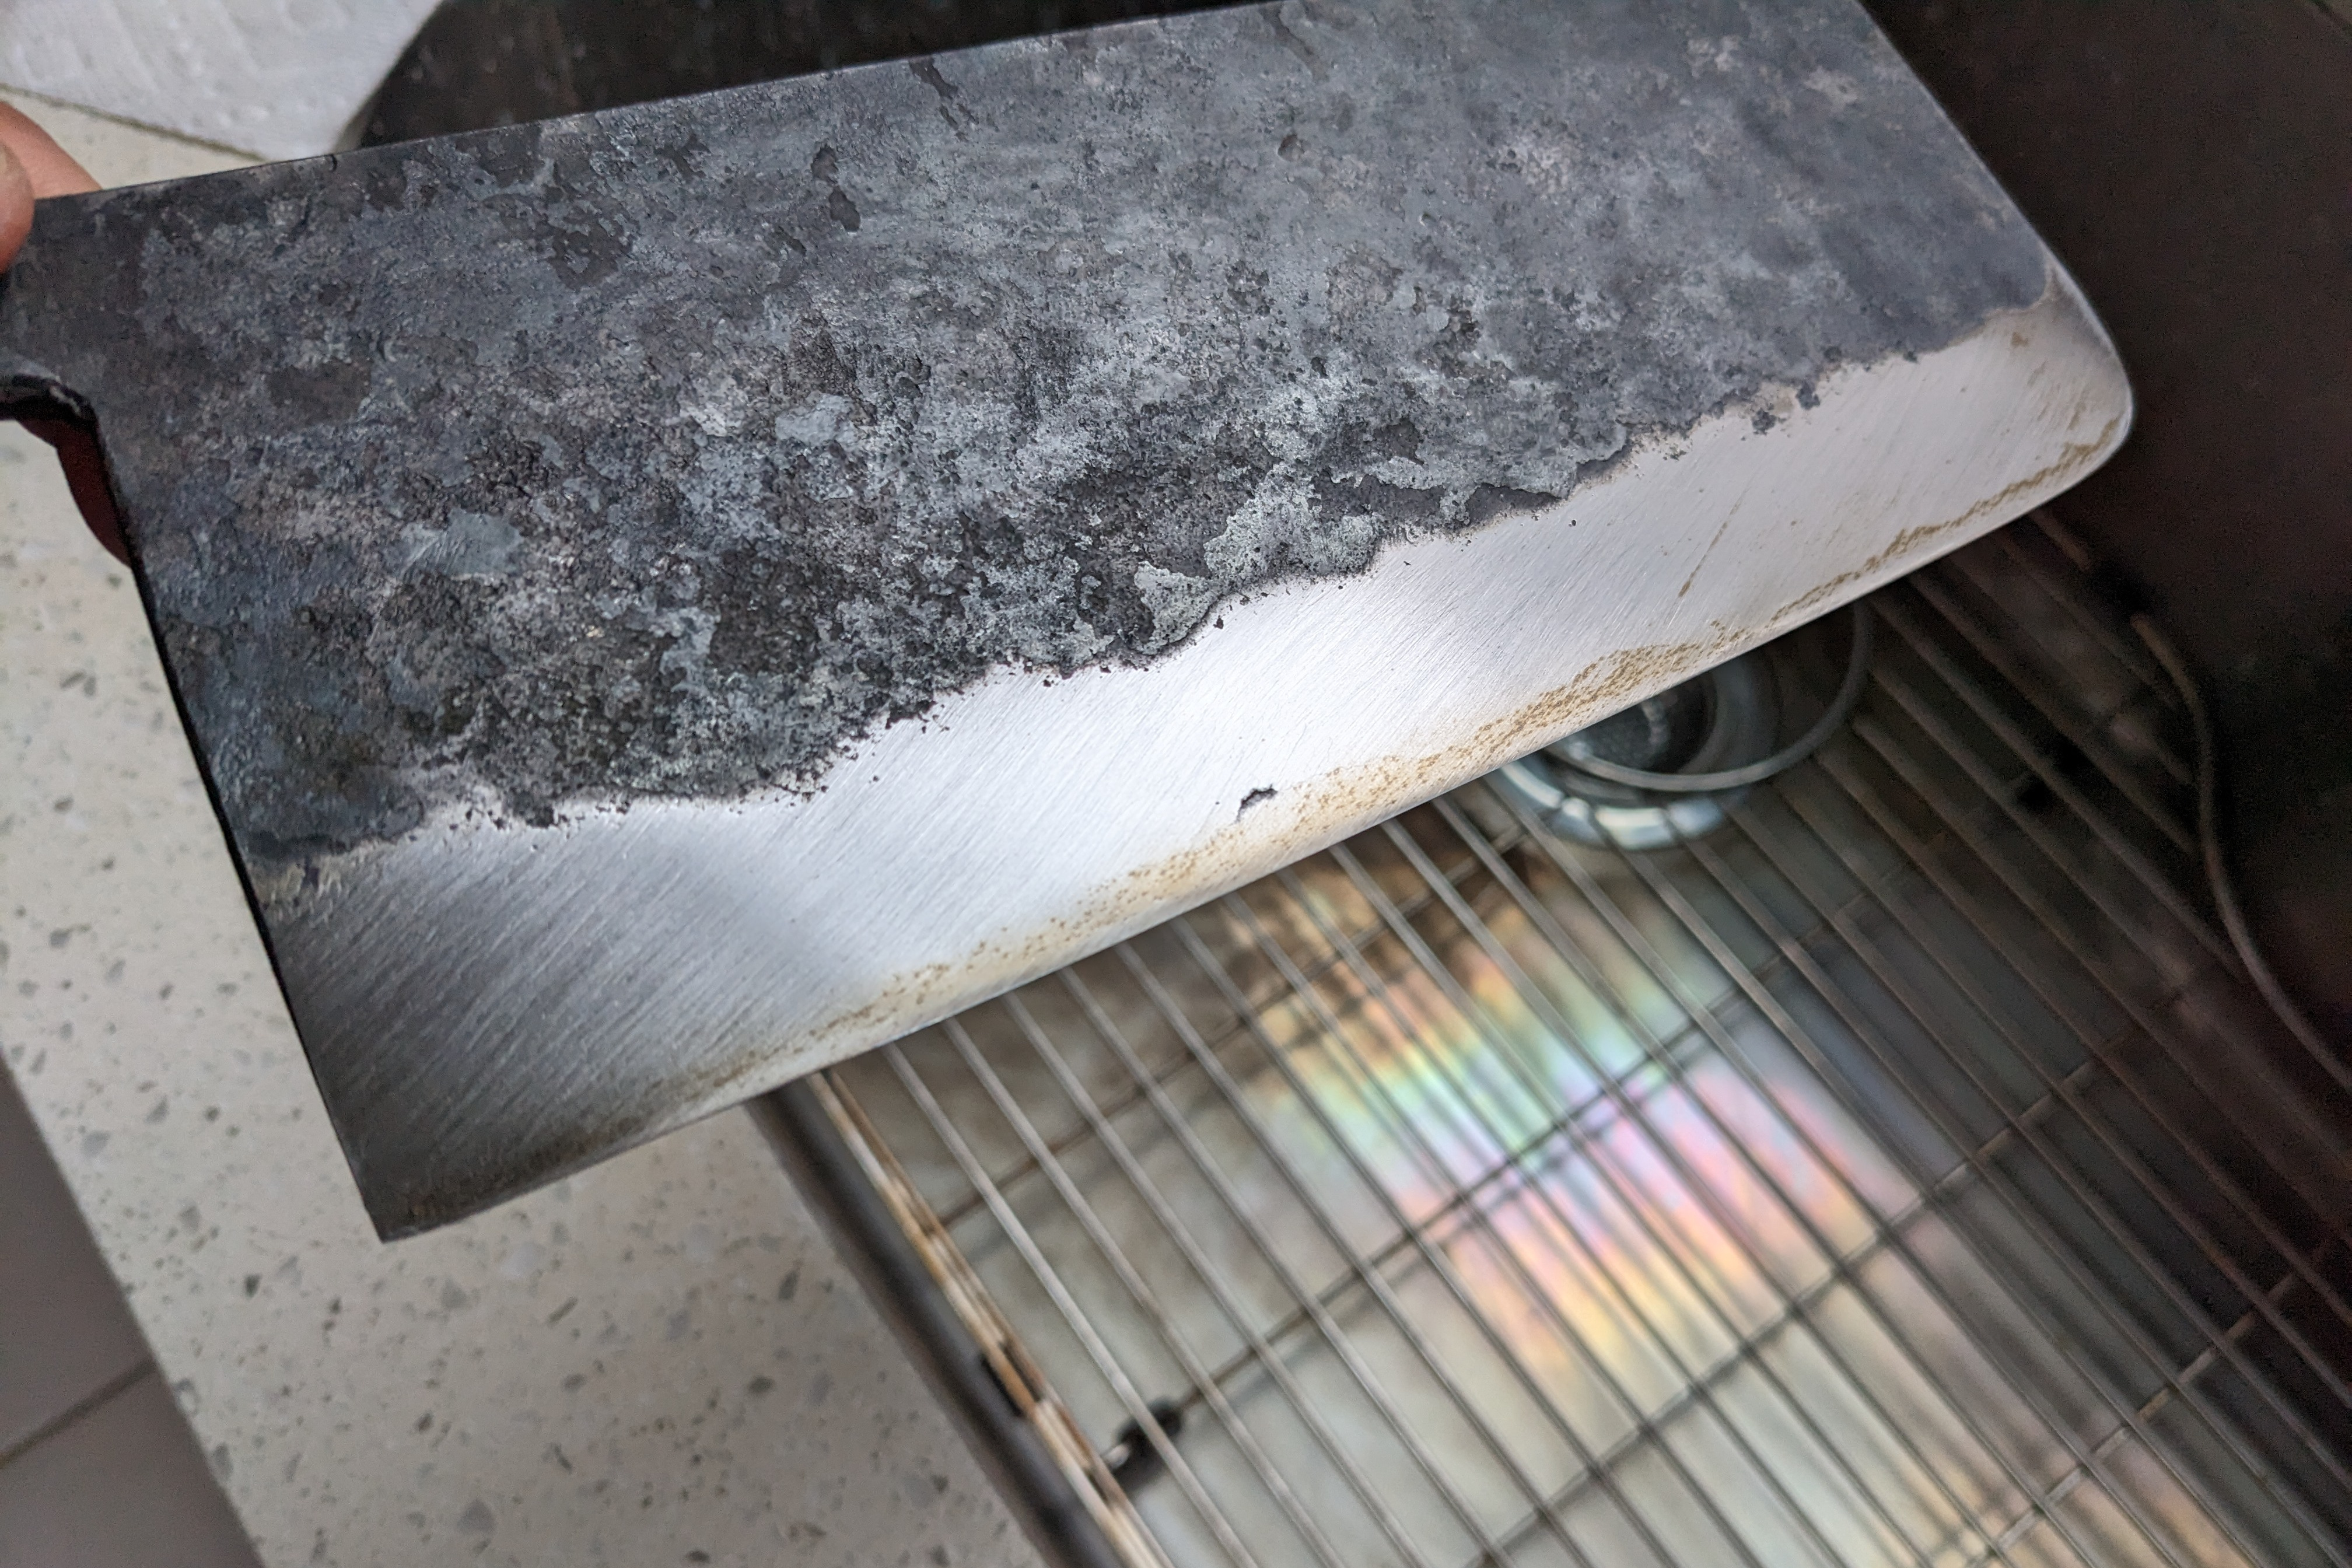
After some initial coarse work, I discovered a defect in the cladding. I reached out to Michael for his recommendation, and he was extremely understanding. Basically told me to feel free to go ham on the blade if I wanted, and regardless of the outcome, he’d be there to support 100%. Top notch customer service!
c4.jpg

c7.jpg


I also made some minor adjustments to the profile.
d4.jpg

d3.jpg


New Handle
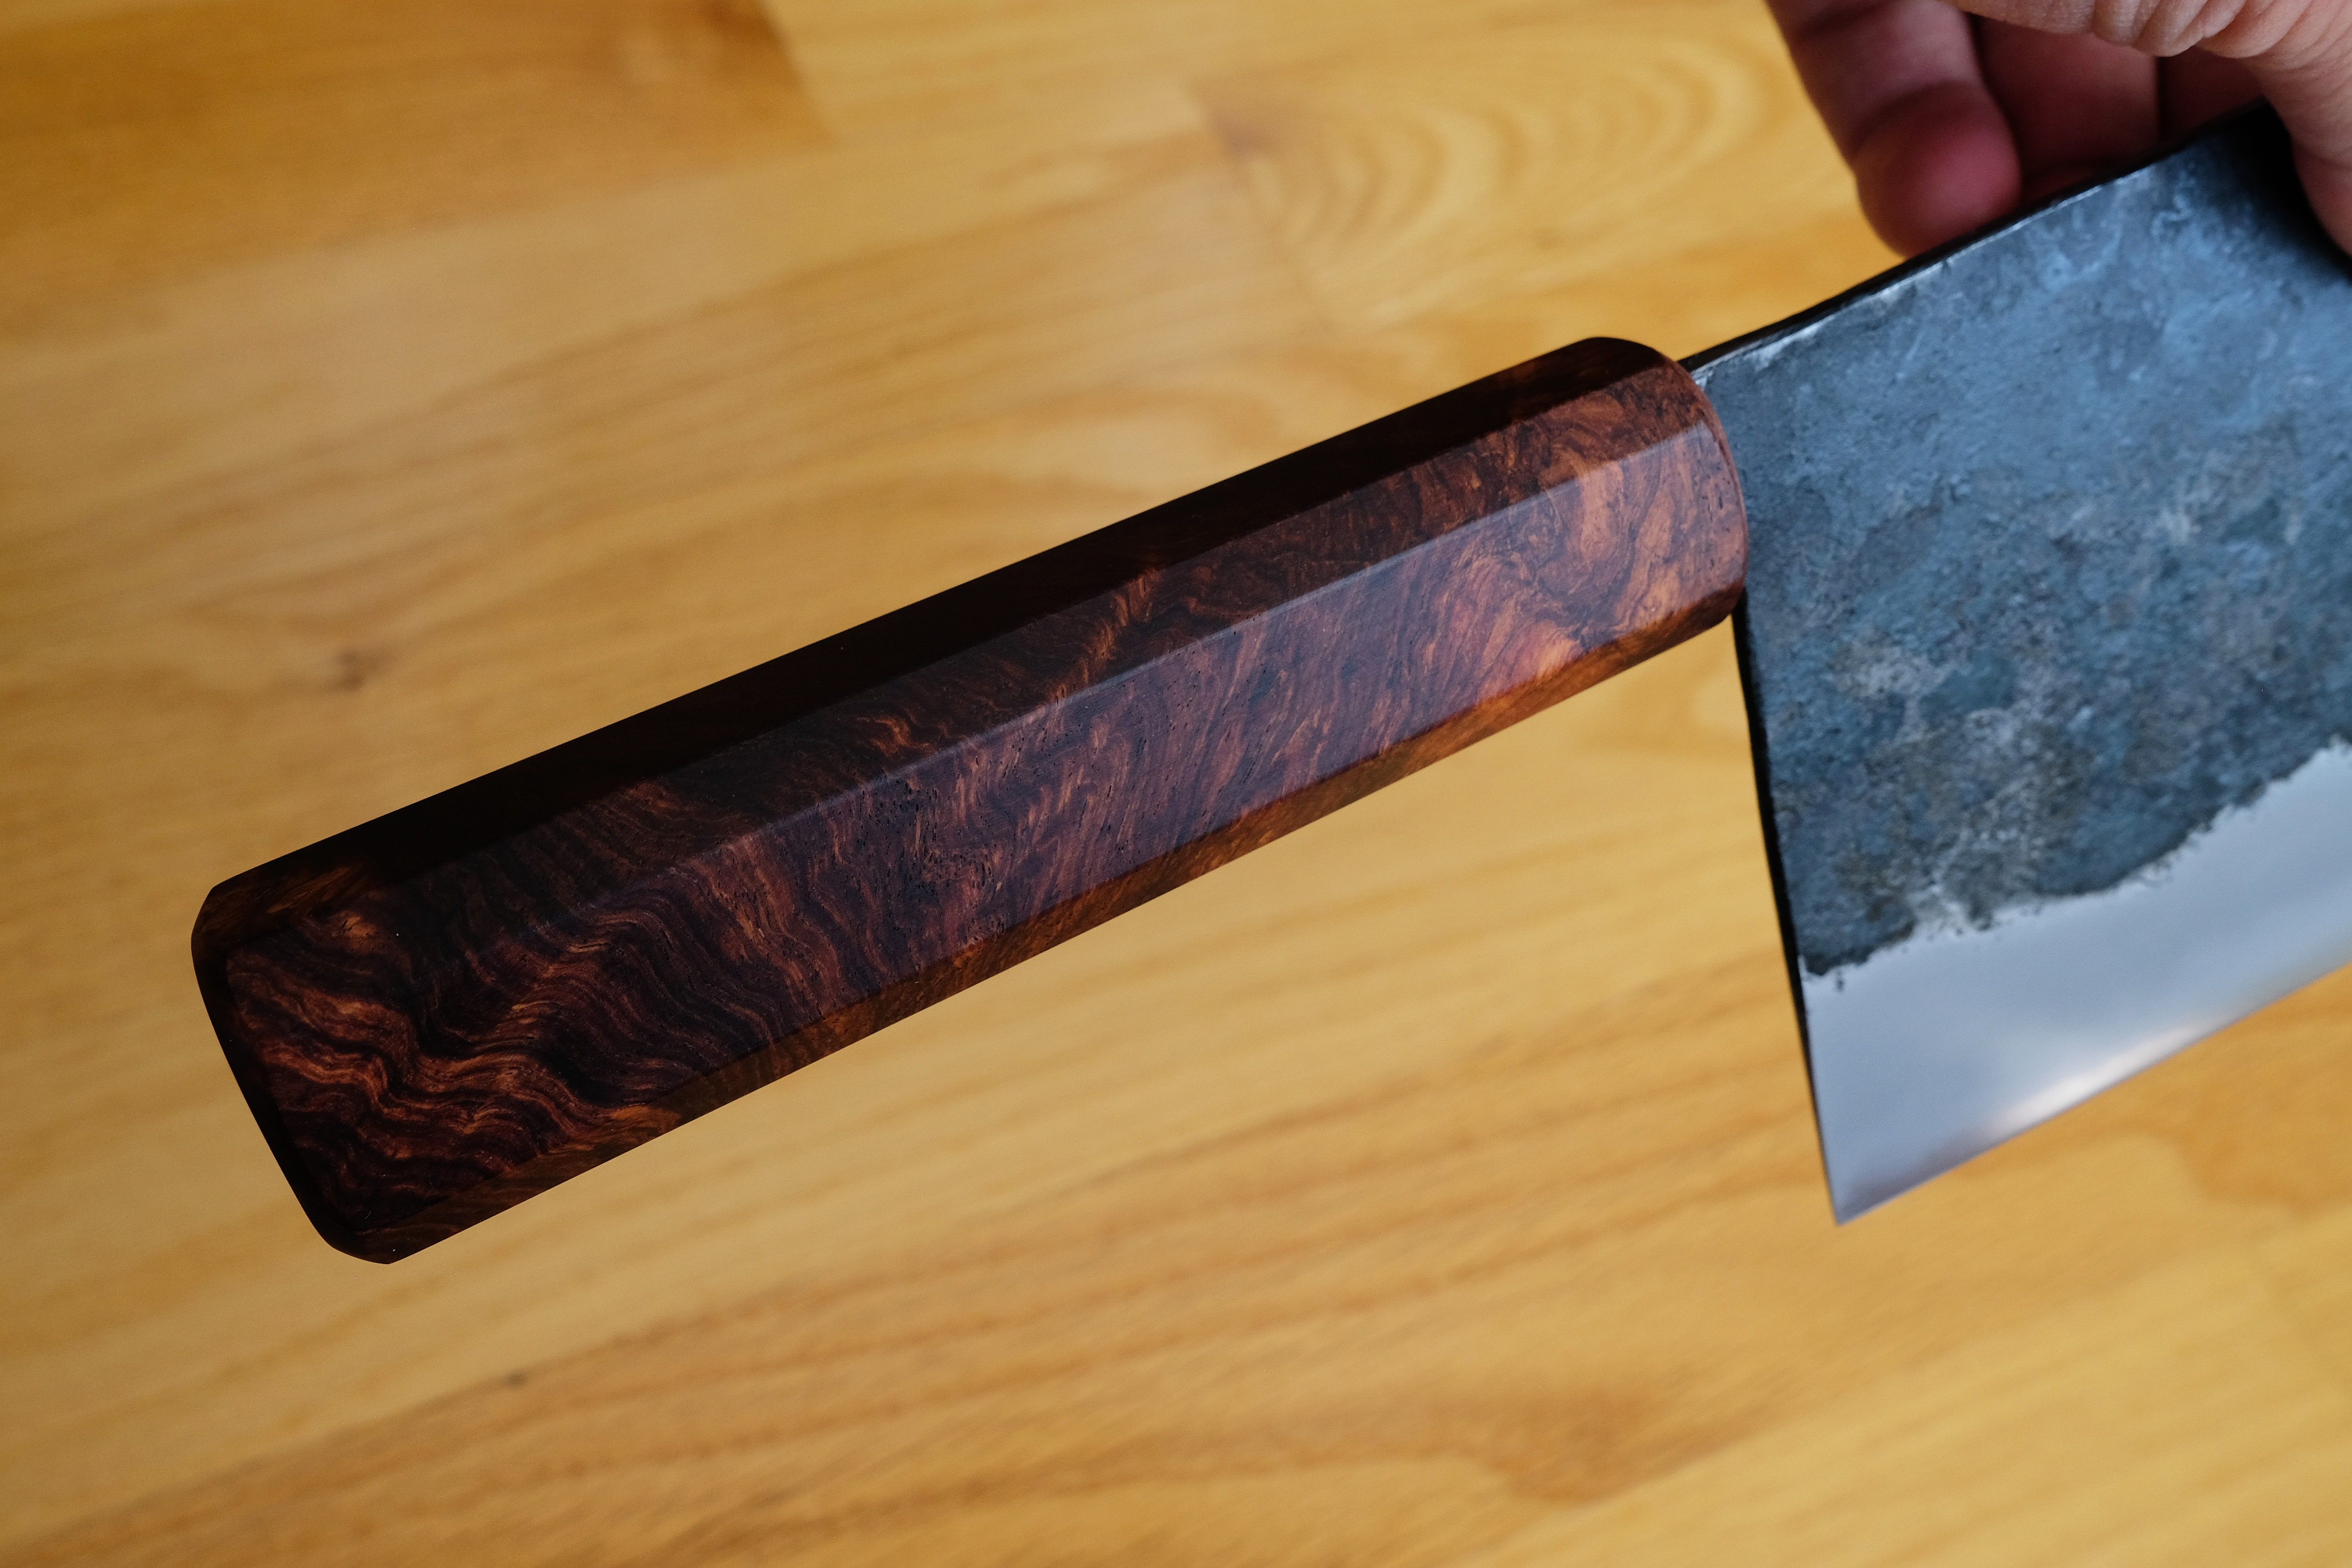
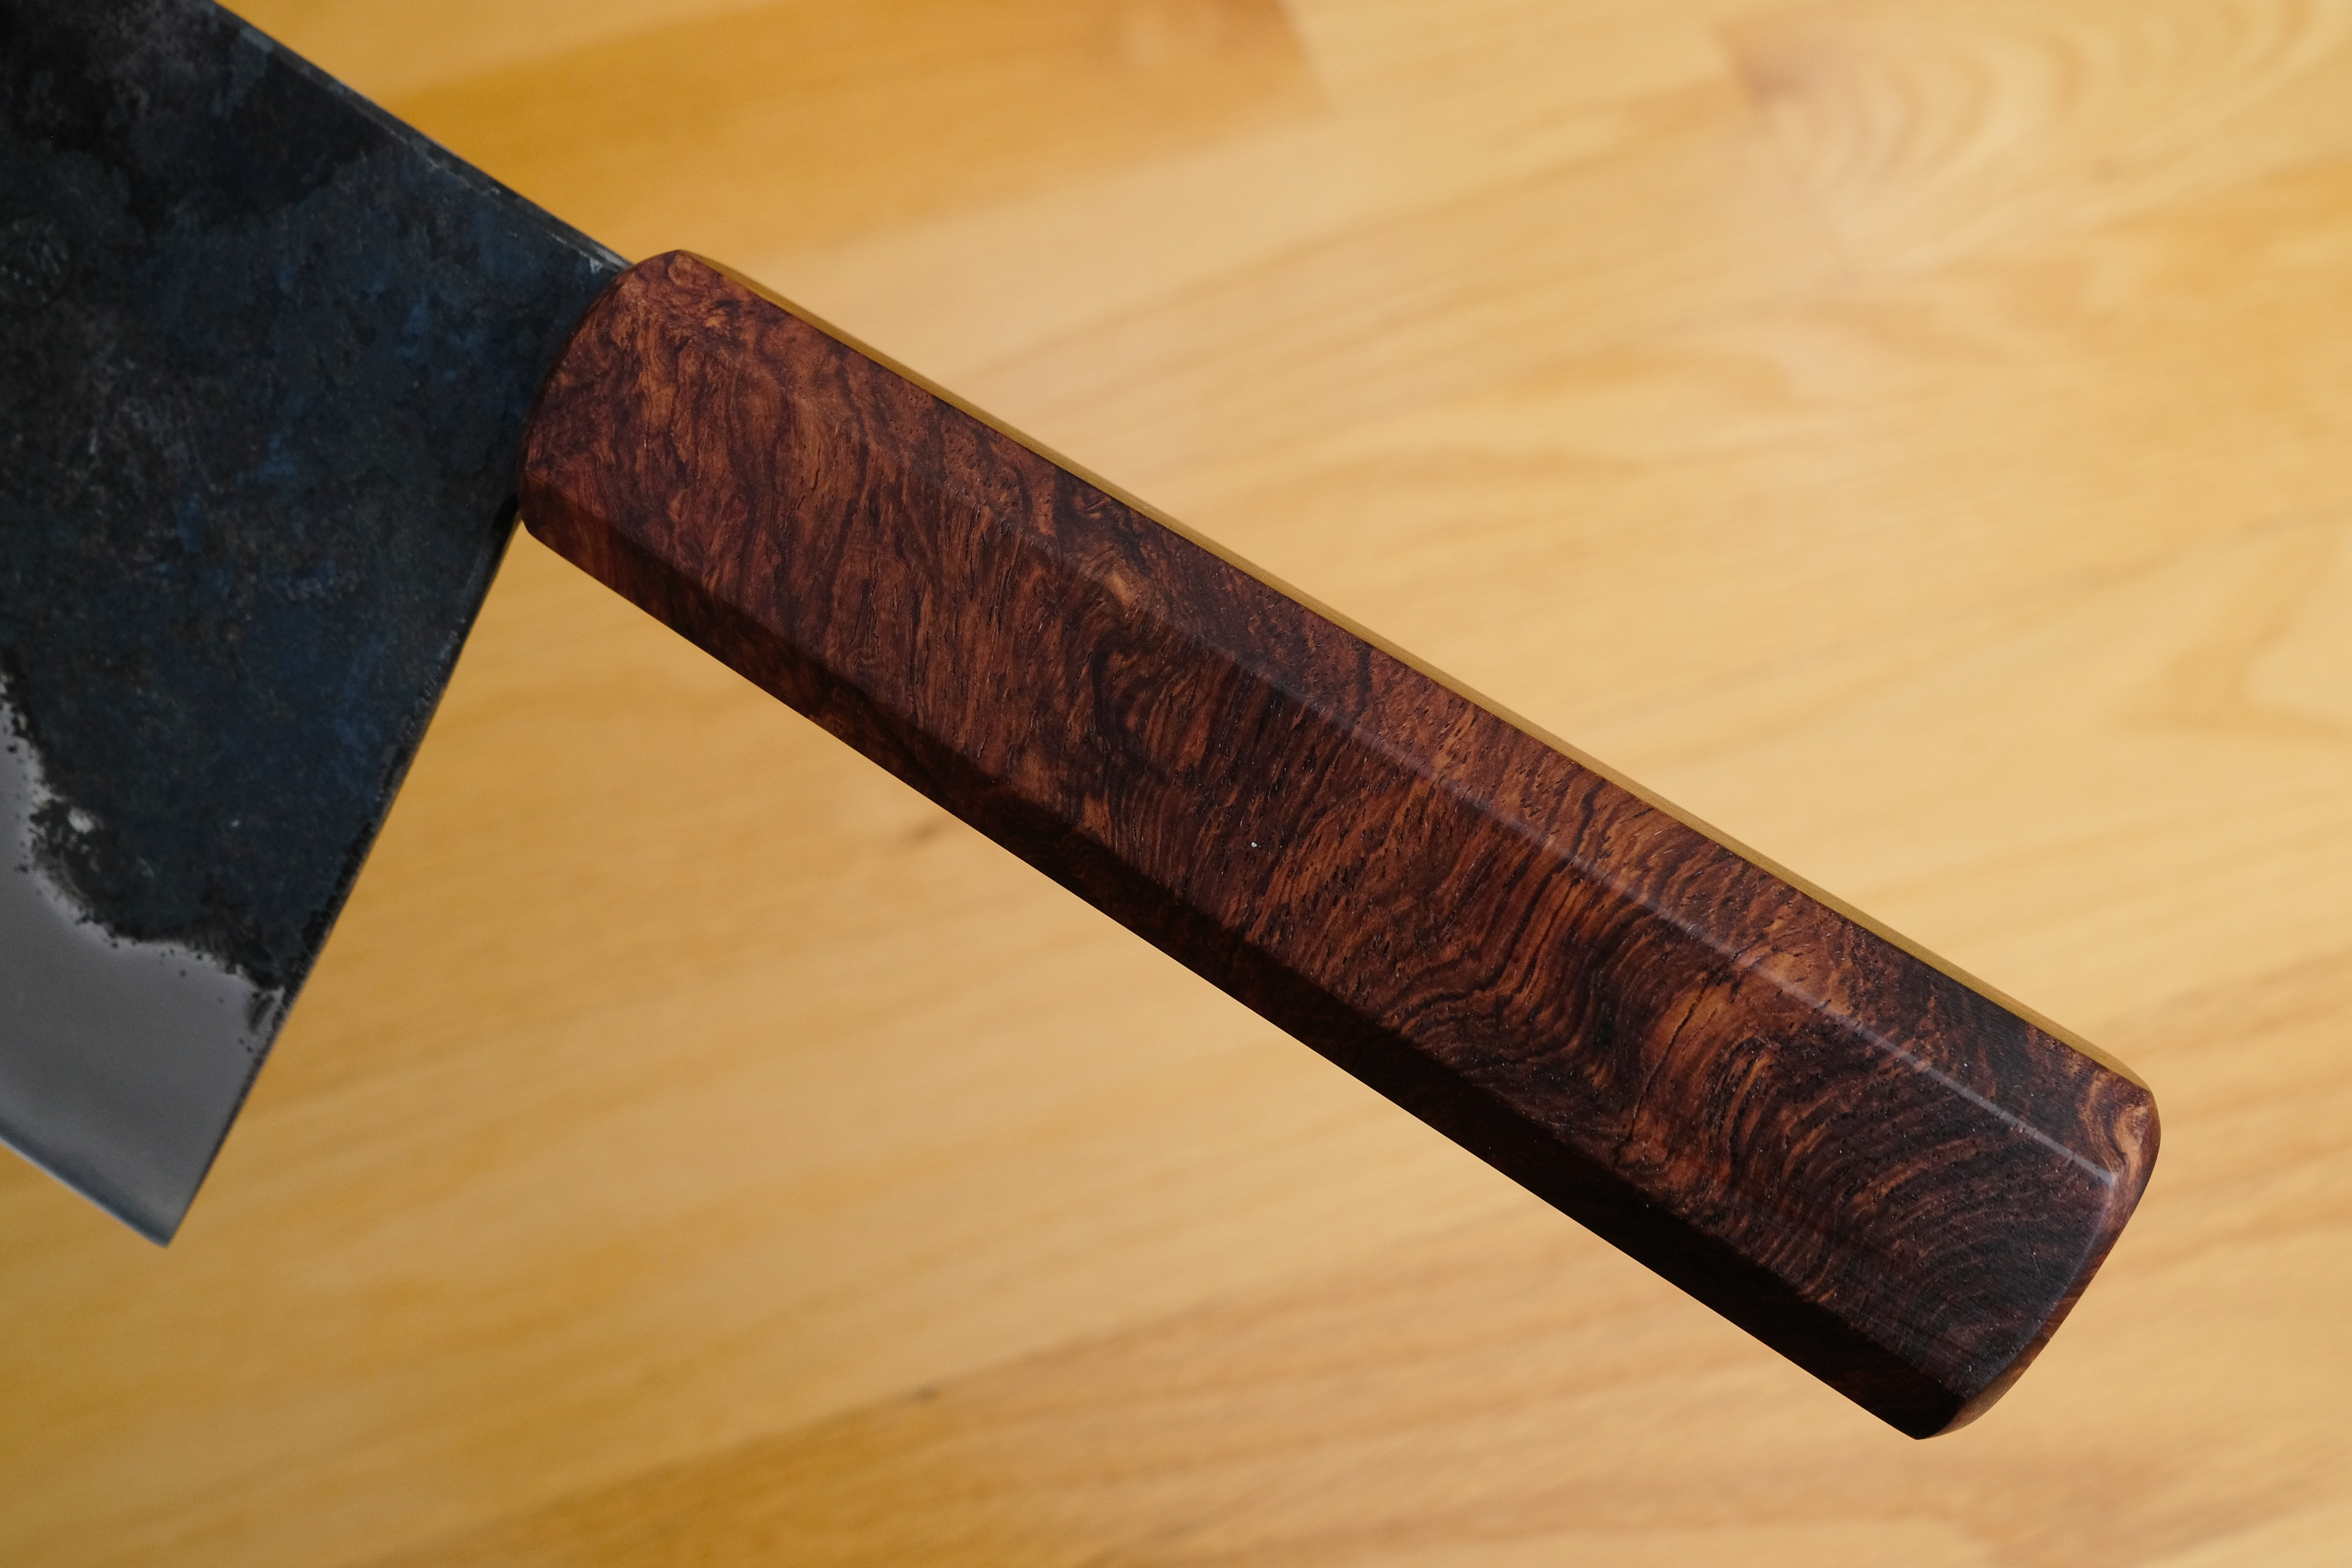
Handle is a stubby one I made from a single piece of Honduran rosewood burl.
d5.jpg


d6.jpg


More details on the handle and fit up in the ‘sticks’ thread:
https://www.kitchenknifeforums.com/...ks-finished-handle-projects.49832/post-997081
Finished Knife
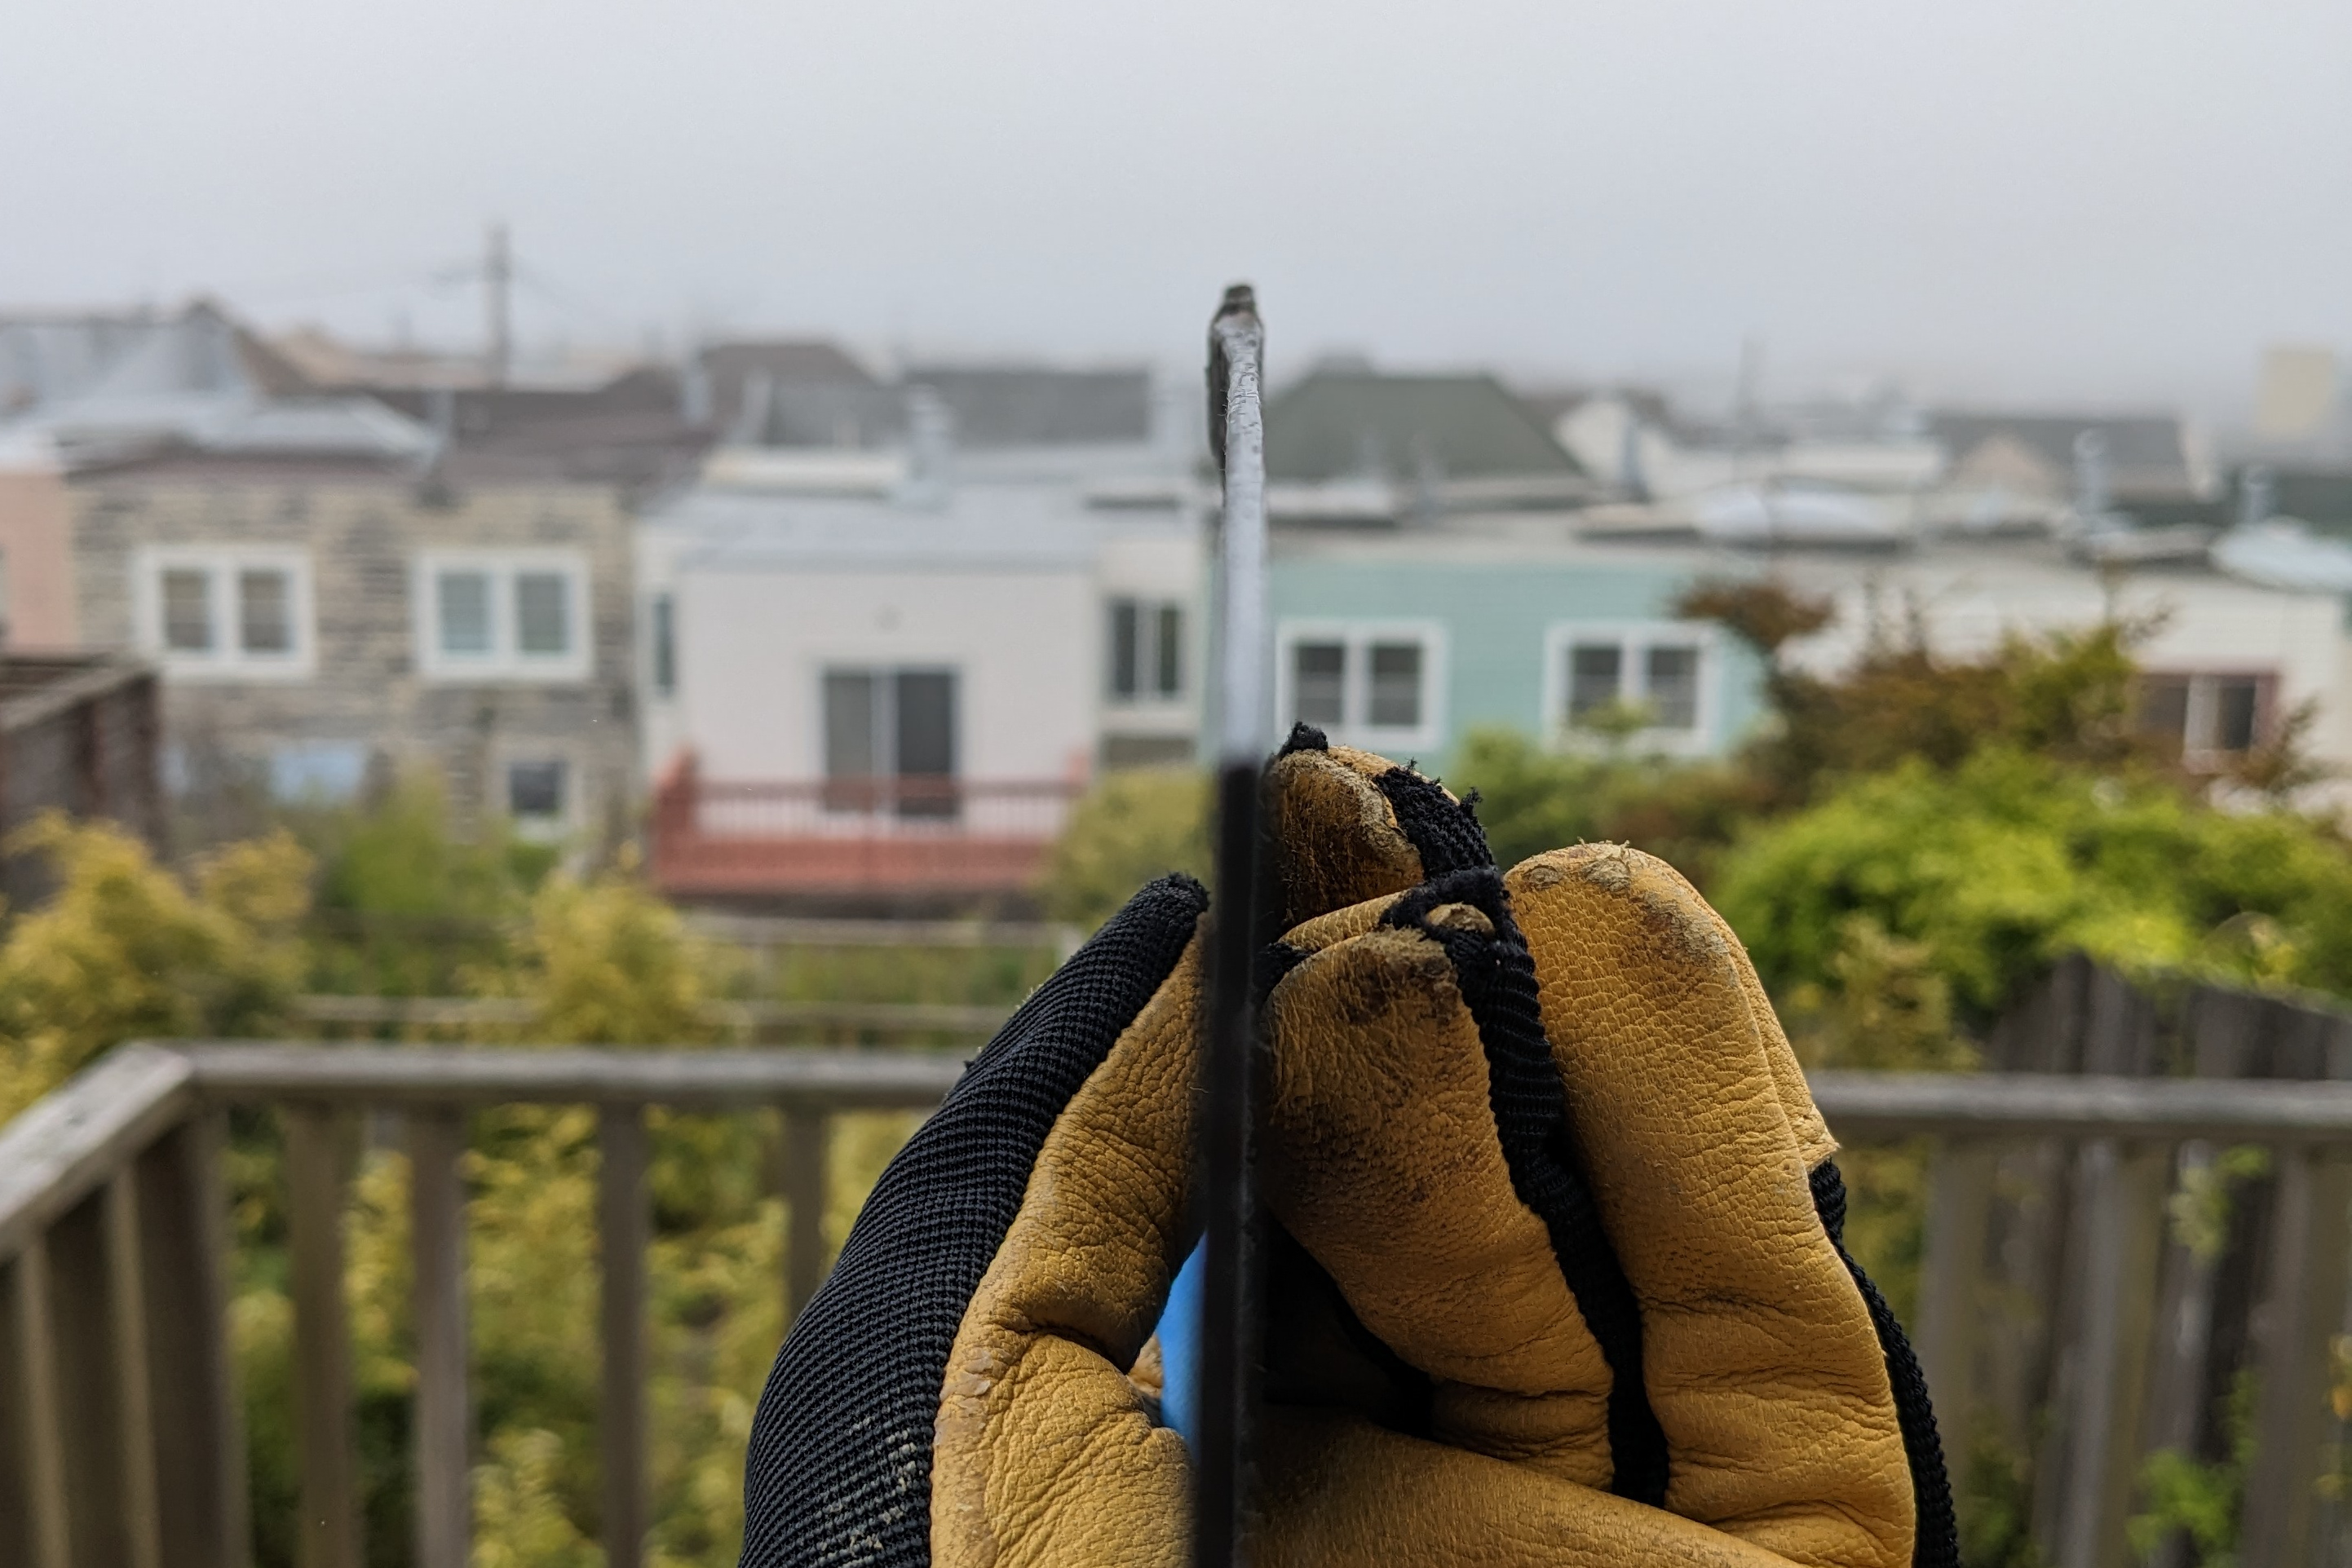
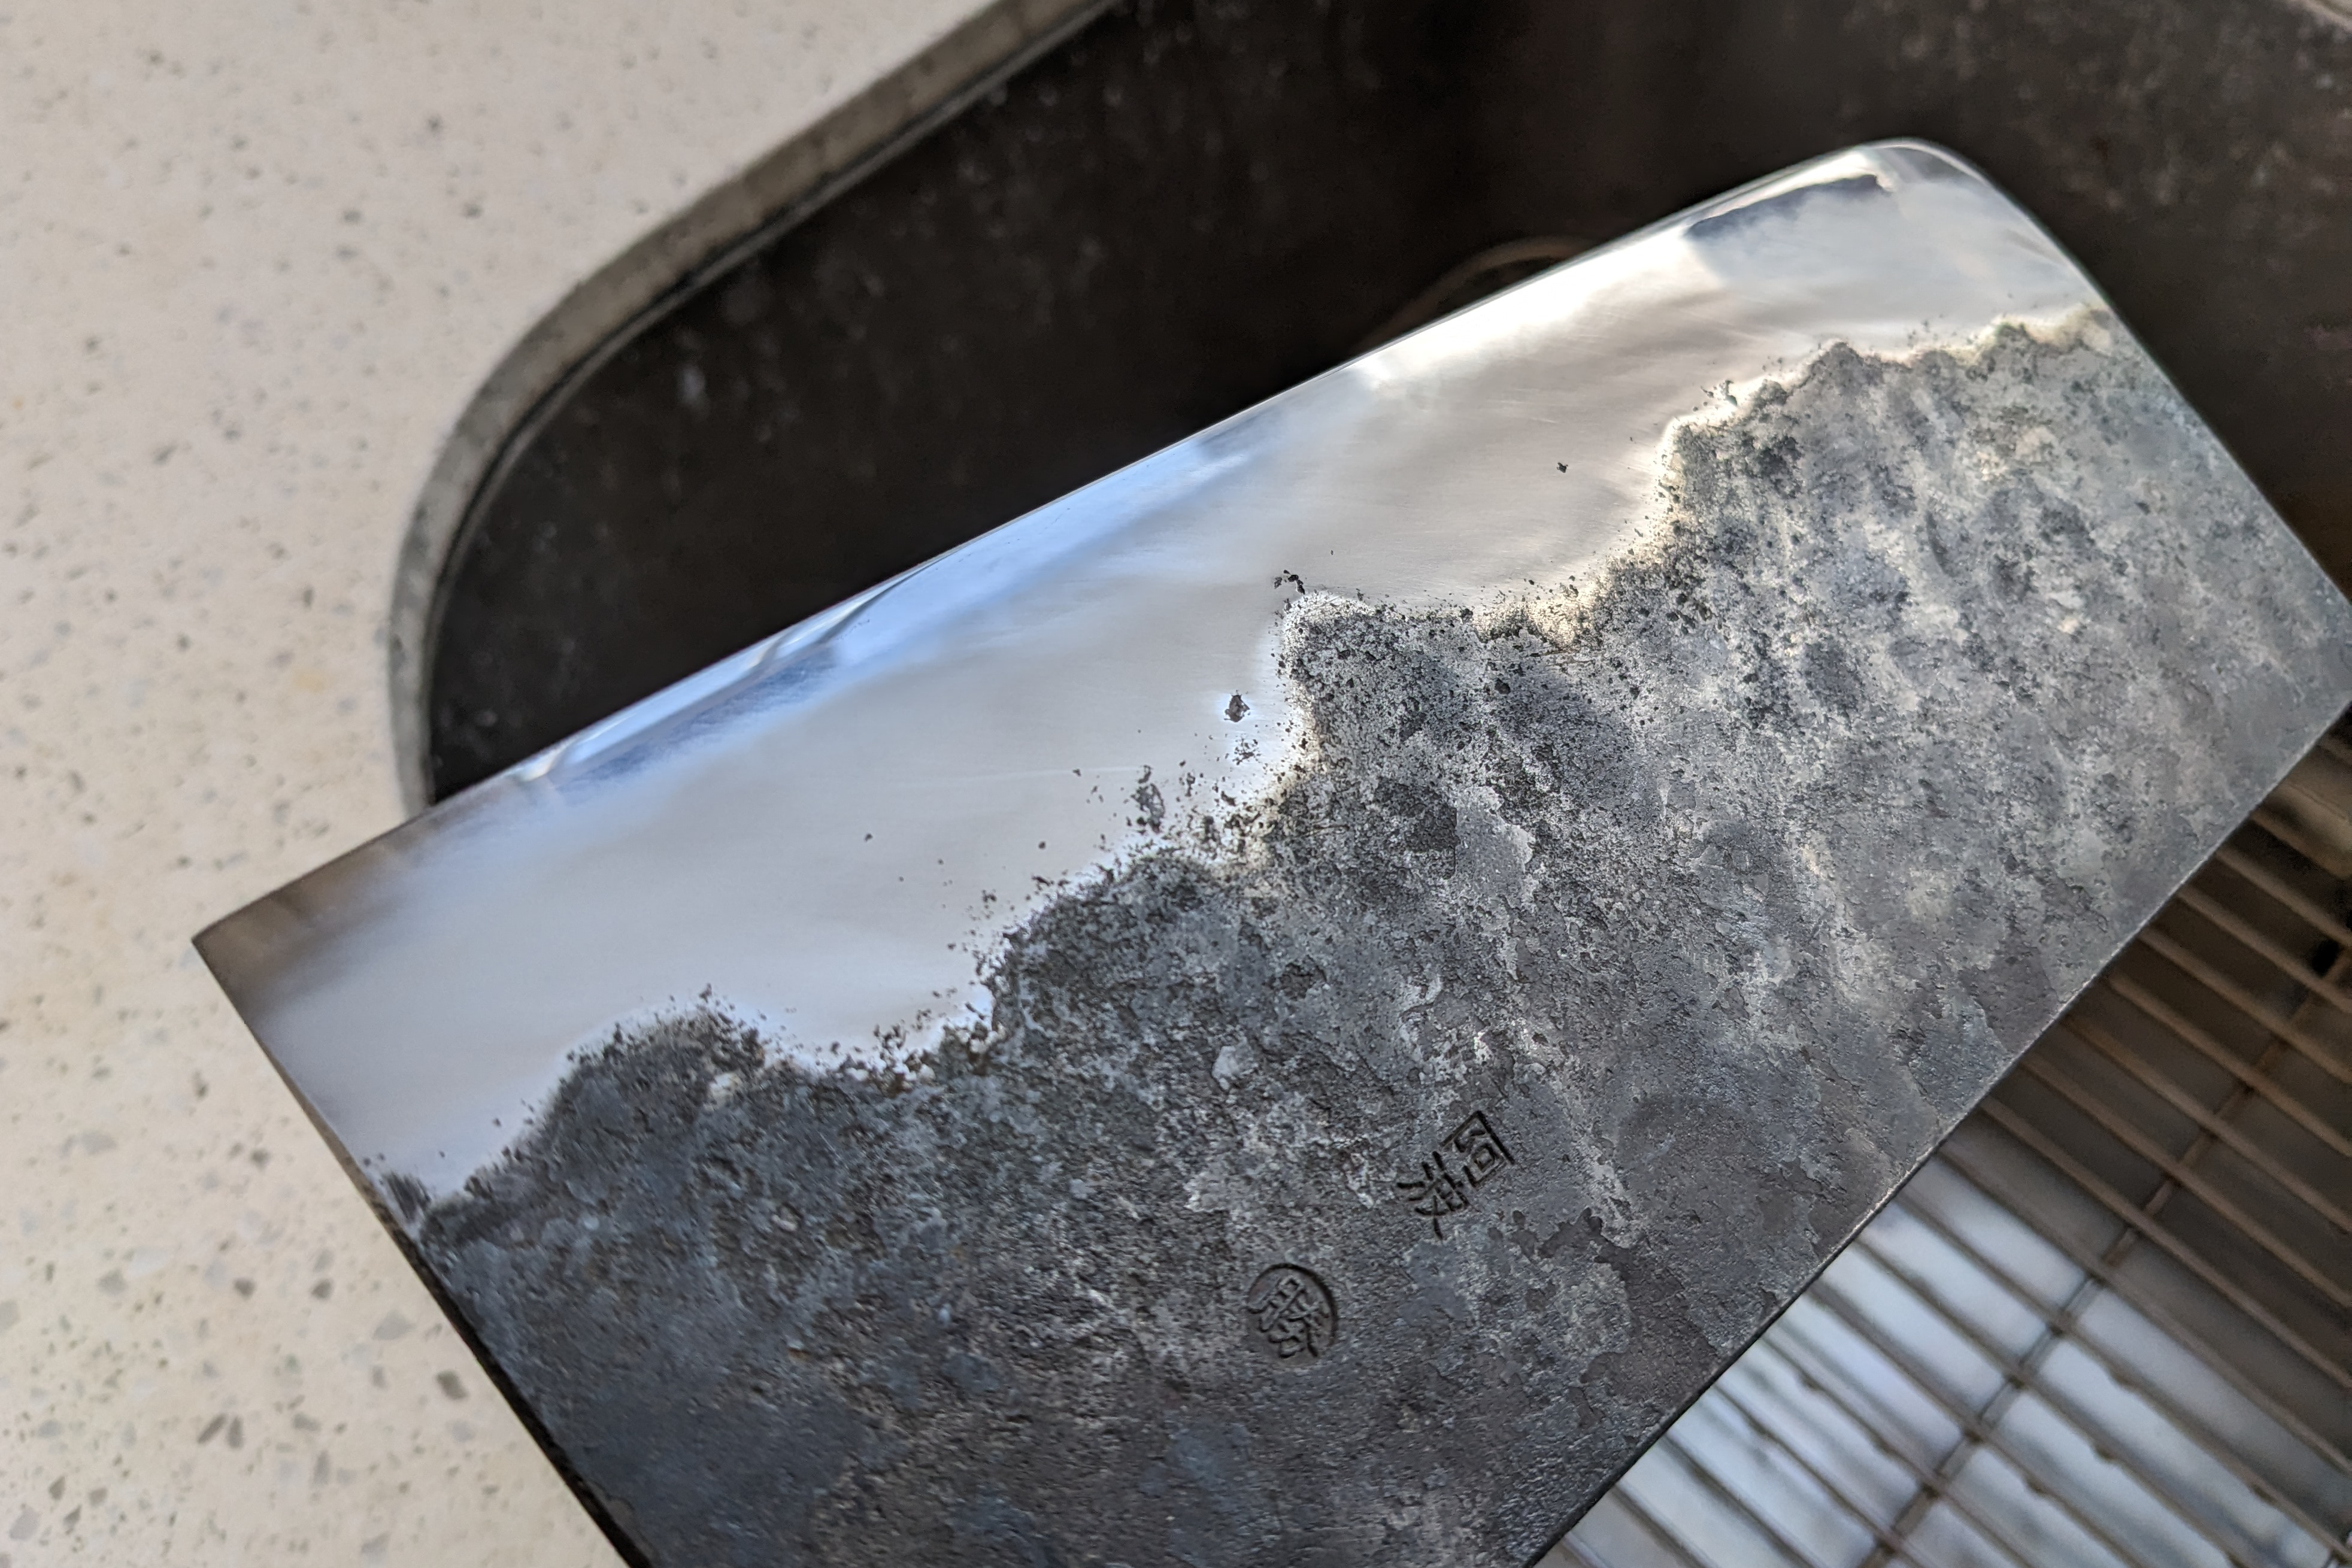
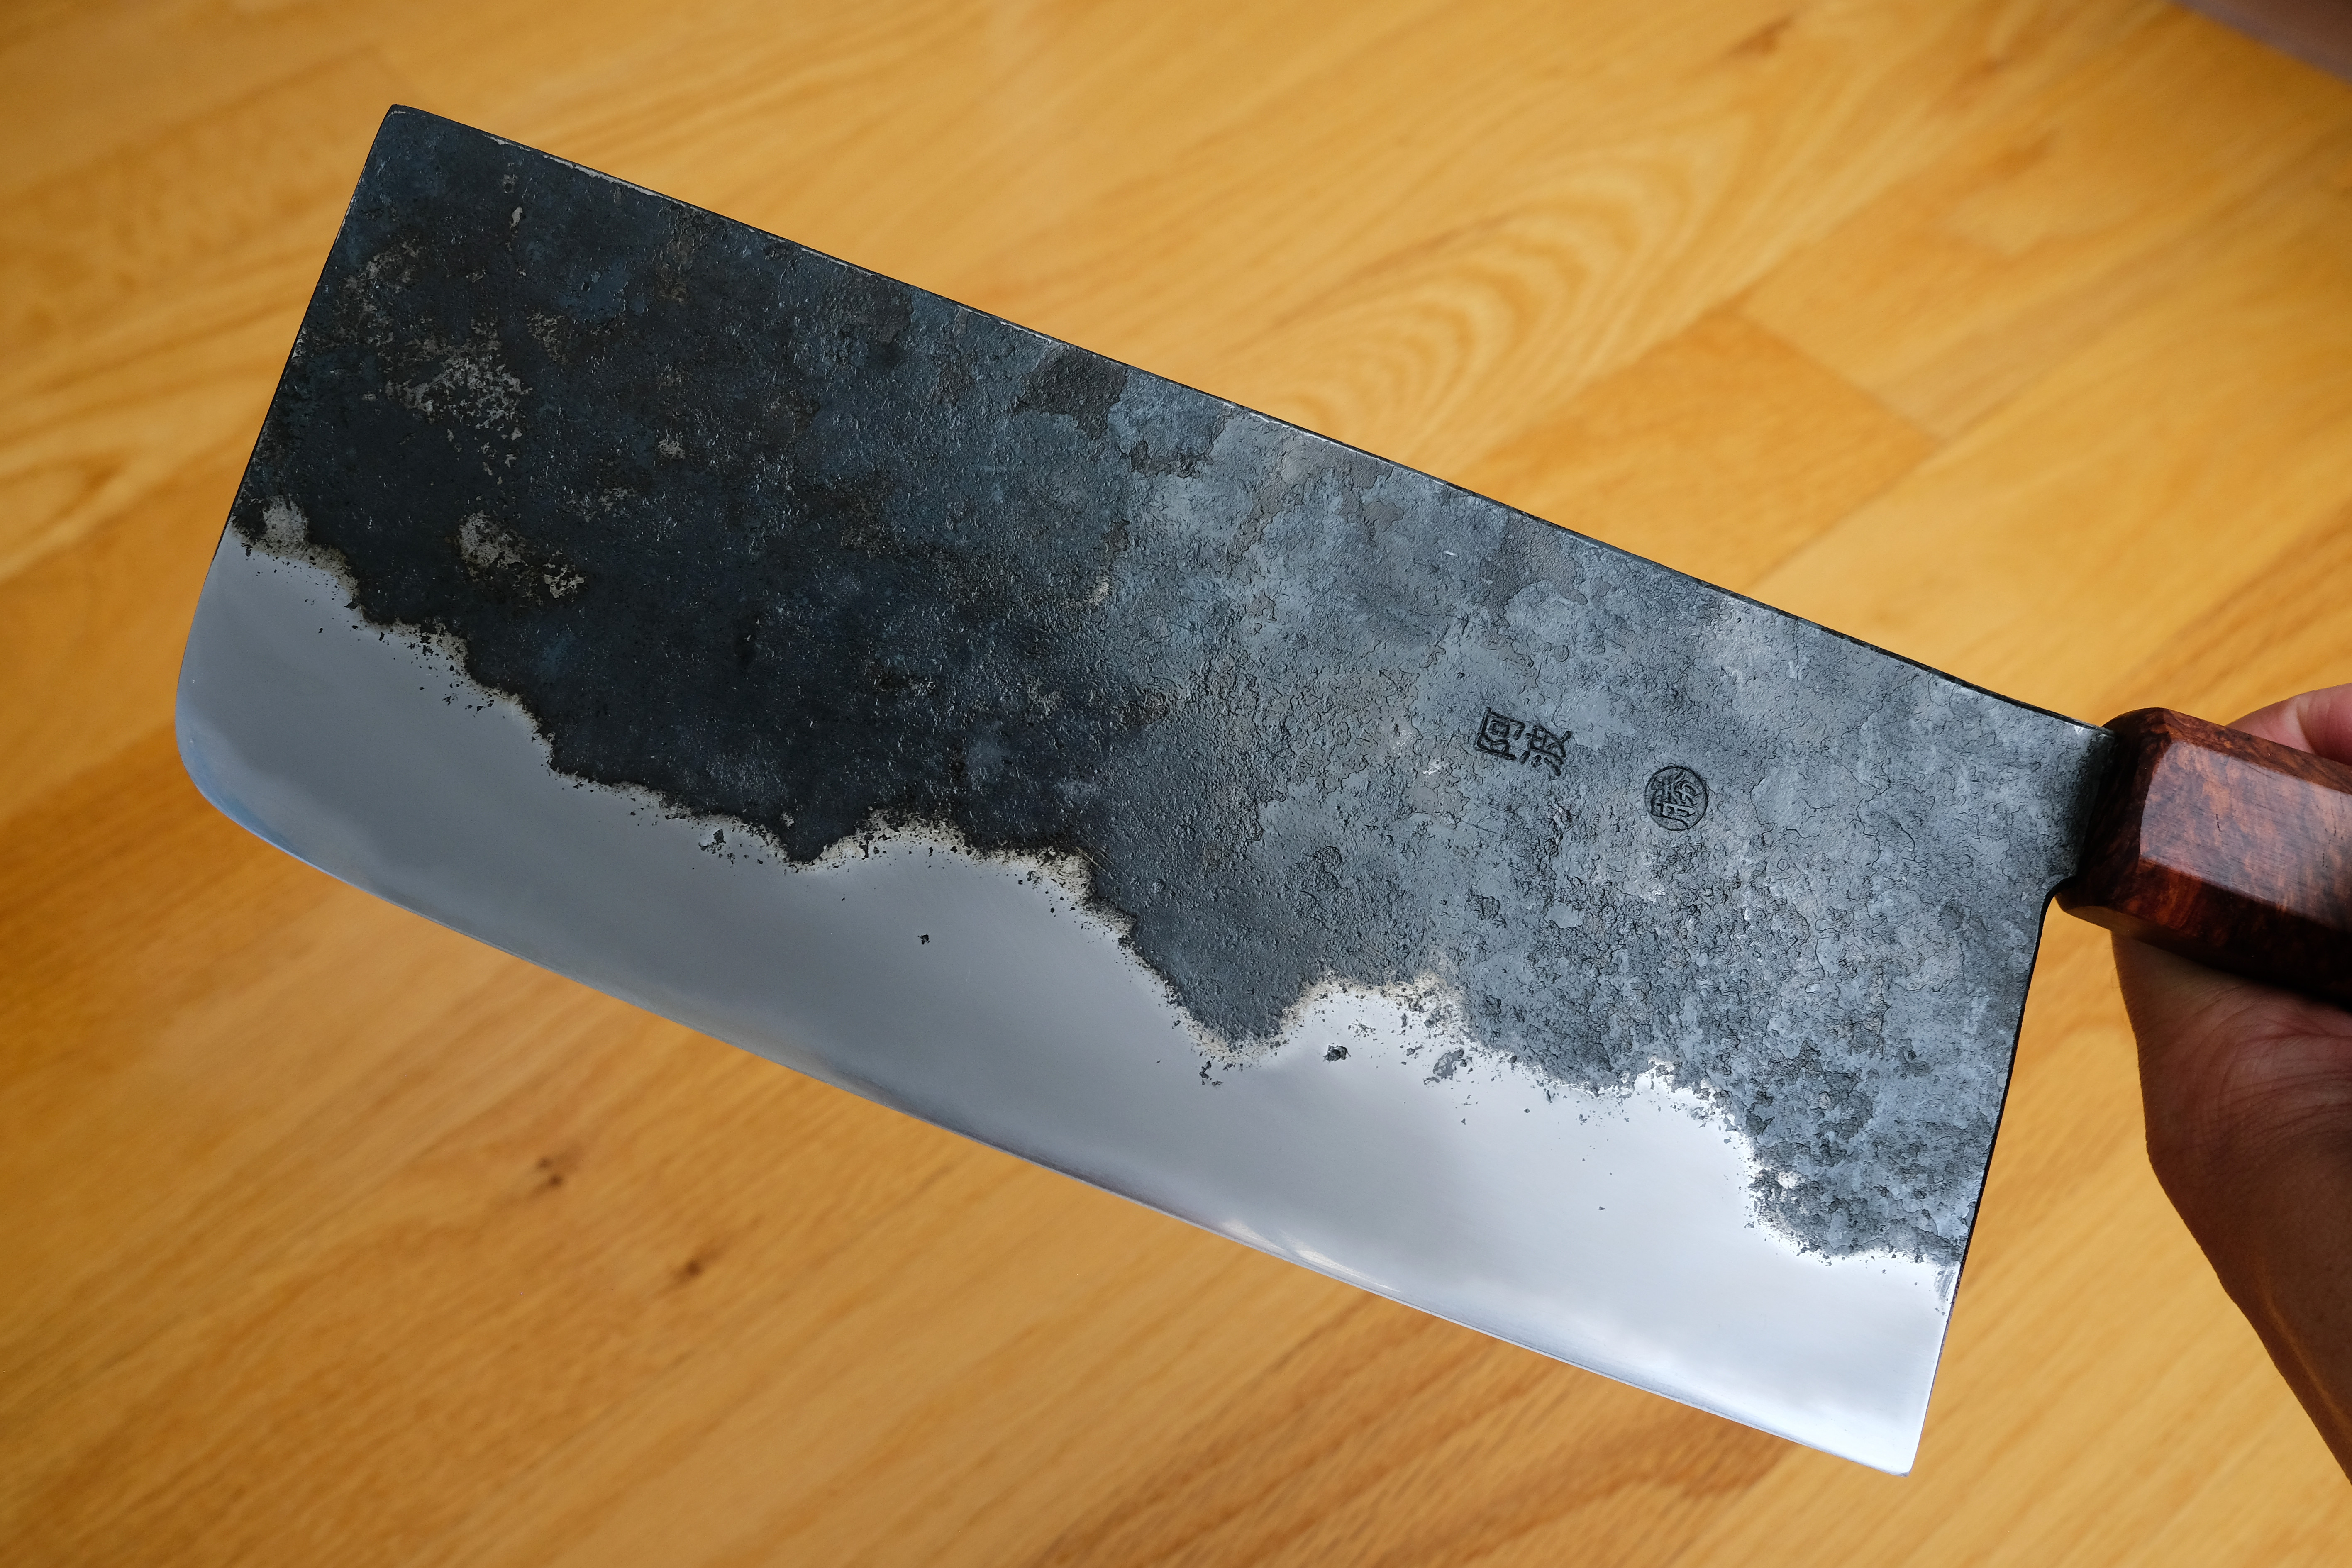
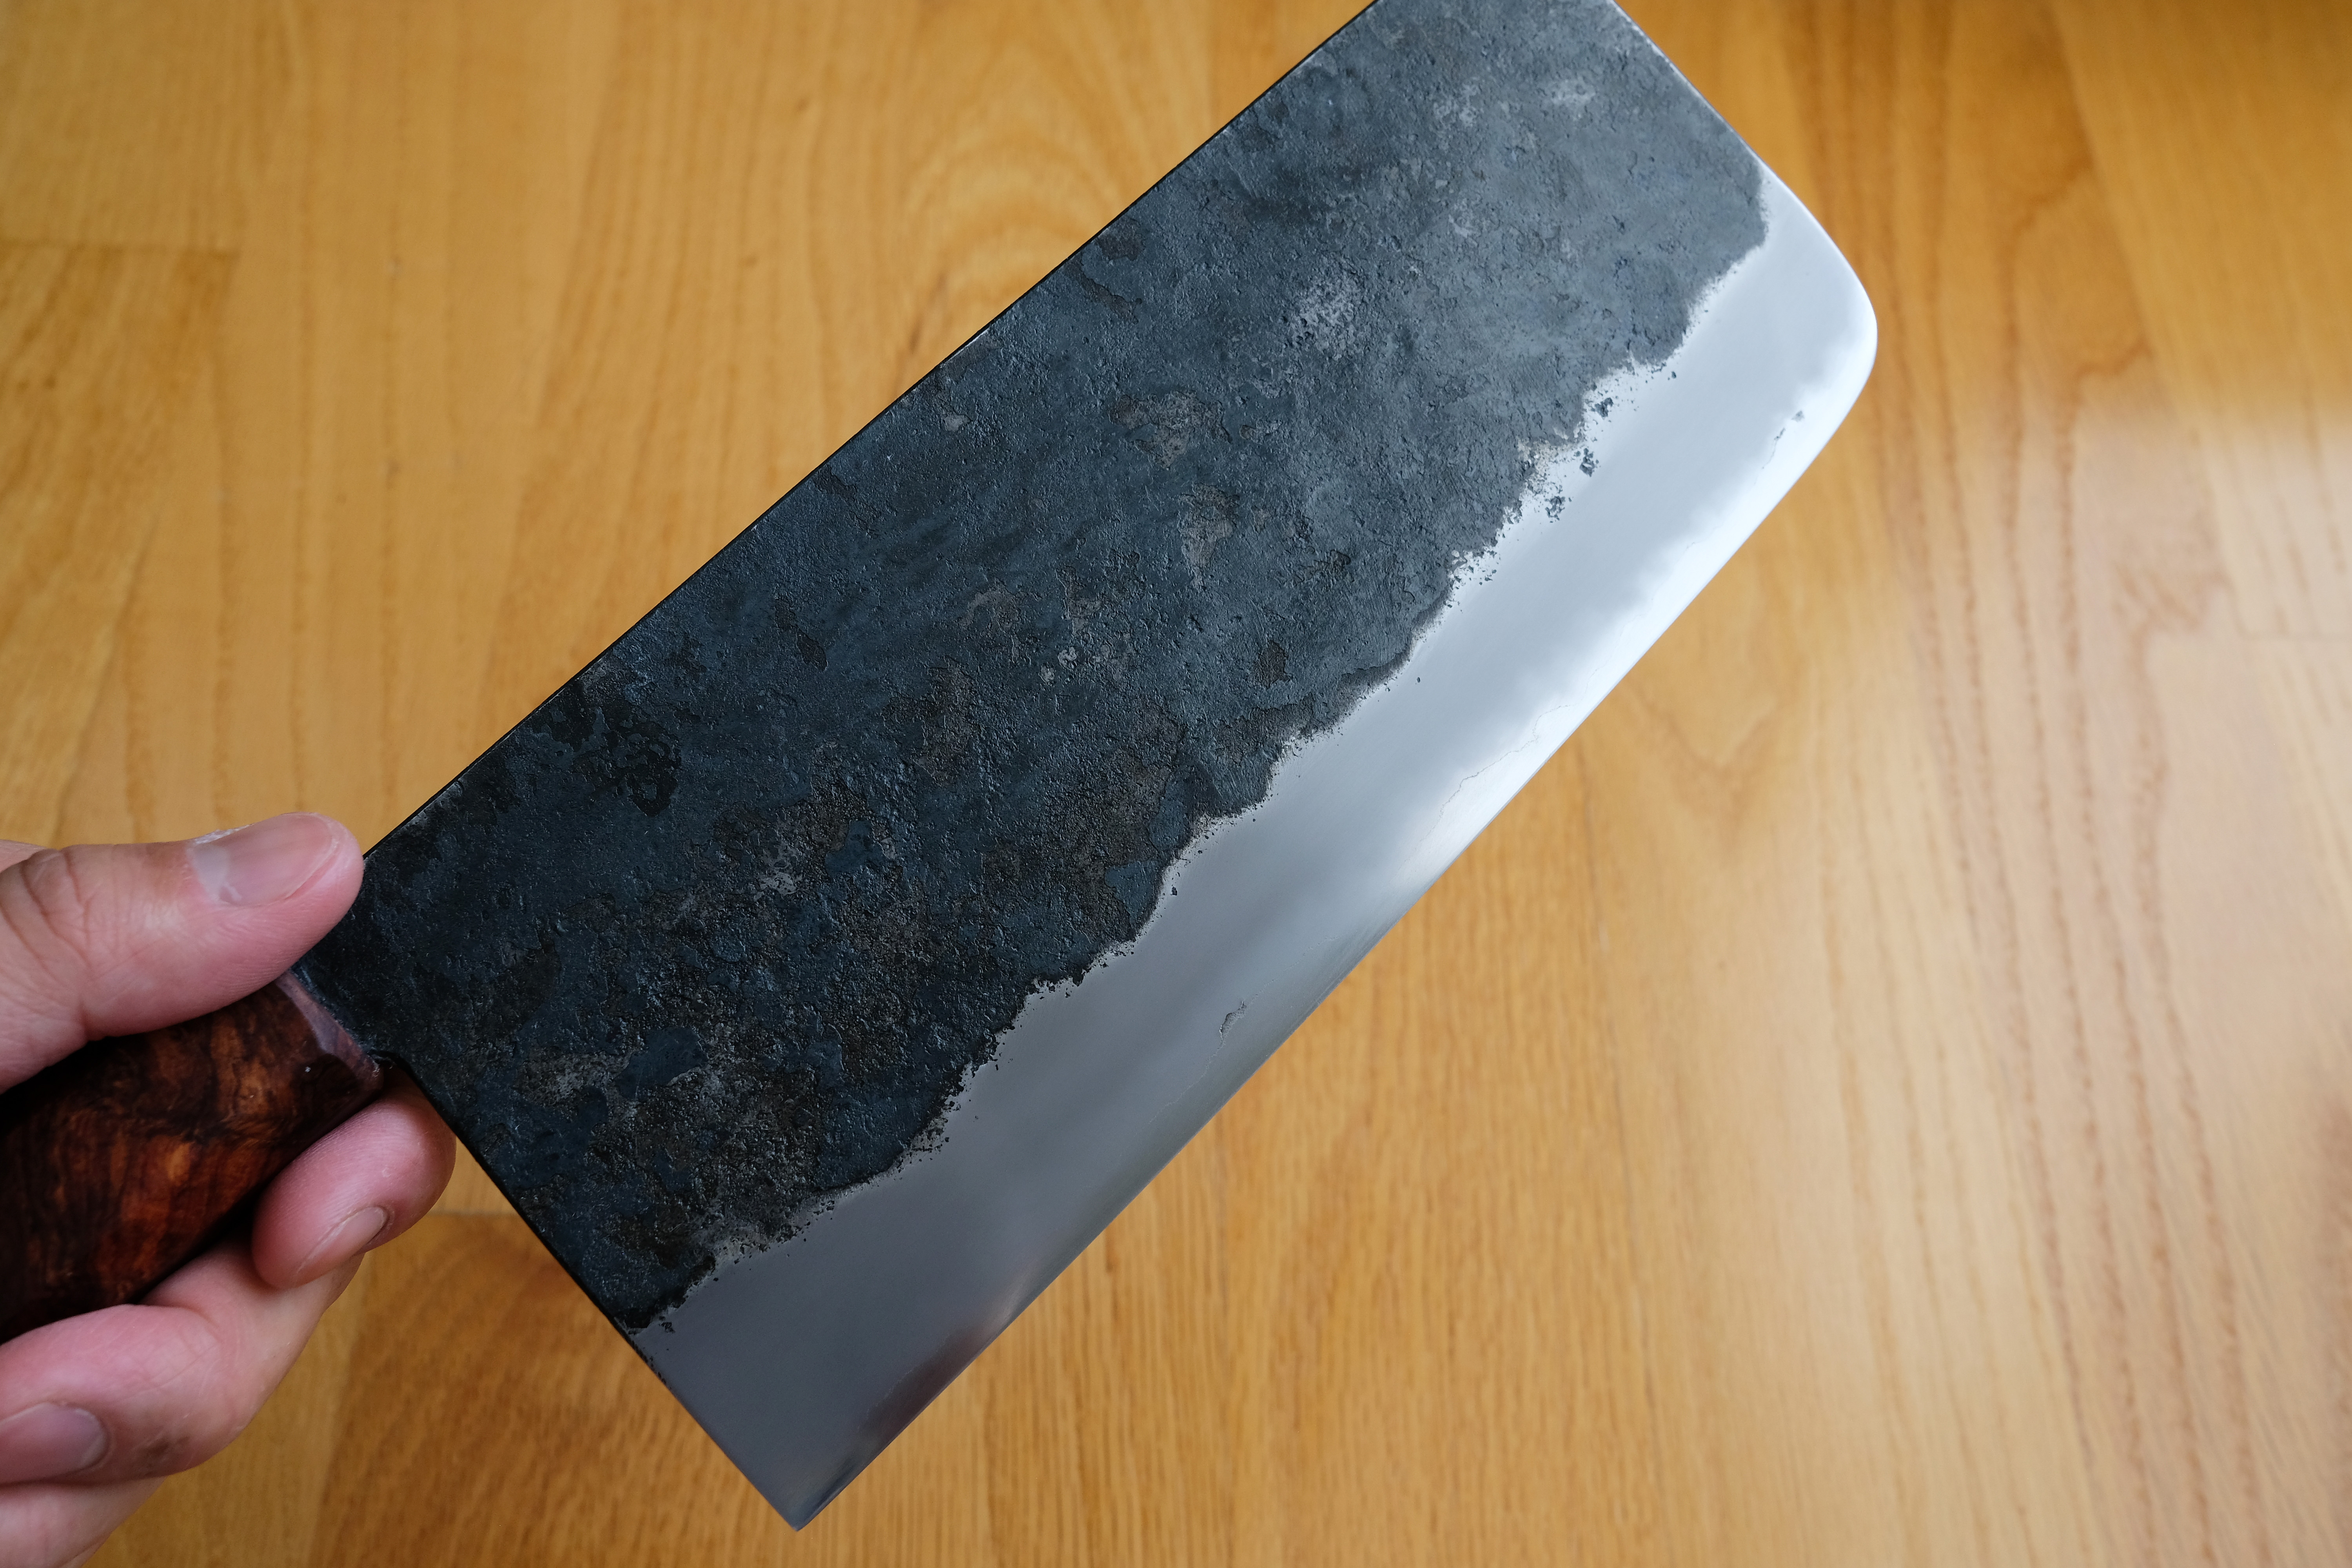
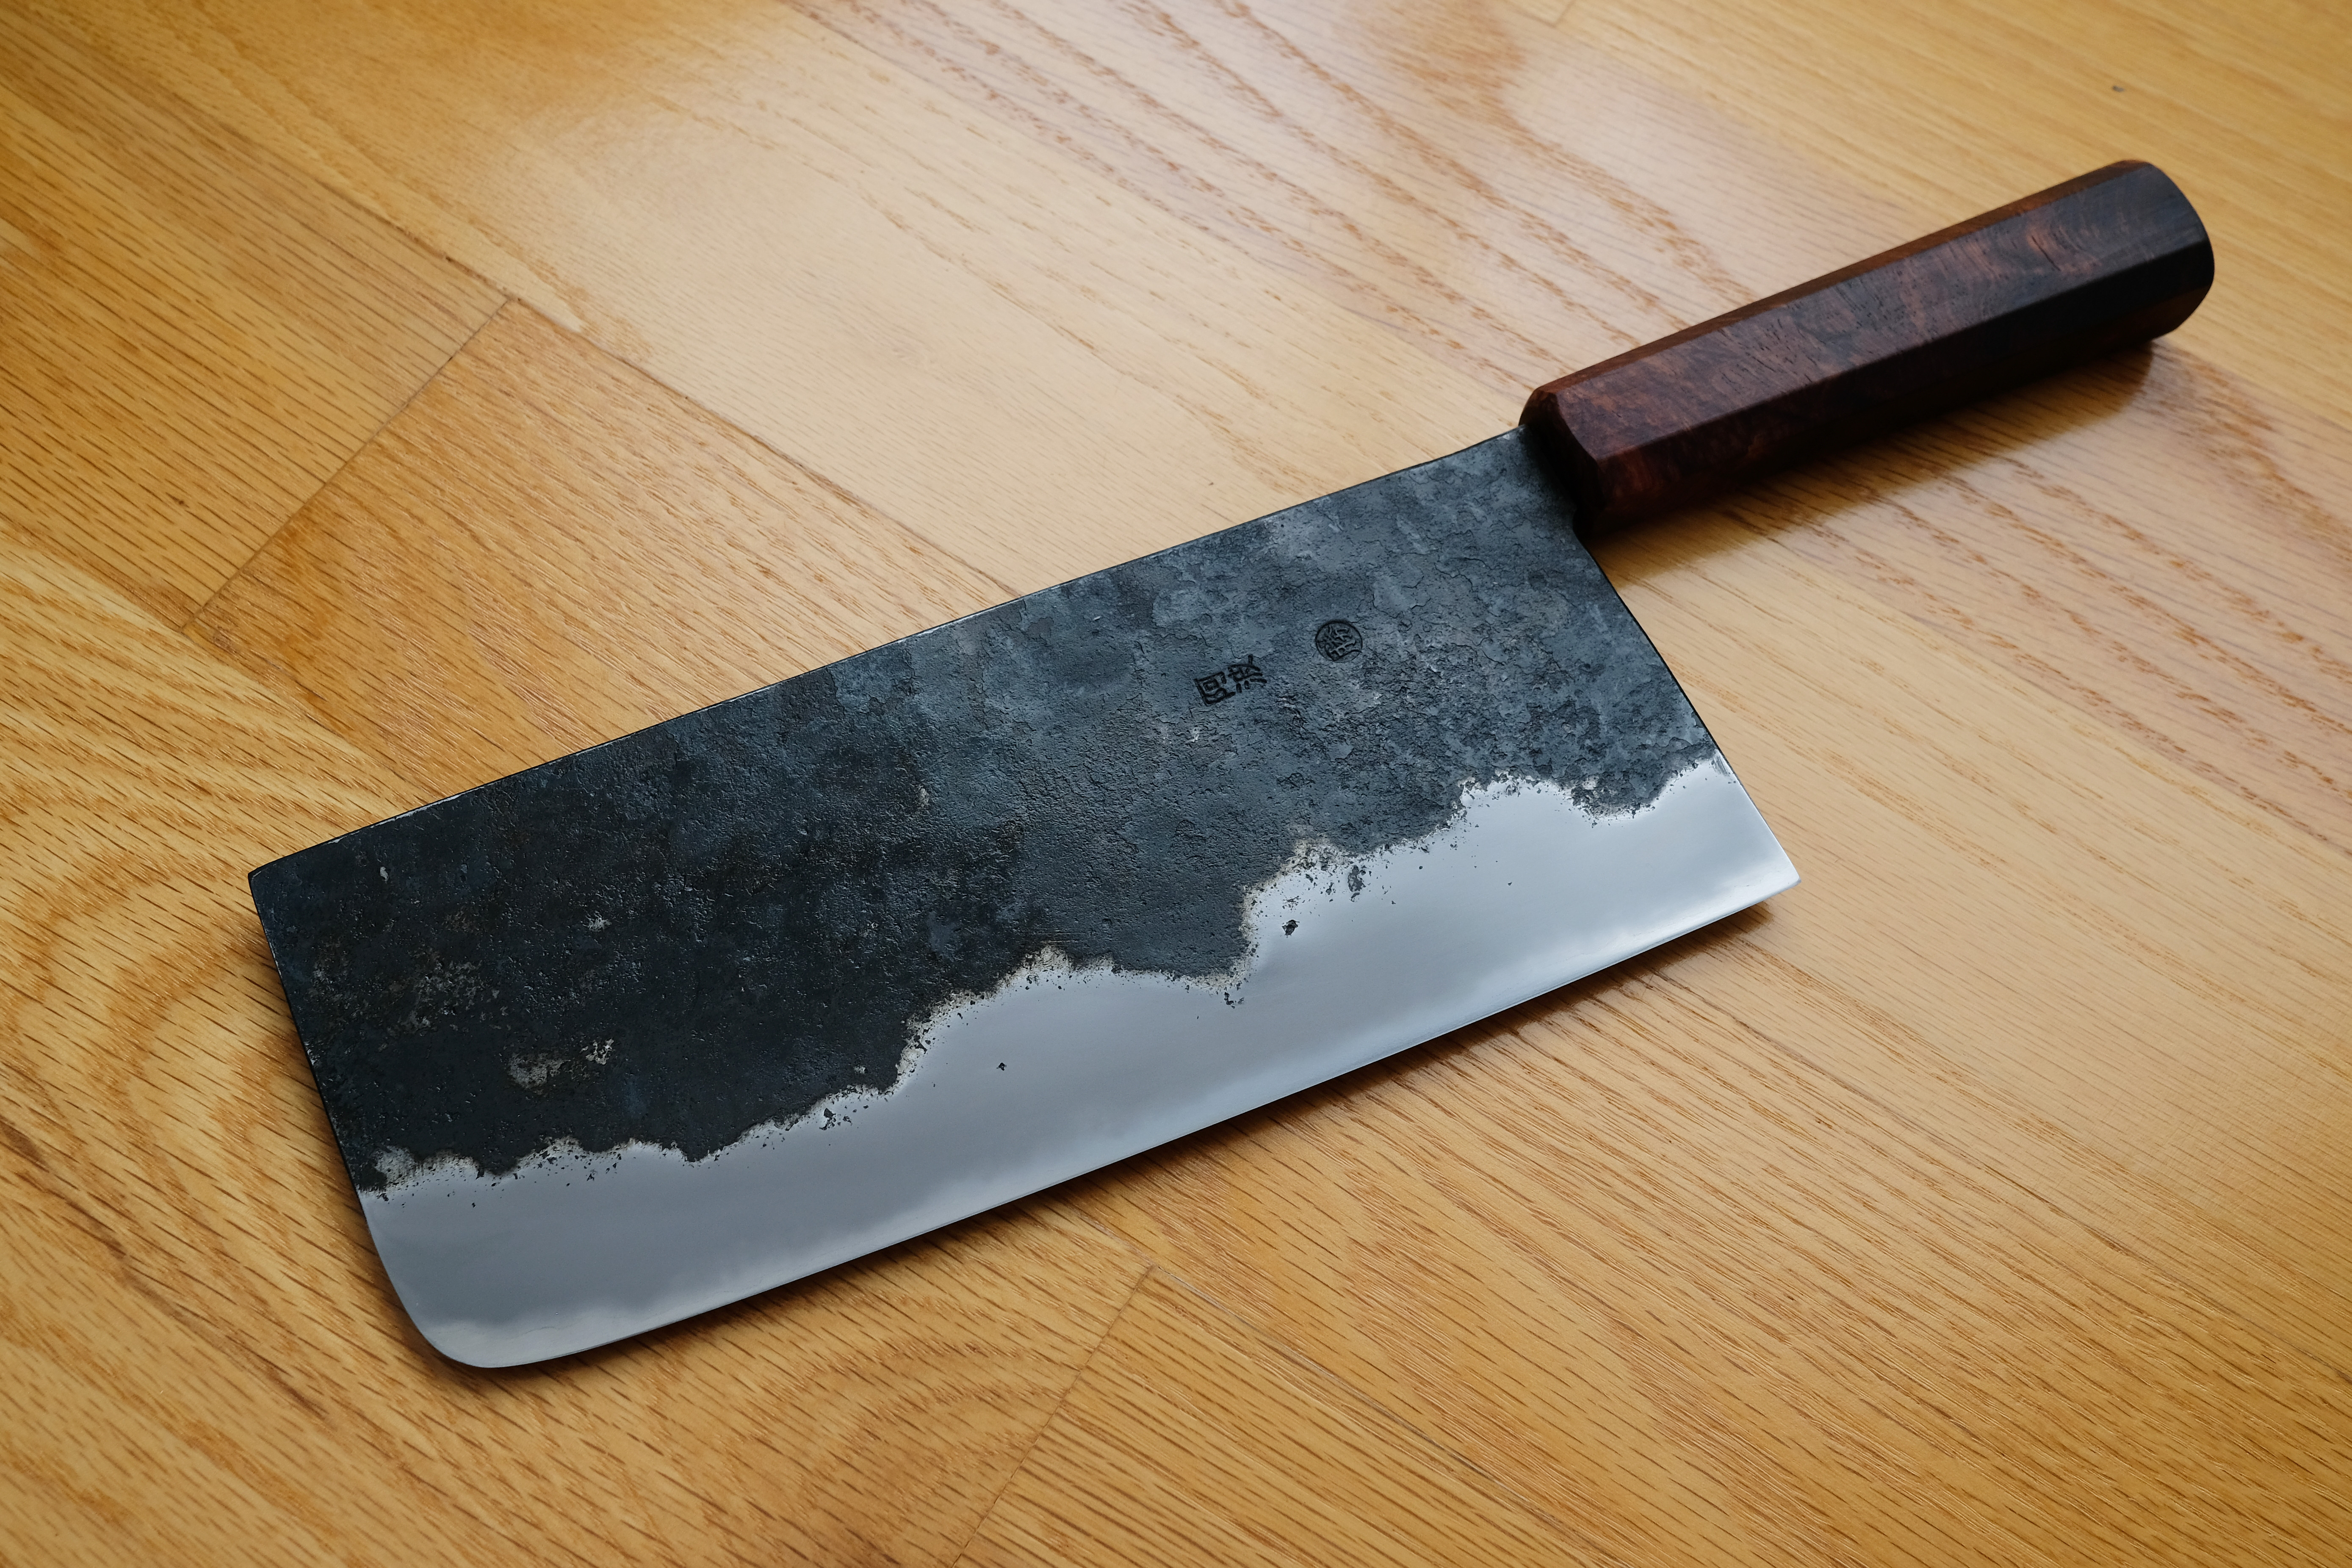
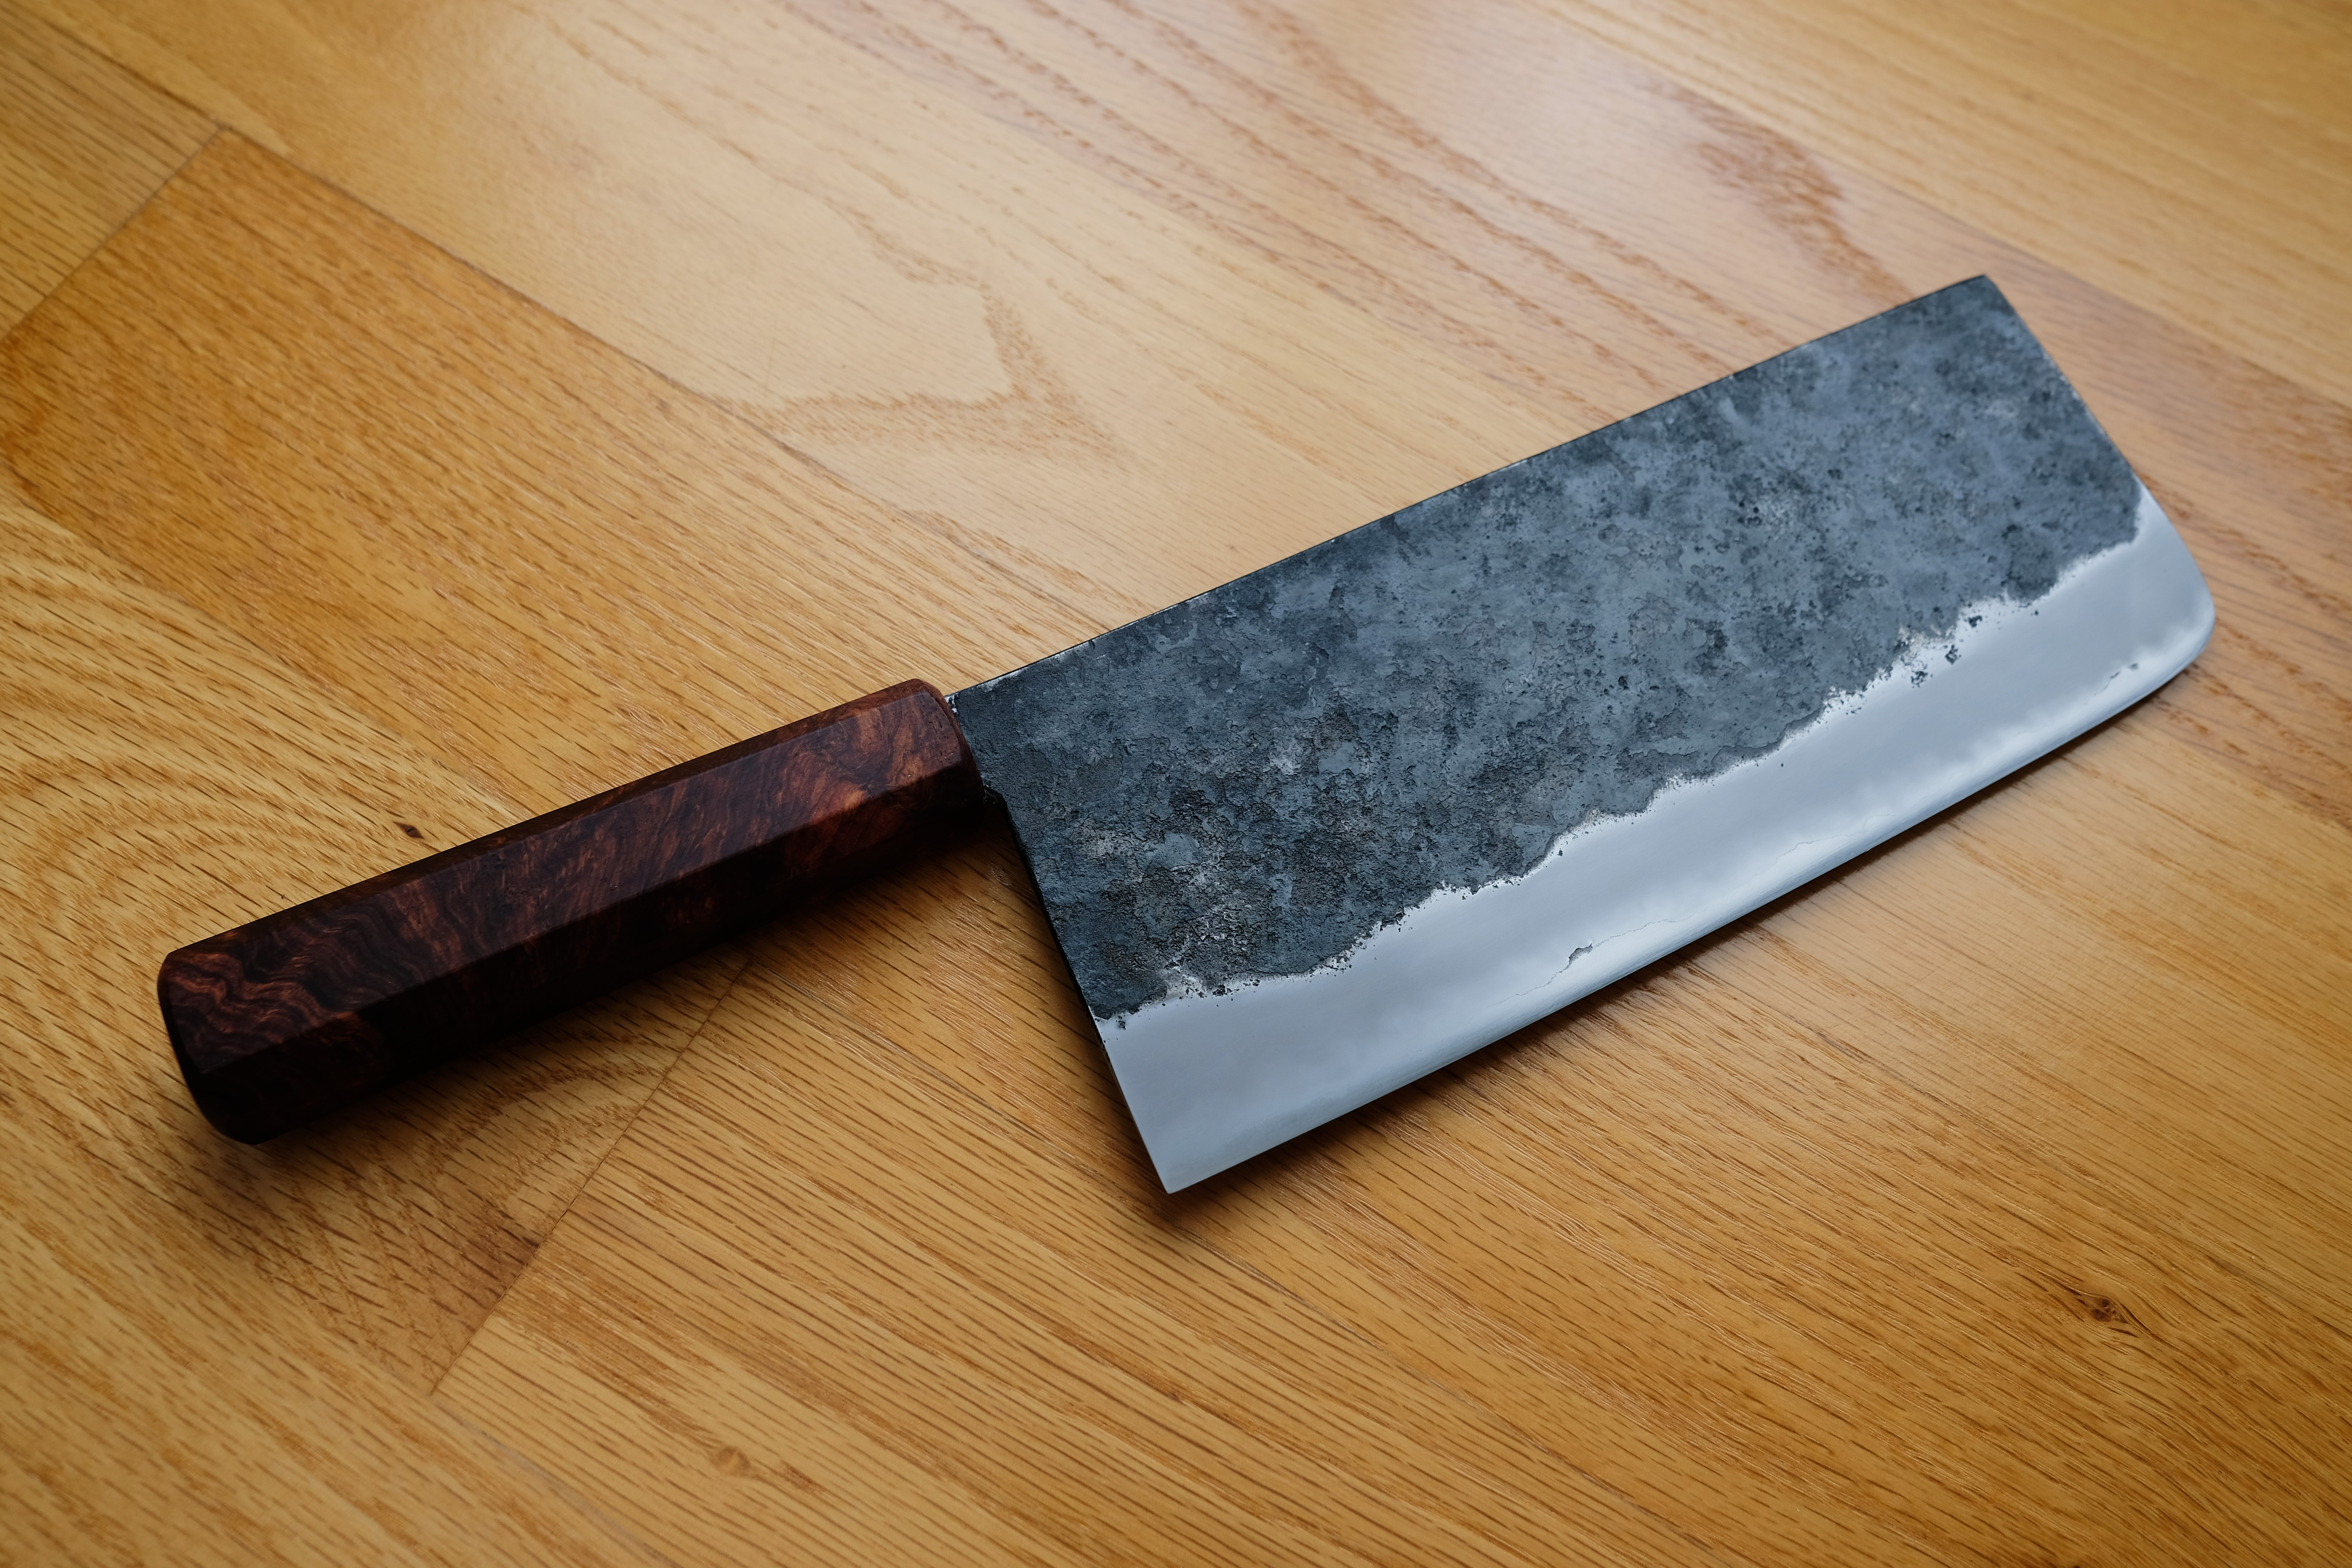
The cleaver ended up getting thinned a decent amount. But is by no means a lightweight, or anything close. It’s still an absolute beast to use at 452g in its final state. I wasn’t able to completely work out the little defect from the cladding and also maintain the amount of thickness I wanted, so it remained and now adds an extra touch of wabi sabi to this cool blade.

d1.jpg

d2.jpg

d7.jpg


Closing Thoughts
The Okubo cleaver is a blast to use. Michael at Knife Japan provides probably the best customer service I’ve ever had the pleasure to experience. In its original state, the knife was already enjoyable. The few little upgrades I made take it another level higher. If you’re on the fence about trying one, stop thinking and just get it. Could even turn it into another project maybe.

 
Last edited:
Really nice work and thanks for documenting your process! It's really a very big improvement compared to the original state and the handle goes perfectly 👌
 
great write up! nice job, the handle looks fantastic.

what was the stone progression here?
Originally started out with jns 300. But it was really slow for what I wanted to do, so I swapped to sandpaper on flat surface for much of the heavy removal. 120-220-400 sandpaper blasted thru all the low spots, and gave me a pretty even bevel to work from. I went through a good deal of 120 paper. Then went synthetics up to 6k. And then for kasumi part I like king 800 for base, and then aoto, uchi on this one.
 
Noticed that on your new handle you've not got a neck, just wondering what's the rationale behind it please?

Reason I'm asking is that I'm about to install a handle on my Okubo 180x75, obviously it's nothing compared to your 210x90.
 
Originally started out with jns 300. But it was really slow for what I wanted to do, so I swapped to sandpaper on flat surface for much of the heavy removal. 120-220-400 sandpaper blasted thru all the low spots, and gave me a pretty even bevel to work from. I went through a good deal of 120 paper. Then went synthetics up to 6k. And then for kasumi part I like king 800 for base, and then aoto, uchi on this one.
Thanks to @Rideon66 i have been carefully studying this thread… not sure I have the skills or equipment to do the super low grit work yet but I’d love to have an attempt at this project at some stage in the future. Looks excellent!
 
Noticed that on your new handle you've not got a neck, just wondering what's the rationale behind it please?

Reason I'm asking is that I'm about to install a handle on my Okubo 180x75, obviously it's nothing compared to your 210x90.
Sorry, just saw this comment. I don't like neck on cleavers. The way I get a firm grip on my cleavers is basically wedging my middle finger in between the from edge of the handle, and the choil of the blade. That way my wrist isn't forced to do as much of the lifting of the heavy blade.

For nakiris (let's say around 65mm height and less), I'm OK with including a neck and just treating it like a sawed-off gyuto.
 
It’s been a while since my last project thread. Cleaver time baby!

The Knife
Okubo nakiri/cleaver in aogami #2 and iron clad from Michael at Knife Japan. He actually listed a gigantic 250mm long “nakiri” on the site, which looks absolutely insane. I asked for a shorter one in my favorite size, 210x90 with no other requests, and Michael made it happen.
a1.jpg


The knife was a giant rustic beast. Fat spine, thick forge scale, coarse convex grind, and with what looked like a half tree branch shoved onto the tang for a handle.
a2.jpg


Out of the box was actually a decent performer, but that’s beside the point. That’s not why I bought this knife. I had bigger plans in store.
a2a.jpg


The Plan
The goal was to have a blend of original gritty character of the cleaver, while also giving it some refinement with a polish and a new handle that would actually allow it to fit in my knife drawer.

Tang Work
To fit the new handle, I had to adjust the tang a bit.

The stock tang had a bulge partway down. The spine thickness near the choil was about 5mm, while the thickest part of the tang was around 7-8mm. And it was offset by a bit.
a3.jpg


Straightened out the tang.
b1.jpg


Ground down the excess, while trying to retain as much metal as possible. Enough so that I could allow for a decent fit up of the handle later down the line without needing an oversized tang slot. Also shortened it to fit a stubby handle.
b2.jpg


Thinning and Polishing

Stock grind was coarse.
c0.jpg


Some low spots that needed to get worked out.
c1.jpg
sick
 
Back
Top