Kippington
A small green parrot
I don't know about you guys but I'm fascinated by food release. It's surprising how little information is out there on the subject, despite it being a hugely desirable property in a knife - especially among those of us who work in the food industry.
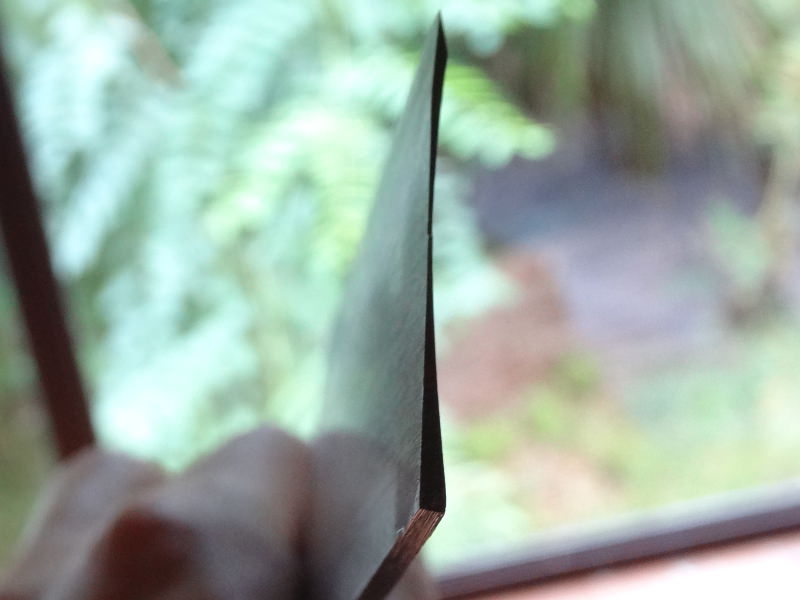
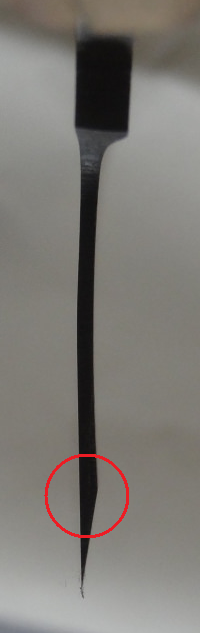
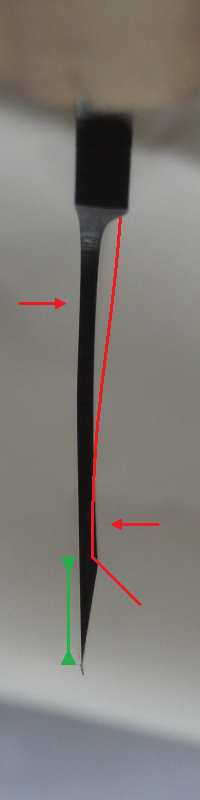
With a craving to learn more, I recently attempted to make my first knife designed specifically to tackle this topic. The knife was a partial success, the food release is amazing but the design was too demanding on the steel. Internal stresses from the differential HT plus crazy thin cross-sections towards the tapering tip caused the blade to warp out of shape and subsequently it broke on the attempt to straighten it out again... so now I have a nice non-stick nakiri! :lol2:

I'm pretty sure I can take this experience and redo the knife with some improvements to stop this from happening again, so over the next few weeks I will re-design and create a new one while posting updates to this thread. I hope to go into some of the details of how it works, the problems this kind of grind creates, a few solutions and a bit of other fluff. Hopefully there's a bit of interest out there! :biggrin:
[video=youtube;CodmXr9MUks]https://www.youtube.com/watch?v=CodmXr9MUks[/video]
With a craving to learn more, I recently attempted to make my first knife designed specifically to tackle this topic. The knife was a partial success, the food release is amazing but the design was too demanding on the steel. Internal stresses from the differential HT plus crazy thin cross-sections towards the tapering tip caused the blade to warp out of shape and subsequently it broke on the attempt to straighten it out again... so now I have a nice non-stick nakiri! :lol2:
I'm pretty sure I can take this experience and redo the knife with some improvements to stop this from happening again, so over the next few weeks I will re-design and create a new one while posting updates to this thread. I hope to go into some of the details of how it works, the problems this kind of grind creates, a few solutions and a bit of other fluff. Hopefully there's a bit of interest out there! :biggrin:
[video=youtube;CodmXr9MUks]https://www.youtube.com/watch?v=CodmXr9MUks[/video]
")