cheeken1111
Active Member
Long time lurker "first time" poster. Let me know if I messed anything up or any constructive feedback.
Didnt see any colored/rainbow damascus thinning threads.... well anywhere and had a fat Saji 210 gyuto that probably wouldnt see much use as is. I would guess most people who buy these flashy knives want to keep them flashy.
Also an interesting note is that i have two 210 saji rainbow damascus in B1.

They are ground quite differently. The wa handle was quite fat behind the edge, while the yo handle is in the middle. The blade height of the yo handle is shorter and has a flatter profile. Both have vertical scratches that have been polished, no distal taper and quite stiff blades.
wa handle

yo handle

I was also curious on hardness. I have the "cheap" hardness tester files and gave the core on both yo and wa a light scratch. Both skated the hardest "65" hrc file. Pushed about how hard you would a pencil eraser while.... erasing pencil. Didnt go full bore incase i put down a scratch i cant take out..... Also was curious to test the stainless cladding which the 40 hrc file bit into immediately. No point testing the copper or brass......

My progression was
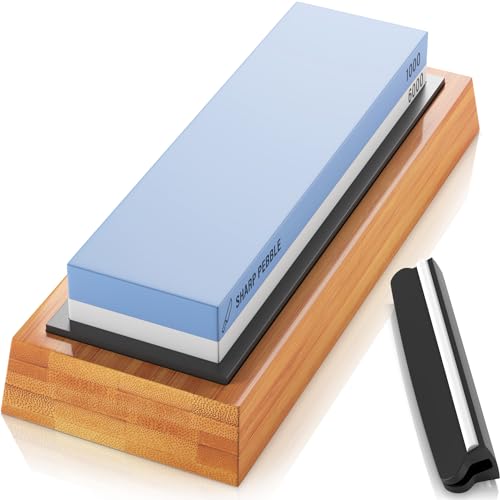
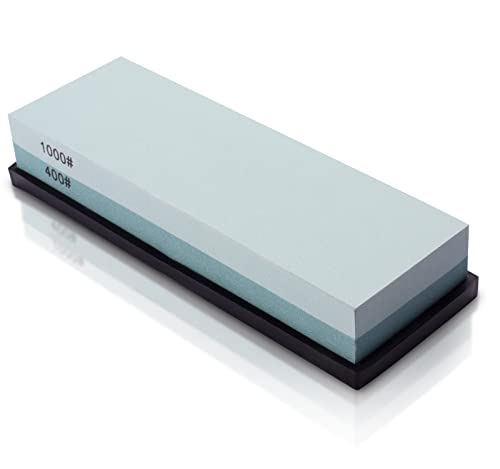
- shapton 120 kuromaku ~30 min
- knifewear 220 naniwa ~ 5min
- shapton 1000 kuromaku ~5min
- 2000 green brick of joy ~20 min ( my weak side still showed oem vertical scratches so i dropped back to 220 a couple times)
- shapton 5000 kuromaku ~5 min
- shapton 8000 kuromaku ~5 min
- shapton 12000 kuromaku ~5 min
My main stratagy was to raise the primary bevel/shinogi line and not apex or touch the micro bevel. This was done by the left hand pressing on the opposite side shinogi line instead of center of the bevel and edge.
Had some learnings and it didnt turn out perfect but ill get it on the next sharpening/thinning. listed below
- Although there is a crappy scratched polished finish the bevels were suprisingly flat. No low spots in the bevels anywhere
- On the right side of the blade there is a low spot on the head and heel of the knife. I think its from the hot cut process after forging over size then taking a shear to cut the profile.
- It was pretty easy not to apex the micro bevel based on how fat the grind was.
- Clear low grit slurry often. Got a few scratches on the top flats.
-Probably dont try to finish in one night...... had a few slips and the finish/smoothness is not so great at the top of the primary bevel.
- Indoor lighting sucks for photos
Okay enough fore play here are the grinding photos
shapton 120

naniwa 220

shapton 1k, you can see the vertical scratches on the belly of the core steel i had to go back to 220 for.

2k brick, ignore the dishes I am putting off doing

Shapton 5k, you can see on the flats the verical grind lines from factory. If you see horizontal or diagonal grind lines.... that was me mesaing up.... least i can buff them and pass them off as factory.

Shapton 8k can now see the clad line between core and stainless.

Continued in next post due to pic limit
Didnt see any colored/rainbow damascus thinning threads.... well anywhere and had a fat Saji 210 gyuto that probably wouldnt see much use as is. I would guess most people who buy these flashy knives want to keep them flashy.
Also an interesting note is that i have two 210 saji rainbow damascus in B1.
They are ground quite differently. The wa handle was quite fat behind the edge, while the yo handle is in the middle. The blade height of the yo handle is shorter and has a flatter profile. Both have vertical scratches that have been polished, no distal taper and quite stiff blades.
wa handle
yo handle
I was also curious on hardness. I have the "cheap" hardness tester files and gave the core on both yo and wa a light scratch. Both skated the hardest "65" hrc file. Pushed about how hard you would a pencil eraser while.... erasing pencil. Didnt go full bore incase i put down a scratch i cant take out..... Also was curious to test the stainless cladding which the 40 hrc file bit into immediately. No point testing the copper or brass......
My progression was
- shapton 120 kuromaku ~30 min
- knifewear 220 naniwa ~ 5min
- shapton 1000 kuromaku ~5min
- 2000 green brick of joy ~20 min ( my weak side still showed oem vertical scratches so i dropped back to 220 a couple times)
- shapton 5000 kuromaku ~5 min
- shapton 8000 kuromaku ~5 min
- shapton 12000 kuromaku ~5 min
My main stratagy was to raise the primary bevel/shinogi line and not apex or touch the micro bevel. This was done by the left hand pressing on the opposite side shinogi line instead of center of the bevel and edge.
Had some learnings and it didnt turn out perfect but ill get it on the next sharpening/thinning. listed below
- Although there is a crappy scratched polished finish the bevels were suprisingly flat. No low spots in the bevels anywhere
- On the right side of the blade there is a low spot on the head and heel of the knife. I think its from the hot cut process after forging over size then taking a shear to cut the profile.
- It was pretty easy not to apex the micro bevel based on how fat the grind was.
- Clear low grit slurry often. Got a few scratches on the top flats.
-Probably dont try to finish in one night...... had a few slips and the finish/smoothness is not so great at the top of the primary bevel.
- Indoor lighting sucks for photos
Okay enough fore play here are the grinding photos
shapton 120
naniwa 220
shapton 1k, you can see the vertical scratches on the belly of the core steel i had to go back to 220 for.
2k brick, ignore the dishes I am putting off doing
Shapton 5k, you can see on the flats the verical grind lines from factory. If you see horizontal or diagonal grind lines.... that was me mesaing up.... least i can buff them and pass them off as factory.
Shapton 8k can now see the clad line between core and stainless.
Continued in next post due to pic limit
Last edited: